
Guides
How to Layer HTV
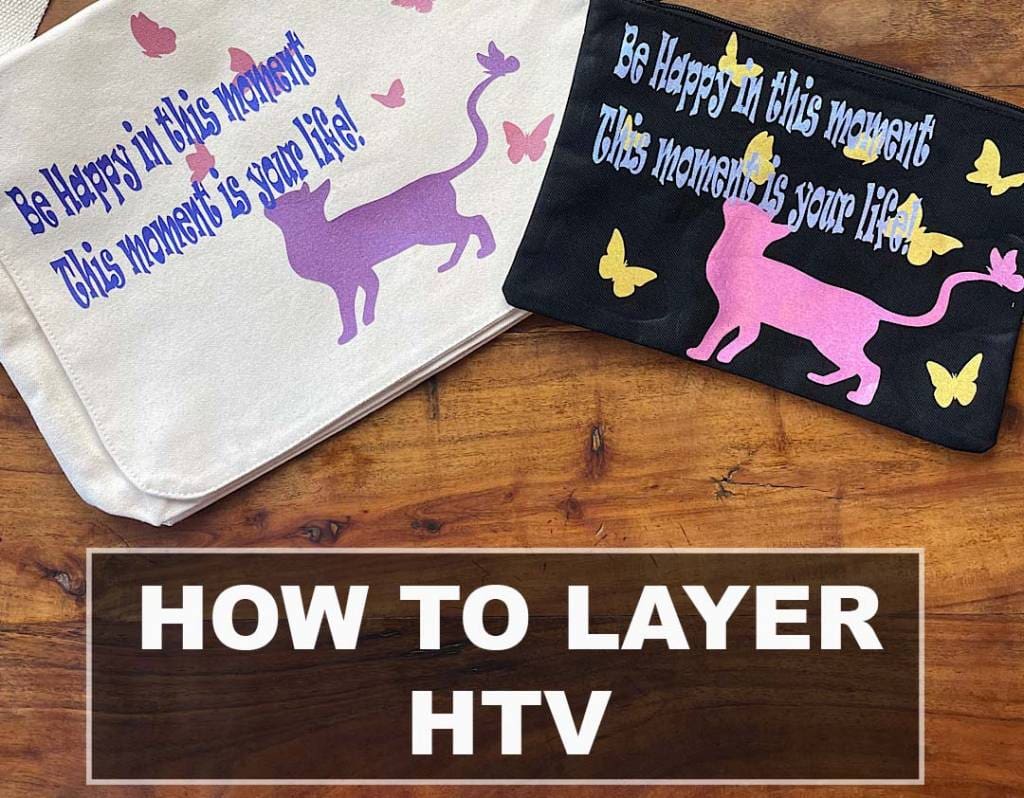
Layering HTV
We often see people commenting on our Facebook page about being uncertain in trying to layer Heat Transfer Vinyl, so we thought this blog post would be the perfect opportunity to offer some hints and tips to show you just how easy it is to achieve.
We have a number of free tutorials in our blog as well as YouTube video links on each page to watch these being made, and a selection of them are linked below for you to follow step by step.
Halloween T-shirt layering and free cut files click here.
How to Layer HTV with free cut files click here
Layering Pearl sparkle and free cut files click here
Layering Kids Unicorn t-shirt and free cut files click here
Layering GM Brick 3d Vinyl and free cut files click here
Layering Pattern HTV and Premium Plus Fathers day free cut files click here
Layering Infusible inks with HTV and free cut files click here
So How do I Layer?
First, design, cut and weed all the pieces you’ll need, so you have them all ready. Start with the bottom layer first. Normally you would be applying the heat source for the recommended time and temperature (depending on the application guide as all vinyl varies, click here for application guides) but as you are multi layering you’ll need to press all the layers for much for less time, around 2 – 5 seconds is about right depending on what vinyl type you are using.
Please refer to our Application guide for each Vinyl. AND check our guide here for more information on applying and using HTV successfully. Press each area once only firmly using your upper body weight over the easy press or Iron (Clamp press please refer to the application guides for pressure). Because we are Layering, we do not use the full press time, and will leave the transfer sheet to go cool before removing if you get any resistance, if any areas lift once doing this- repress for a few more seconds- please note ensure any collar or seams are off the pressing mat area so not to interfere with the pressure needed. Try to let the press areas go cold before repressing the next layer. Move the garment on the pressing mat, and repeat to apply the next layer. Ensure you protect your design as shown in the above links and as below with silicone paper. (If need be use Baking paper for this)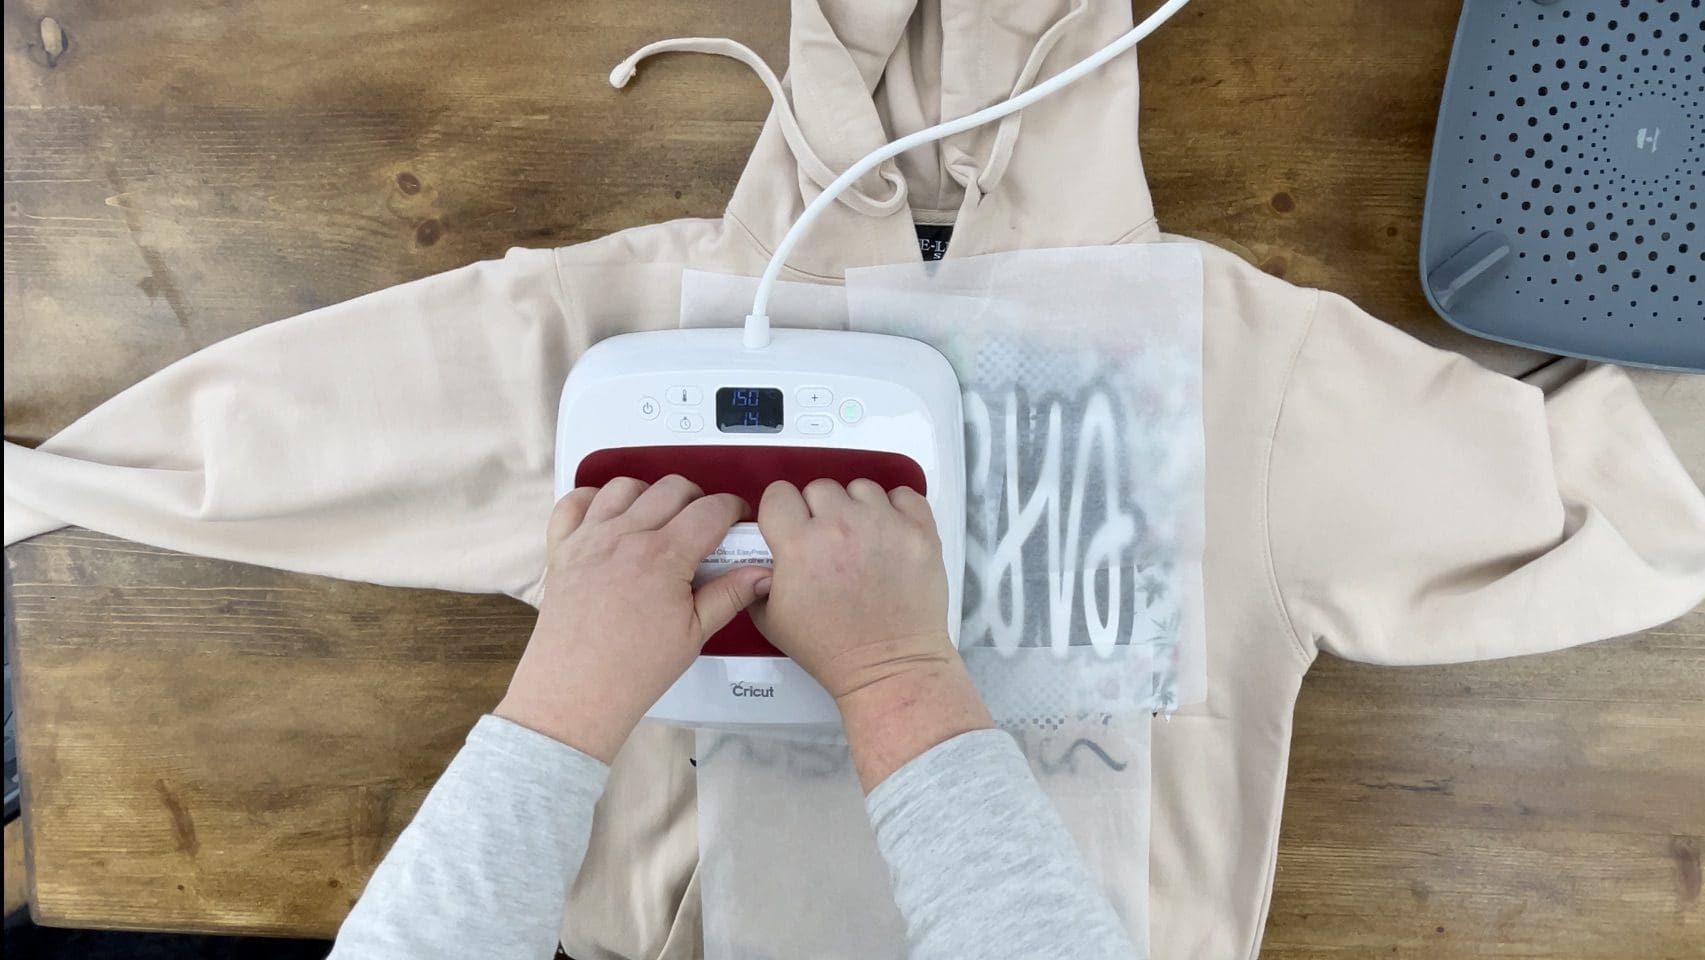
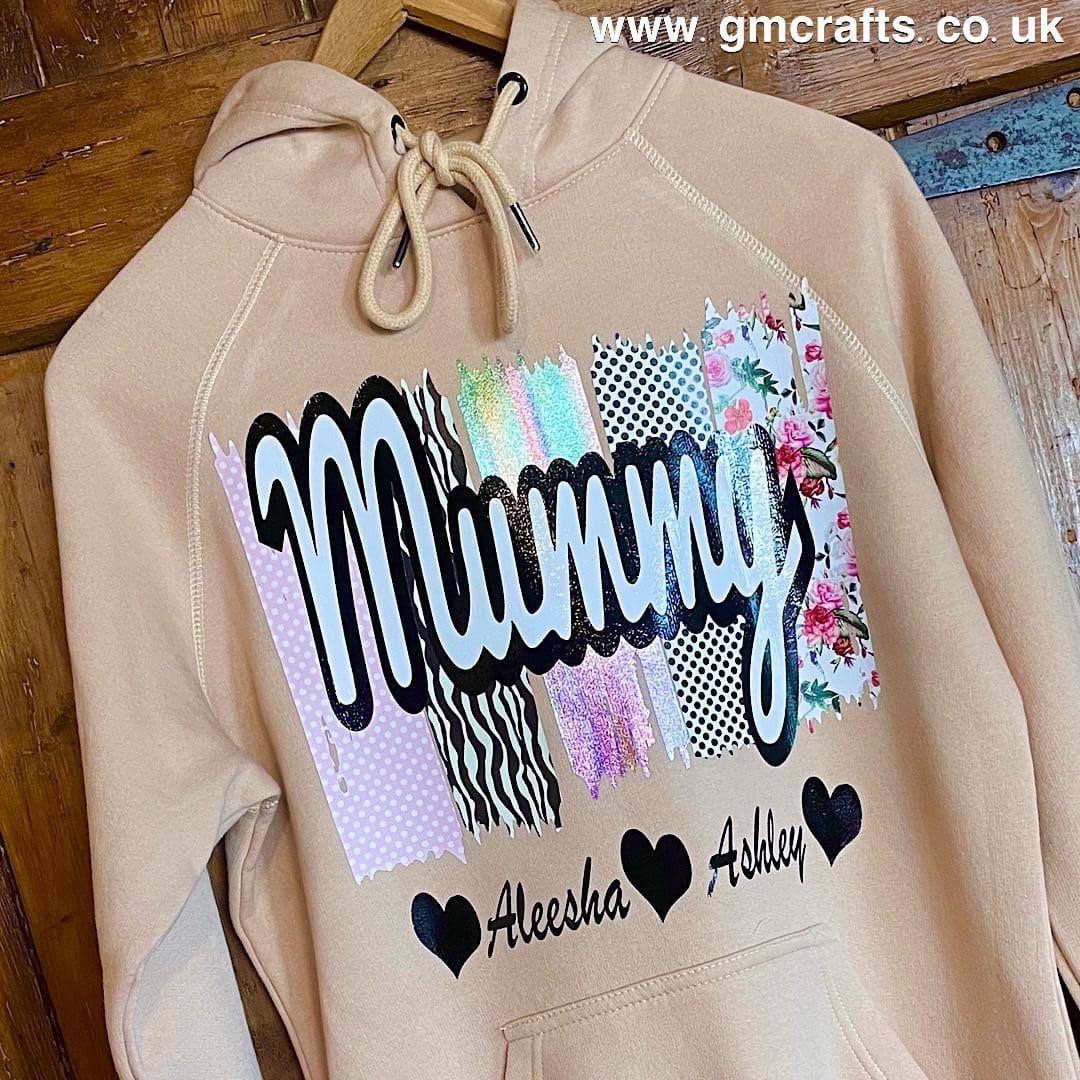
Layering up the design
As long as the layer is stuck on just enough, leave to cool to the peel conditions suggested for the vinyl you are pressing i.e. hot peel, warm peel, cool peel then peel away the plastic carrier sheet. (if it lifts, then you need to cool peel due to the reduced time) Then add your next layer and repeat the same process above. As your layering is not going to fully cover the area of the layer underneath, you need something in place to prevent the heat source from coming into contact with it and melting it, so you need to place a piece of Silicone paper, grease-proof paper, baking parchment (NOT a Teflon sheet) over the bottom layer to prevent this.
Repeat all the above steps for as many layers as you have, remembering to only press for 2-5 seconds on each layer. Once all the layers are in place give the whole design a press for the maximum press time for the lowest setting of the vinyl used to ensure that it is all stuck on. It is a gradual process and don’t do any pieces where the plastic carrier sheet will sit onto of another piece of plastic carrier sheet, or you will encounter problems when peeling the carrier off.
Layering onto Glitter HTV or Glitter onto Glitter HTV, and Holographic onto Holographic is not overly successful due to the texture of the glitter and would probably peel away after one wash, so it is not going to be worth you wasting your vinyl doing this. So, only use Glitter and Holographic HTV for the final top layers – or use the cropping or knockout method to remove the areas so you are not overlaying HTV.
Tips
- If you are applying more than one layering piece at a time, make sure to trim your carrier sheet as close to the vinyl as possible to prevent overlays. Overlapping HTV and carrier sheet will stick to each other instead of the clothing.
- Over pressing HTV leads to it shrinking. Short presses reduce the amount of shrinking from HTV and your garment. Over pressing too much time and heat can result in the vinyl coming off in the wash.
- . If you find you are getting ridges on your layering then your designs need to be cropped as explained above.
We would love to see what you make! Have you found our You Tube channel yet? The video showing this and all of our other tutorials are available on there, as well as exclusive demos, inspiration and more! Join us on Facebook , Instagram or Tiktok or send us an email to sales@gmcrafts.co.uk we would love to hear from you!