Tutorial/Free Cut File
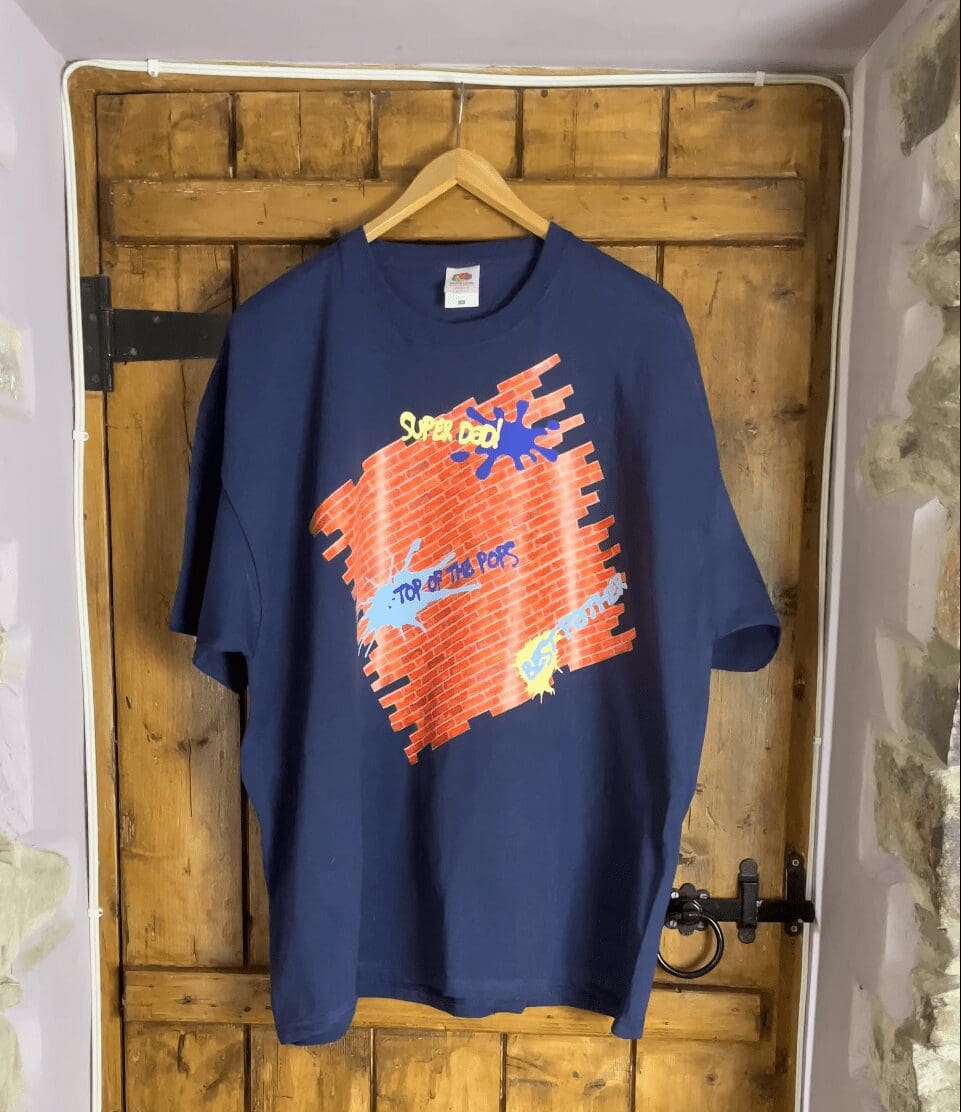
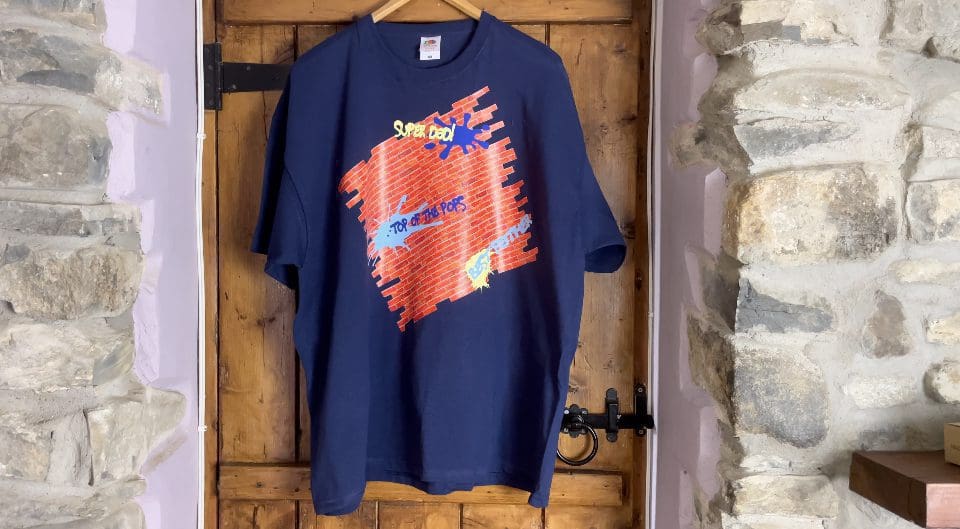
GM Crafts printed Vinyl HTV layering. Free fathers day Brick Wall Graffiti files Tutorial
Hi!
Welcome to another weeks blog post! And of course a free cut file! This week to celebrate the release of more new Pattern Vinyl we have just launched on the website in Self Adhesive and HTV in a variety of finishes, and sizes, we have a design for you that hopefully will also help you with that difficult date every year Fathers Day! What do you make? Men is one of the most difficult craft ideas for our customers, so we thought over the next few weeks we will give you a helping hand, allowing you to just enjoy making instead.
This file was used with our new Brick design , it is ideal for HTV and self adhesive applications and you could even use in in card making!
We would love to see what you make! Have you found our You Tube channel yet? The video showing this and all of our other tutorials are available on there, as well as exclusive demos, inspiration and more! Join us on Facebook , Instagram or Tiktok or send us an email to sales@gmcrafts.co.uk we would love to hear from you!
***Watch this being made here***
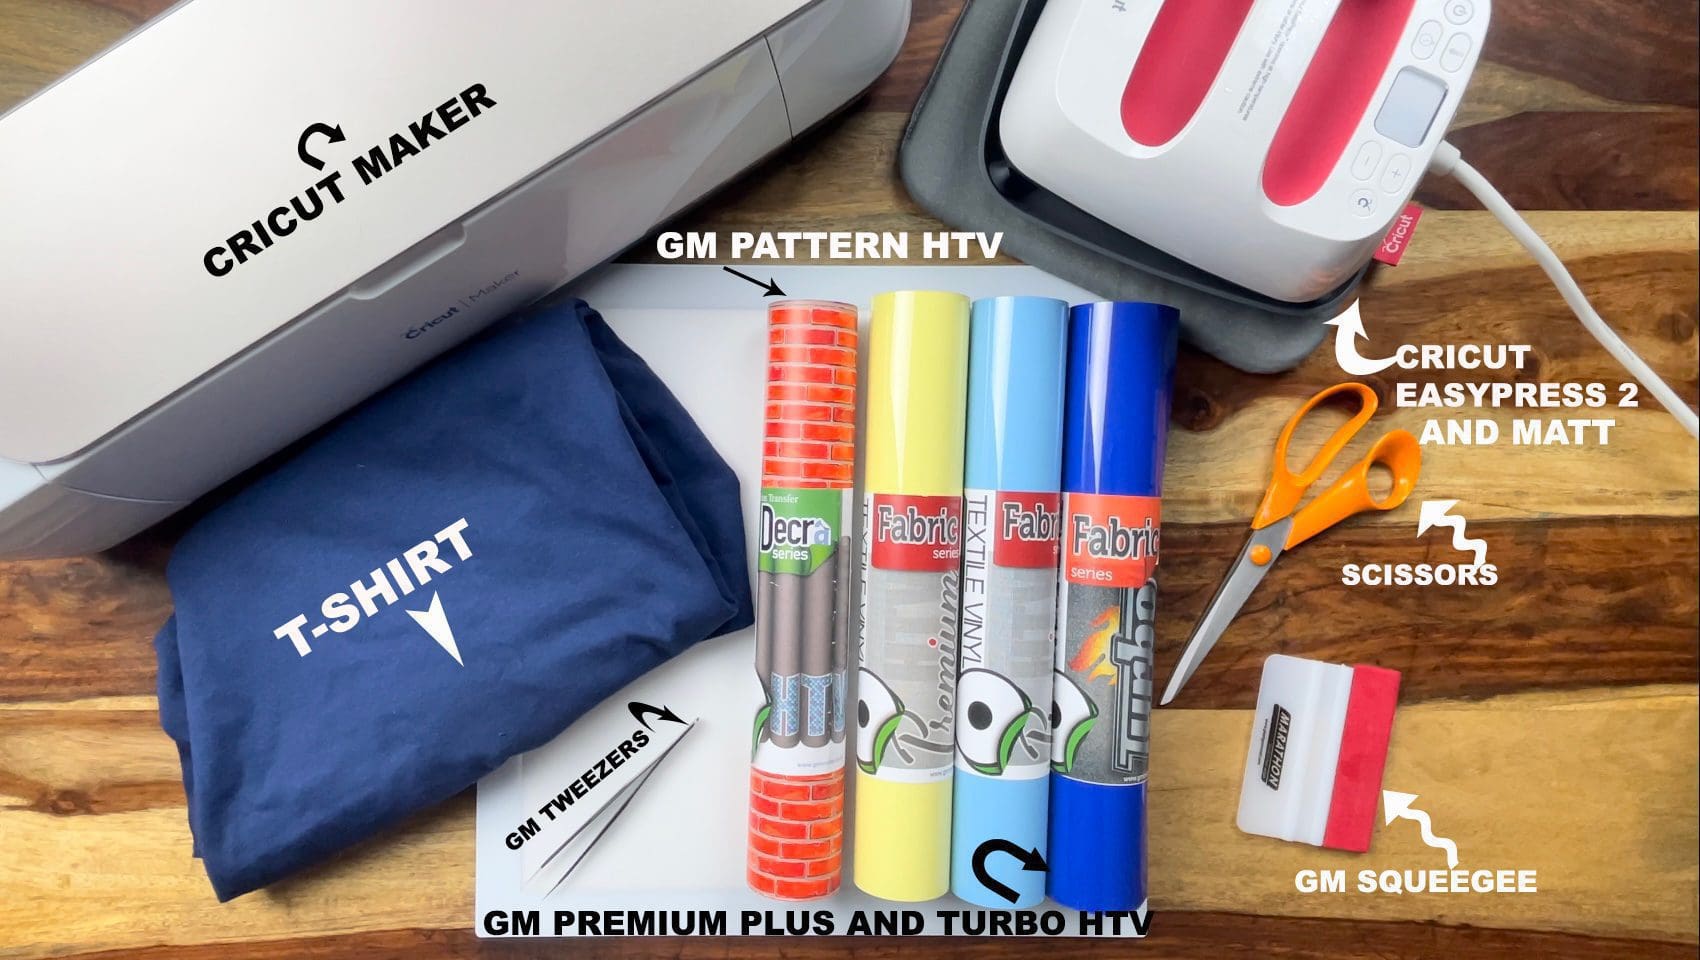
What you’ll need:
- Cricut machine Available here Or Silhouette Cameo 4. Available here
- Cricut Easypress and Easypress Mat here
- GMCrafts LED light panel here
- Pattern HTV here
- Premium Plus Vinyl Available here
- Turbo Vinyl Available here
- Squeegee. Available here
- Weeding tweezers . Available here
- Scissors from your own stash and a plain t-shirt or tote bag of your choice.
- Cut files, which are free below! Including, Cricut, Silhouette and Brother cut files
Fathers day grafitti cut files here
Instructions:
1. Before you start, you need to download the cut file above. Upload each PNG into the design space.
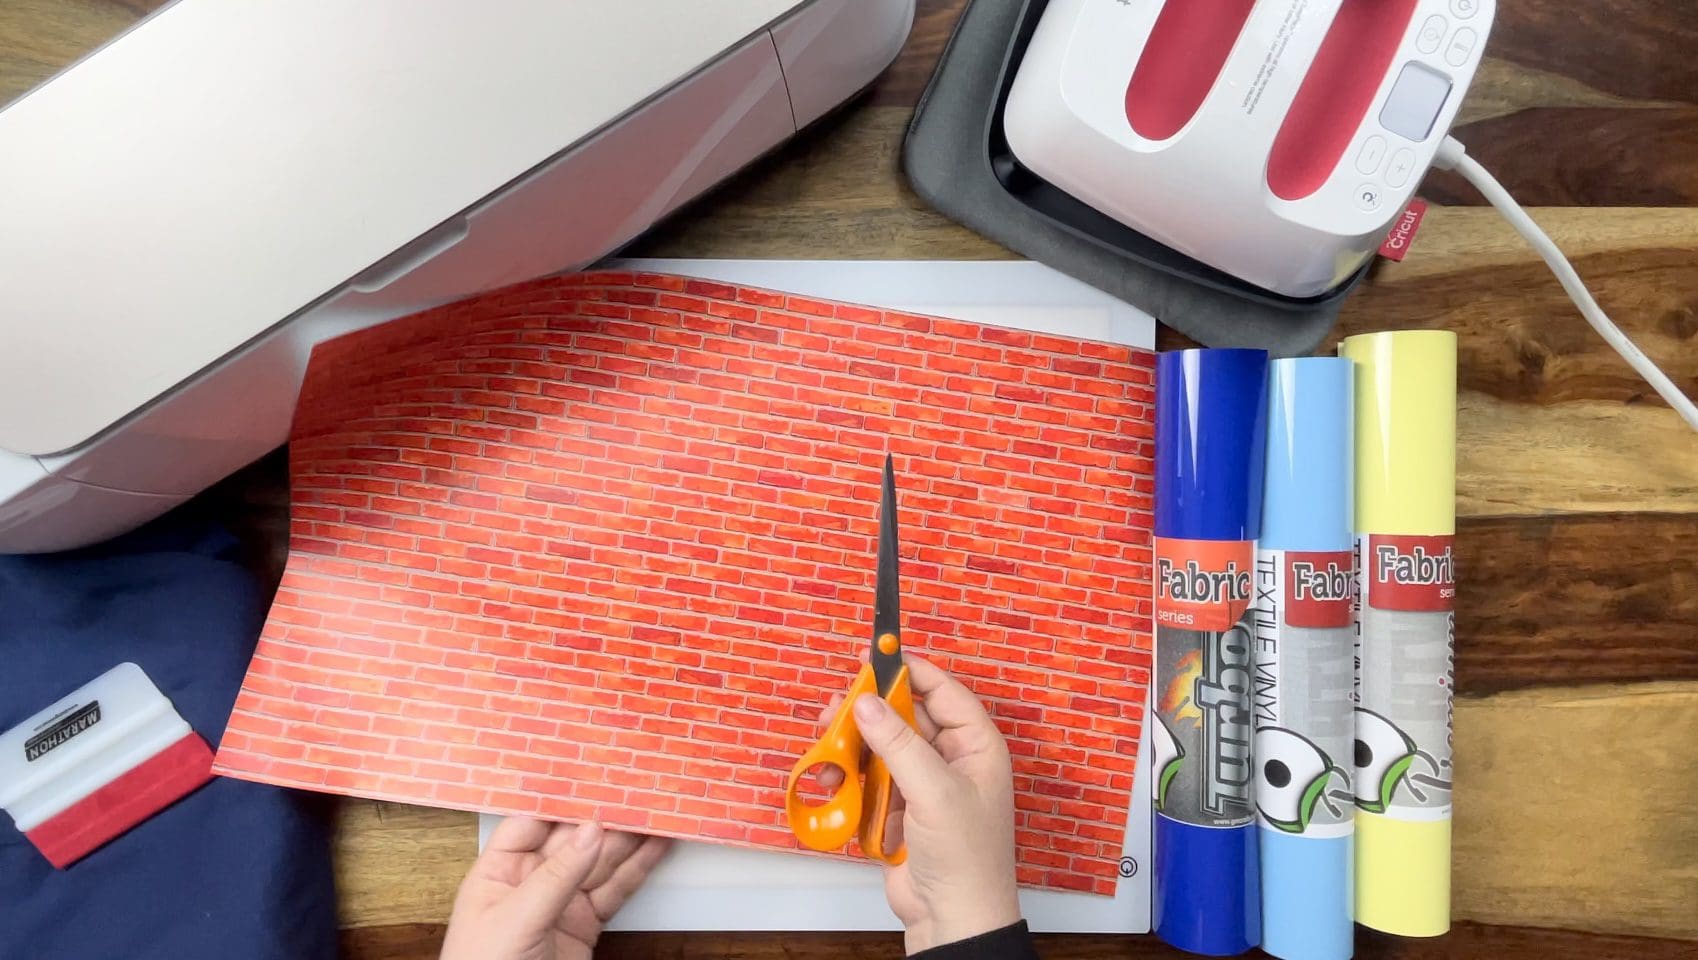
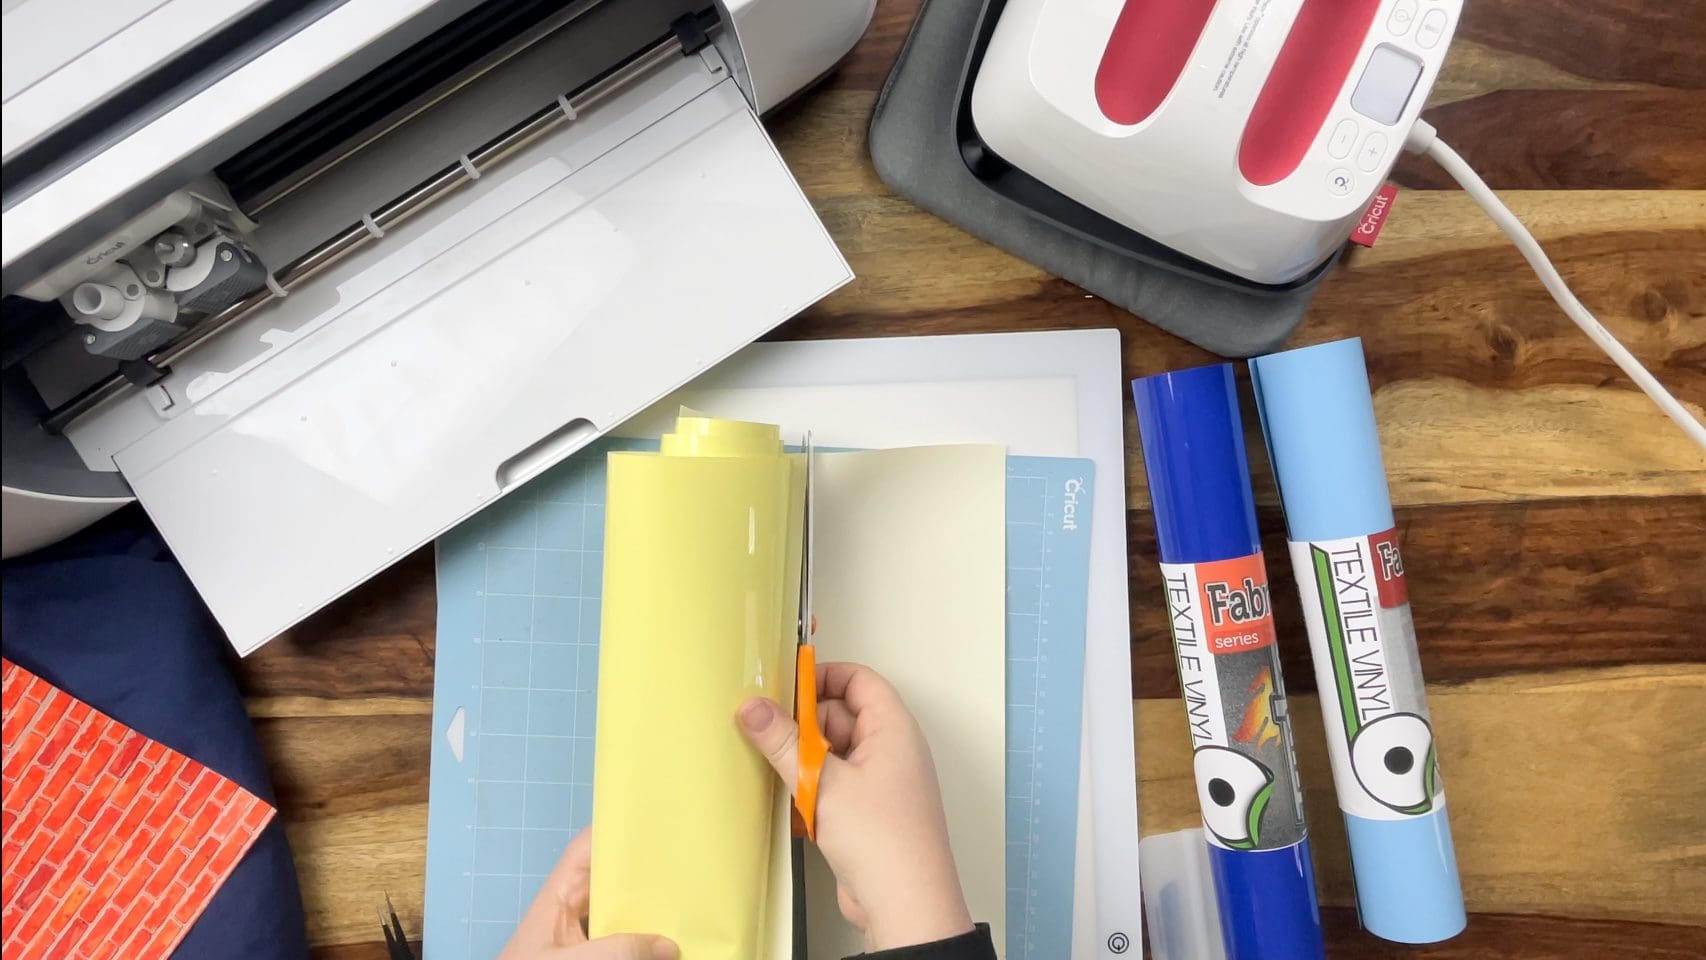
2. Take the Brick sheet and your scissors and cut as shown below to create an uneven brick edge design on all 4 sides, depending on the size of T-shirt , will alter how much of the sheet you choose to use.
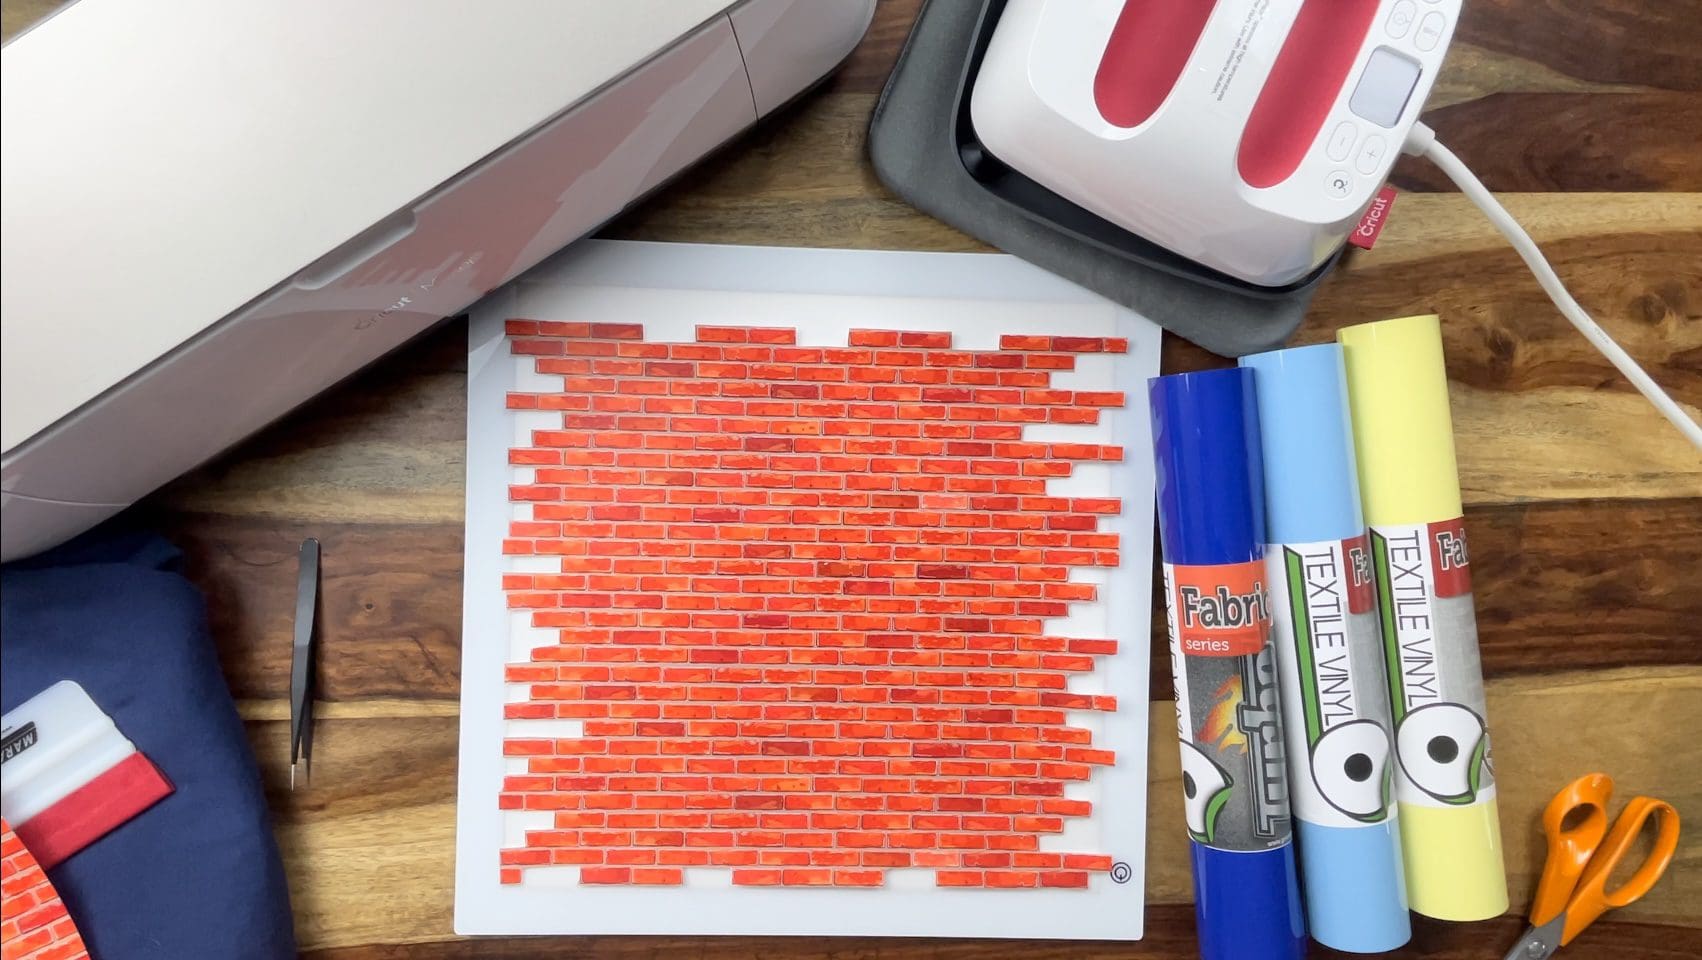
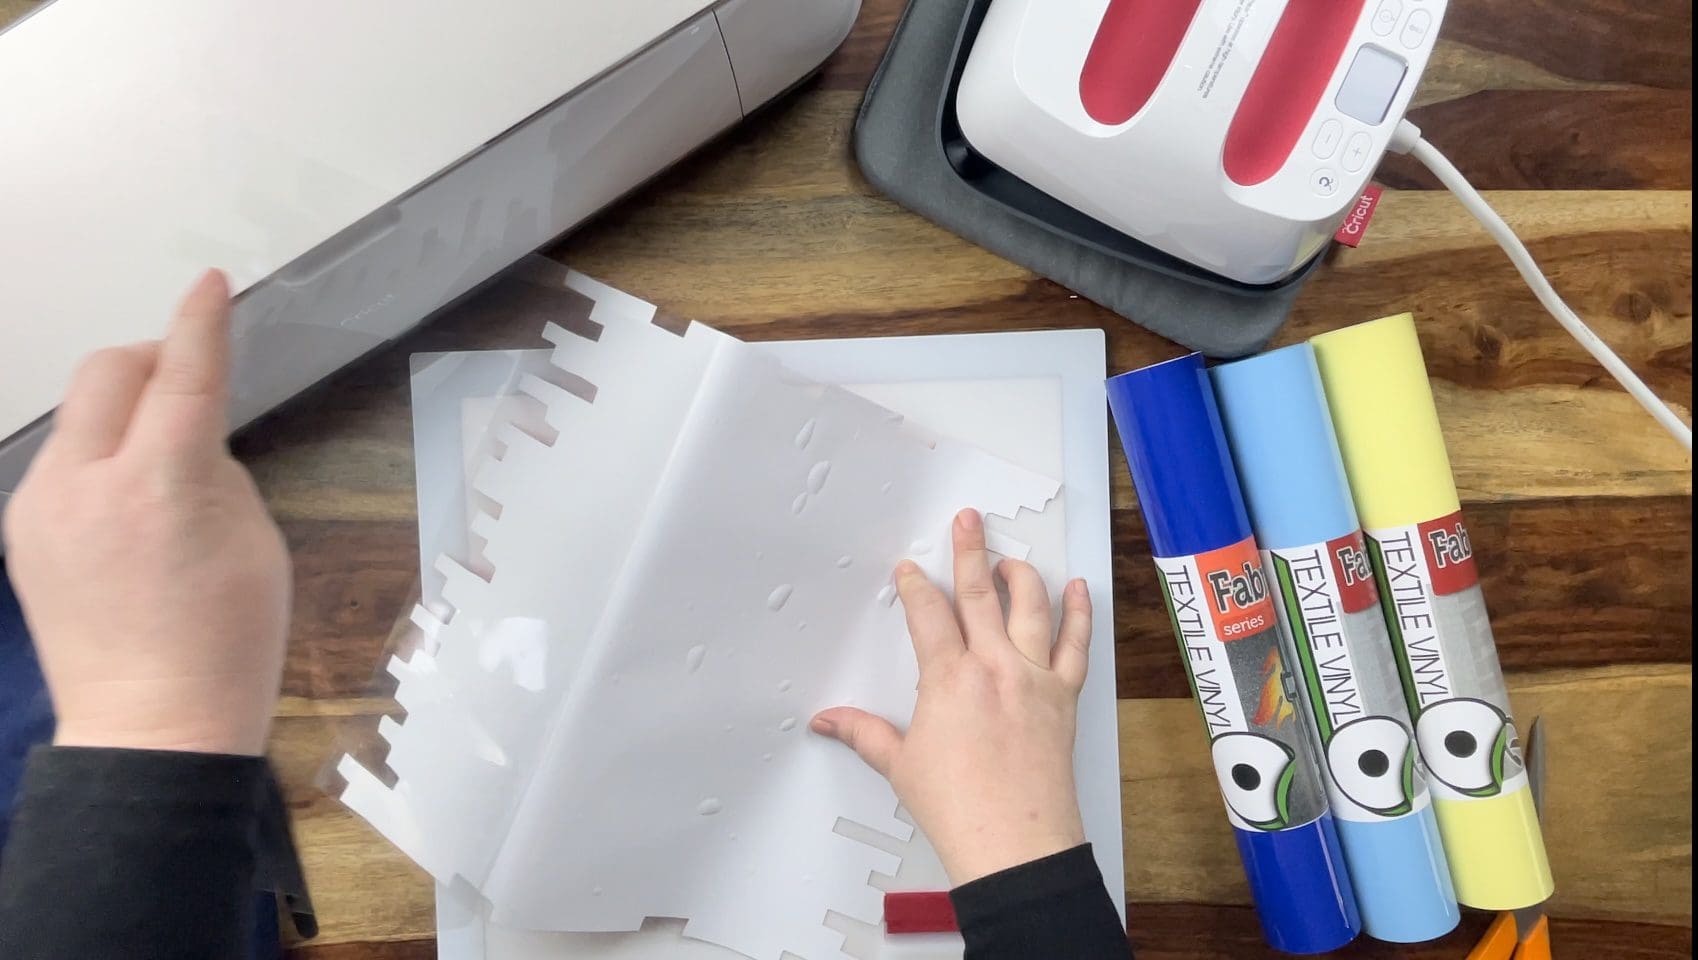
3. Take the transfer tape included with the Vinyl, remove the backing sheet and apply to the front of the pattern, using your squeegee to remove any air bubbles as needed.
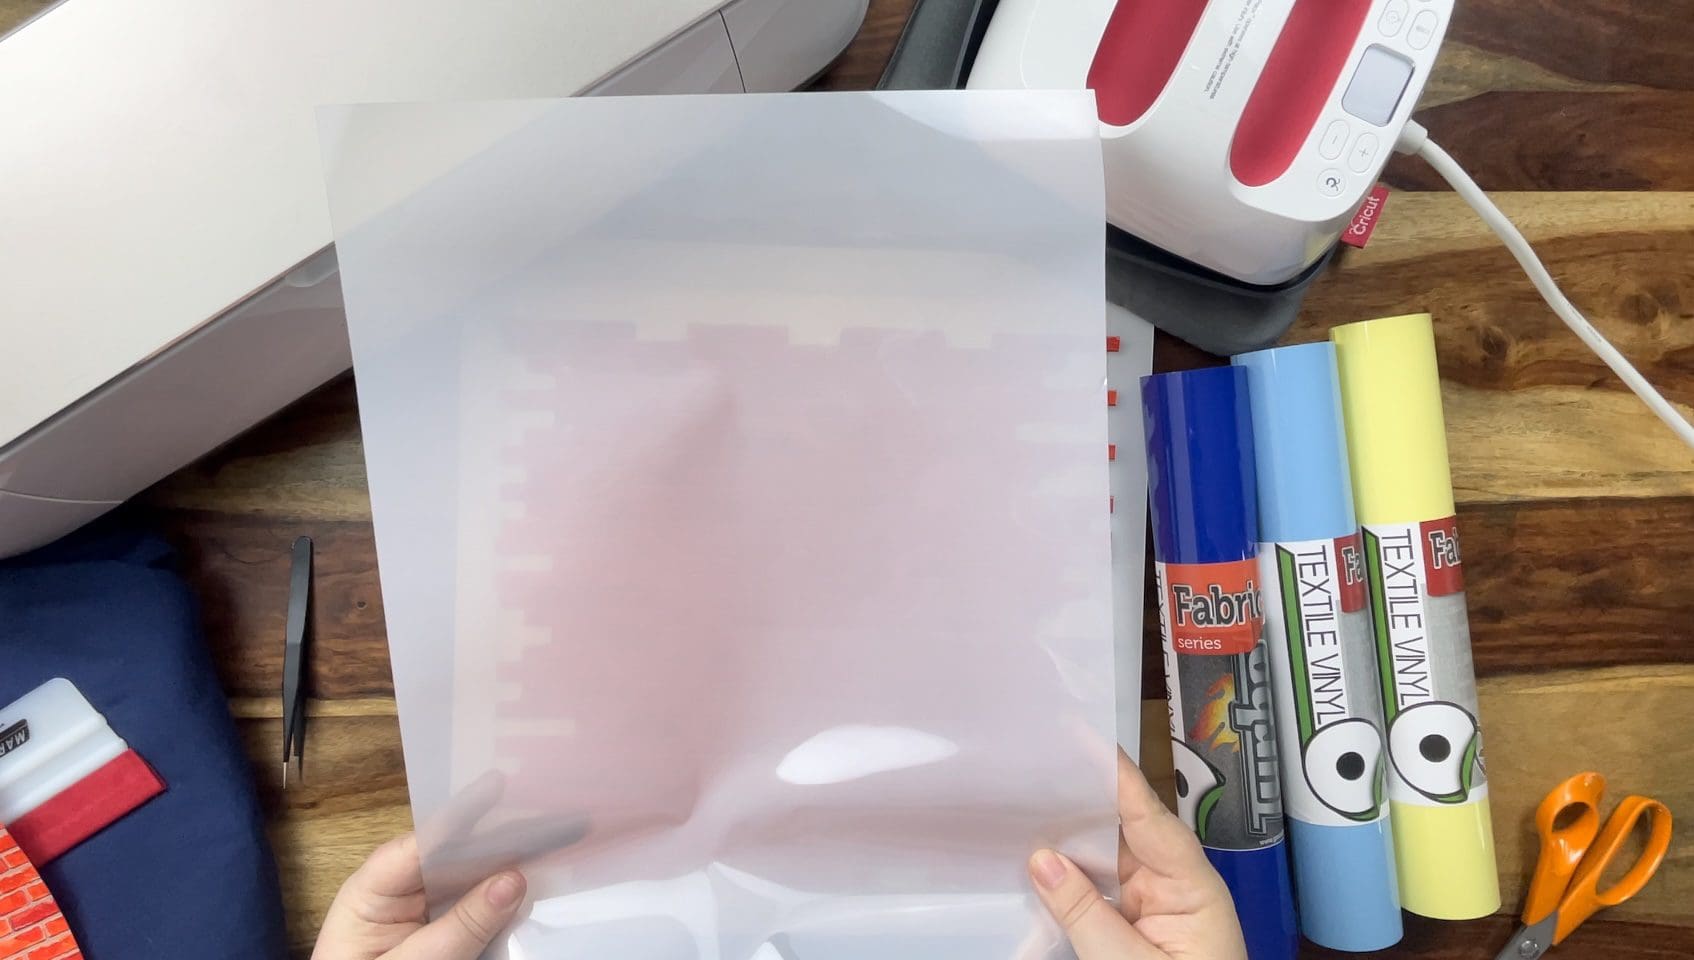
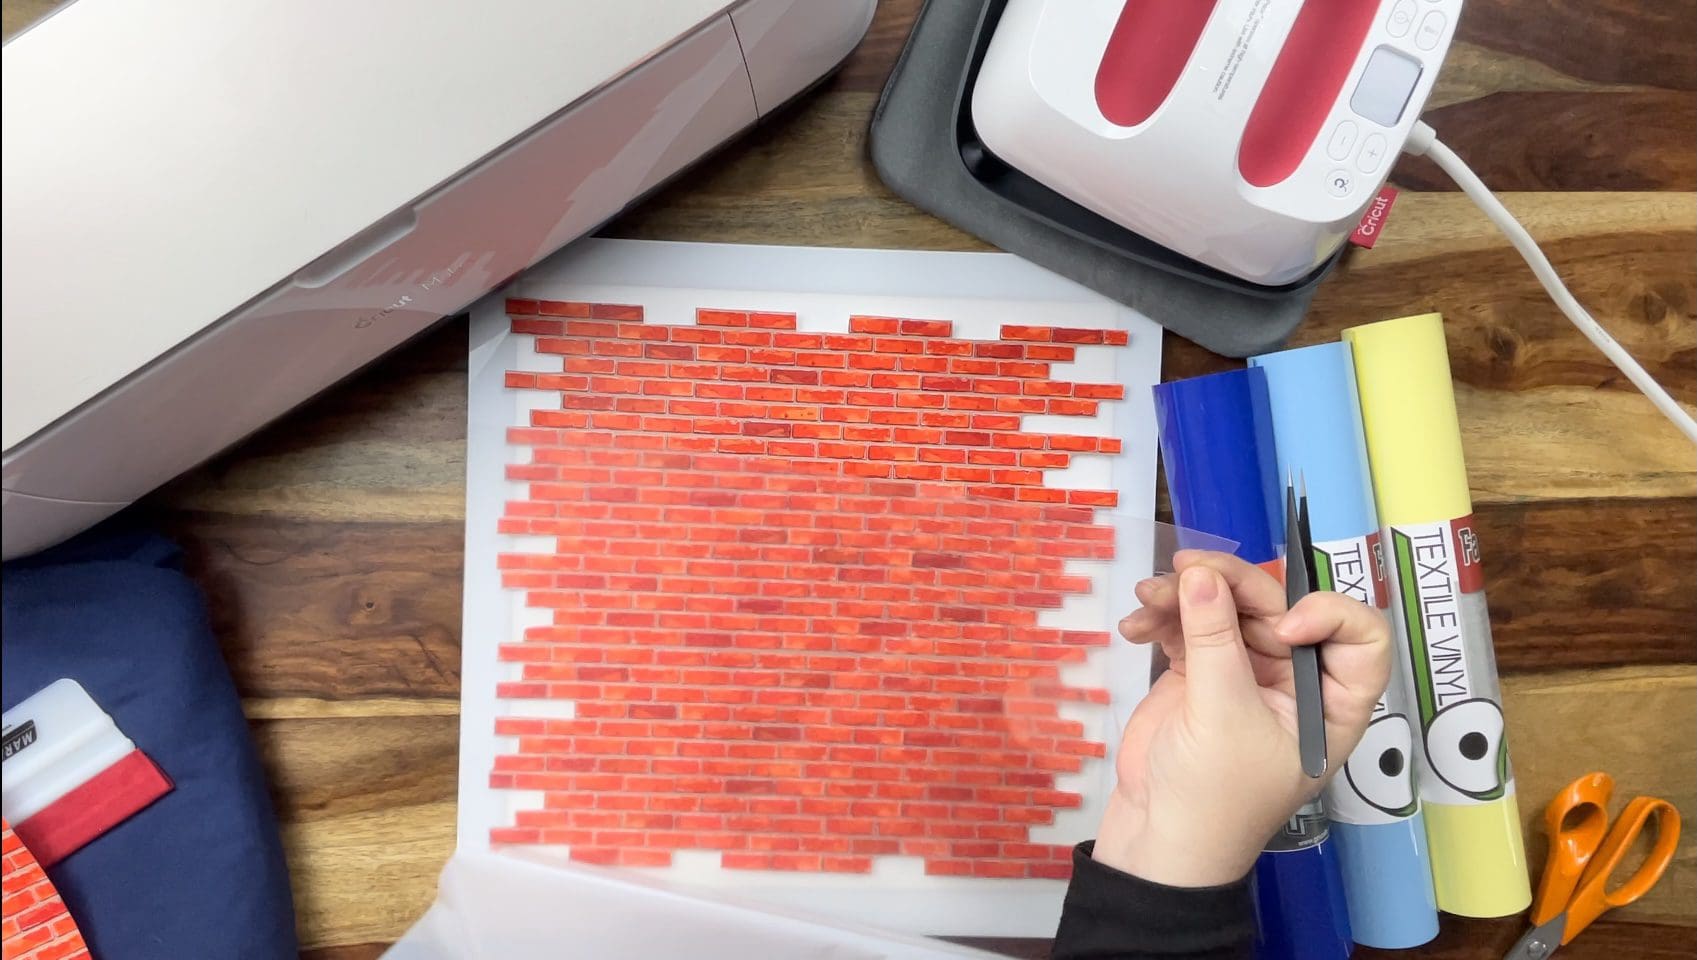
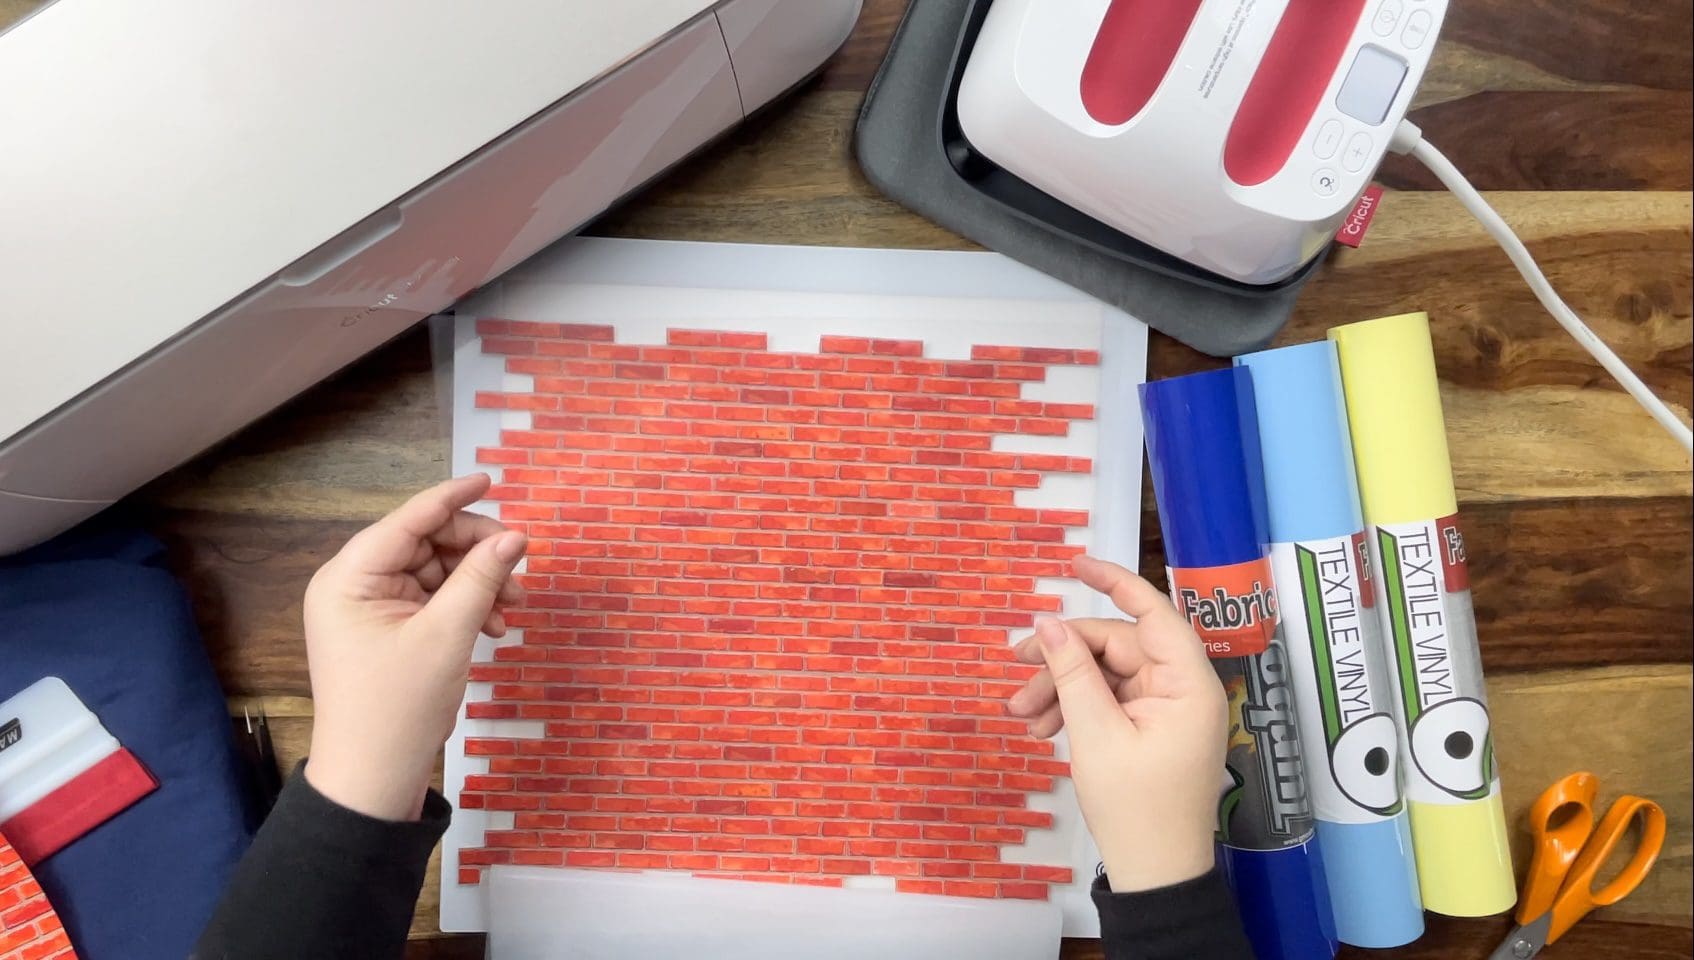
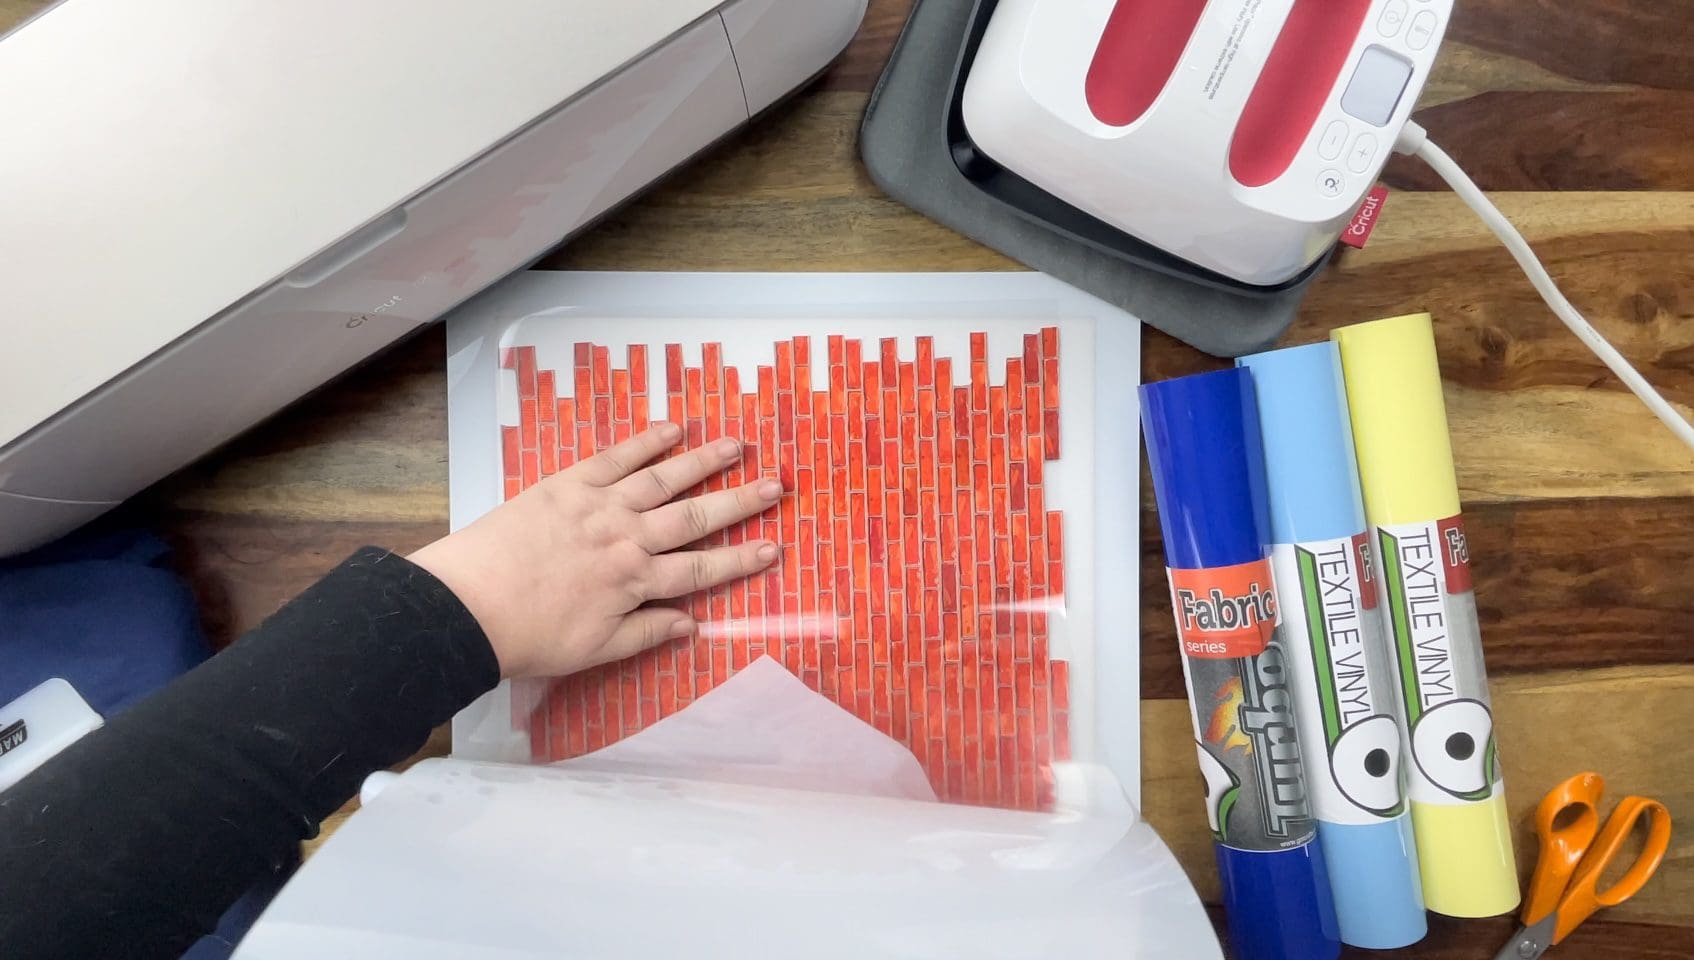
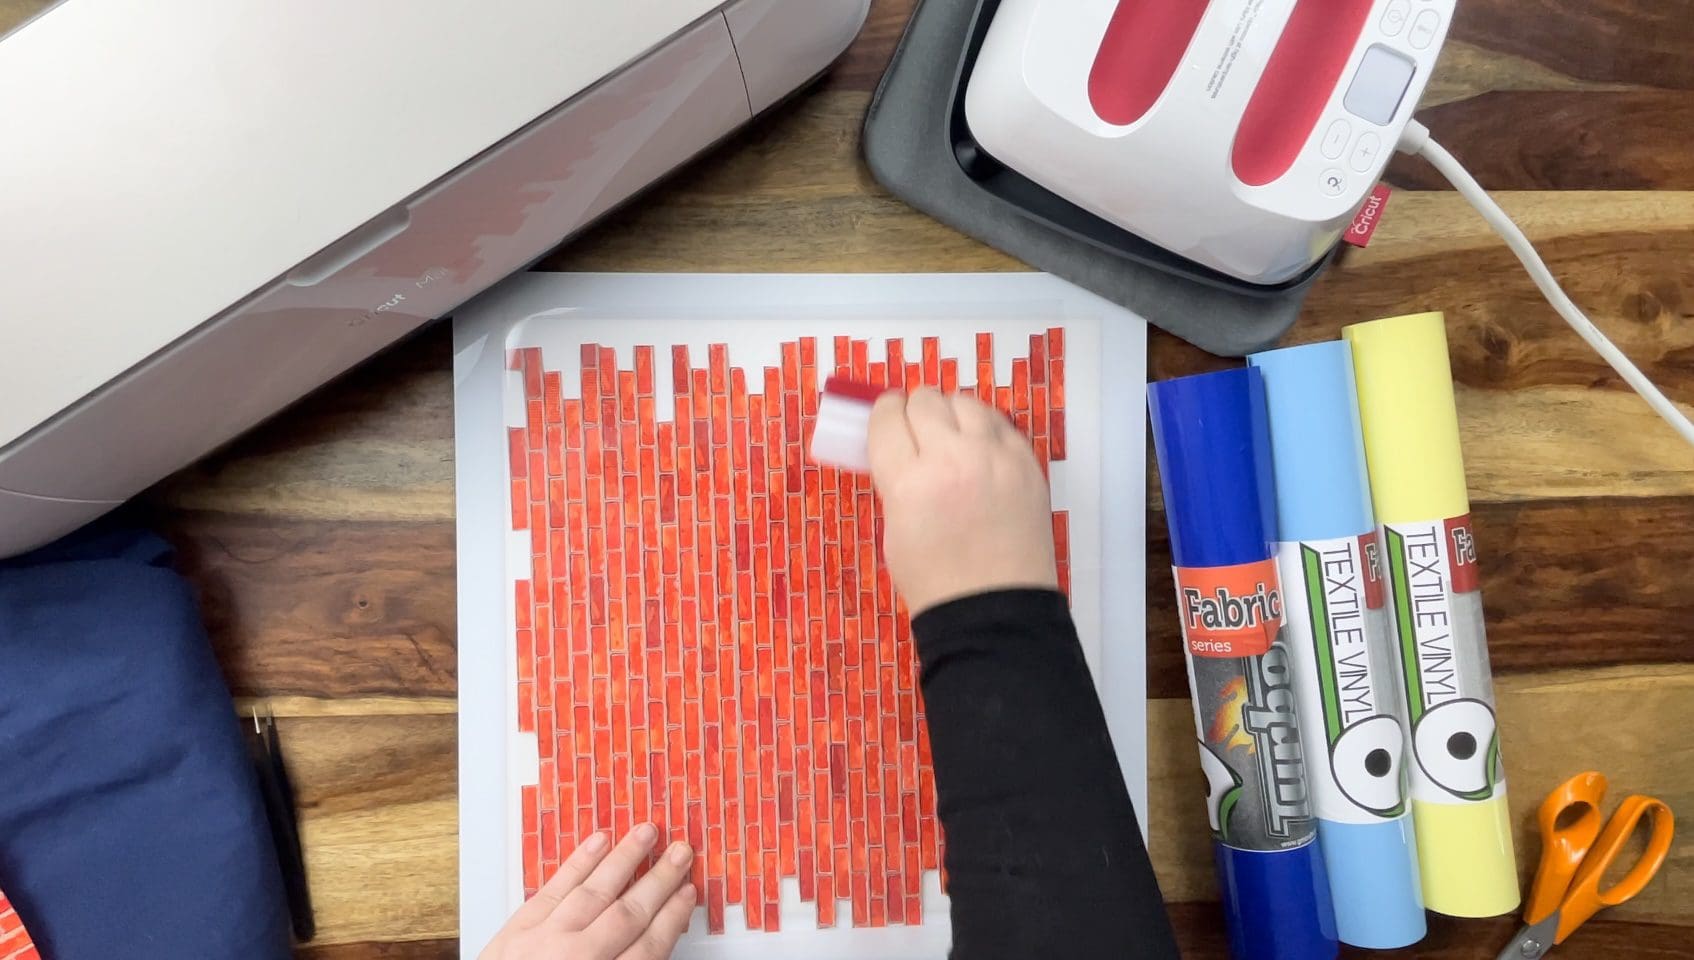
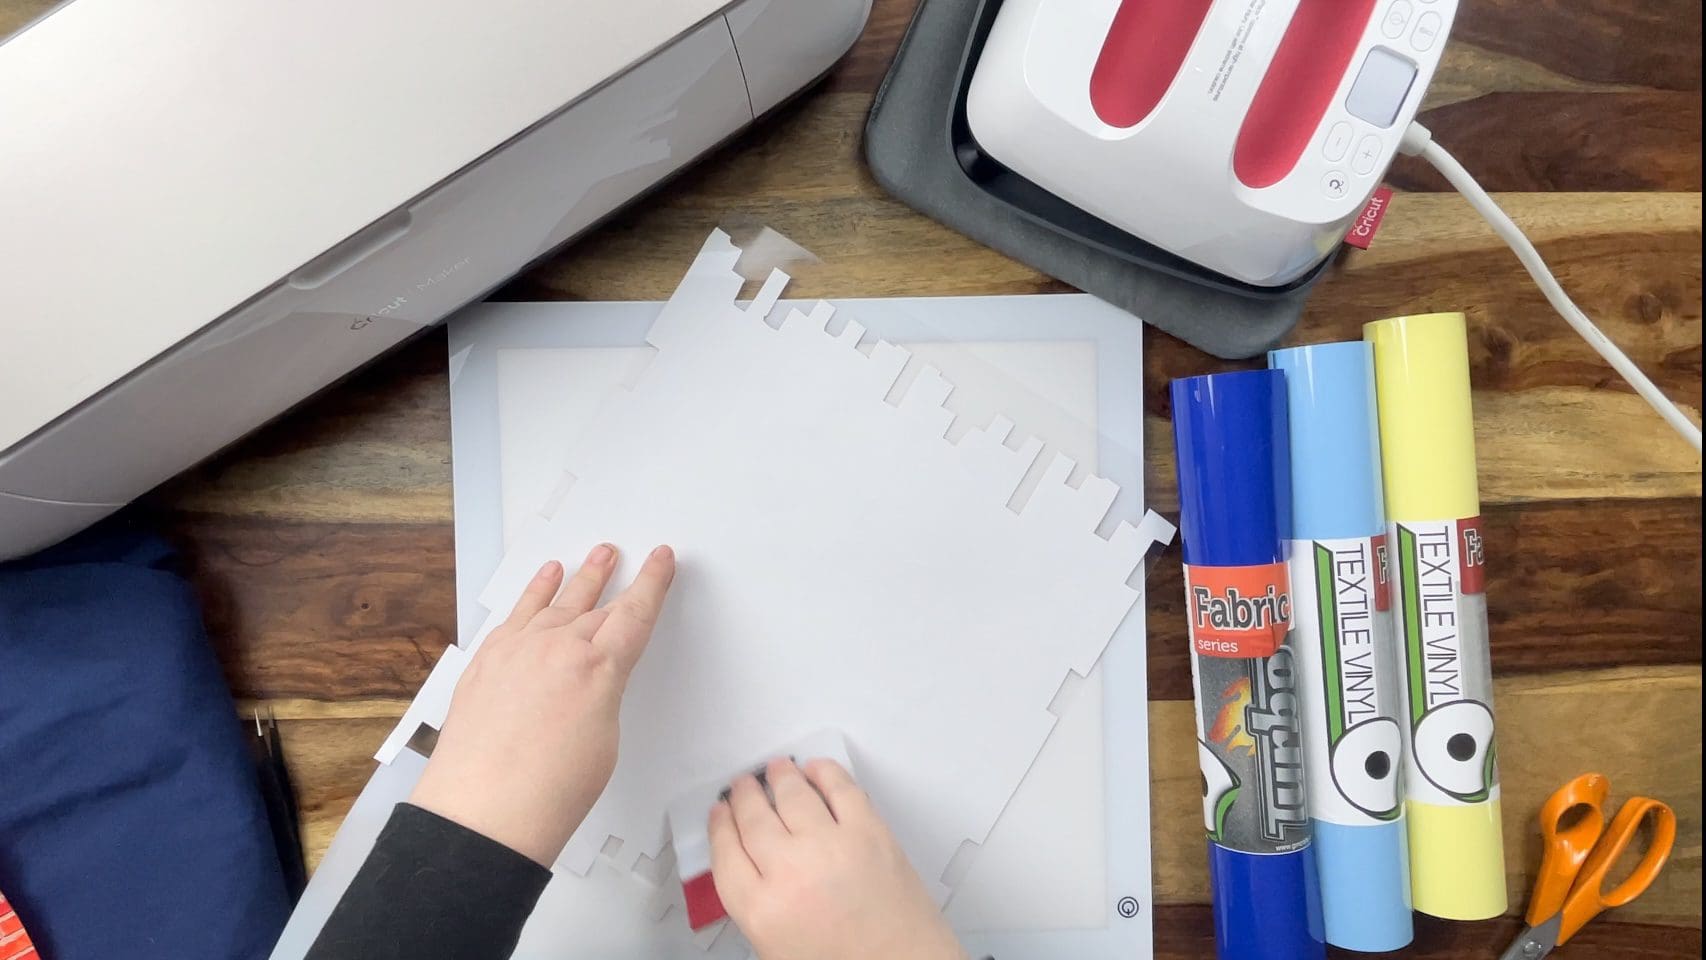
4. Remove the backing from the HTV once applied to the transfer sheet, and smooth any remaining bubbles.
 5. Insert all the images onto the canvas and resize to suit your project. Save the resized file back to the design space so you can choose each layer in the proportion you have chosen for that project, I colour each one separately so I can cut all 3 in 1 go, as shown below. I have matched the colours to my chosen Vinyl to make cutting easier.
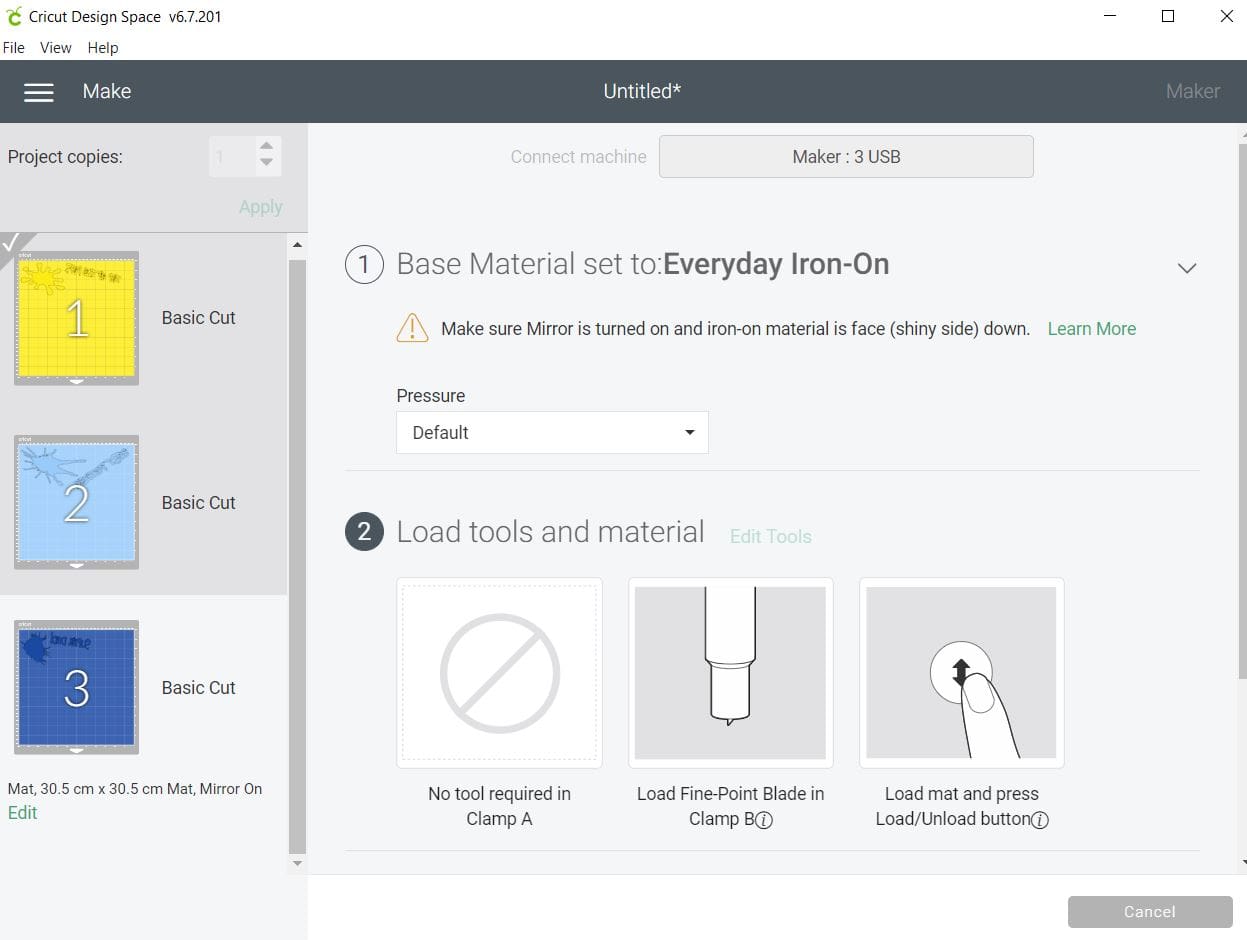
6. When resized, and you are happy with the size of the design, reposition the layer to be cut, select ‘make it’ in the top right corner of your screen. Click continue in the bottom right on the next screen. In the next window make sure your settings are all set to the successful settings from your test cut and ensure your machine is linked before proceeding to cut.,. Cut settings: (**please test cut) Press the flashing Cricut symbol on your maker to cut, after Loading the sheet into the machine. Apply the settings needed for your chosen Vinyl, we made it with our Premium plus and Turbo as the fast heat settings are the same and are likely to be easier for anyone layering.
**A reminder that these settings, including the blade setting, are specific to the materials and machine we’re using, adjustments may be necessary if using different materials and machine**
We always recommend before proceeding, you test cut your materials when first using so if you have not recently cut our Vinyl please test cut for your chosen machine found on our Application guide, and also Blog. Load the Vinyl chosen individually for each layer.
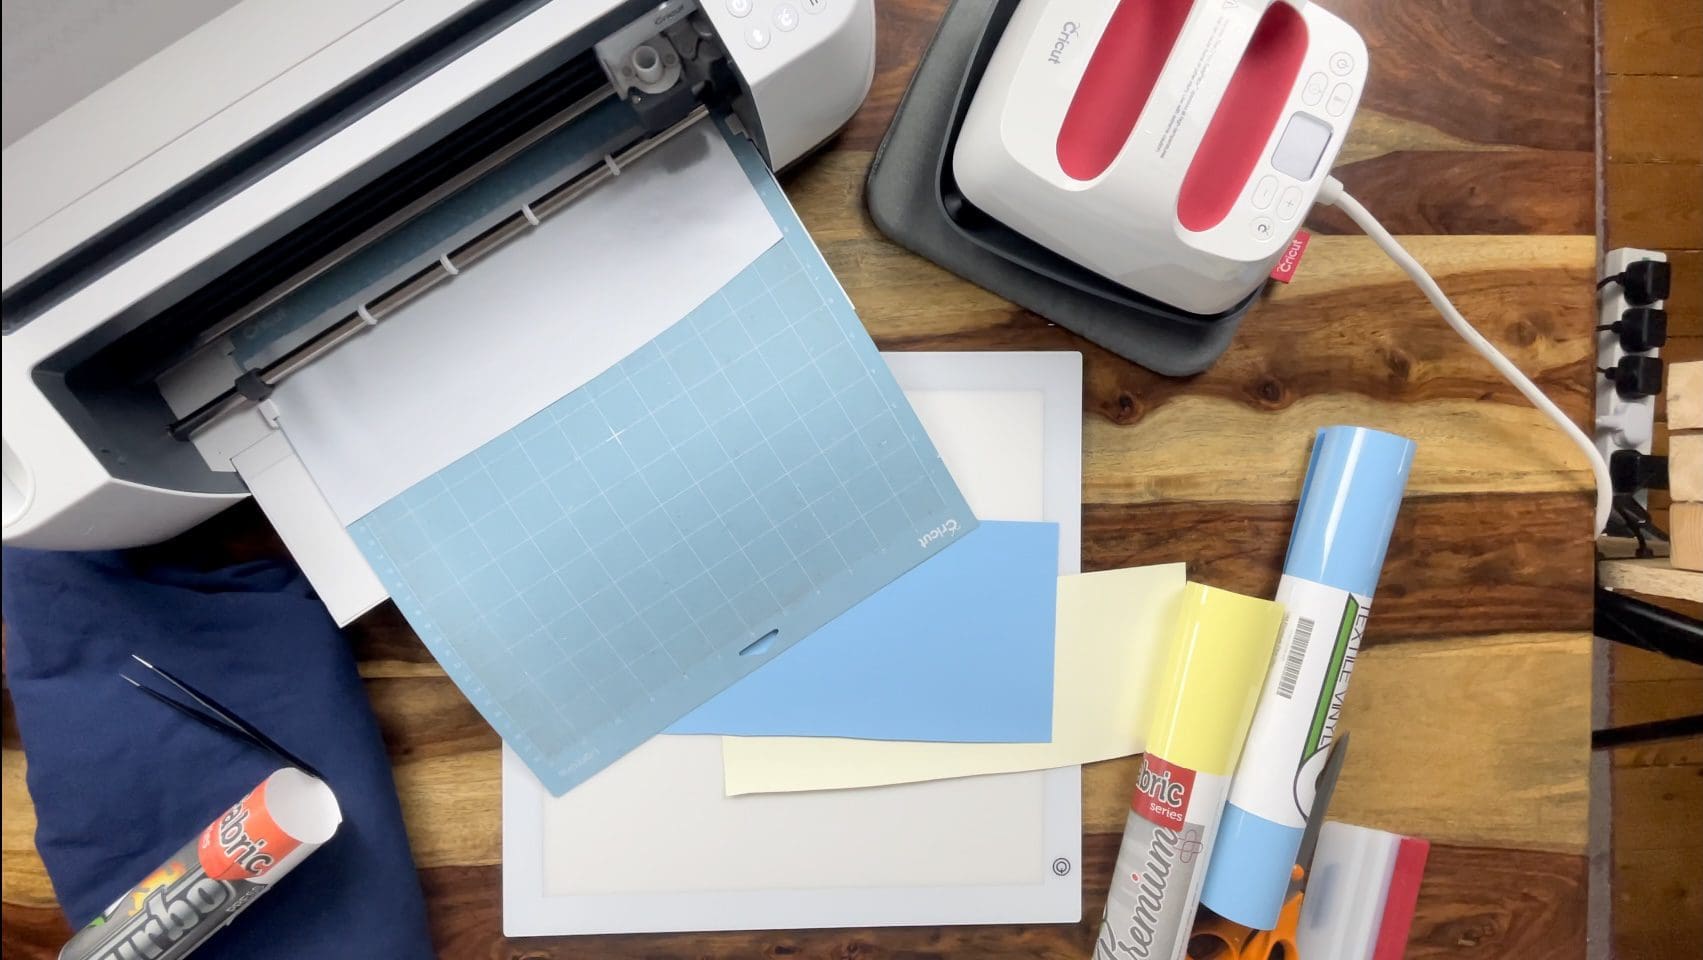
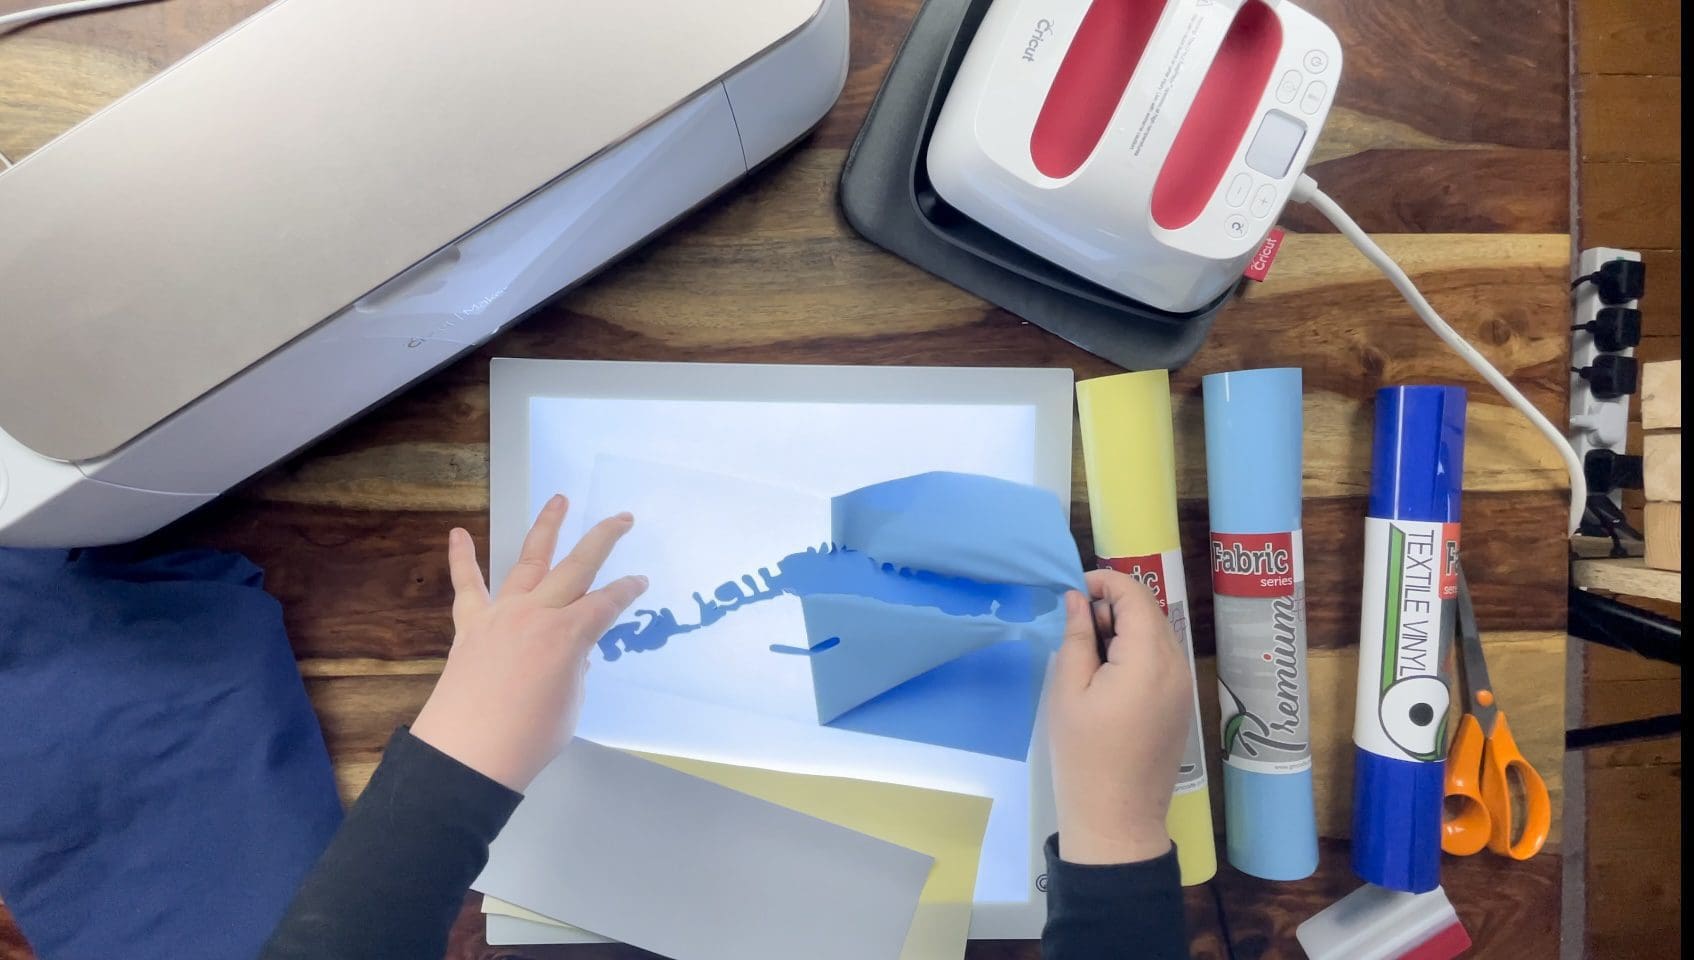
7. Proceed to cut all 3 colours as Above, then when cut weed them, I cut the sheets once weeded so the splodges and words are seperate.
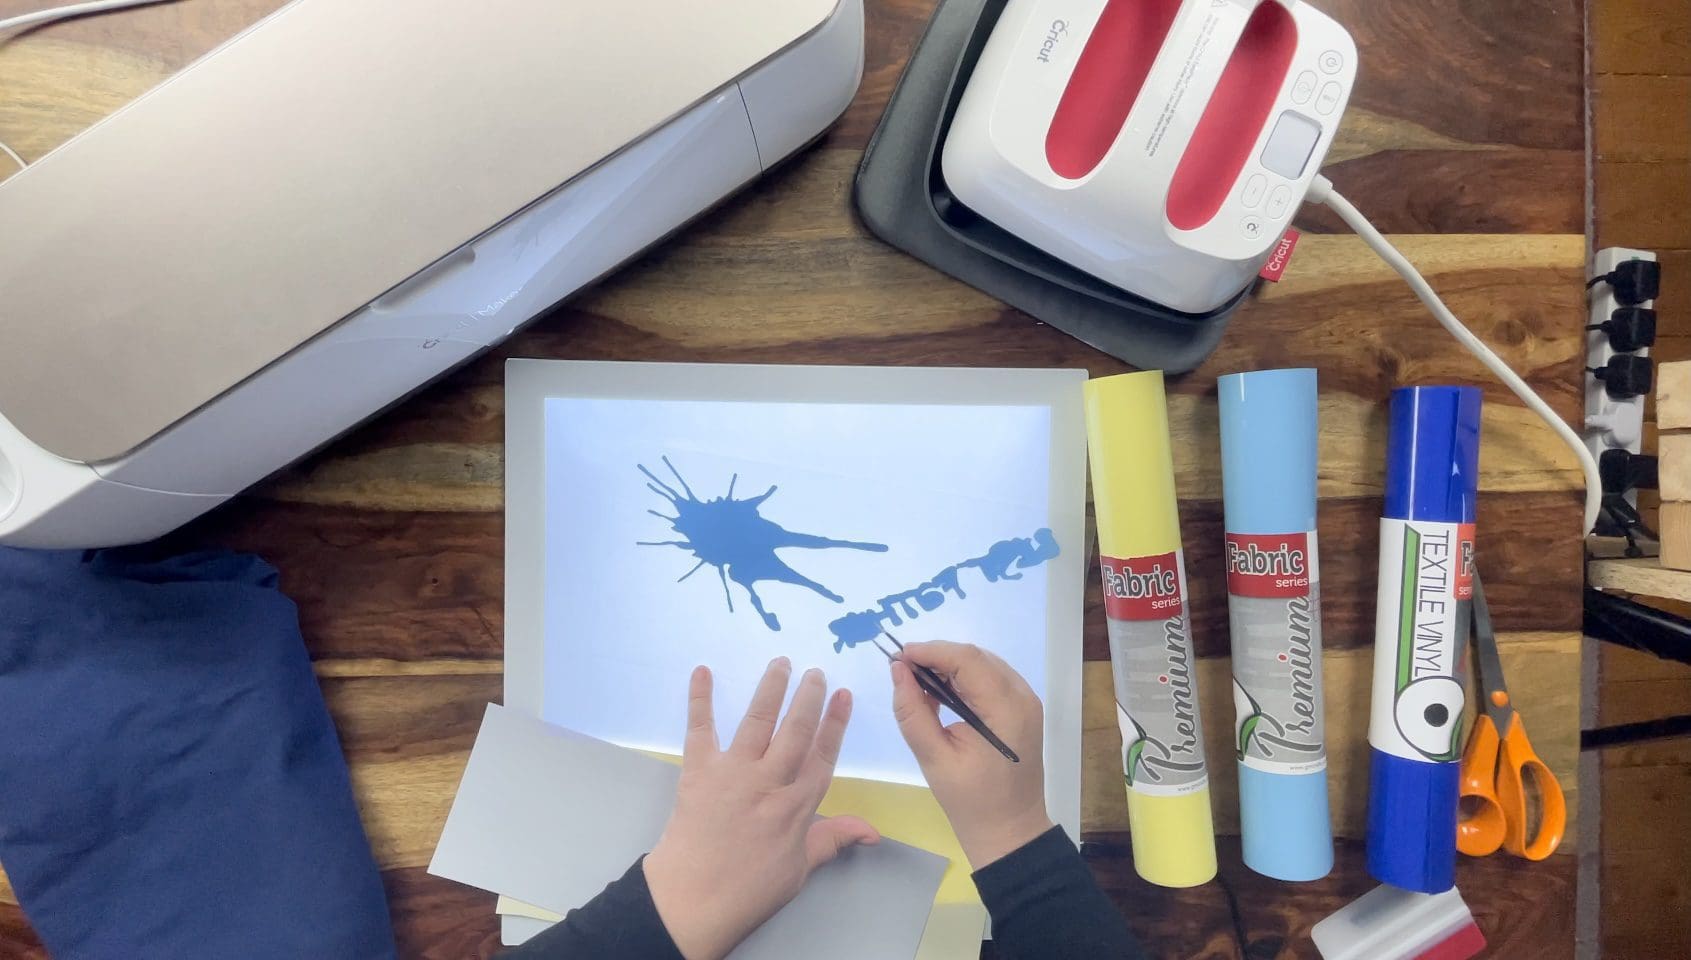
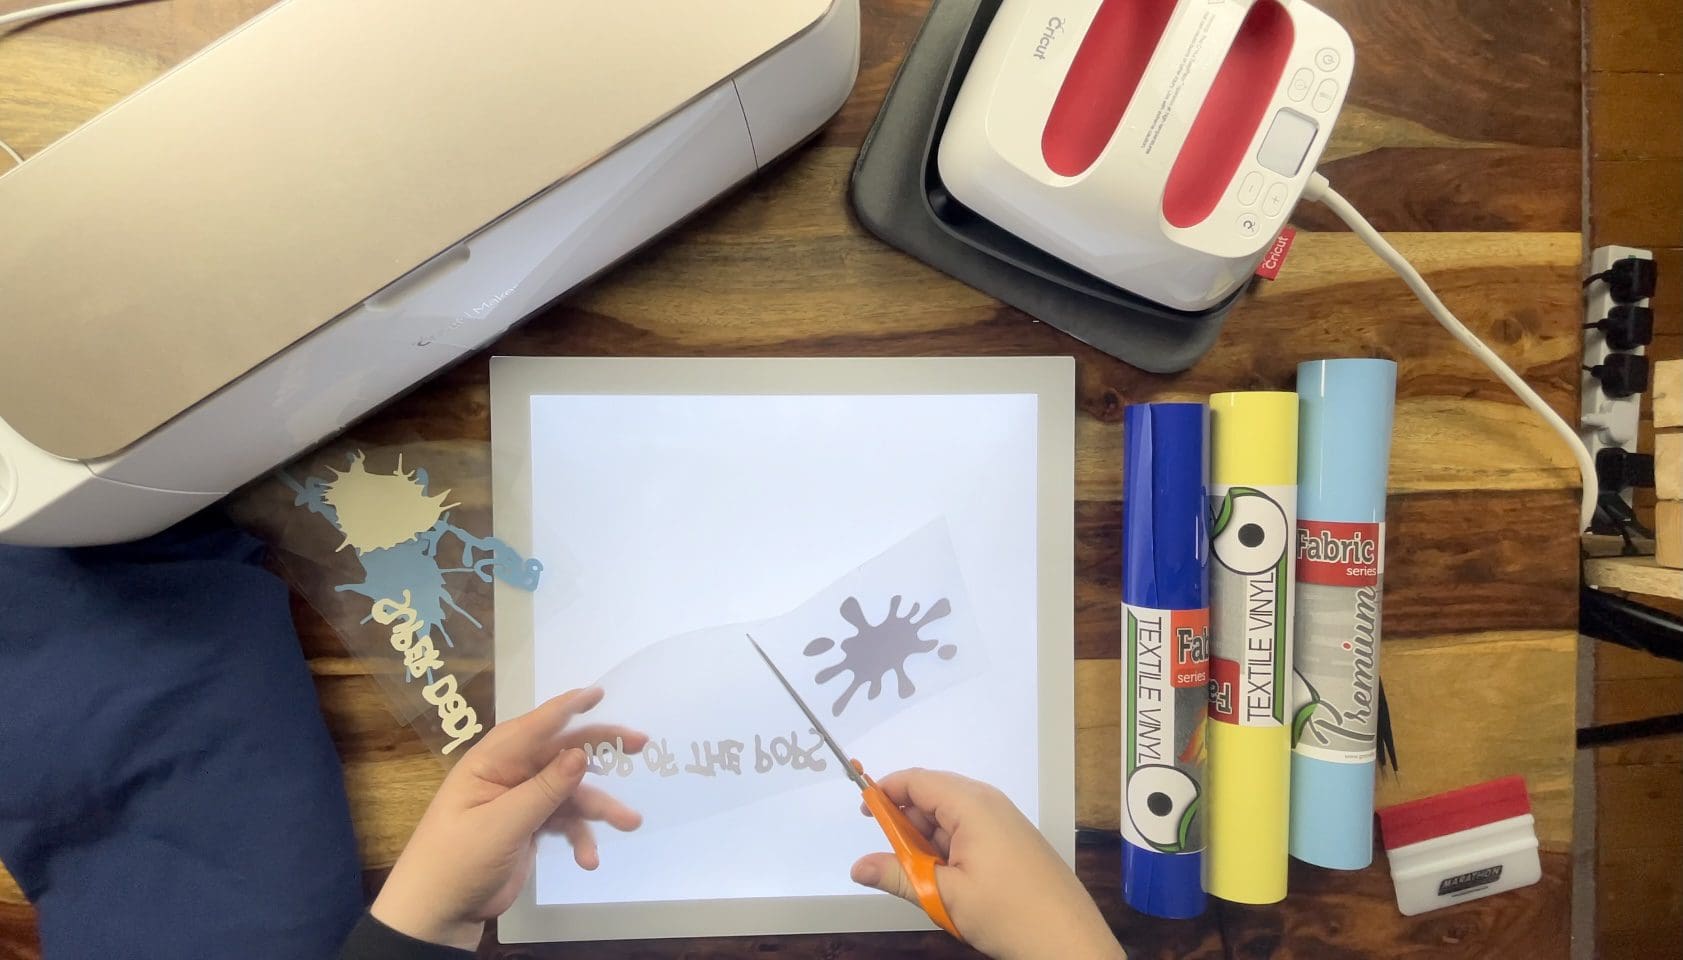
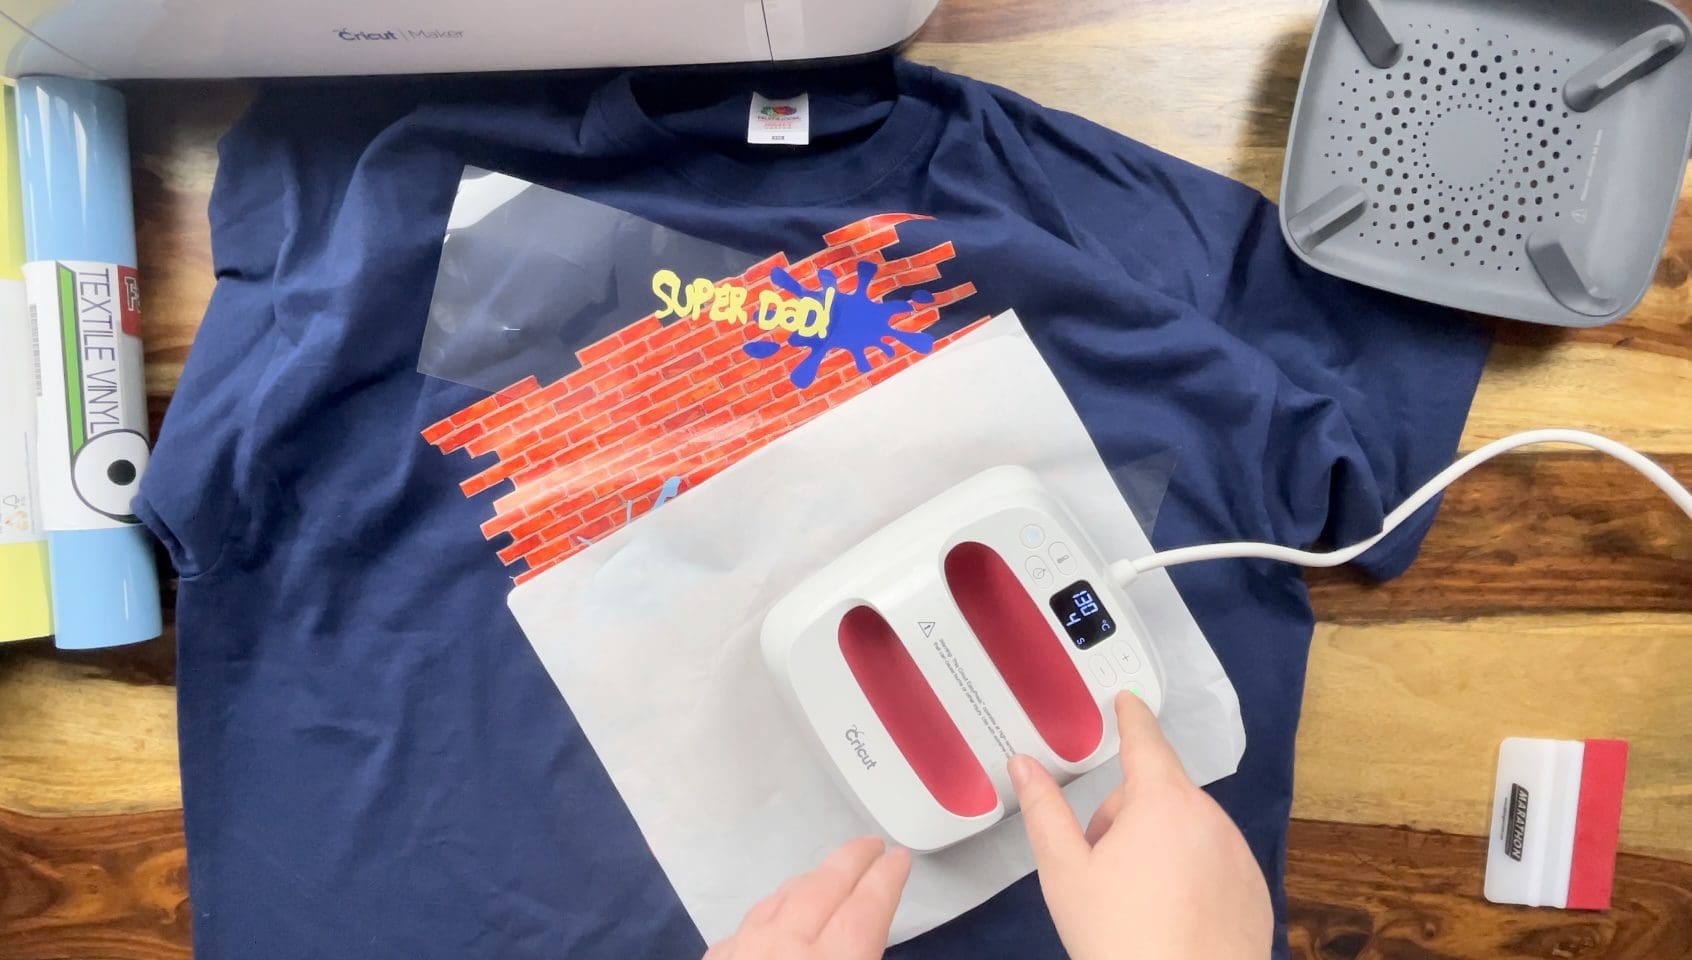
8. Switch your Easy press on, and set the temperature to 160’c and the timer to 15 seconds, please refer to our Application guide, Preheat the t-shirt once the press is ready for 10 seconds to remove any moisture. Setting for the Premium Plus and Turbo afterwards is 130’c for 5 seconds. Preheat your T-shirt for 10-15 seconds to remove creases and moisture.
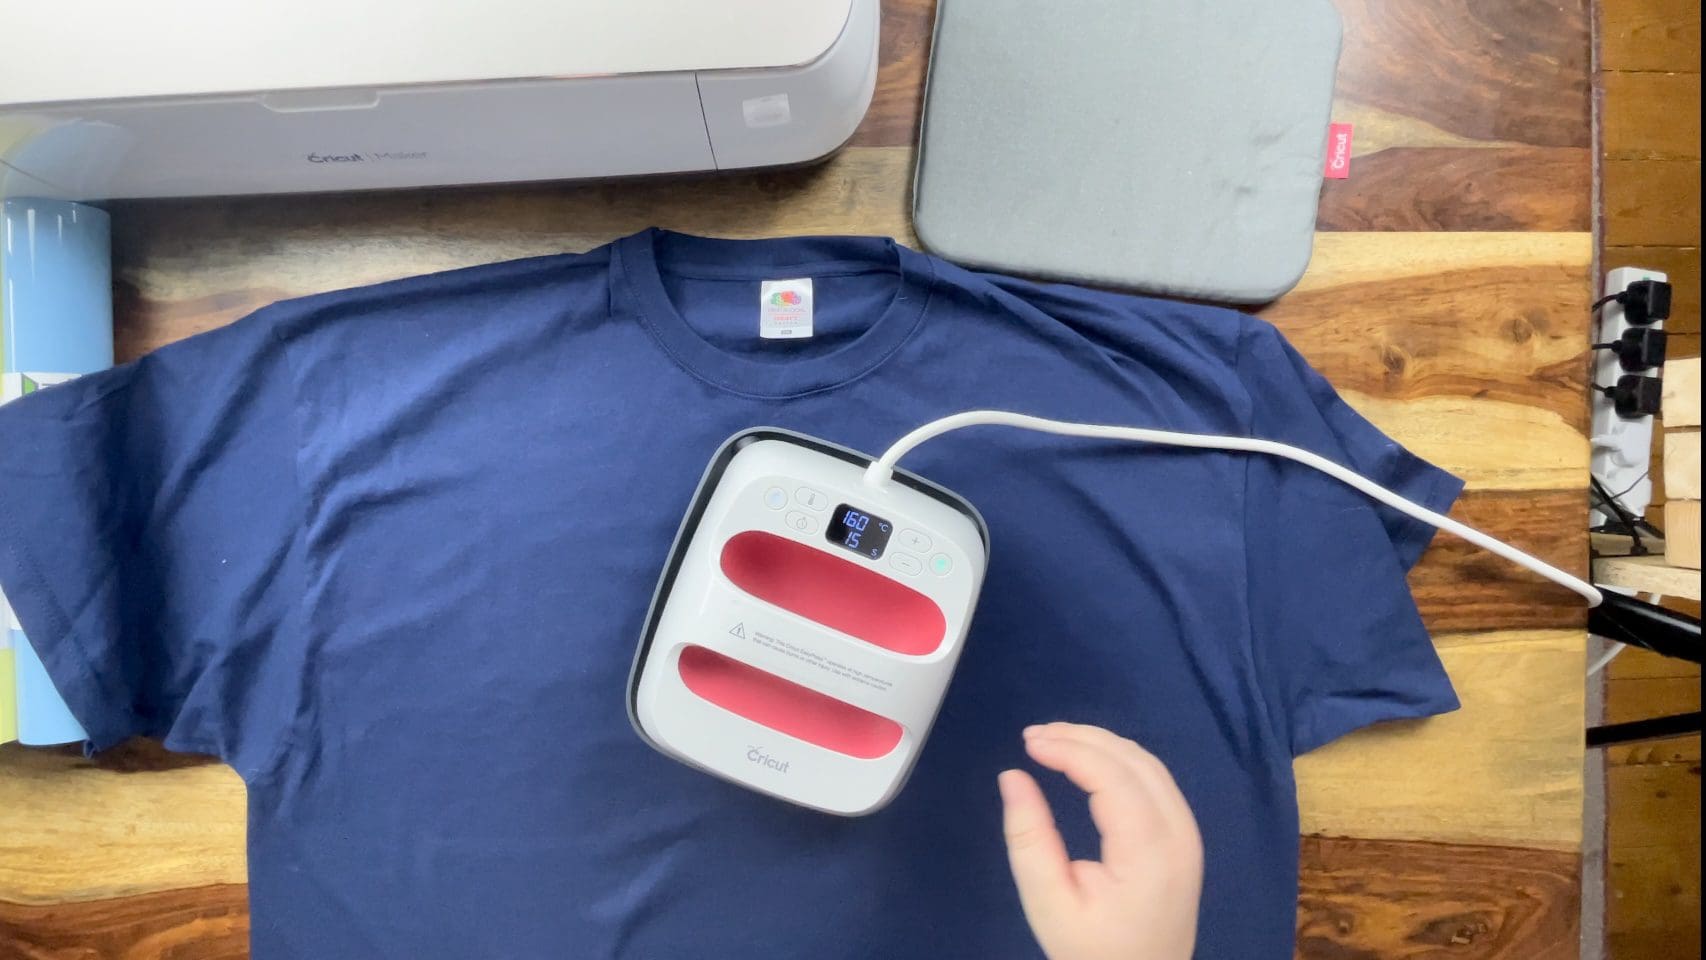
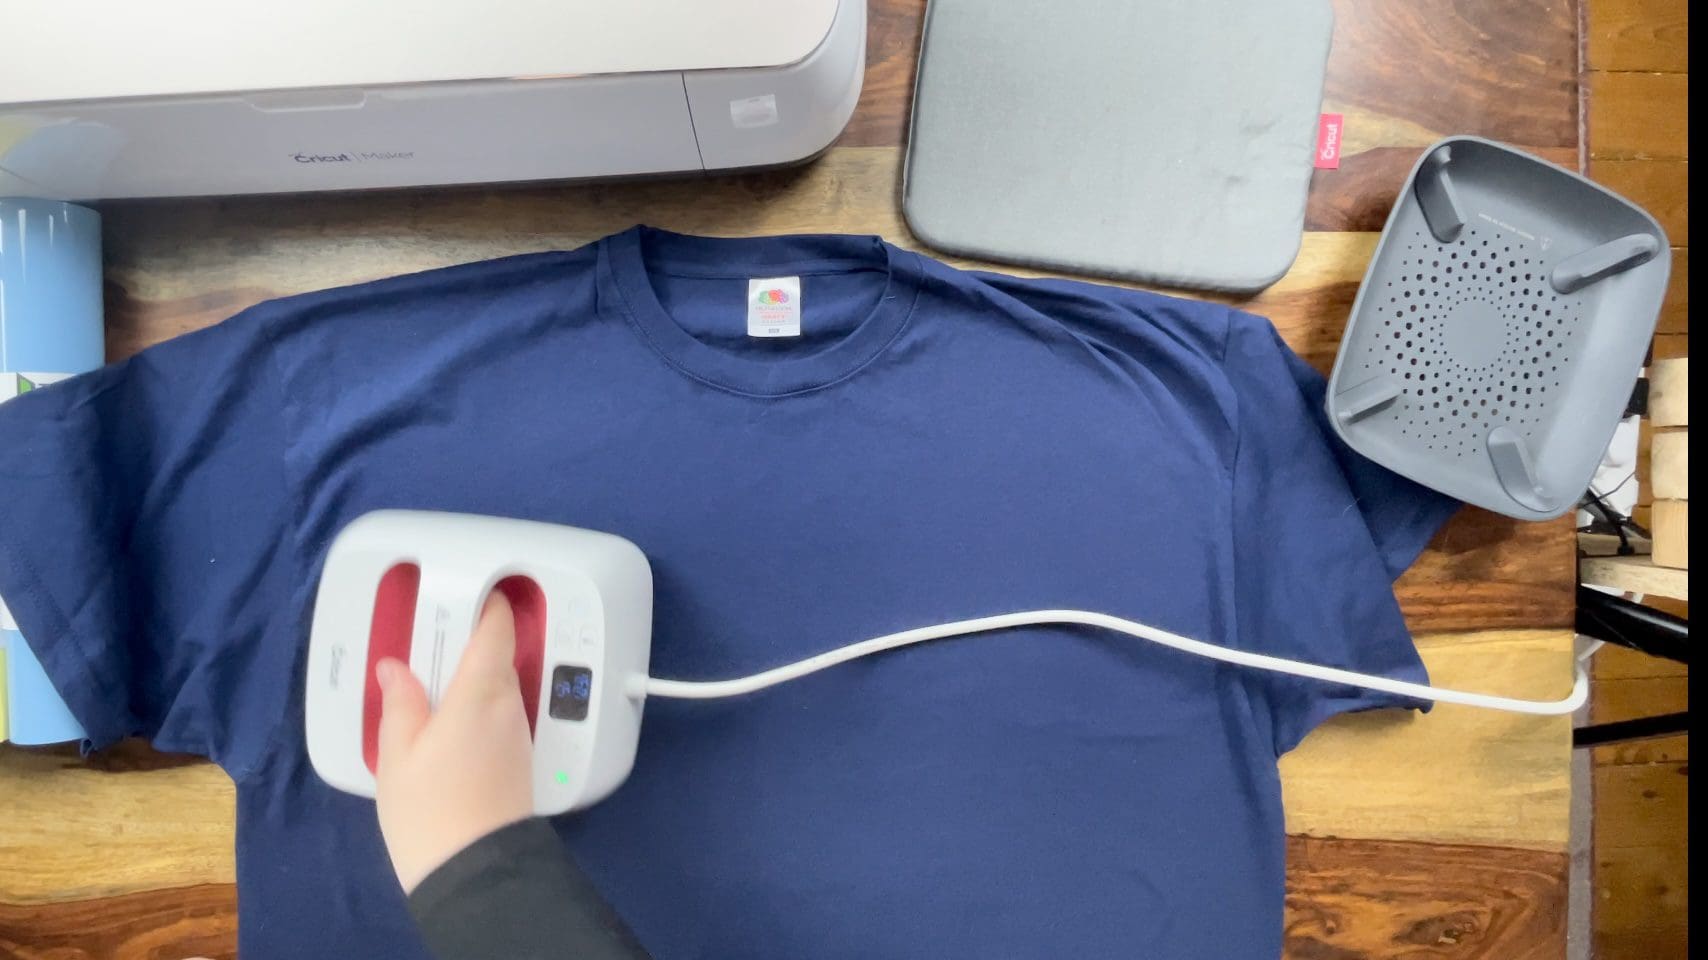
9. Lay the design already on the transfer tape in the correct place on your t-shirt or chosen item, facing up, and ensure it is on a hard surface, or Cricut Easypress matt and on a hard surface, check our guide here for more information on applying and using HTV successfully.
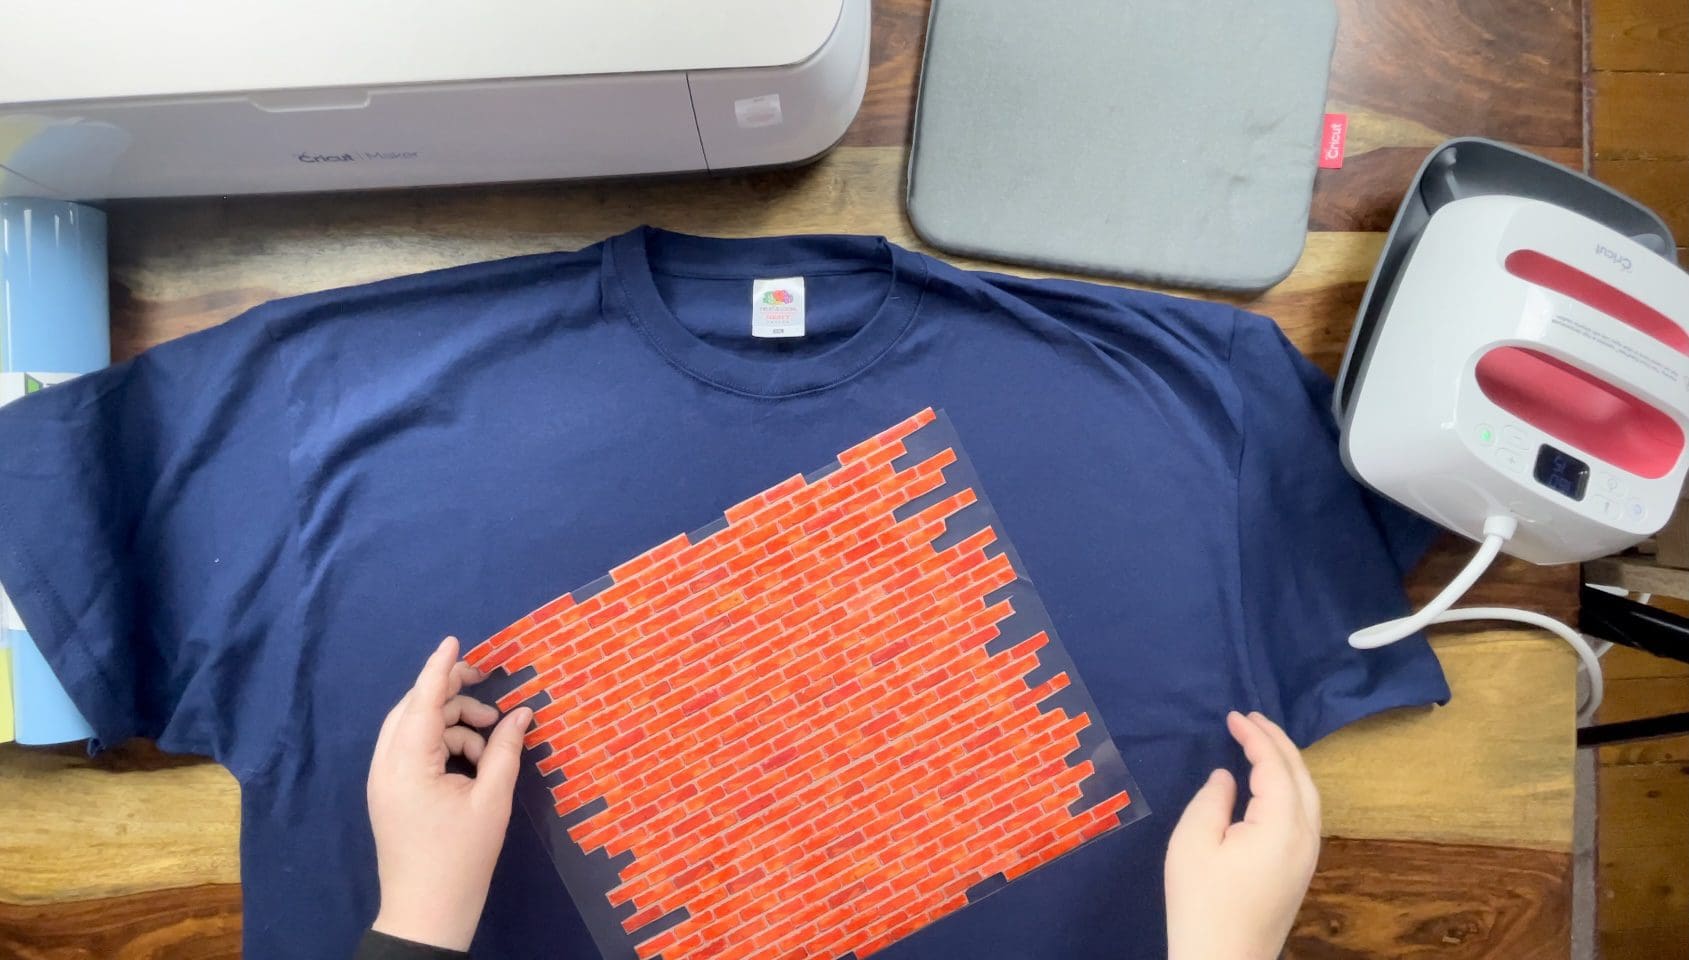
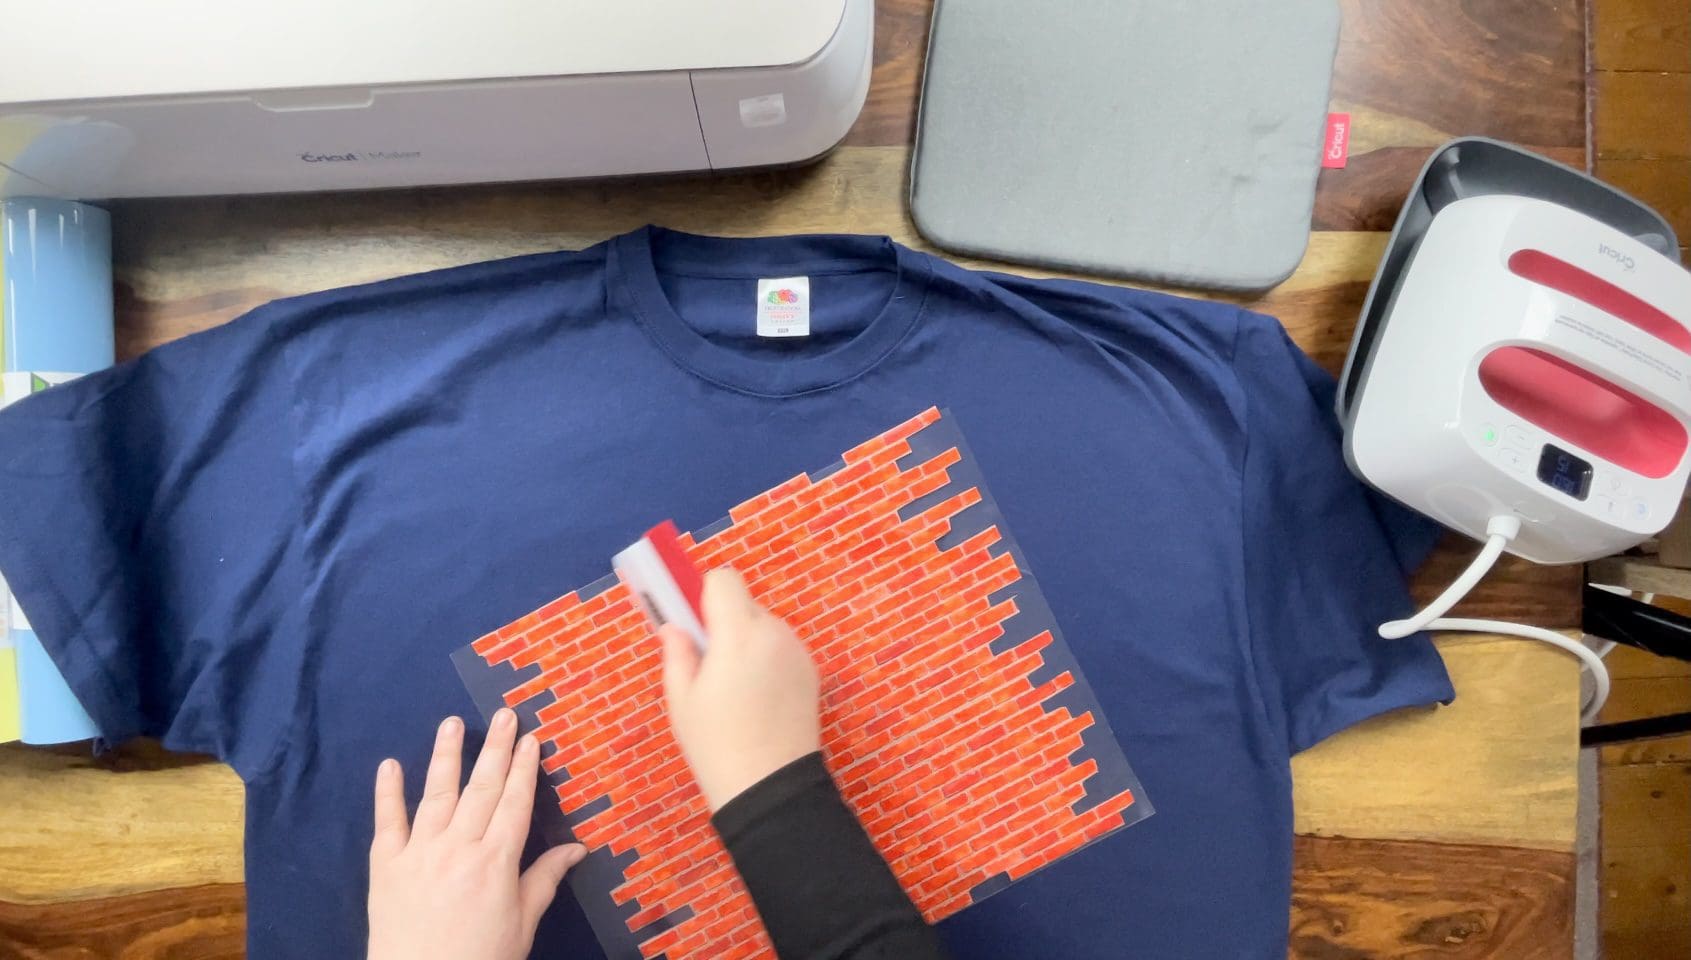
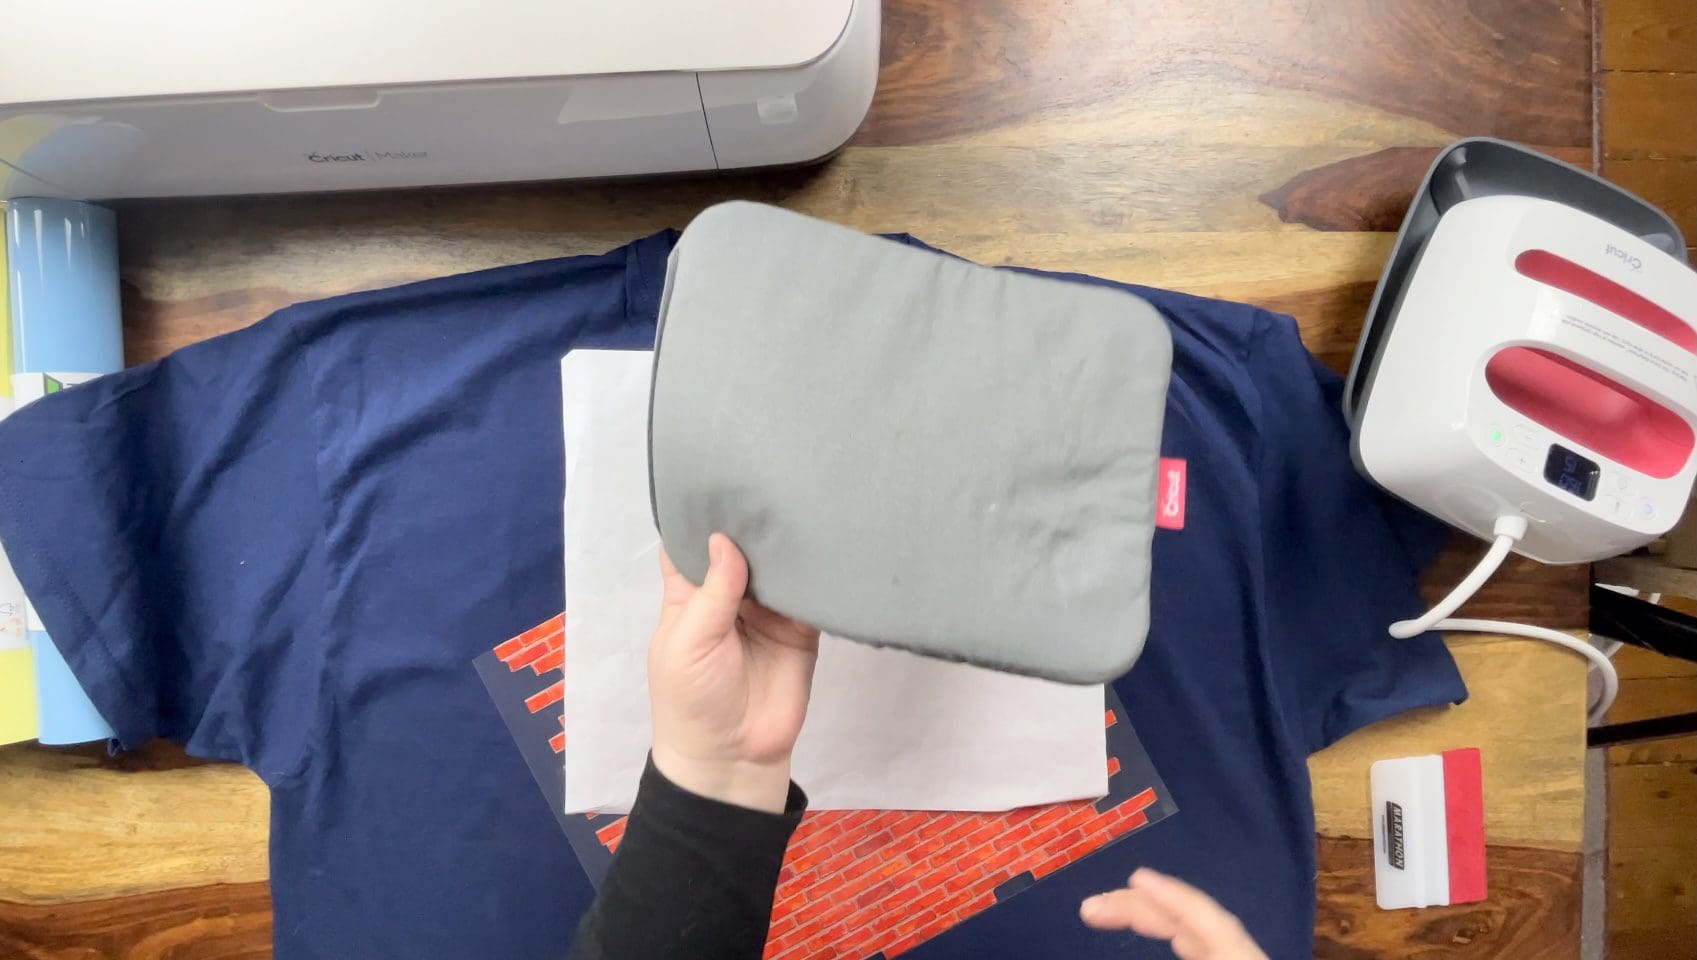
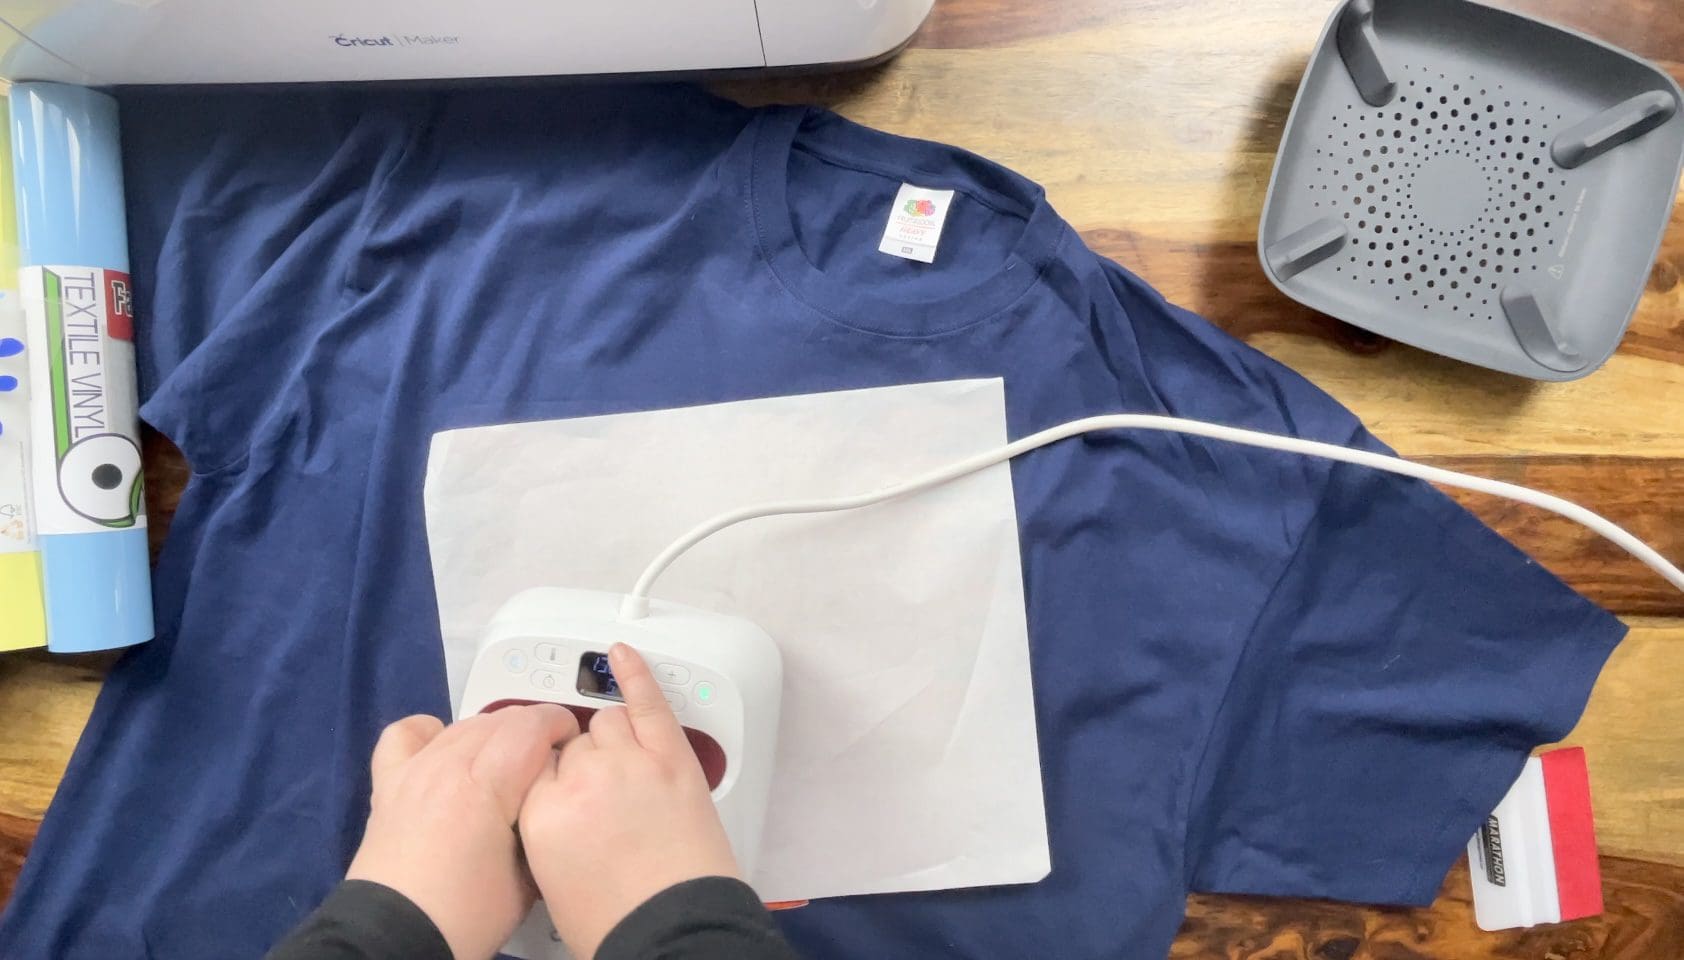
10. Once all areas have been pressed firmly, wait a few seconds to peel the carrier sheet away from the garment, if any areas have not stuck quickly repress firmly for 2-3 seconds on that area only, remove the carrier sheet. If after removing the sheet the t-shirt or design is looking a bit untidy then recover with a sheet of baking parchment and quickly repress smoothing over it like a iron would but quickly so not to over heat.
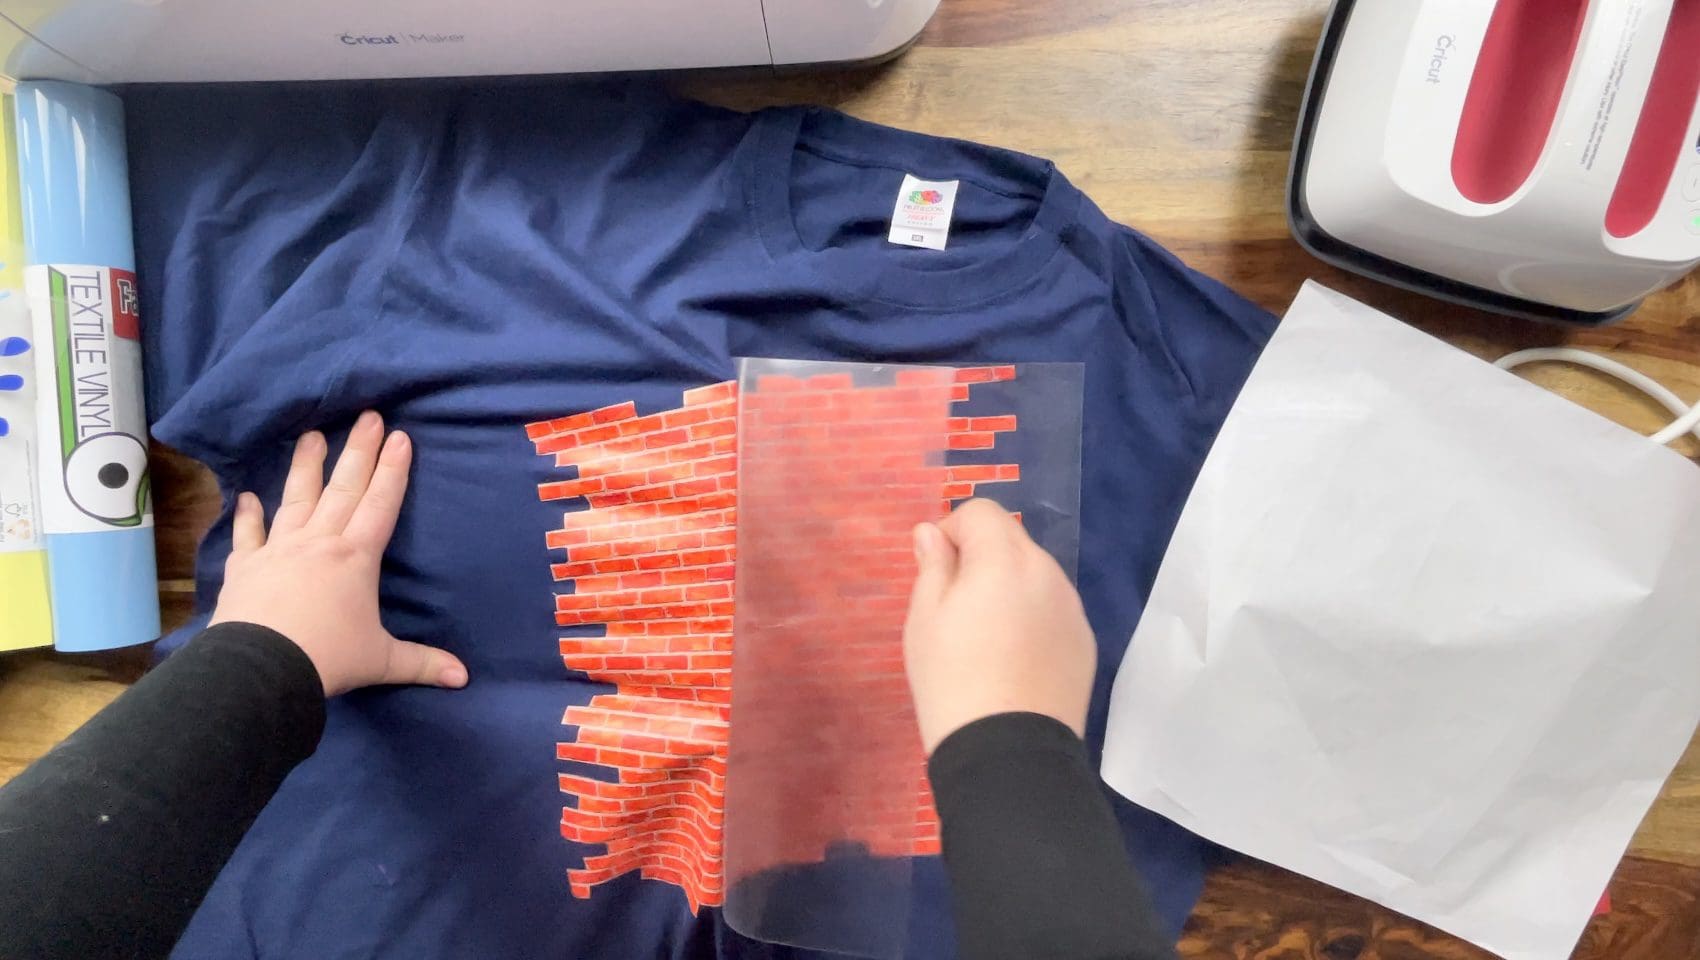
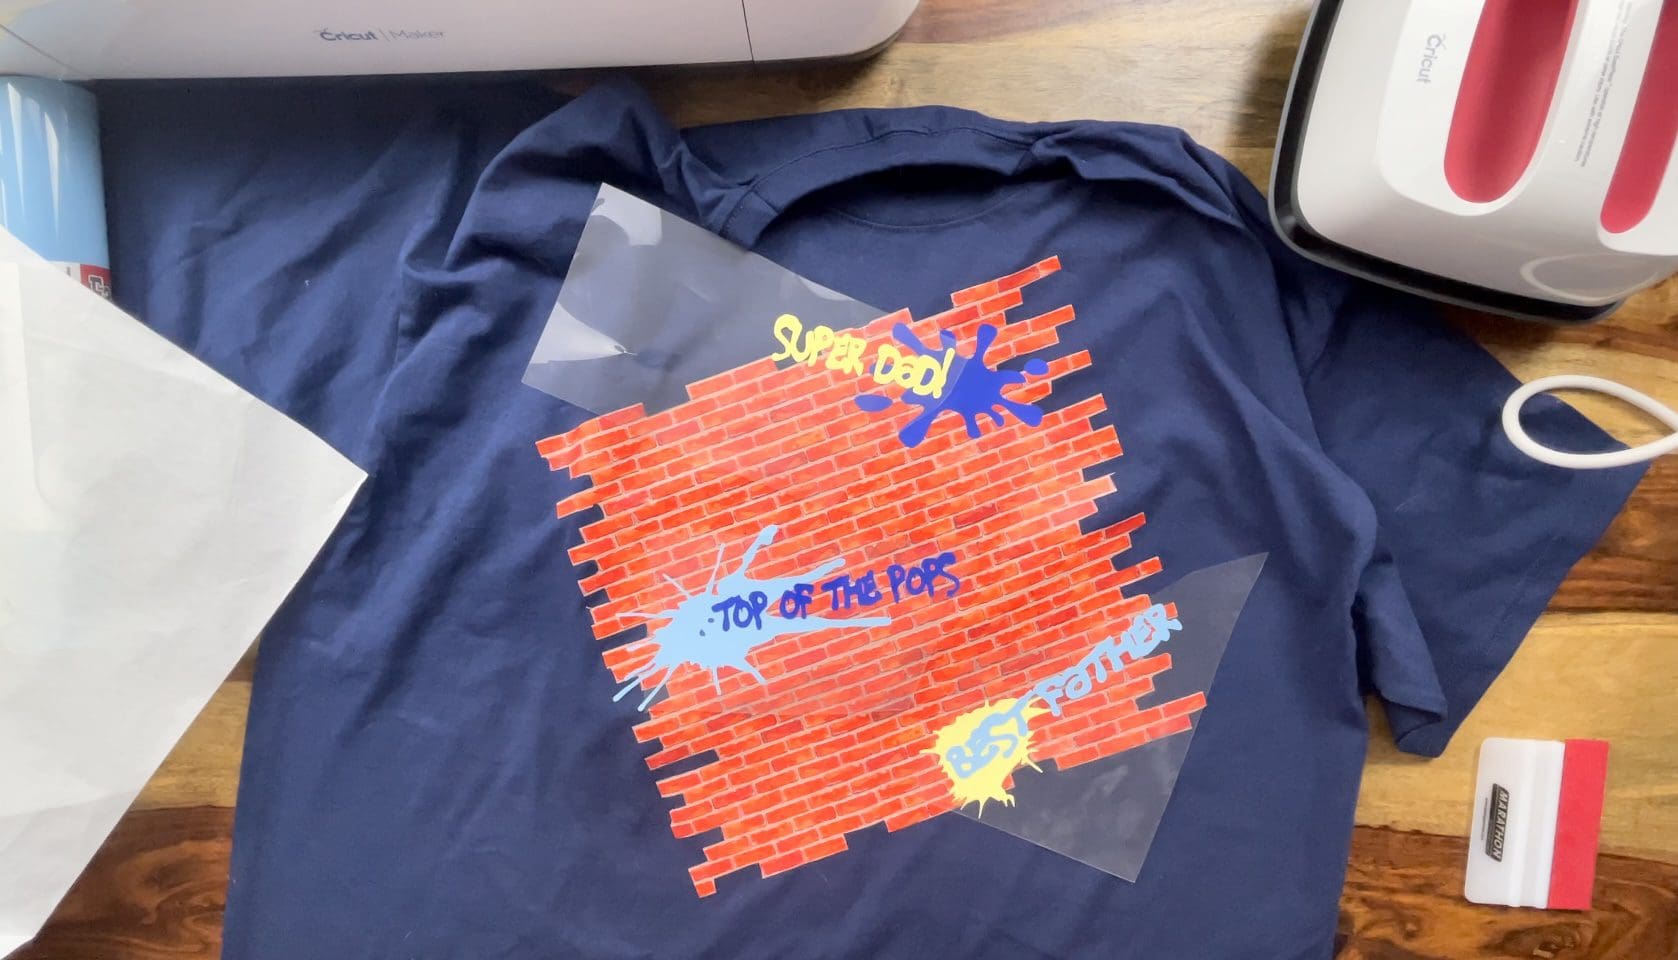
11. Take the paint splodges and layer them on the top of the brick pattern, cover with parchment paper ( allow the Easypress to cool to the lower temperature of 130’c) then press for 5 seconds, pressing firmly.
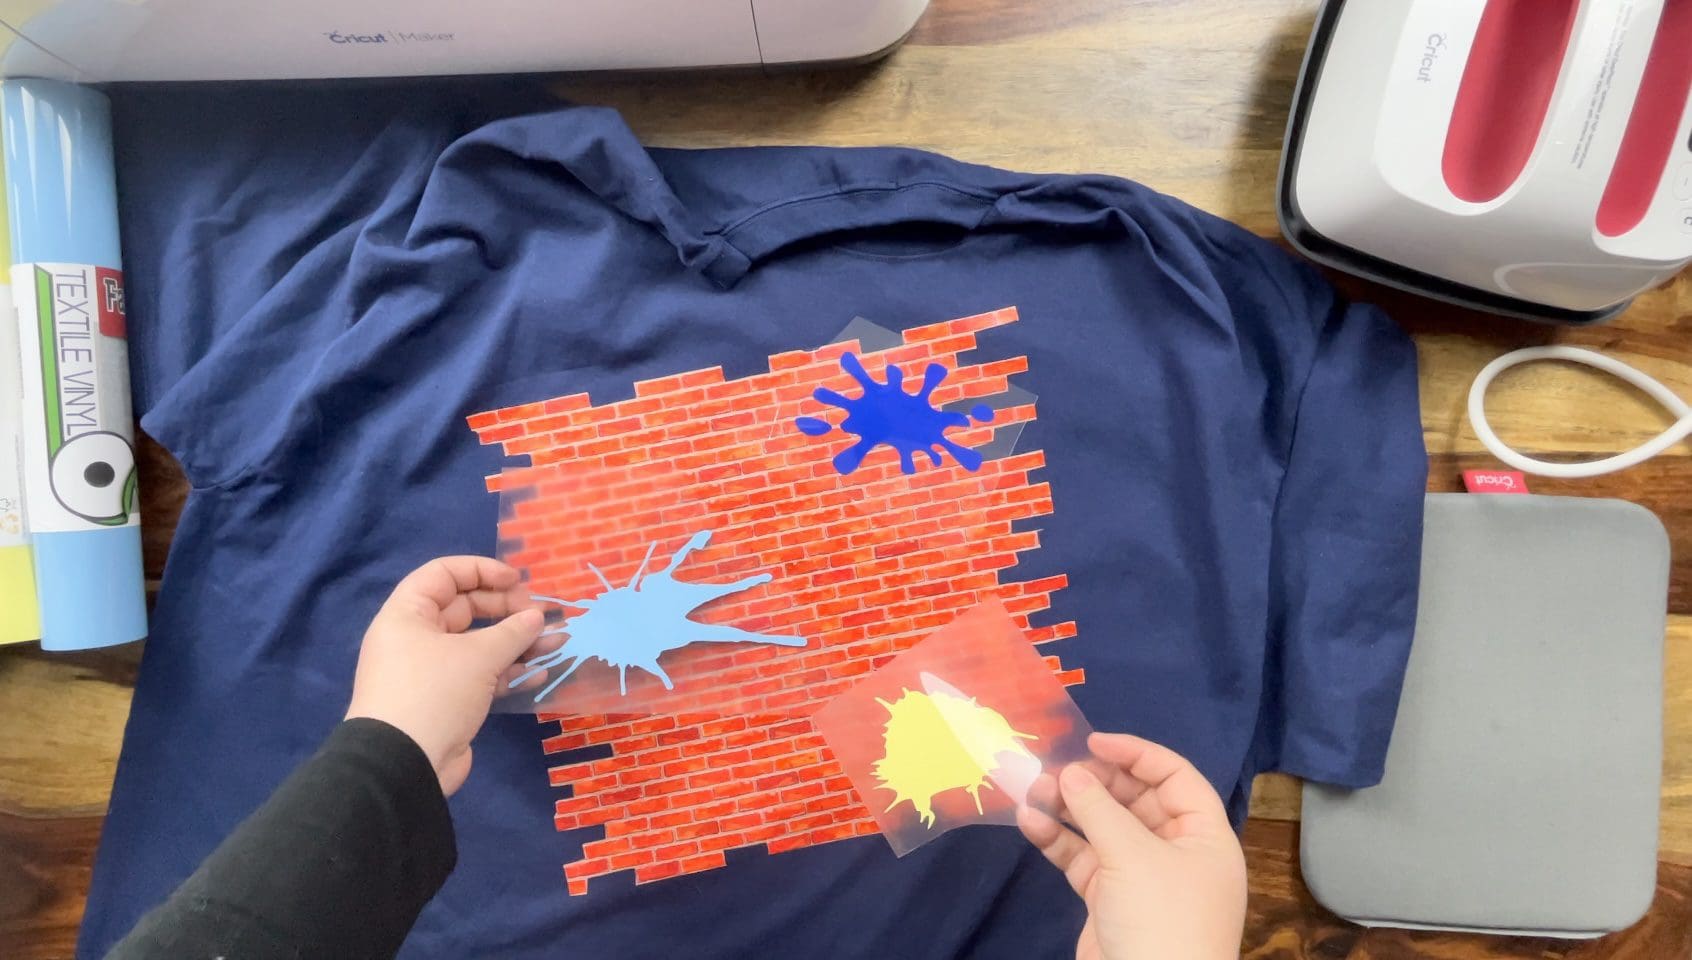
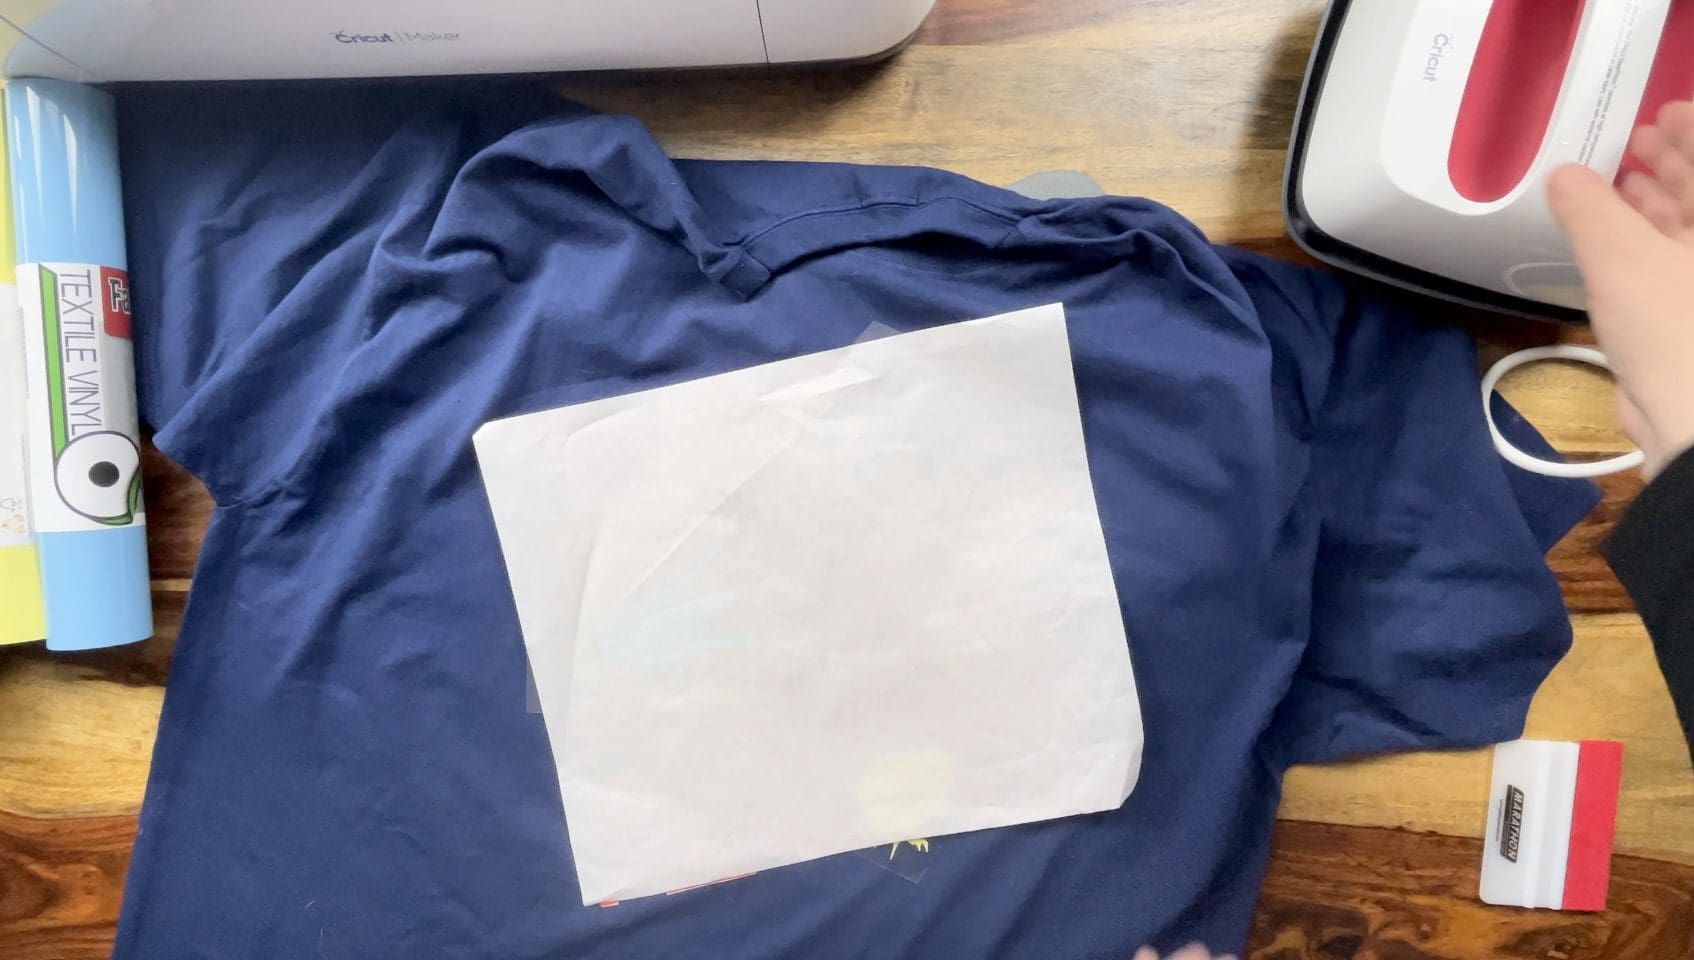
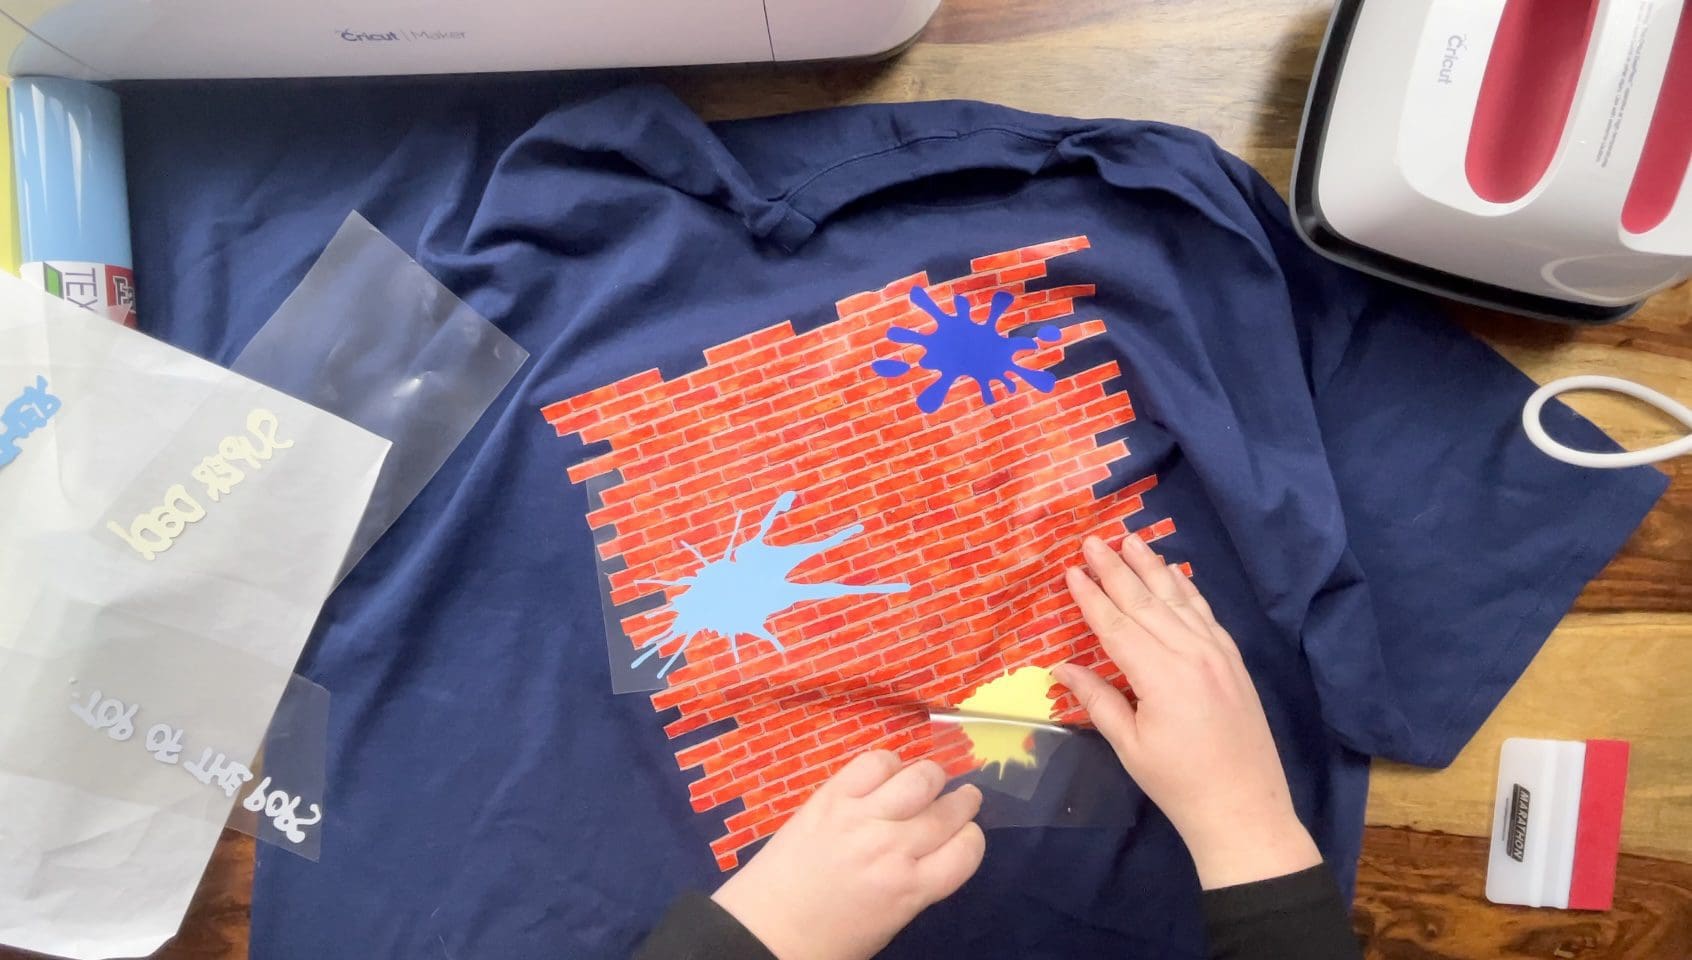
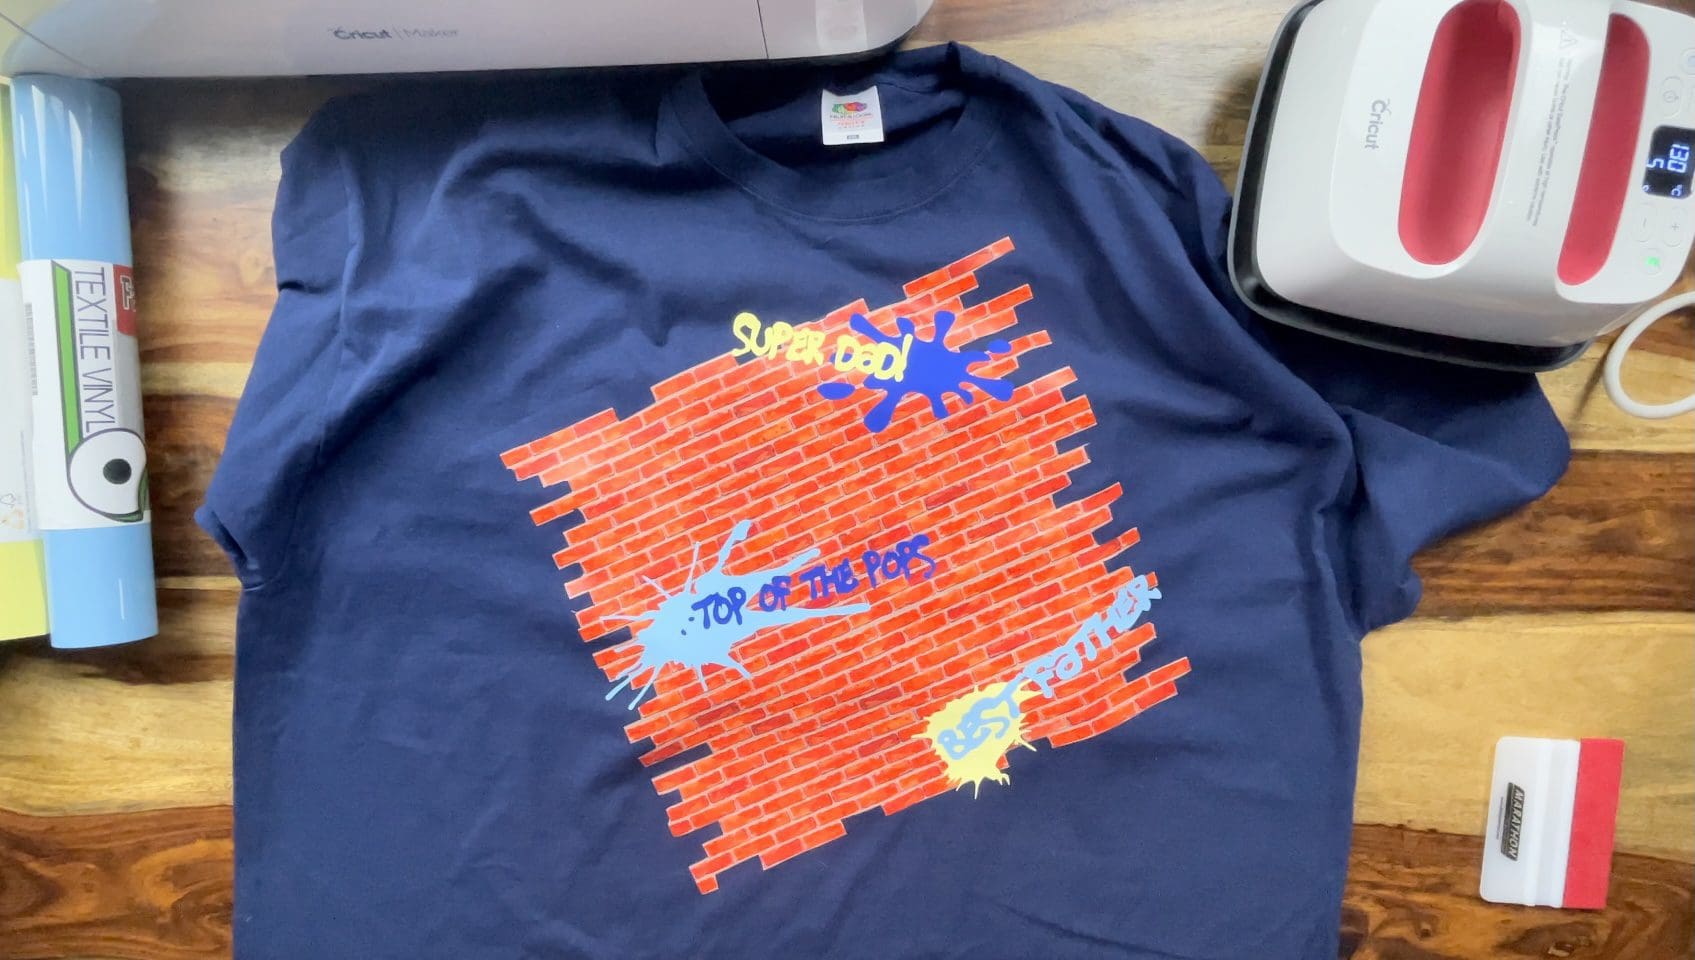
12. Take the graffiti words and place on the paint splodges on the top of the brick pattern, cover with parchment paper press temperature of 130’c for 5 seconds firmly. 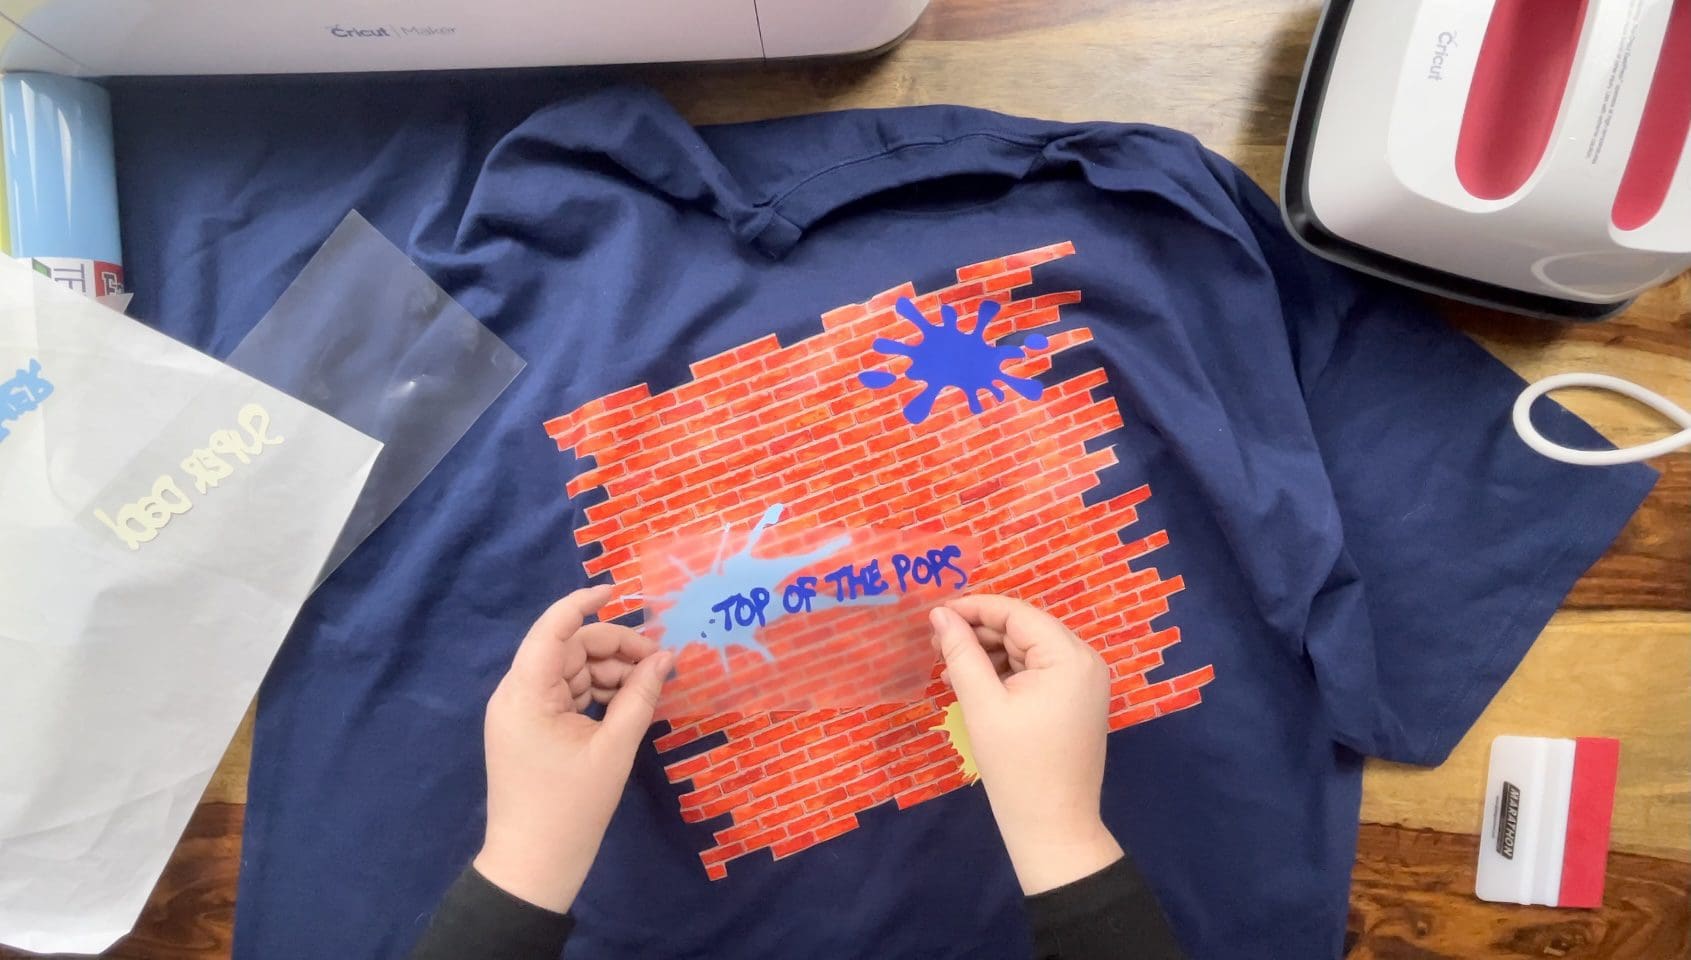
Silhouette Cut File
Instructions:
Before you start, you need to download the cut file, Upload the cut file into Silhouette Studio and resize as necessary, (when resizing bring all layers into the design software and select all at once to get the correct offset layers and save the adjusted file, so you can cut layers individually at that correct scale you have chosen) Remember to test cut if necessary and cut settings are found here along with test cut guidelines for every machine.
Brother Cut File
To import these files into the Brother Canvas Workspace:
After downloading, please log in as usual to your design space account, open a new project mat, then left click on the SVG icon in the top left bar in canvas, this will then allow you to import your files. Once you left click this icon, a pop up box appears with you to choose where to import file from, choose to import the file from your downloads list or where you have chosen to save when unzipped.
Cut settings are found here
Just incase you need the link CanvasWorkspace (brother.com)
