Tutorial/Free Cut File
Cricut Infusible Inks Layering T-shirt Tutorial and Free Files

Hi!
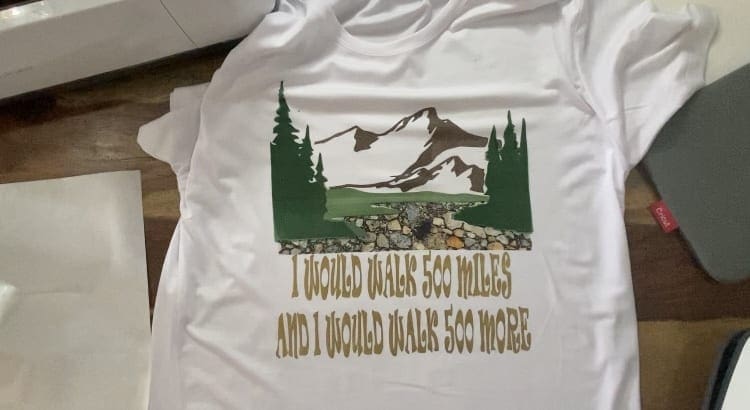
You have all been asking for more information on Cricut Infusible ink, and here’s a more detailed project this week for you, including layering the infusible sheets, and also using HTV with it, as well as how to create a different finish using the same sheet of ink in 2 different ways!
Of course, this design isn’t limited to infusible ink, or T-shirts and could work on any form of project, including using on a card with pens and vinyl, layer as a bag design using infusible ink or as a cutting file with HTV, or even use self adhesive and create a glass block! Just adapt the process to the medium you plan to use it on and be sure to check our application guides as appropriate.
Get crafting this fun design for loved ones, friends, and family. You could even do a matching Card, T-shirt and Gift bag with the design to really impress!, This Tutorial is suited for the Silhouette Cameo and portrait range, Cricut Maker, the Air 2 and if resized for the Joy, and also Brother scan n cut, Please see further down for the free files for Silhouette and Brother machines. Please keep in mind the cut and mat settings will need to be adjusted as appropriate for the machine – see our settings guide here
We would love to see what you make! Have you found our You Tube channel yet? The video showing this and all of our other tutorials are available on there, as well as exclusive demos, inspiration and more! Join us on Facebook , Instagram or Tiktok or send us an email to sales@gmcrafts.co.uk we would love to hear from you!
***watch this being made here***
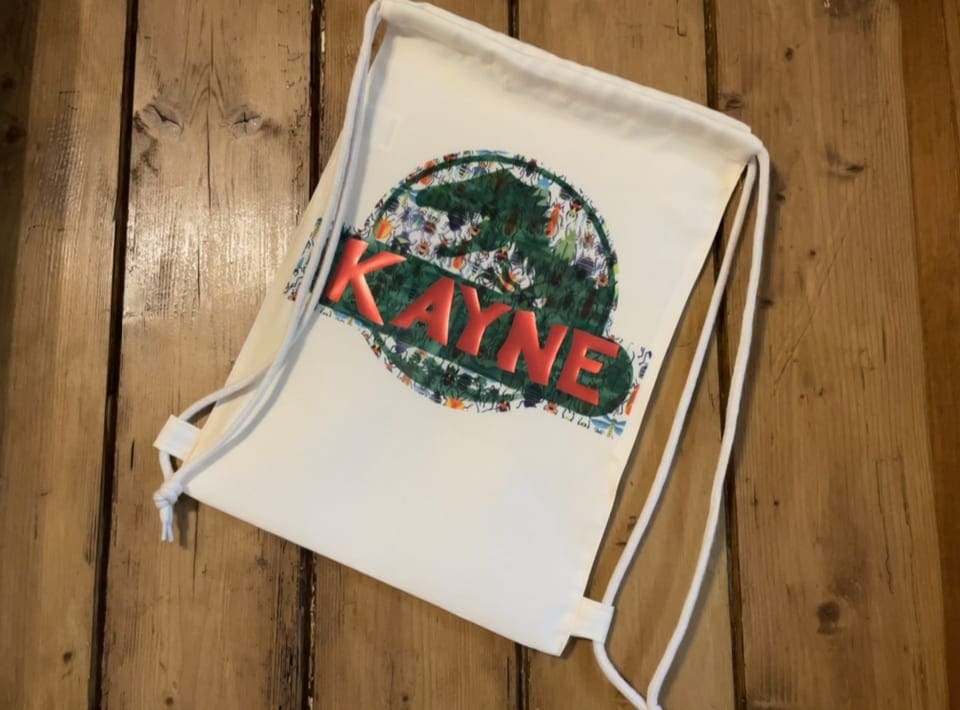
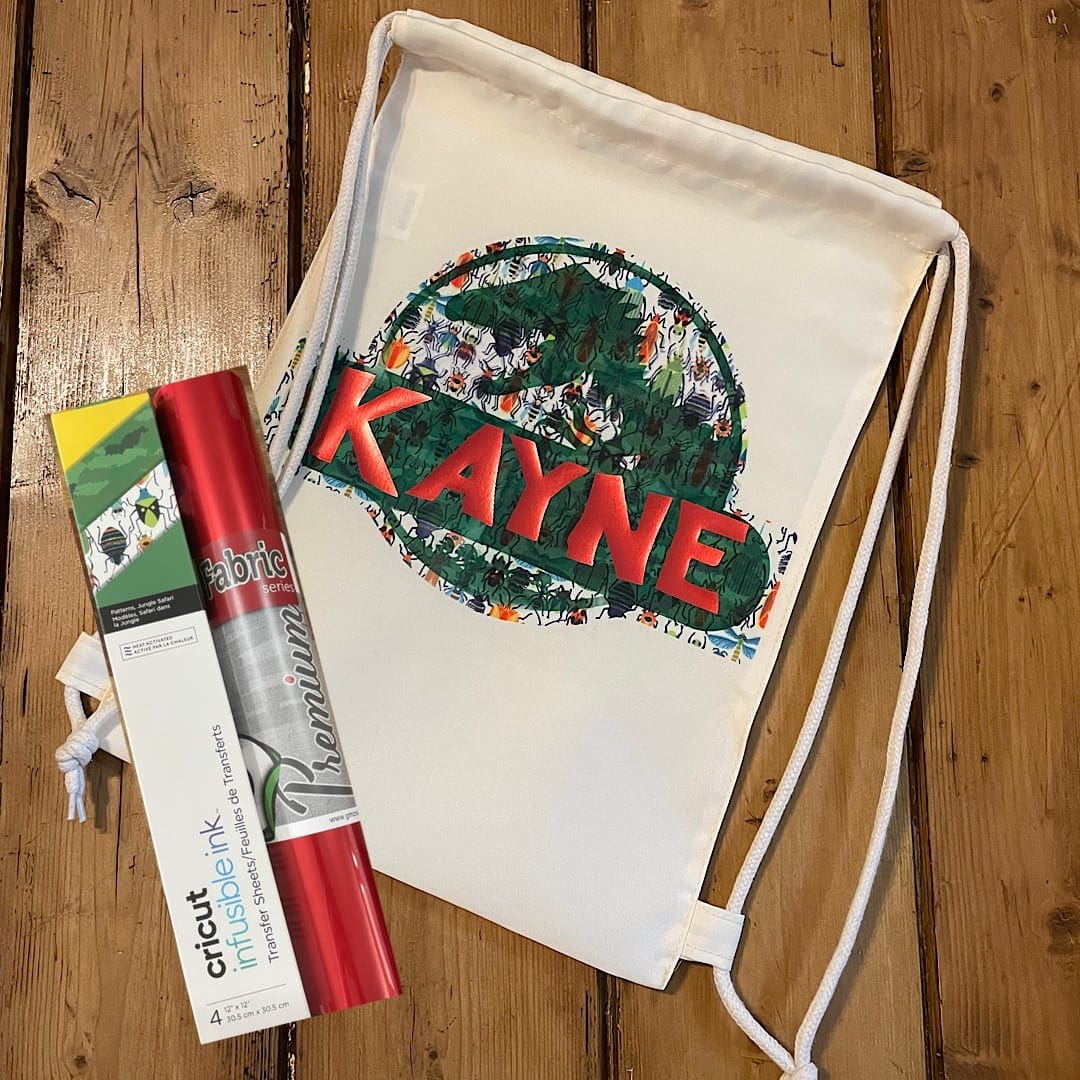
And also just to show you a different way of using them, here is an alternative design idea, and the video for this is on our TikTok account exclusively.
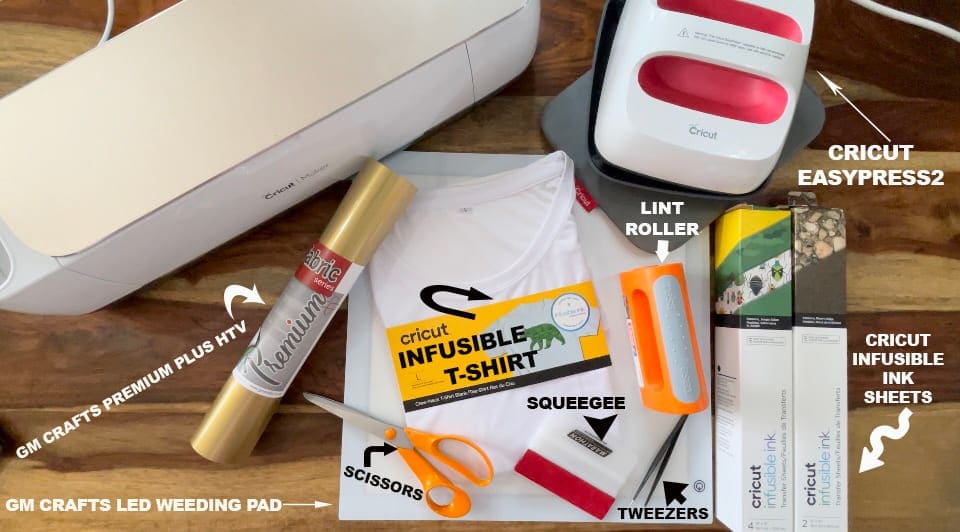
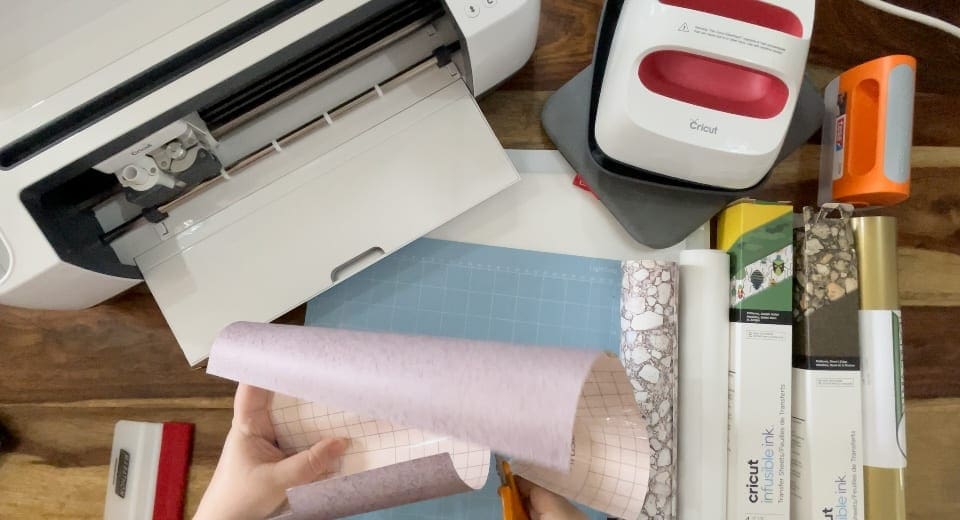
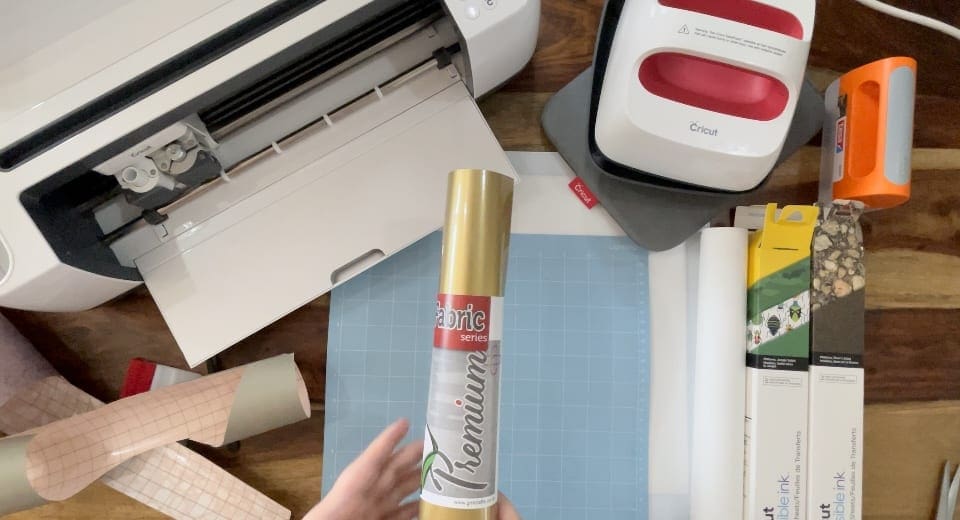
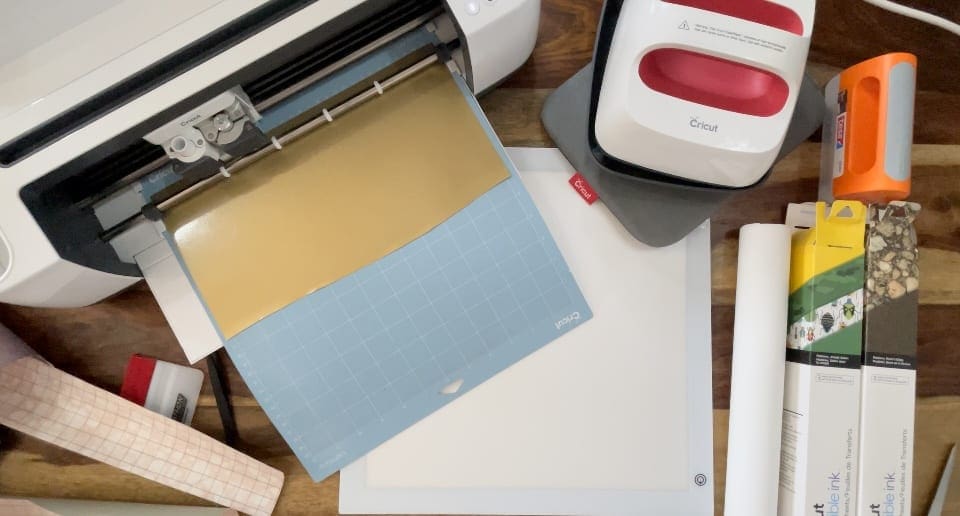
What you’ll need for the Mountain design:
- Cricut maker . Available here
- Cricut Easyprees 2. Available here
- Cricut infusible inks. Available here
- Cricut T-shirt blanks. Available here
- GM Crafts Premium Plus HTV. Available here
- GM Crafts LED Weeding pad. Available here
- Squeegee. Available here
- Weeding tweezers . Available here
- Scissors and Lint Roller from your own stash..
- Cut files, which are free below! Including, Cricut, Silhouette and Brother cut files.
- Cricut has it’s own infusible guide and instructions here
MOUNTAIN CUT FILES FOR T-SHIRT CLICK HERE
Instructions:
1. Before you start, you need to download the cut files for your machine above.
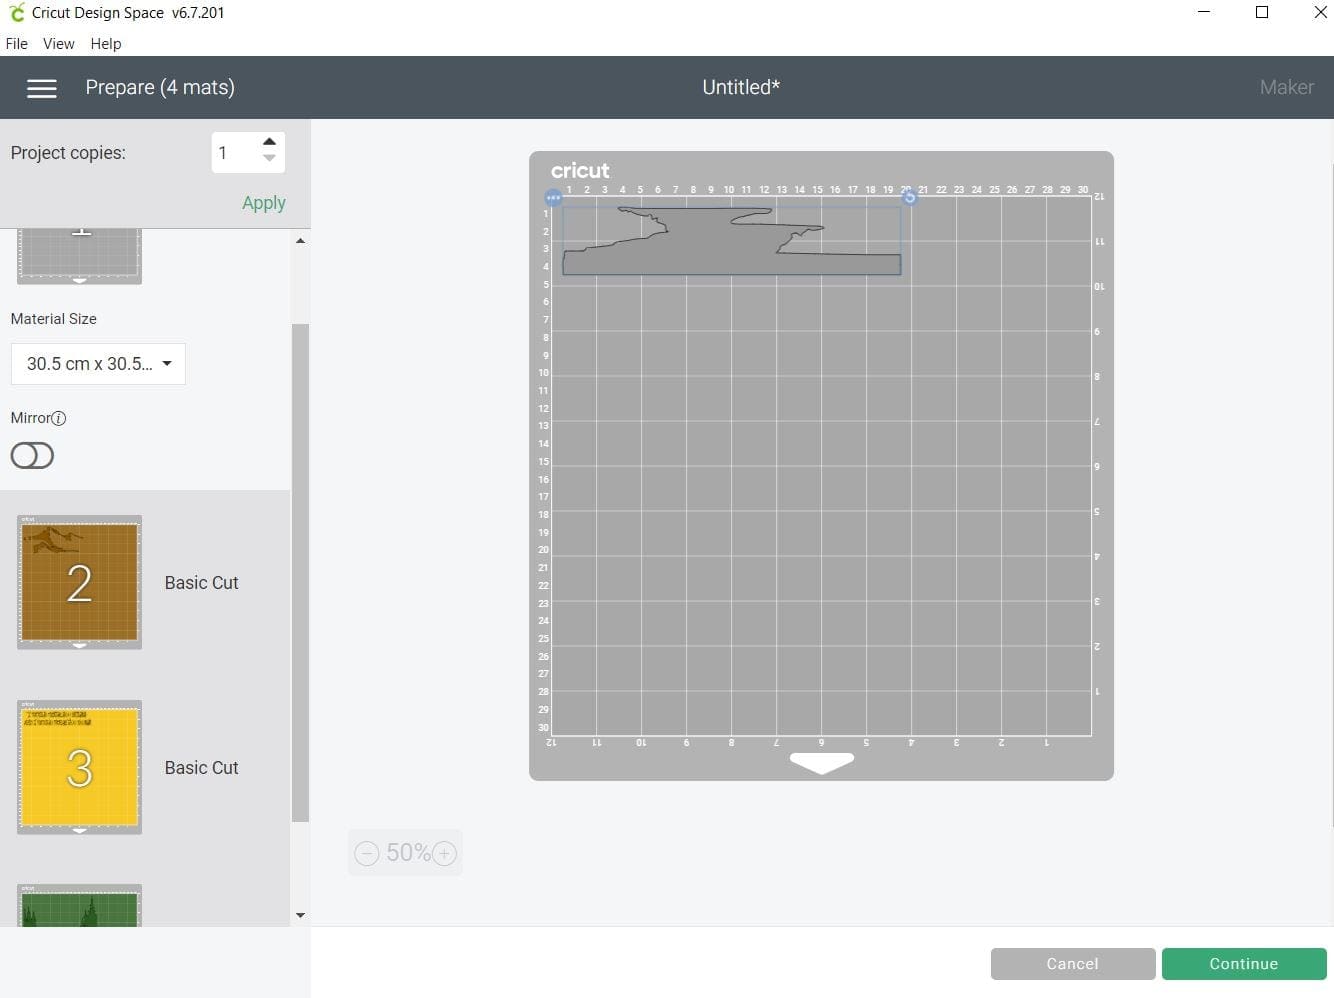
2. Upload each PNG into the design space. Click “Upload Image” on the left-hand Design Panel, and navigate to the files you want to open. Select ‘Insert image’ and select image type ‘simple’ when prompted. Next you’ll be asked to delete any space that does not get cut, you can skip this part by pressing ‘continue’. When asked if they’re print-then-cut images or just cut images, select cut images. Click save and do this for all cut files. When all have been uploaded, Insert all the images onto the canvas and resize to suit your project. When re-sizing for this I bring the design together as it will be on the project so I can then get the entire size in one box so I get the over all design size correct with no hassle.
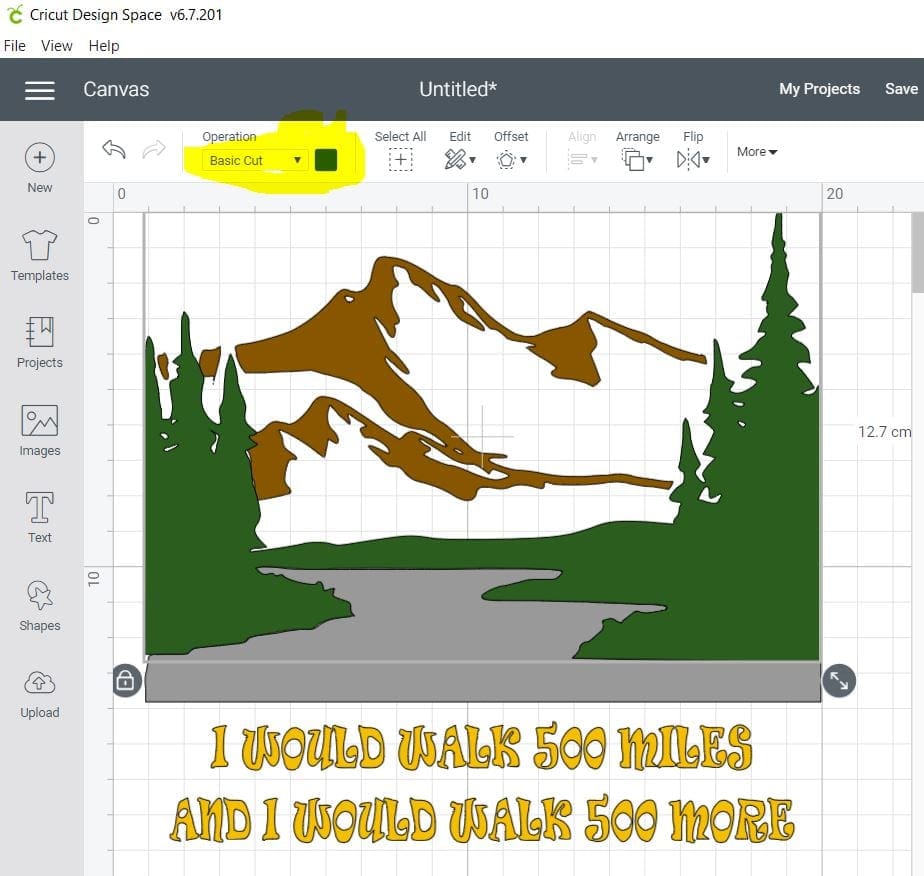
I then colour each project (choose to do this in the yellow highlighted box above) so that when I go to choose “make it” they will all be individually placed on 4 mats so I can choose each one individually to cut without having to keep going back to the main screen as below. Remember to mirror your writing when using HTV!
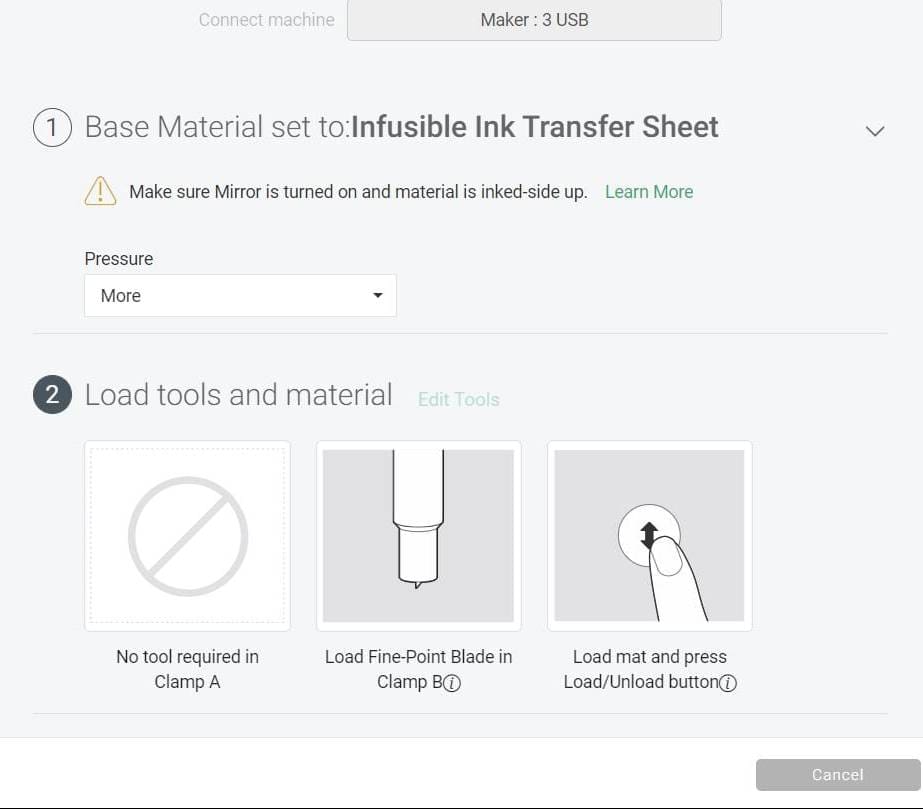
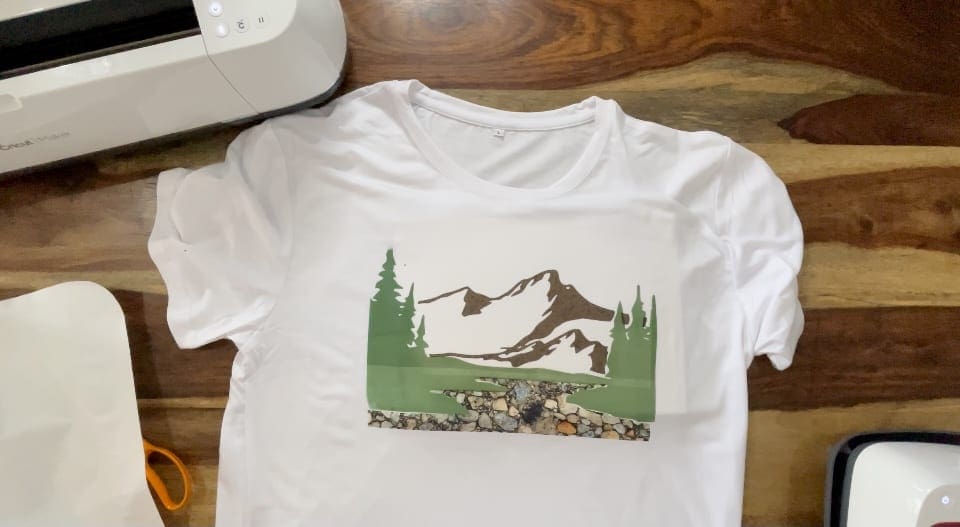
3. Cut 1 each of the coloured infusible sheet layers first, I use the trimmed waste from the green sheet to cut another set of the green trees, it is enough to cover the trees area and you can patch the middle with any scraps you like as you’ll only need the trees from the second cut, see below for why you need this. Click Make it. I cut 2 different contrasting packs of sheets so the colours are different. Choose the correct settings as below before proceeding to cut , load the mat, and press the flashing Cricut symbol to cut. REPEAT THIS PROCESS for each different infusible sheet, remembering to do a second tree one using the waste.
4. Next you need to cut the wording, we have chosen to do this with our new Premium Plus HTV. I used the Cut setting – Everyday Iron on , Pressure setting- Default Please remember to test cut if you have not used this vinyl. Again proceed to make it.
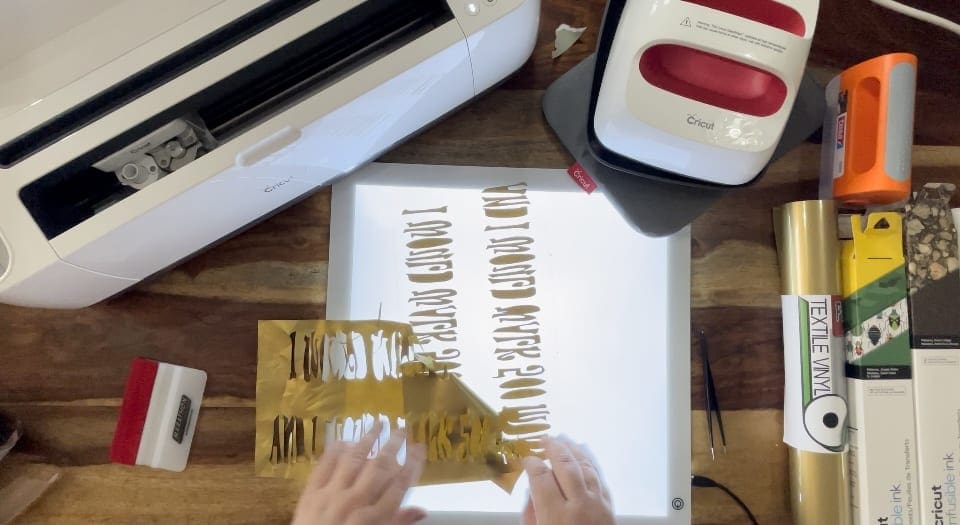
5. Proceed to weed the Infusible sheets and wording.

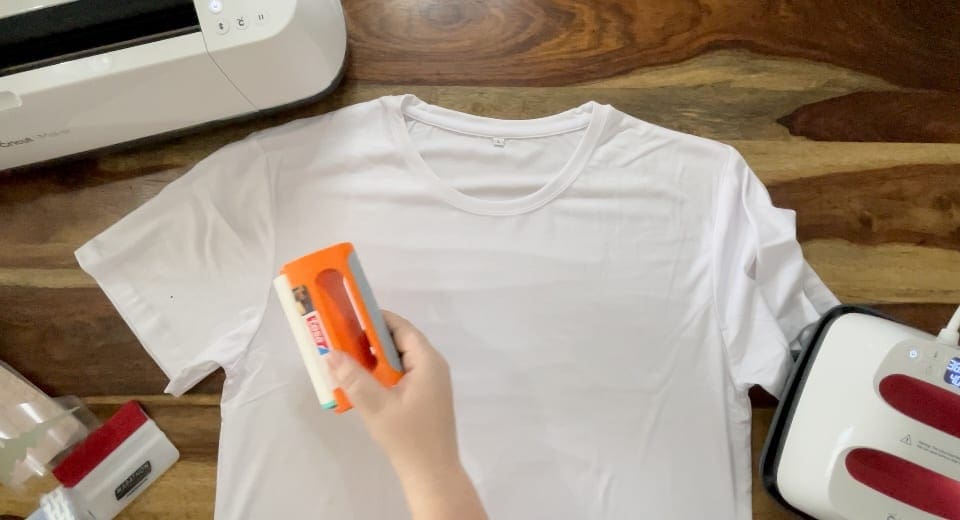
6. Once you have 1 of each layer (plus the extra Trees), clear your work space and lay the T-shirt out ready, get your lint roller, and ensure the T-shirt is clear of any debris , fibres or fluff as shown.
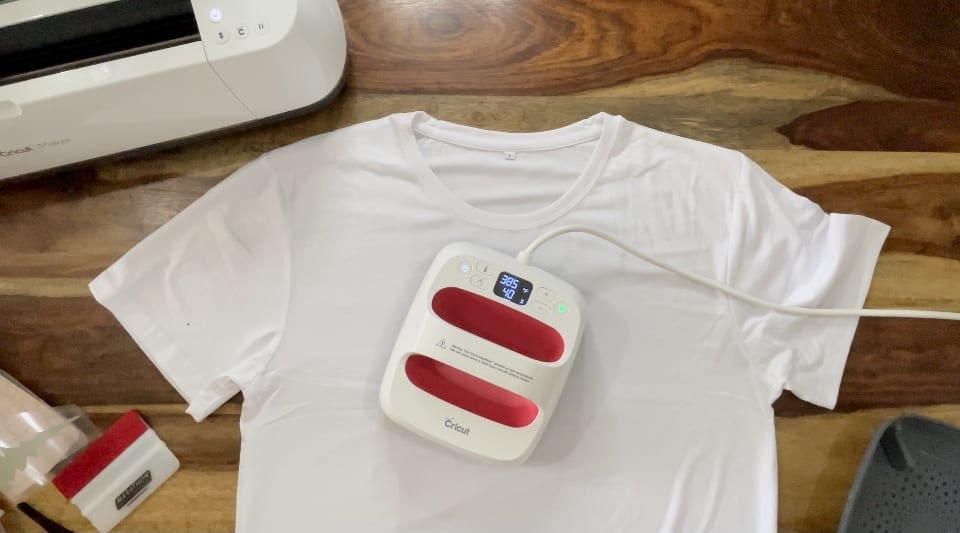
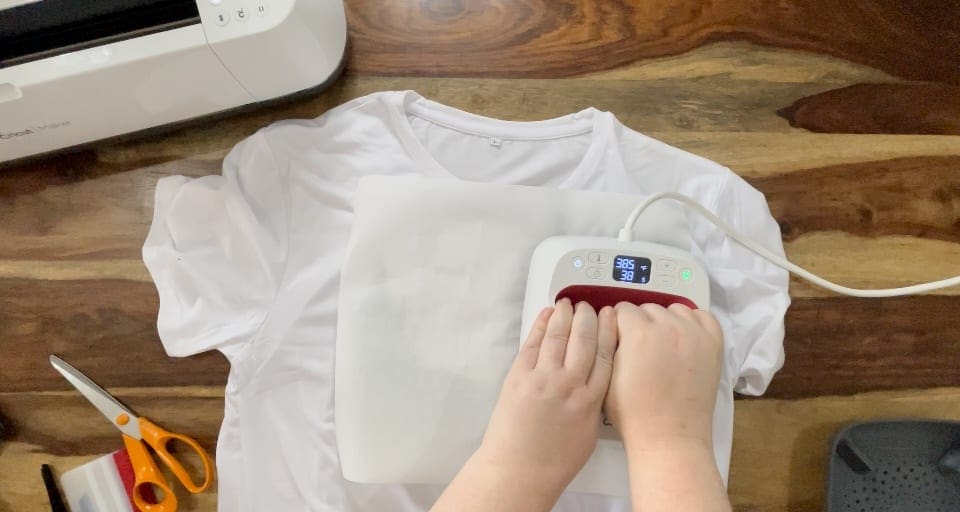
7. Set the easy press to 385’f and 40 seconds. Pre heat the T-shirt and then Lay the Cricut mat with T-shirt on top placing the Card inside that came with the T-shirt to protect it from any ink leaching to the back, as shown below. Place your first layer of Tree scene on the t-shirt ready to apply.
8. Before we proceed, Please note below Cricut instructions for the infusible sheets on a Cricut T-shirt process. link here for more info
Supplies
Stacking Order:
- EasyPress™ 2
- Butcher paper
- Design, face down
- T-Shirt
- Inside Blank: White Cardstock (80 lb/216 gsm) or 4 layers butcher paper
- Cricut EasyPress Mat
Other Supplies:
- Lint roller
Infusible ink transfers are not recommended without a Cricut EasyPress Mat.
Prep
- Preheat EasyPress™ 2 to 385°F
- Place T-Shirt on clean mat
- Insert cardstock inside T-Shirt to prevent bleed through
- Lint roll T-Shirt
- Cover T-Shirt with clean butcher paper larger than heat plate
- Preheat T-Shirt for 15 s
- Remove butcher paper from top of T-Shirt
Application
- Place design face down, liner side up
- Cover with clean butcher paper larger than heat plate
- Press with Light pressure at 385°F for 40 s
- Slowly lift press
- Remove butcher paper
- Remove liner while warm
Care
- Machine wash inside out with cold water and mild detergent
- Tumble dry low or line dry
- Do not use fabric softener, dryer sheets, or bleach
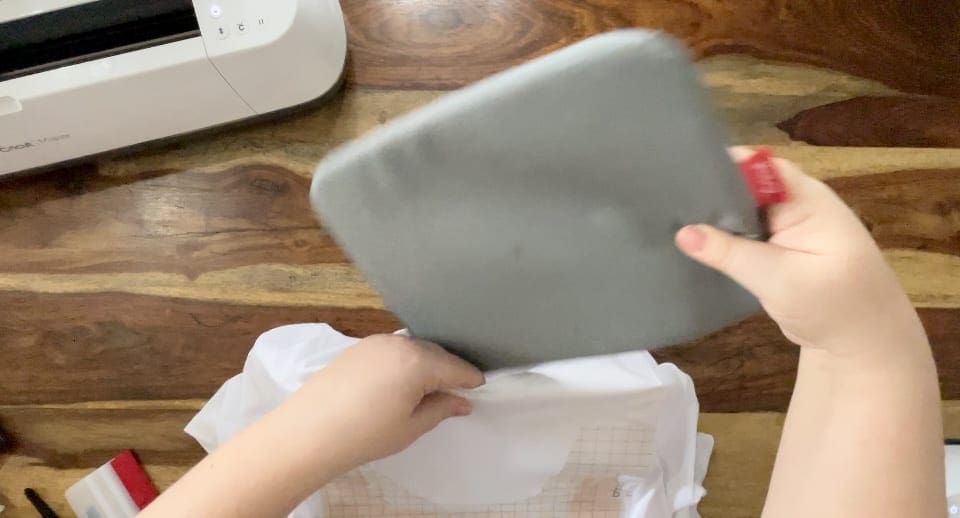
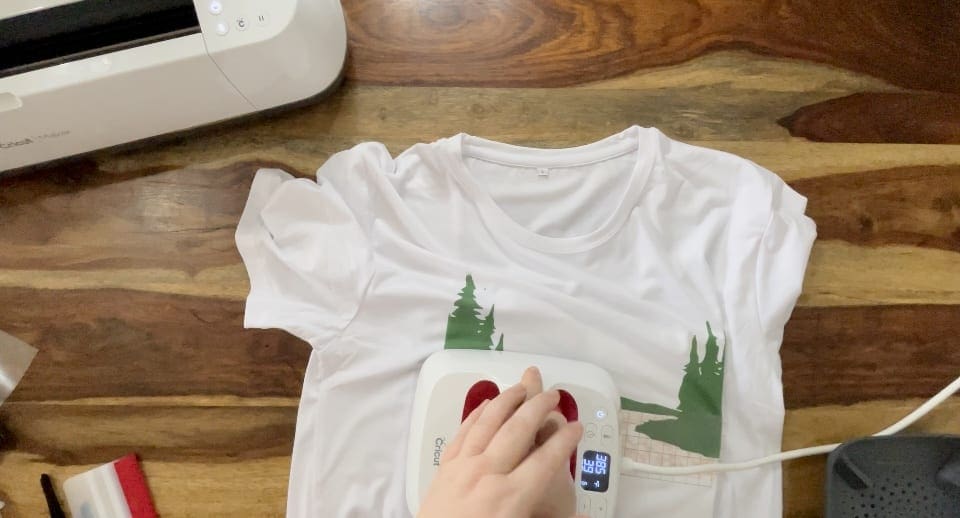
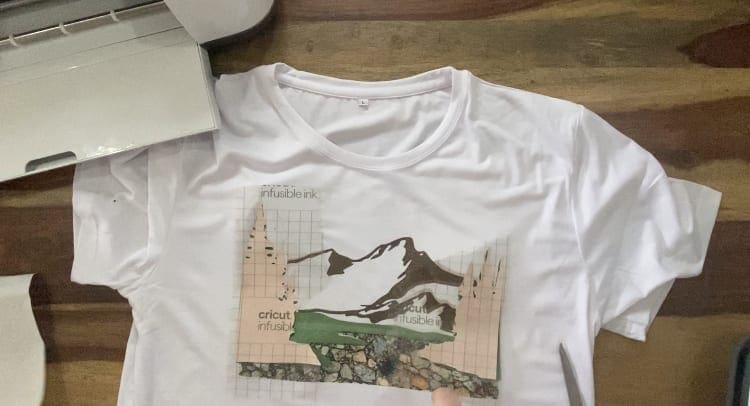
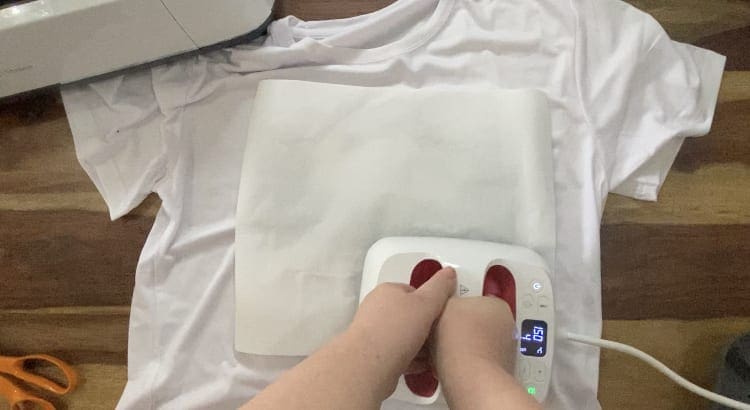
9. Once your press gets to temperature, apply the first full trees Scene, I would normally cover with the baking paper included in the transfer sheets, and press with the Easy press with a little pressure , for 40 seconds, be sure to use the Green Cricut button on the press to use the countdown timer!. However as I want to create a two tone effect, I have learnt when not using the sheet I can get a different colour result, so for this demonstration, I have not used the sheet at this point, see below.
10. This produces a much lighter result when pressed. Proceed to press the next layer without the sheet, and you will see that where the exposed adhesive is on the sheet it further strips some colour back. Please note that this is not the normal application process and is only to be used should you want to alter the intended result. You may have to clean you press plate afterwards, I didn’t need to on this occasion.
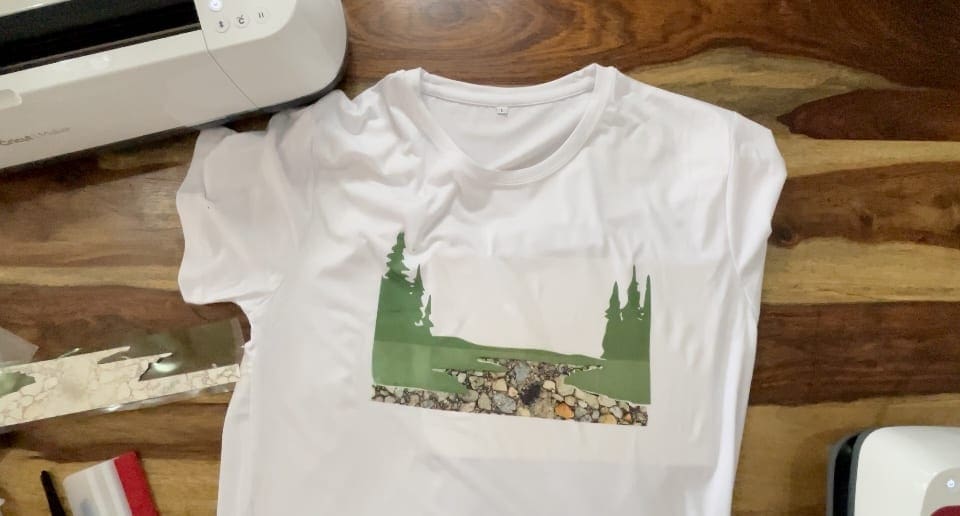
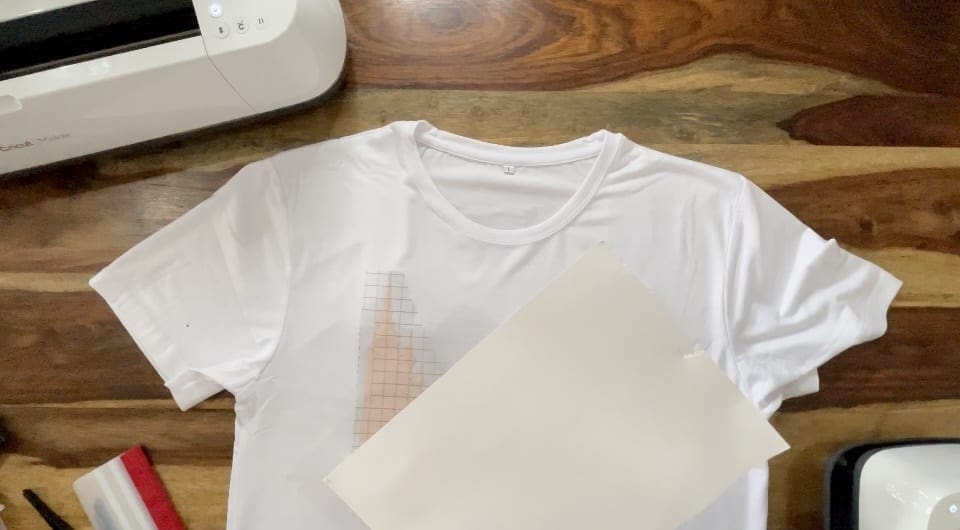
11. I then proceed to follow the correct application process after this layer, using the protective sheet as shown below when applying the mountain, as I don’t want to cause any further damage to the design.
 12. I then re apply the extra Trees layer I asked you to cut earlier, only using the trees, you may need to trim them to suit the look you want as shown. Be sure to cover with the paper.

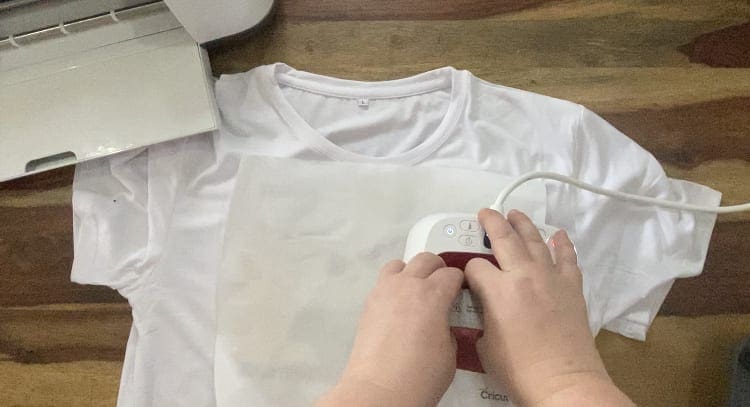
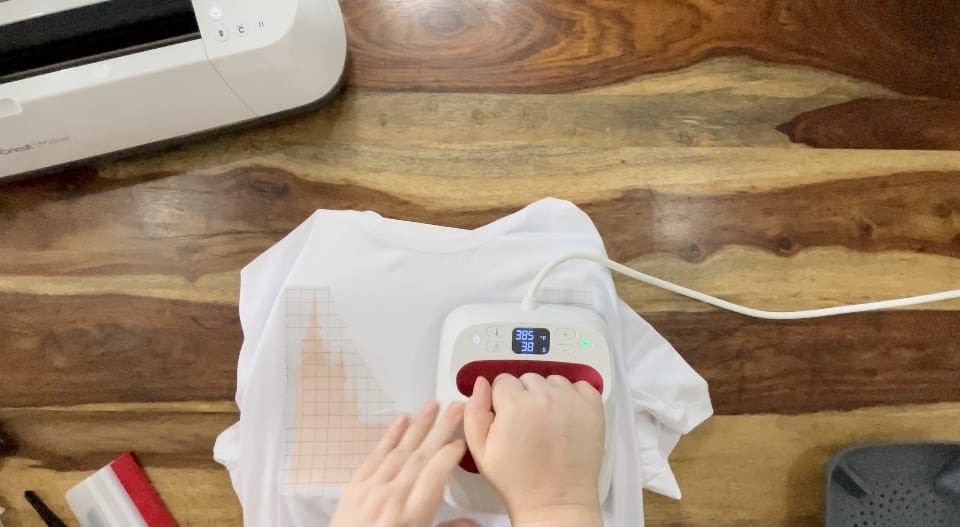
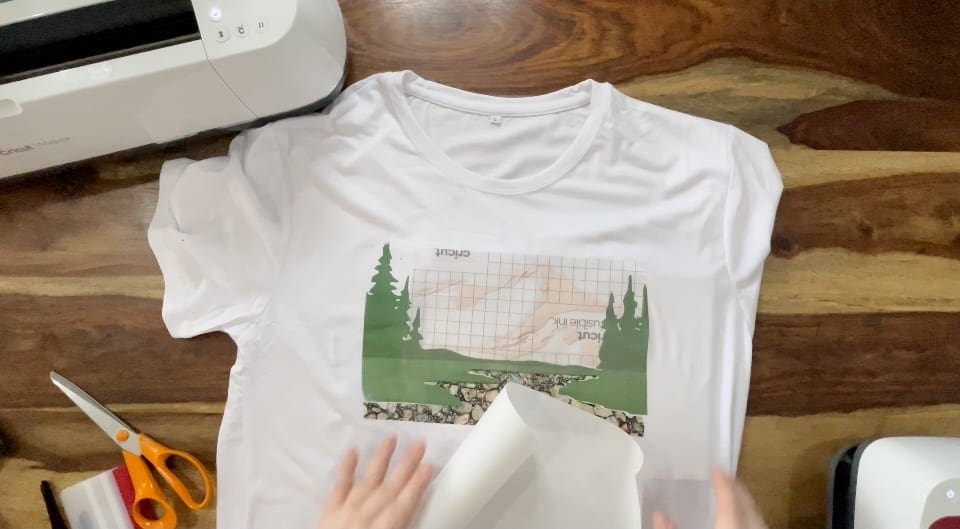
13. Lay the Vinyl wording in place, change the temperature on the easy press back to ‘C by pressing and holding the temperature button and wait for it to come back to 150’c set the timer for 4 seconds for the Premium Plus vinyl. Please see guide here
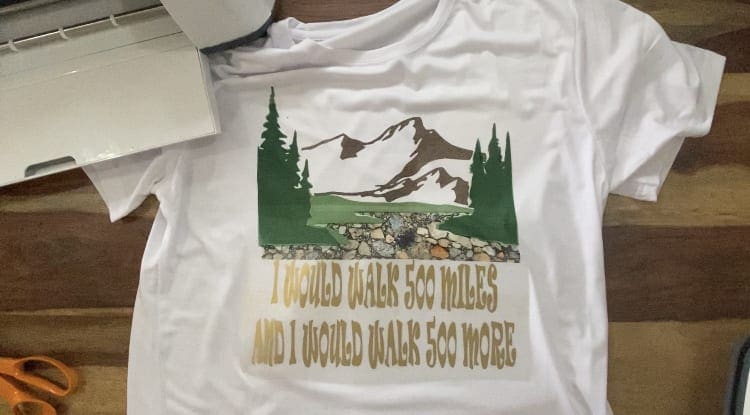
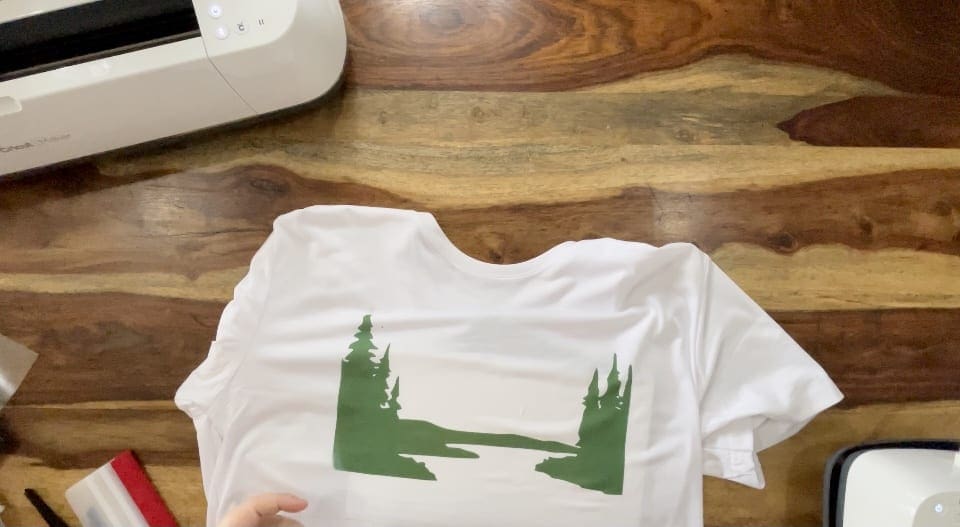
14. Warm peel the Protective sheet from the vinyl. Don’t forget your finished design can be matched by using any material cut using a cutting file, card, self adhesive vinyl or even HTV. We’d love to see your makes on our social media pages! Or email them in!
Silhouette Cut File
Instructions:
Before you start, you need to download the cut file, Upload the cut file into Silhouette Studio and resize as necessary, (when resizing bring all layers into the design software and select all at once to get the correct offset layers and save the adjusted file, so you can cut layers individually at that correct scale you have chosen) Remember to test cut if necessary and cut settings are found here along with test cut guidelines for every machine. (I would cut the infusible ink sheet using the holographic htv setting we use on our guide as a starting point but please test cut before doing the project following the info here on page 2 or 3 for your machine) .
Brother Cut File
To import these files into the Brother Canvas Workspace:
After downloading, please log in as usual to your design space account, open a new project mat, then left click on the SVG icon in the top left bar in canvas, this will then allow you to import your files. Once you left click this icon, a pop up box appears with you to choose where to import file from, choose to import the file from your downloads list or where you have chosen to save when unzipped.
(I would cut the infusible ink sheet using the holographic htv setting we use on our guide as a starting point but please test cut before doing the project following the info here on page 2 or 3 for your machine) Cut settings are found here
Just incase you need the link CanvasWorkspace (brother.com)