
Tutorial/Free Cut File
How to use the Cricut Mug Press Halloween Tutorial and free cut files.
Hi!
You have all been asking for more information on Cricut Mug Press and their Infusible ink, and here’s a more detailed project this week for you, with instructions on where to find the free Mug templates in the software and also how to create your own designs. Whilst we have used a Cricut Maker3, you can use this with any of your Cricut cutting machines, and if you use a rectangular shape on your other machine’s software, you can still make a Mug press design too. Just measure the mug and remember to leave a 2cm gap either side of the handle when cutting your design. Infusible inks can be used with any cutting machine, you just need to test cut to find the right cut setting for this, please refer to our creating custom settings and test cuts for your chosen machine, on our main Blog menu.
We have a couple of infusible inks projects also available here and here, including layering the infusible sheets, and also using HTV with it, as well as how to create a different finish using the same sheet of ink in 2 different ways!
Of course, this design isn’t limited to infusible ink, or mugs and could work on any form of project, including using on a card with pens and vinyl, layer as a T-shirt, or create a bag design using infusible ink (remember infusible inks need the correct base for example 100% polyester) or use this file as a cutting file with HTV, or even use self adhesive and create a glass block! Just adapt the process to the media you plan to use it on and be sure to check our application guides as appropriate.
Get crafting this fun design for loved ones, friends, and family. You could even do a matching Mug, Card, T-shirt and Gift bag with the design to really impress!, This Tutorial is suited for all Cricut machines, as well as the Silhouette Cameo and portrait range, and also Brother scan n cut, Please see further down for the instructions for Silhouette and Brother machines. Please keep in mind the cut and mat settings will need to be adjusted as appropriate for the machine – see our settings guide here
We would love to see what you make! Have you found our You Tube channel yet? The video showing this and all of our other tutorials are available on there, as well as exclusive demos, inspiration and more! Join us on Facebook , Instagram or Tiktok or send us an email to sales@gmcrafts.co.uk we would love to hear from you!
***WATCH THIS BEING MADE HERE***
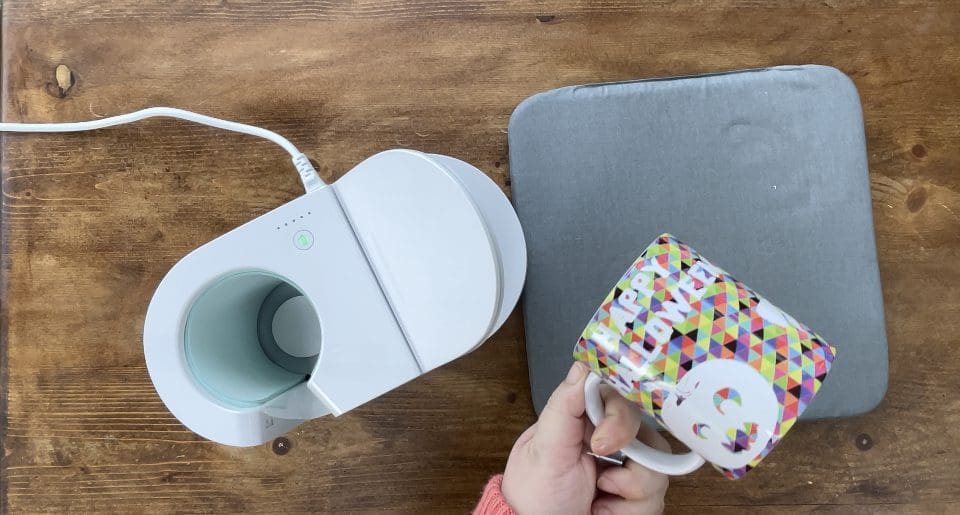
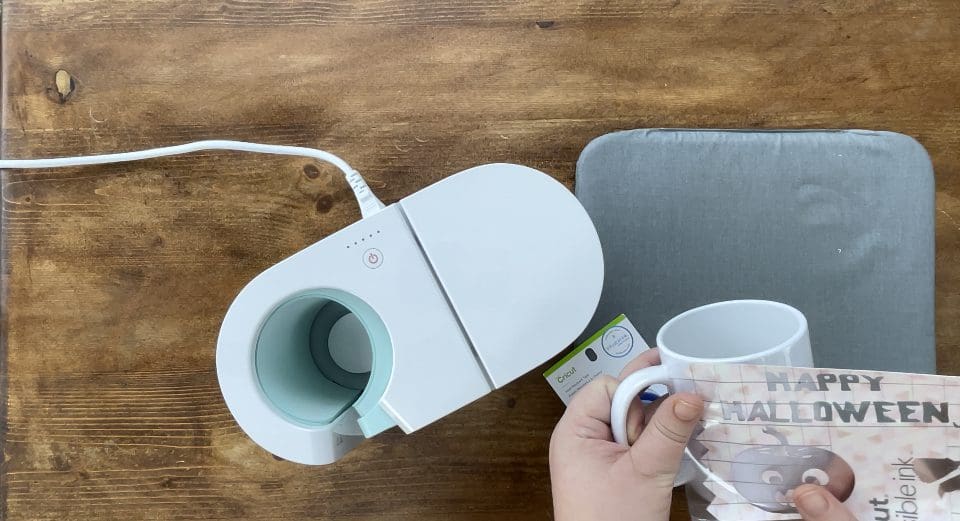
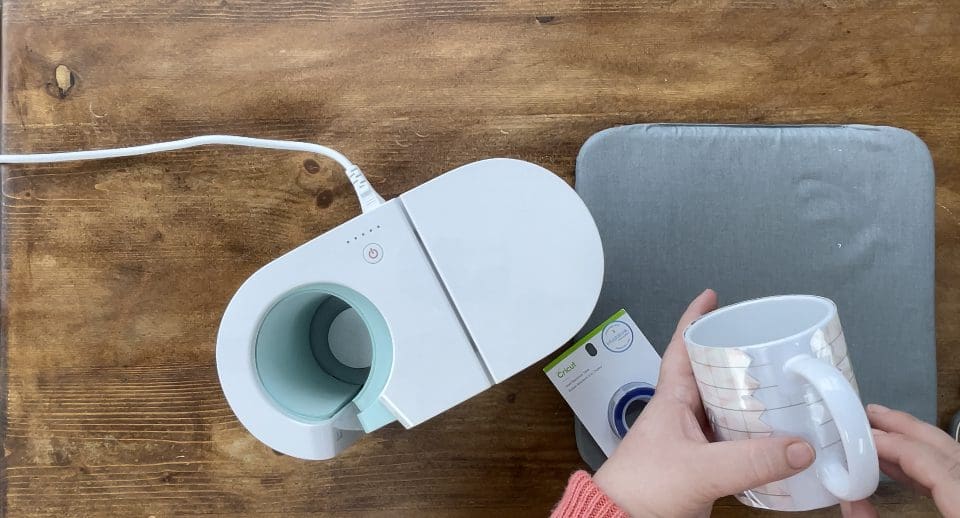
What you’ll need for the Mug design:
- Cricut maker and cutting mat . Available here
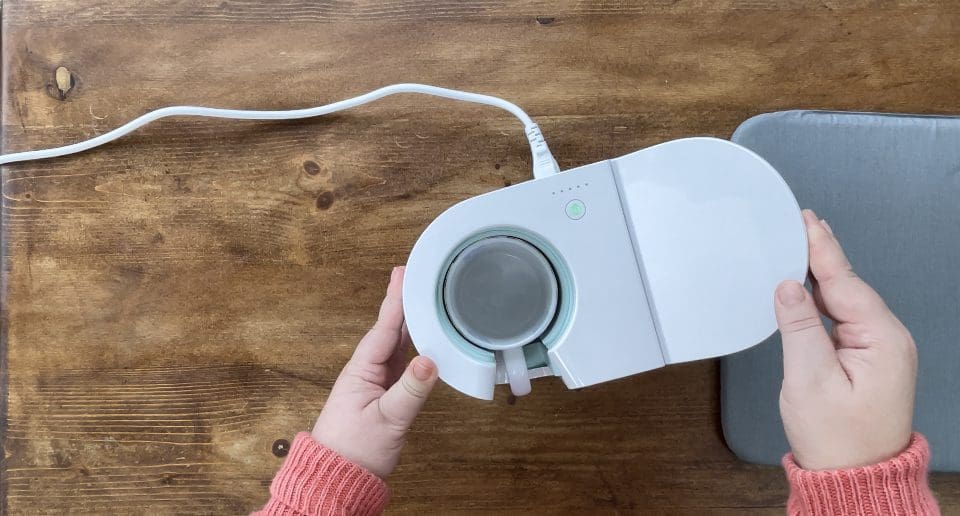
- Cricut Mug Press. Available here
- Cricut infusible inks. Available here or here
- Cricut Mug blanks. Available here
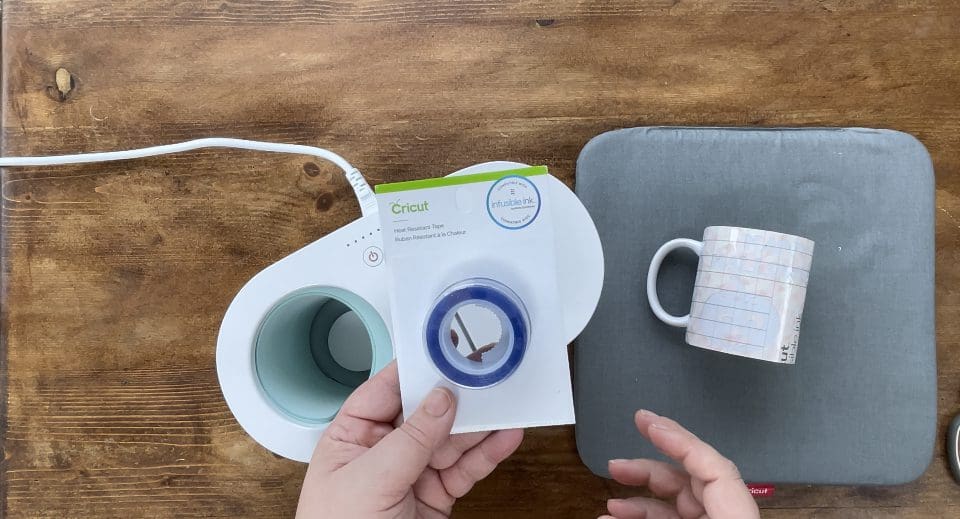
- Cricut Heat Resistant Tape. Available here
- GM Crafts LED Weeding pad. Available here
- Squeegee. Available here
- Weeding tweezers . Available here
- Scissors and Lint Roller from your own stash..
- Cut files, which are free below! Including, Cricut, Silhouette and Brother cut files.
- Cricut has it’s own infusible guide and instructions here
HALLOWEEN CUT FILES

Instructions:
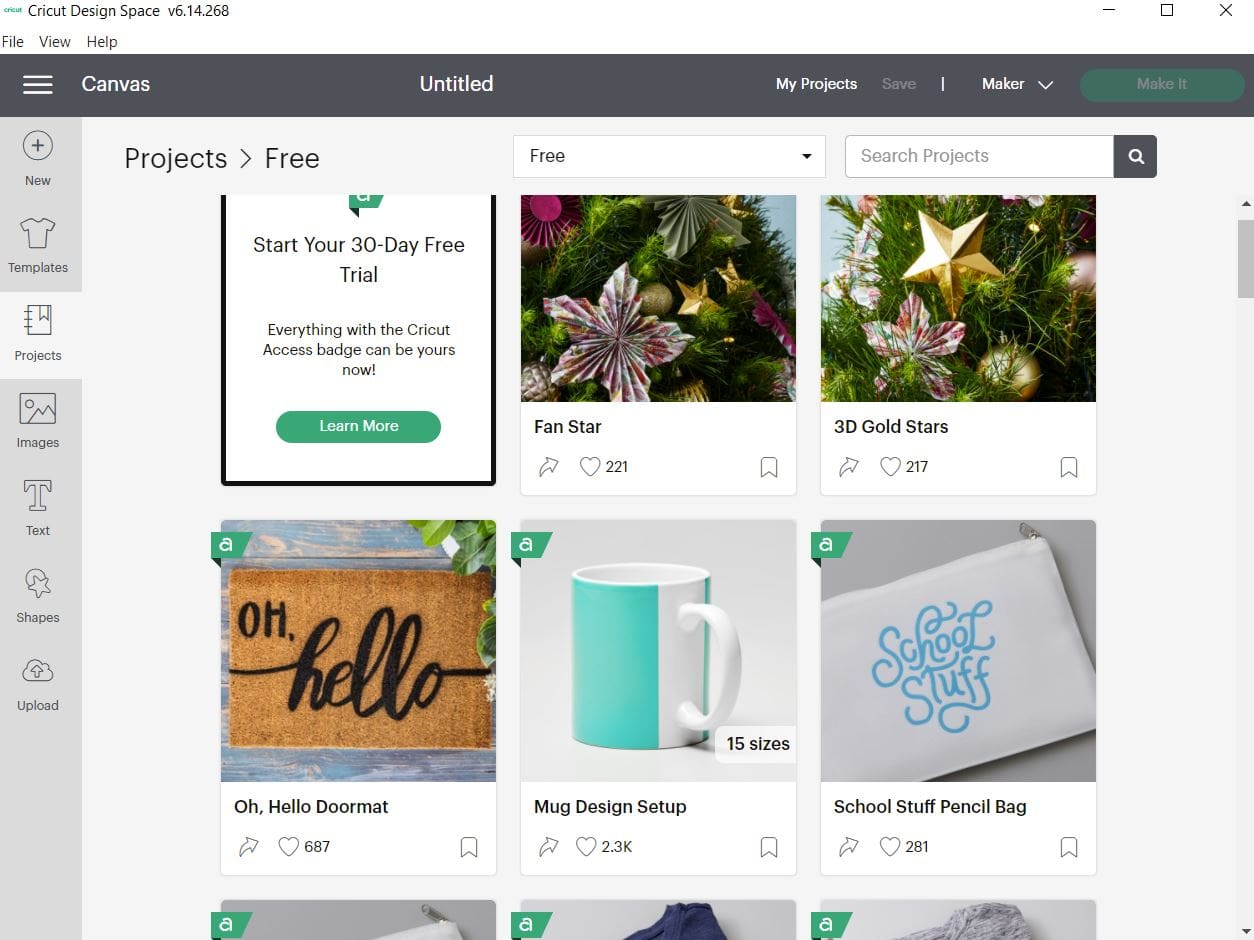
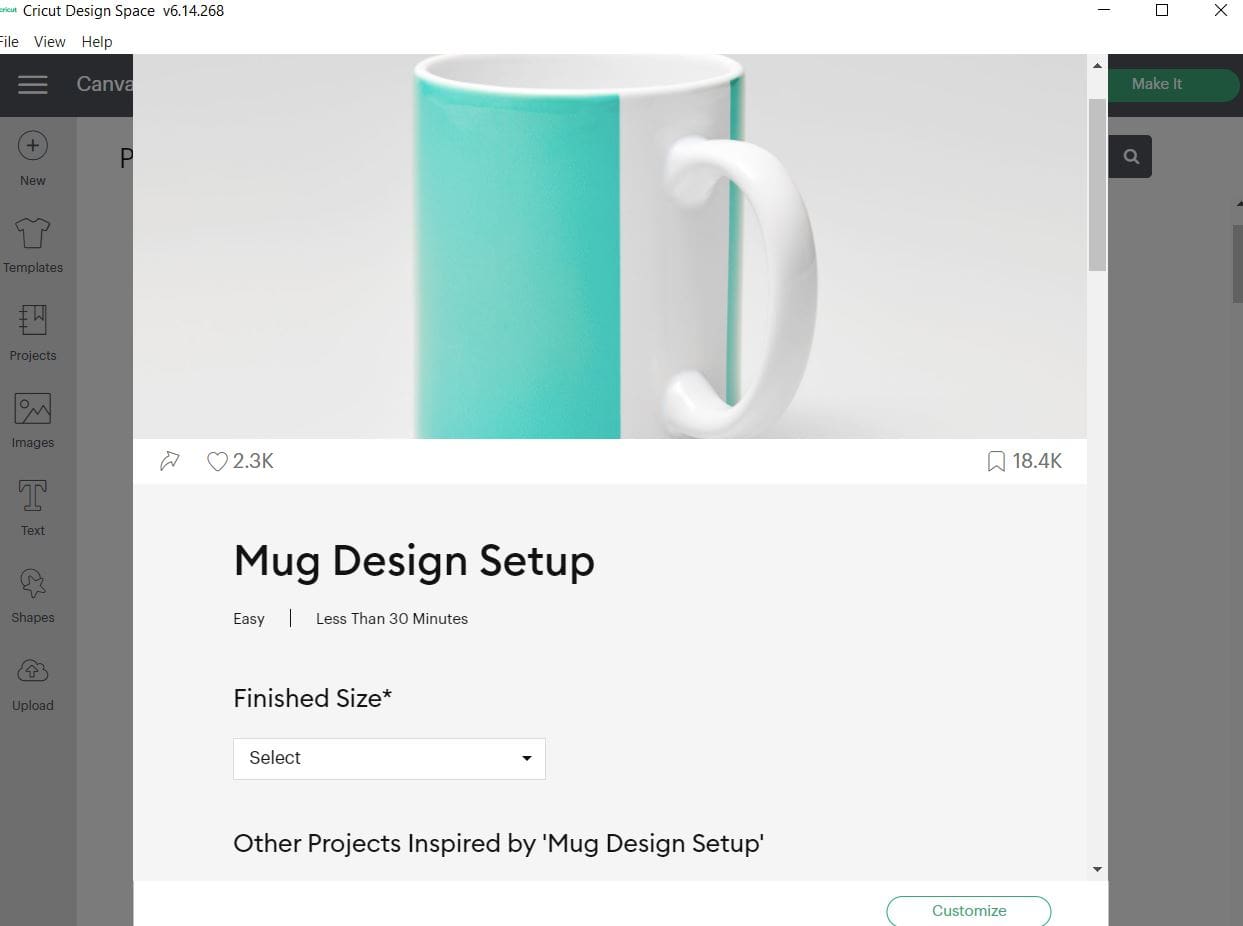
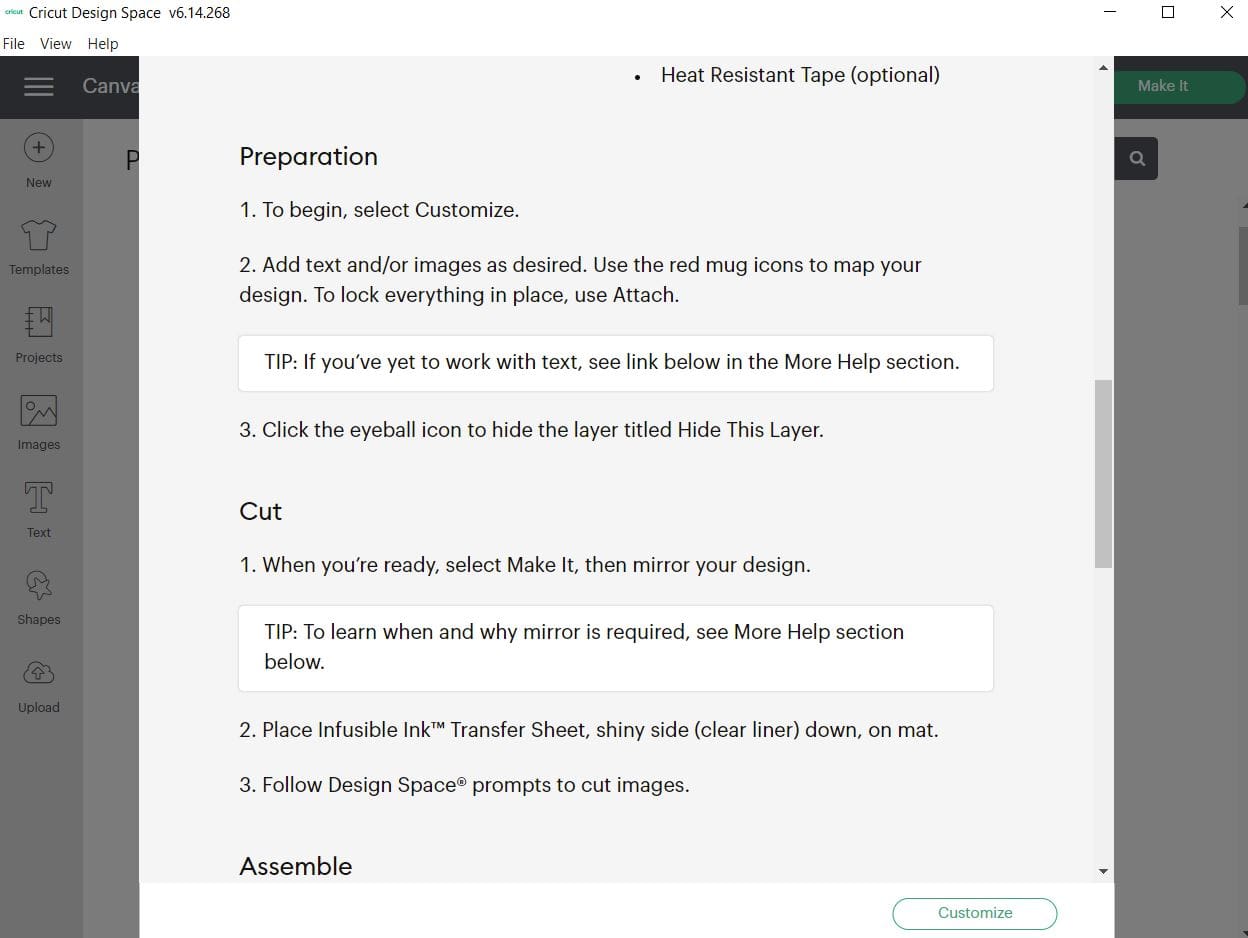
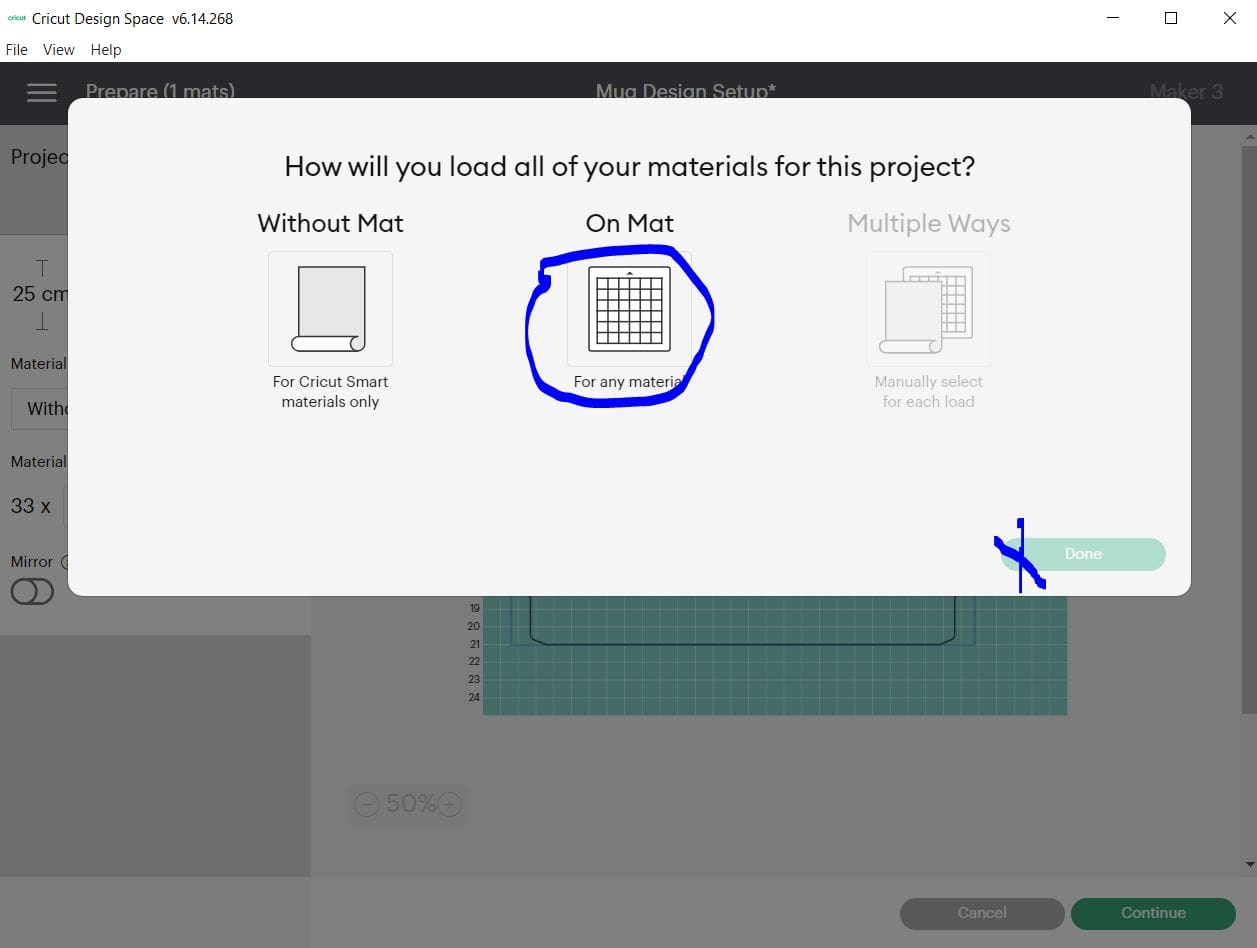
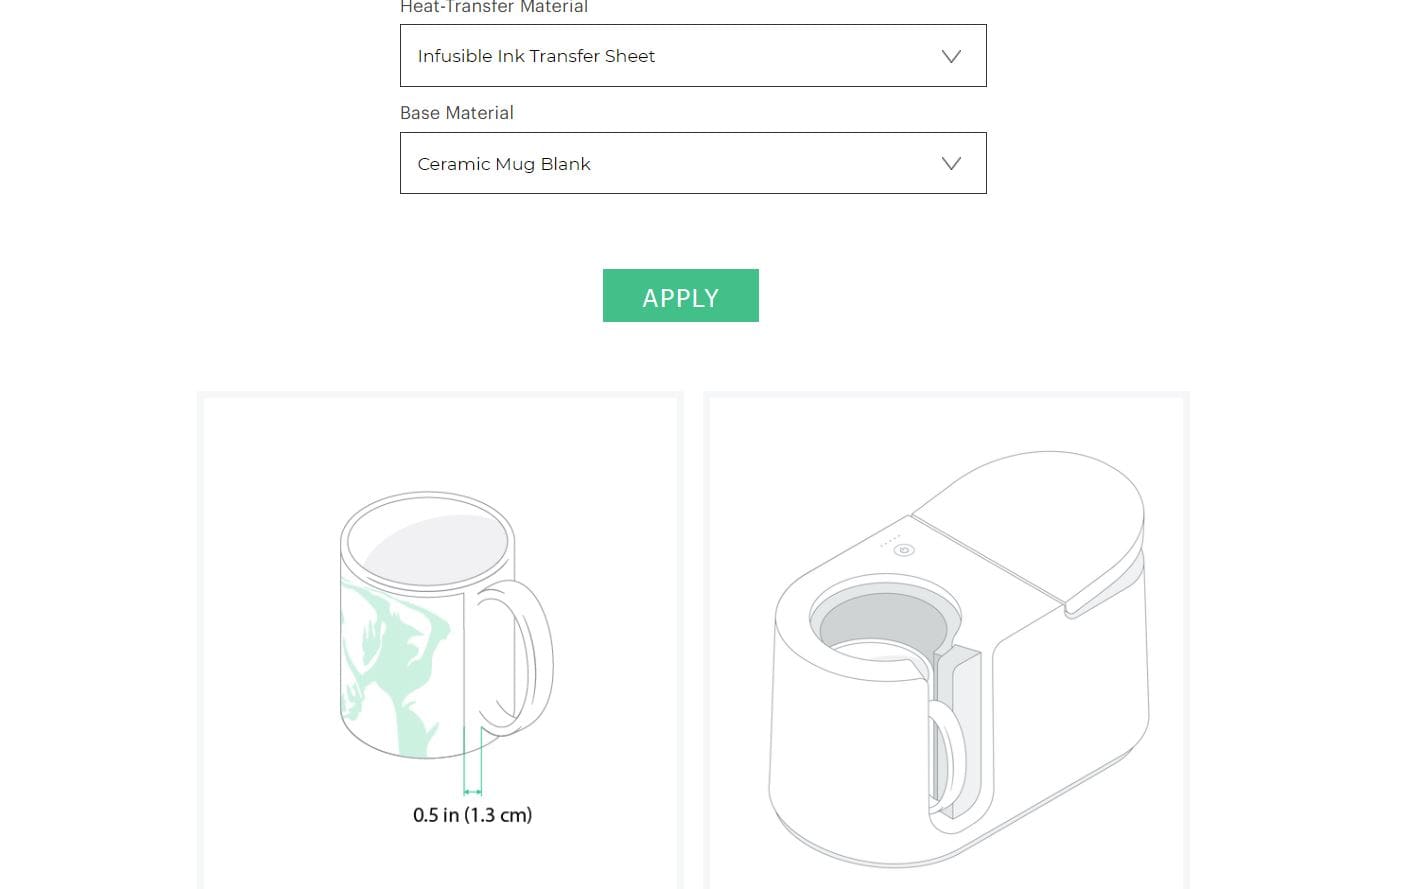
1. Before you start, you need to find the Free Cricut Mug templates, these are found in the project section in the Cricut software as shown below. To make finding them easier, choose the FREE projects, then scroll down until you locate the “Mug Design Setup” Click this as shown, it brings up a menu and instructions, click the mug design you want and choose the correct size for your chosen Cricut Mug. Once you are happy, click customise to bring this onto the design space ready for the next step.
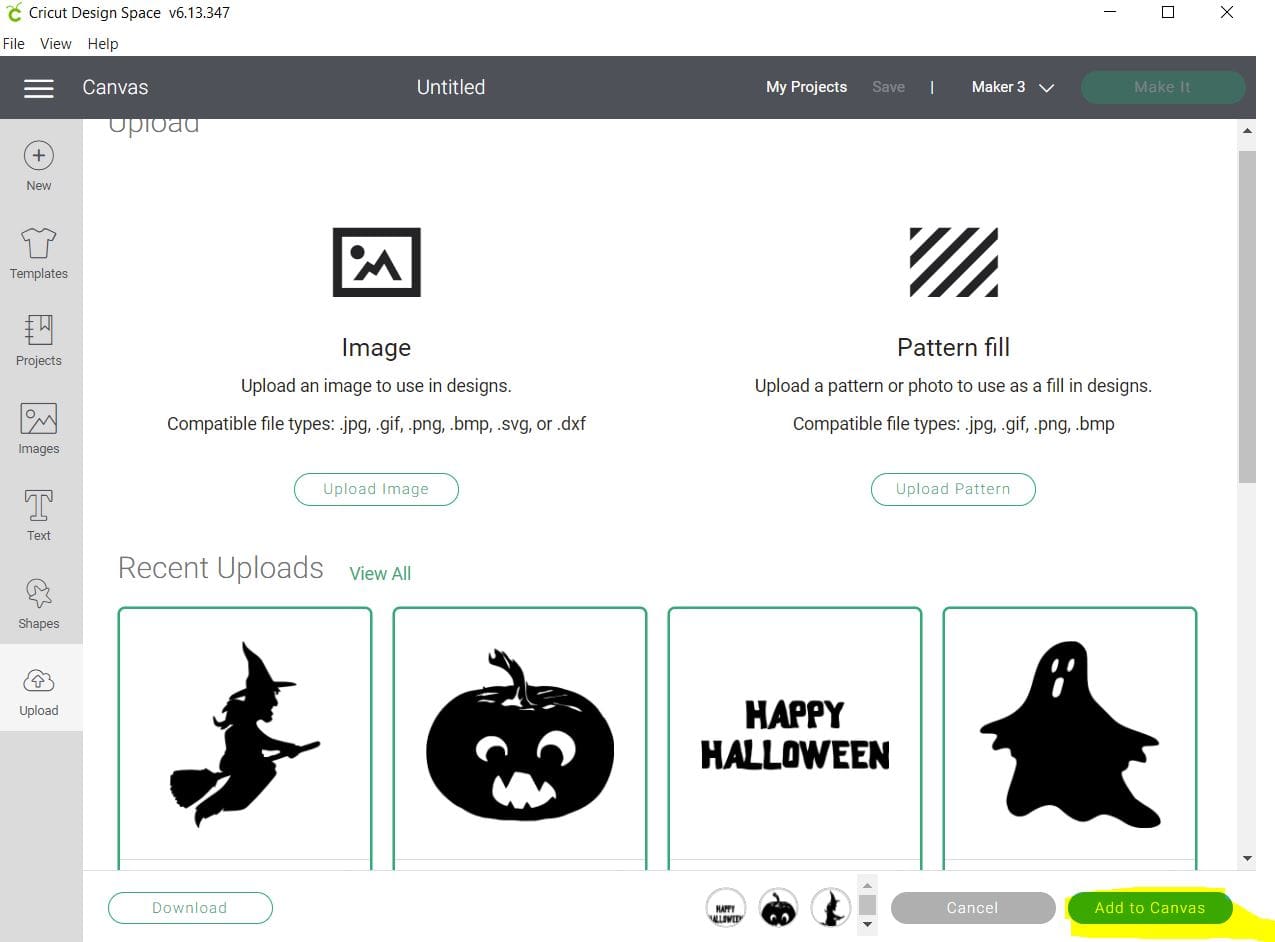
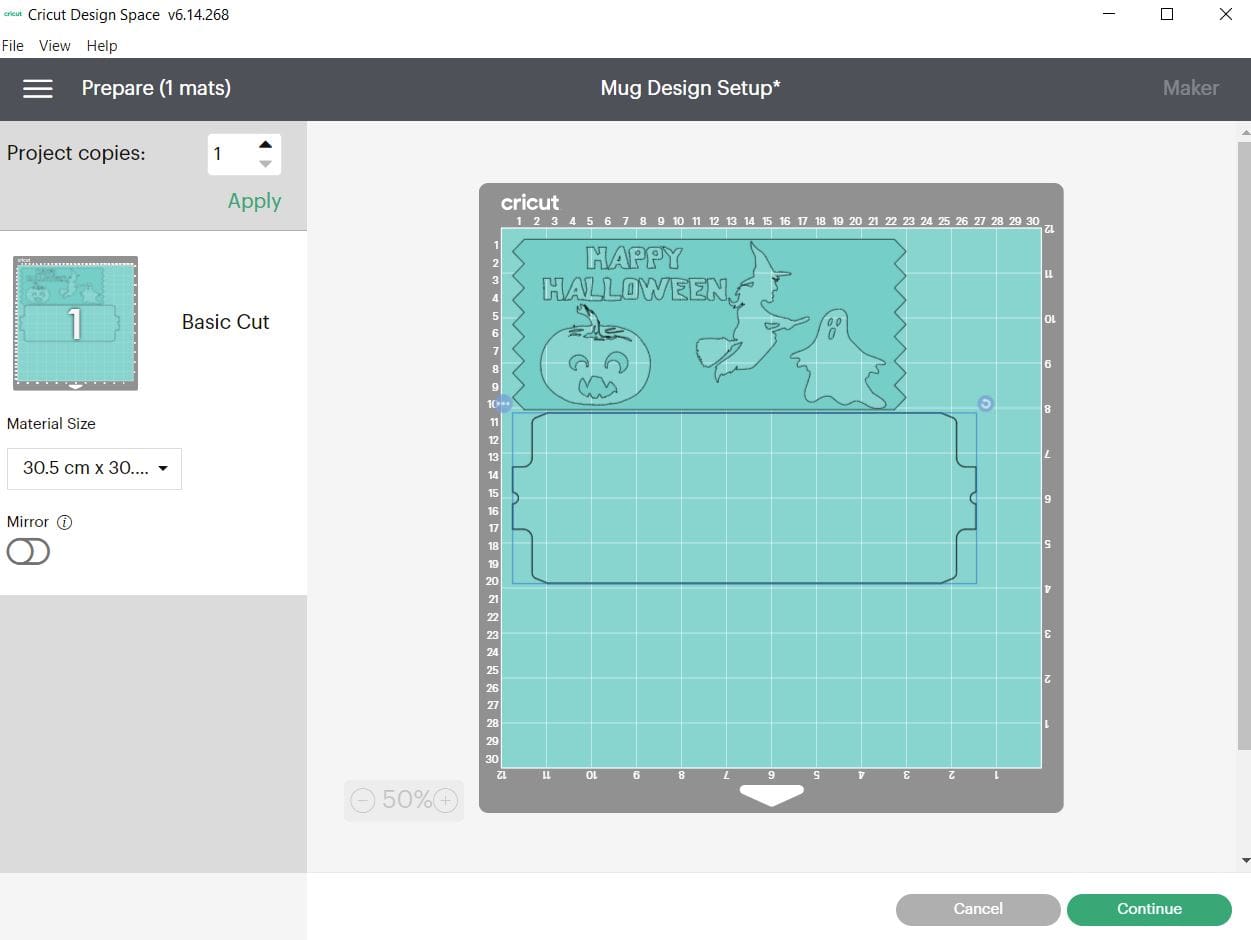
2. Once you have the above screen showing, it is time to download the cut files for your machine from the link above. Upload by clicking the upload icon as highlighted for you below in Yellow, also check you have your chosen machine setting again highlighted in Yellow below. Upload each PNG into the design space. Click “Upload Image” on the left-hand Design Panel, and navigate to the files you want to open. Select ‘Insert image’ and select image type ‘simple’ when prompted. Next you’ll be asked to delete any space that does not get cut, you can skip this part by pressing ‘continue’. When asked if they’re print-then-cut images or just cut images, select cut images. Click save and do this for all cut files. When all have been uploaded, Insert all the images onto the canvas and resize to suit your project. When re-sizing for this I bring the design files together as it will be on the project so I can then get the entire size in one box so I get the over all design size correct with no hassle. I then spread them on the blue Wrap ready to complete my mug design.
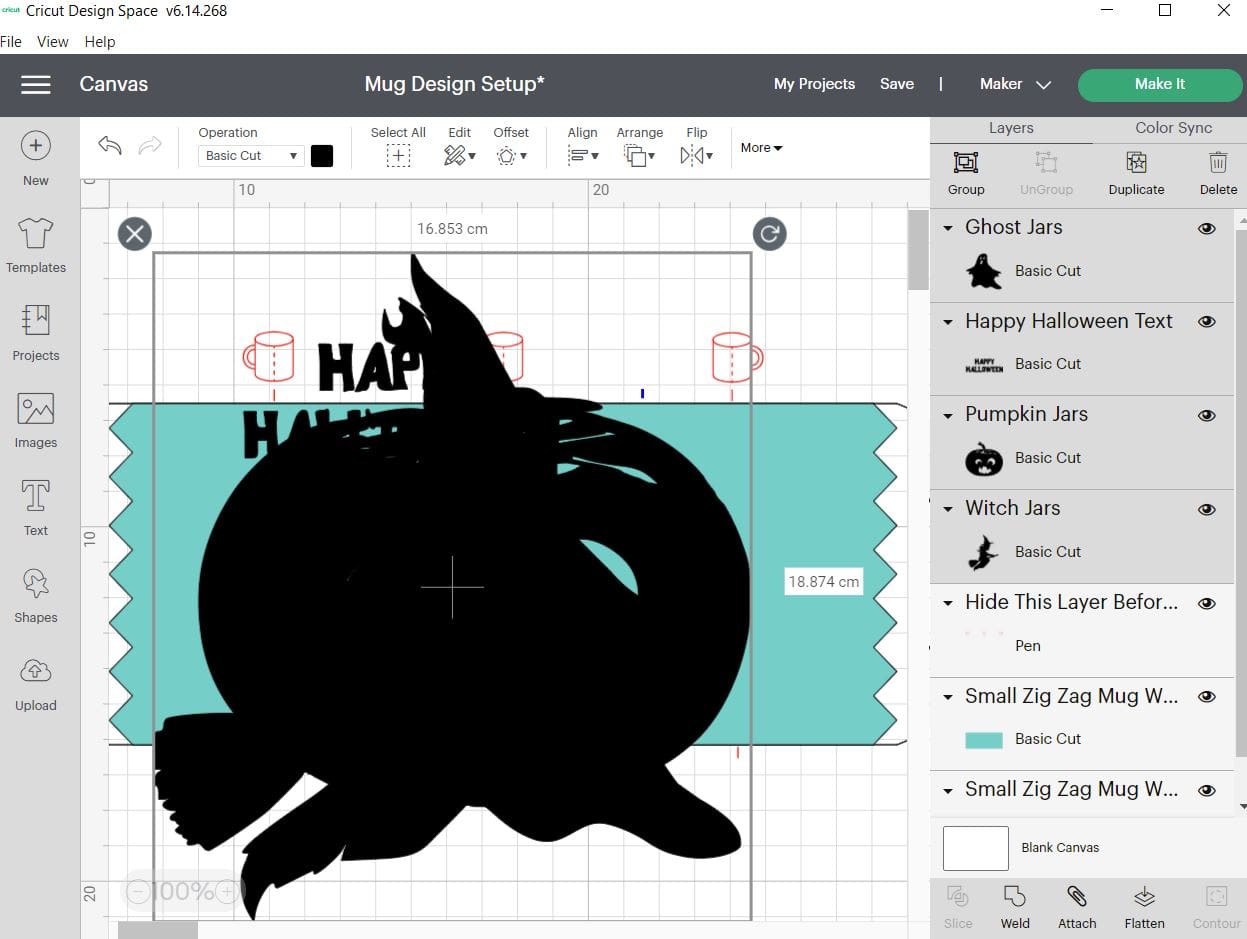
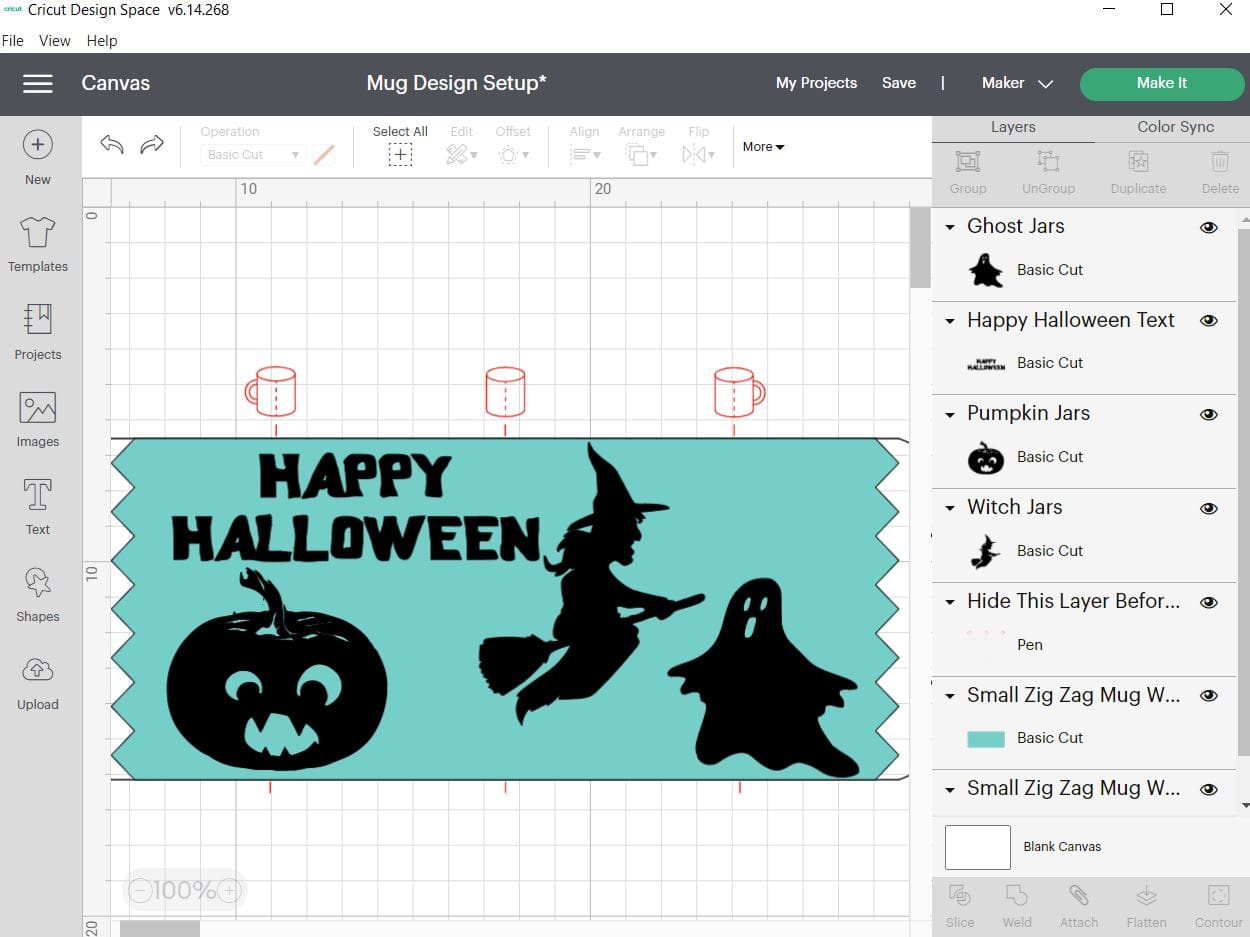
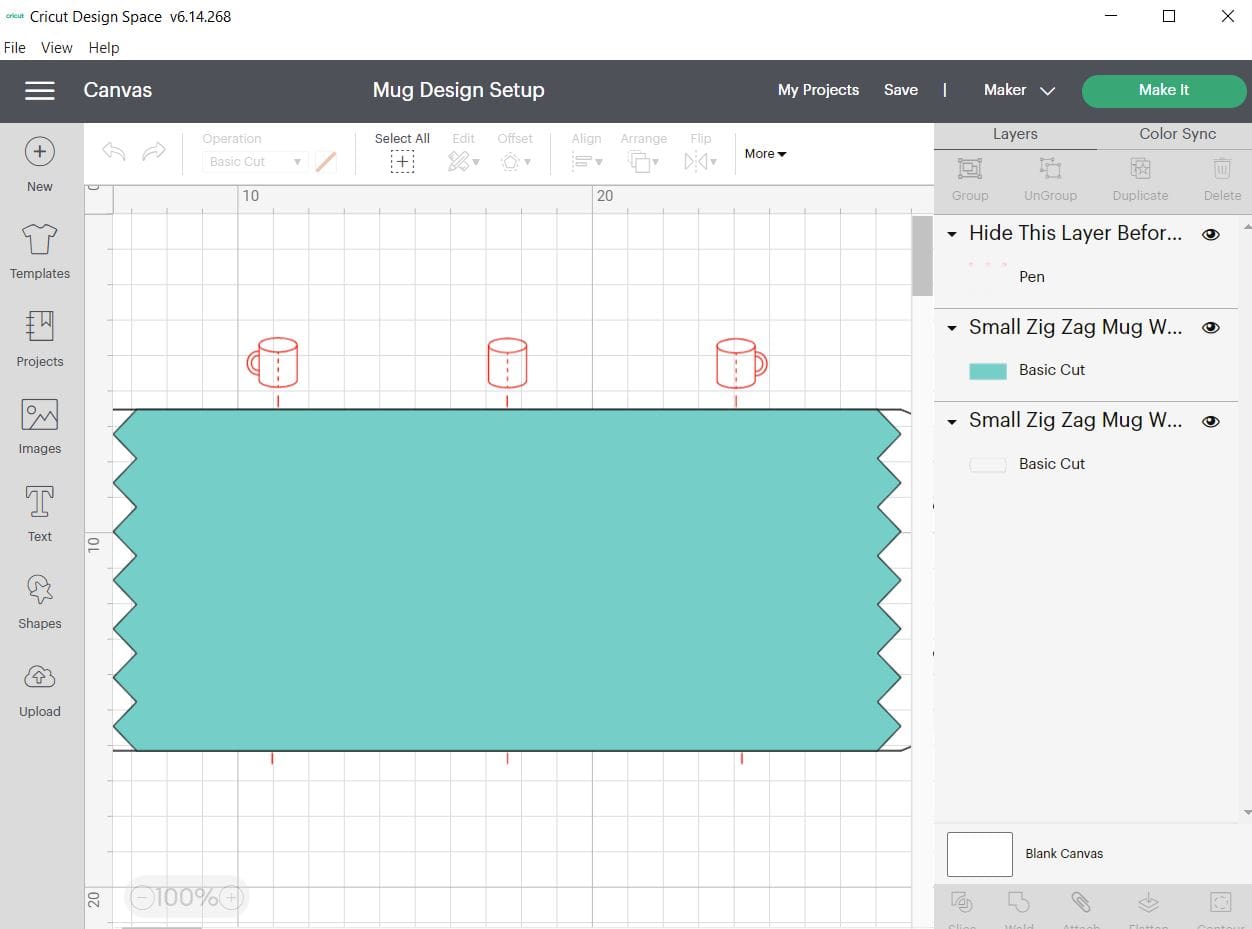
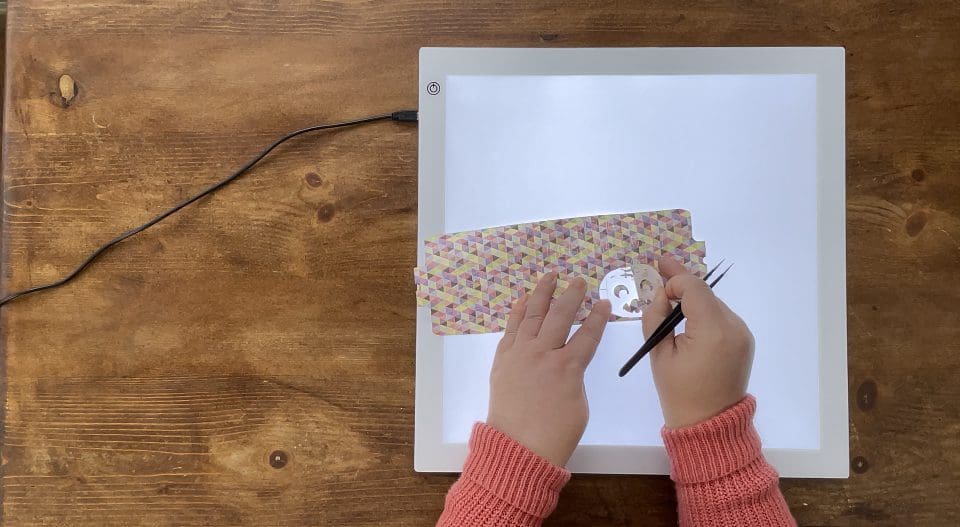
3. Once I have the design right, I then use the eye button icons to hide the red mug guides which are supposed to be hidden, and are a guide for your design placement only, you can hide them, by clicking the eye icon, or delete them if you don’t need them again. I then hide the 2 small zig zag files, so I can weld my Halloween design together first, see below.
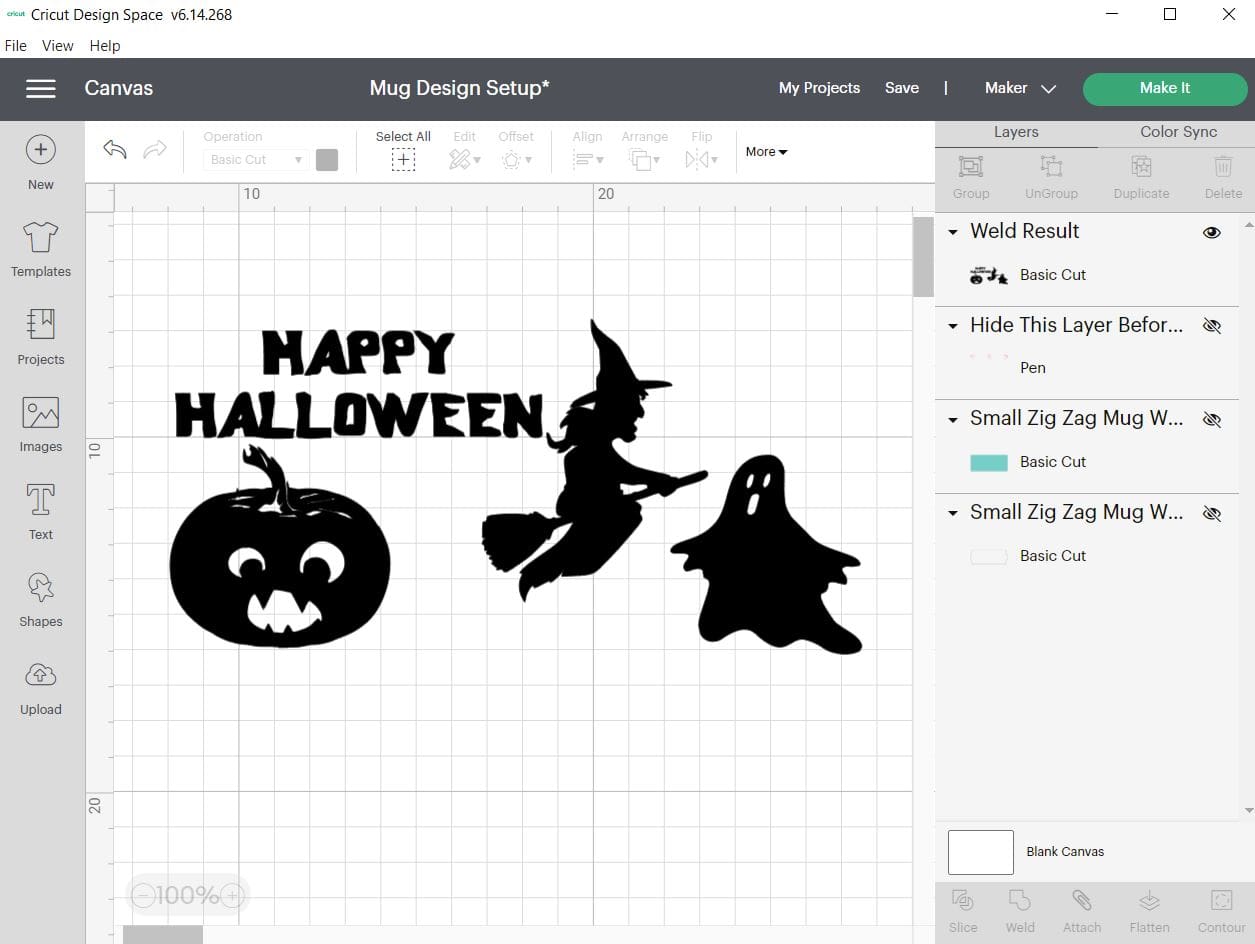
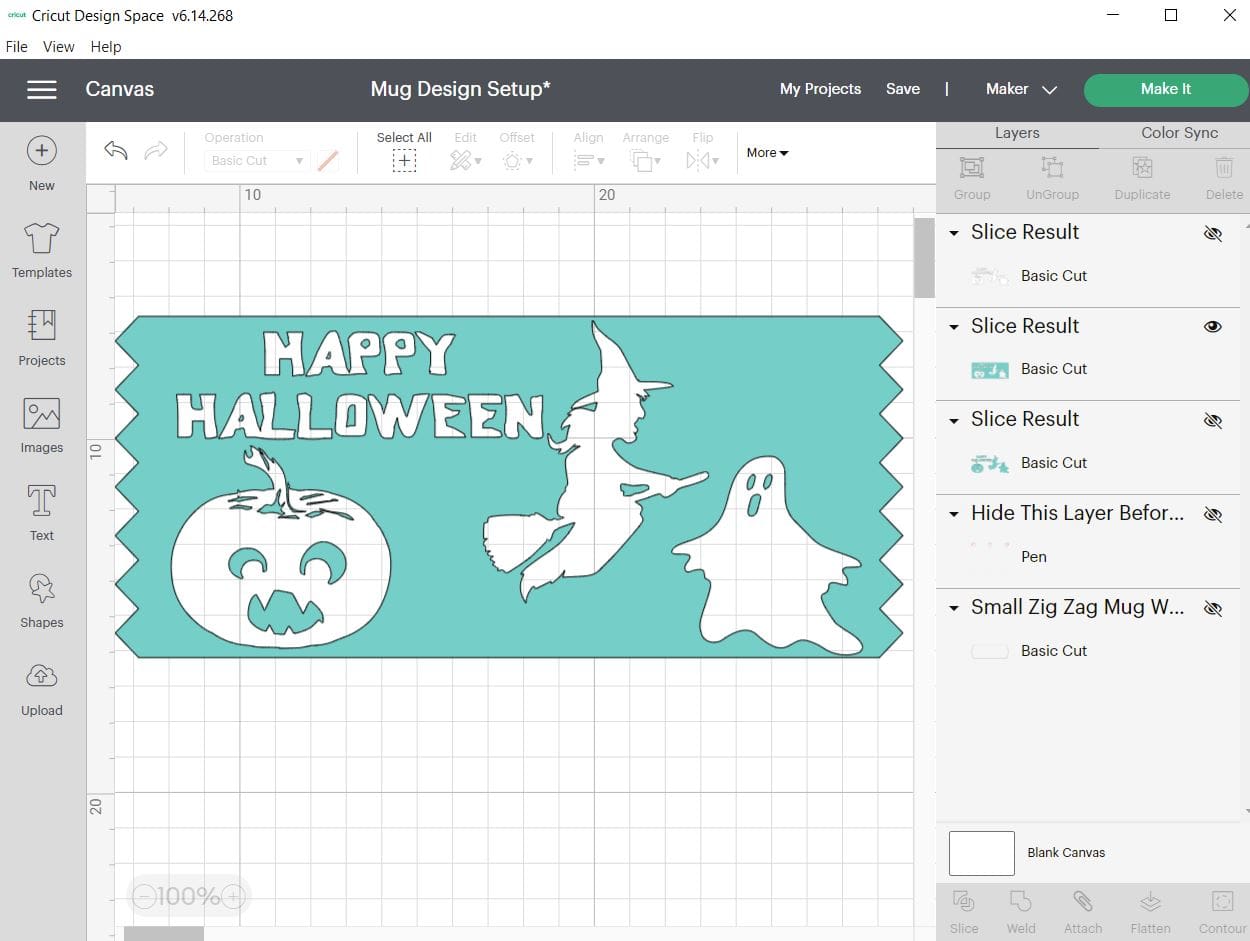
4. Once this is welded as above, I then unhide the blue layer, and drag my mouse over both the blue and the welded design to highlight both and click “slice” this creates a cut file within the blue wrap, allowing me to knock out the Halloween design from the mug wrap. I then click to hide, or delete all the slices as they will no longer be needed. Lastly, unhide the small zigzag mug wrap layer, before clicking make it. Then move on to choosing to cut on the next screen using your mat,
5. Once you come to the next screen, please click to mirror the design, before moving the mug wrap and the happy Halloween layer over each other, so that when loaded, the sheet will be cut perfectly. The mug wraps design is made to completely cut the whole sheet, and kiss cut the Halloween layer automatically when using the template in this way, you will see how this works further down, so it is important to set these correctly together now as shown below.

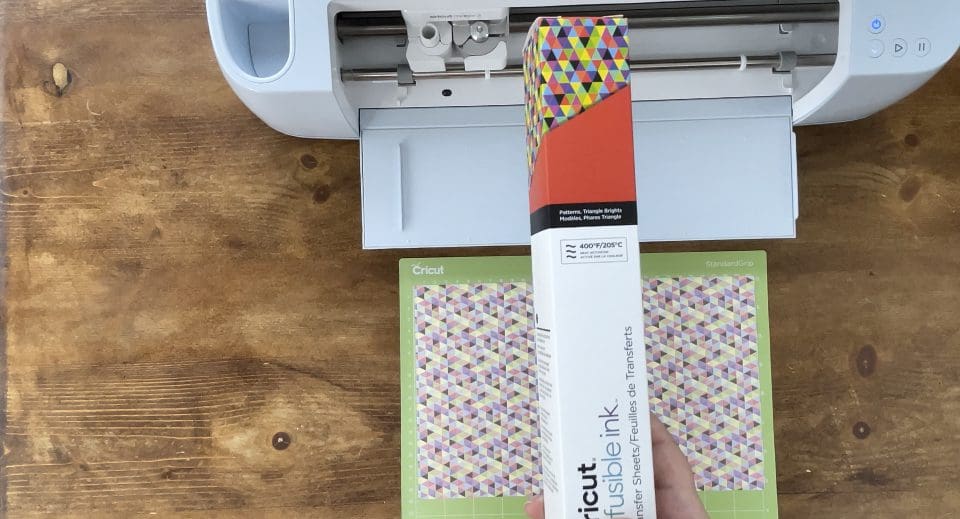
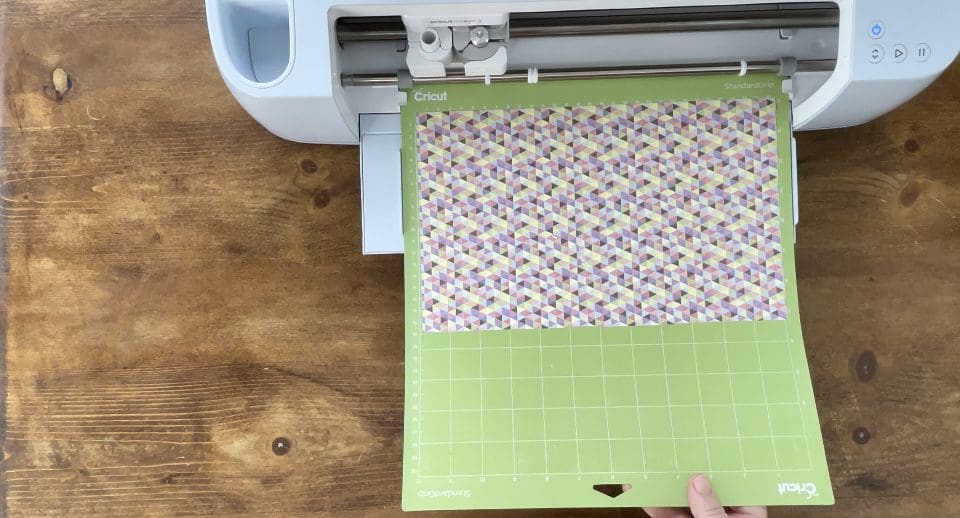
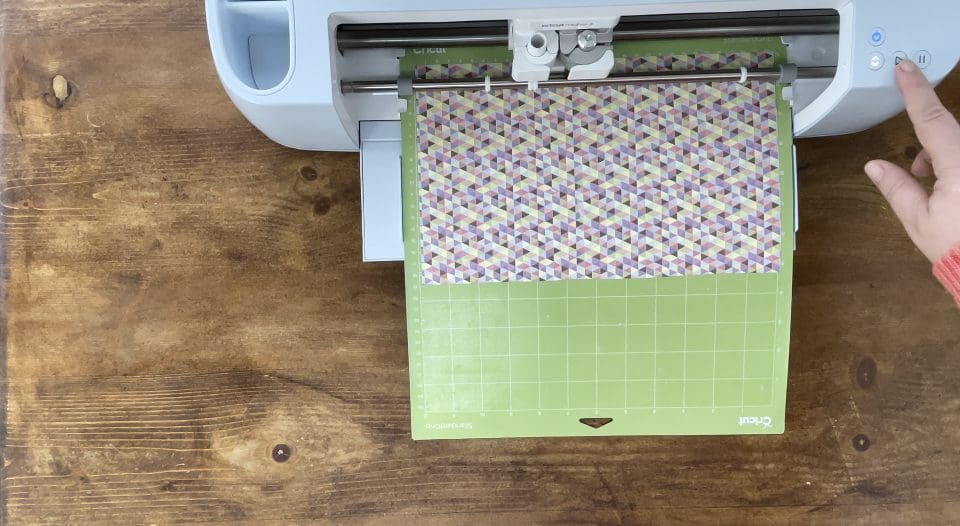
6. Once you are happy your designs are placed as above, cut the sheet of infusible ink to cover the cutting area on the mat and place with the design colour facing you, and the Clear Cricut branded sheet is on the mat. Load into your machine, after choosing the Infusible ink setting on Default in the Cricut software, once your mat is loaded, press the flashing play button on the machine to cut.
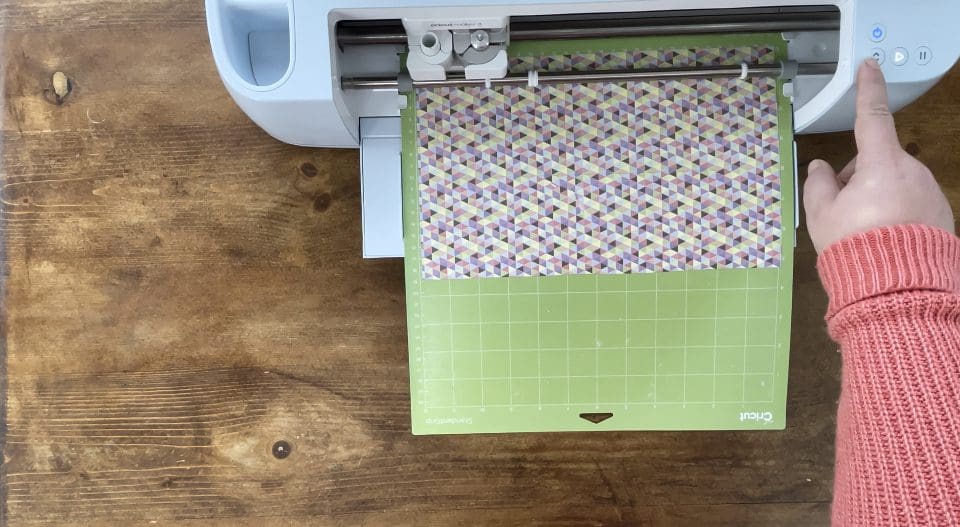
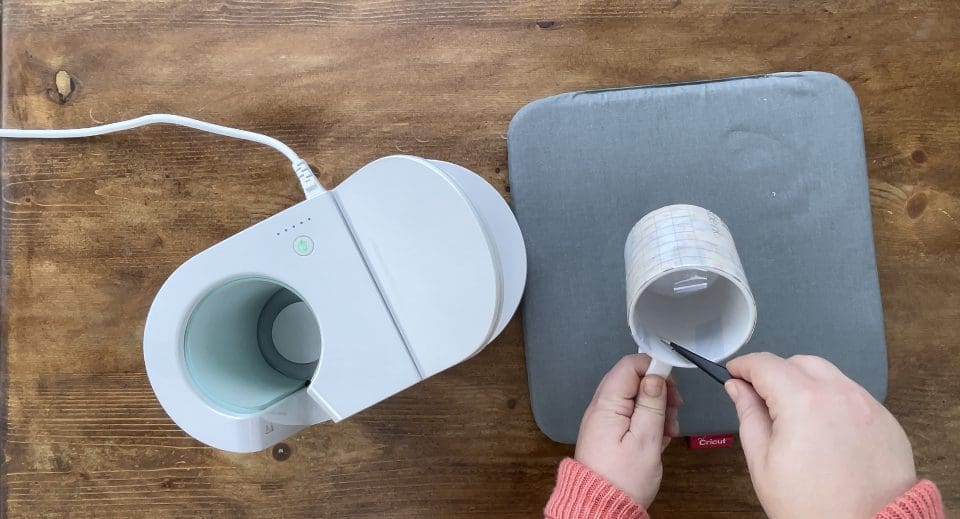
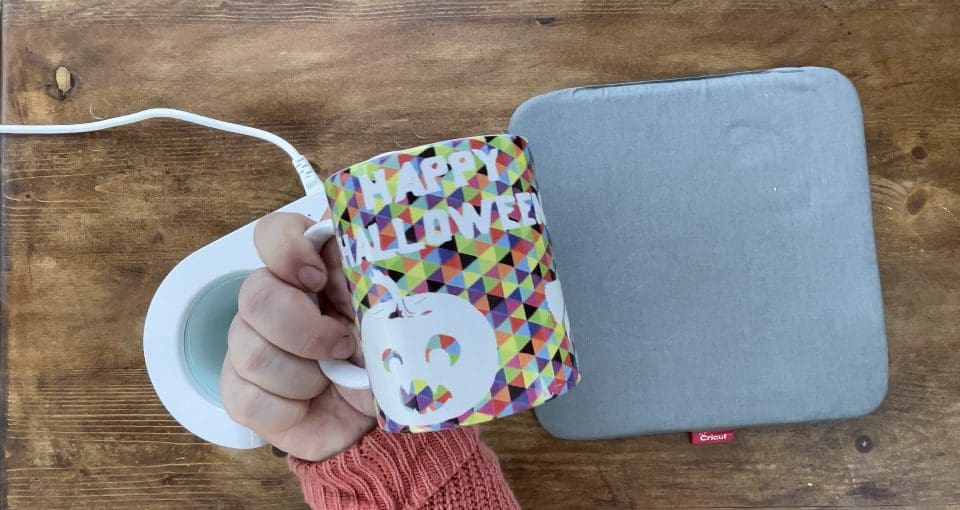
7. Once cut, eject the mat from the machine by pressing the arrows button on the left, gently flex the mat away from the sheet and pull off the outer cut revealing the Mug wrap layer still on the mat, Then gently flex this inner layer away from the mat and roll backwards to remove carefully so you don’t loose any fine details from your design. Once you have done this, switch your mug press on to preheat whilst you proceed to weed it will gently heat up.

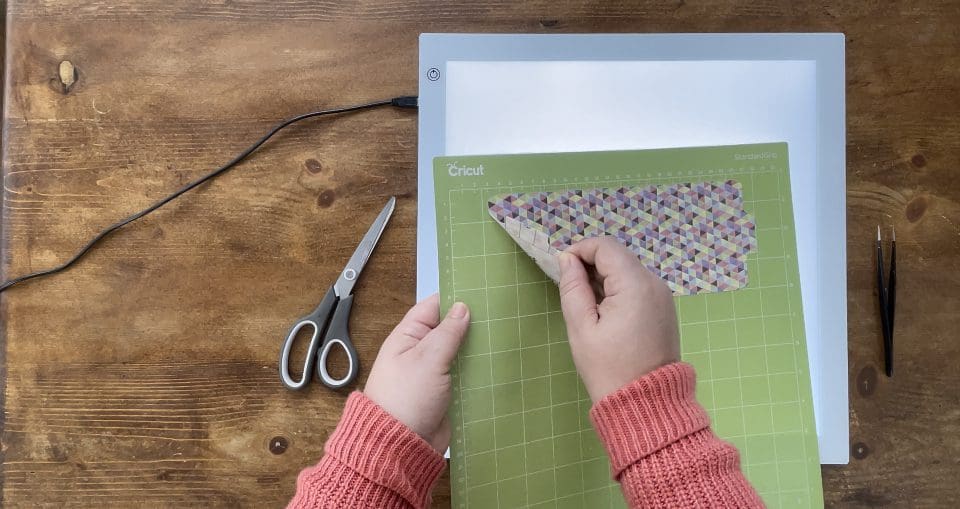
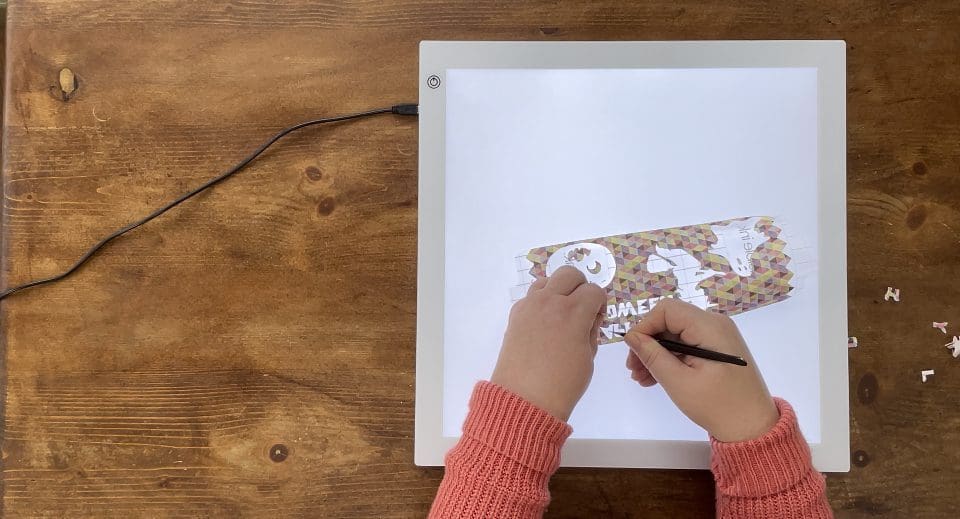
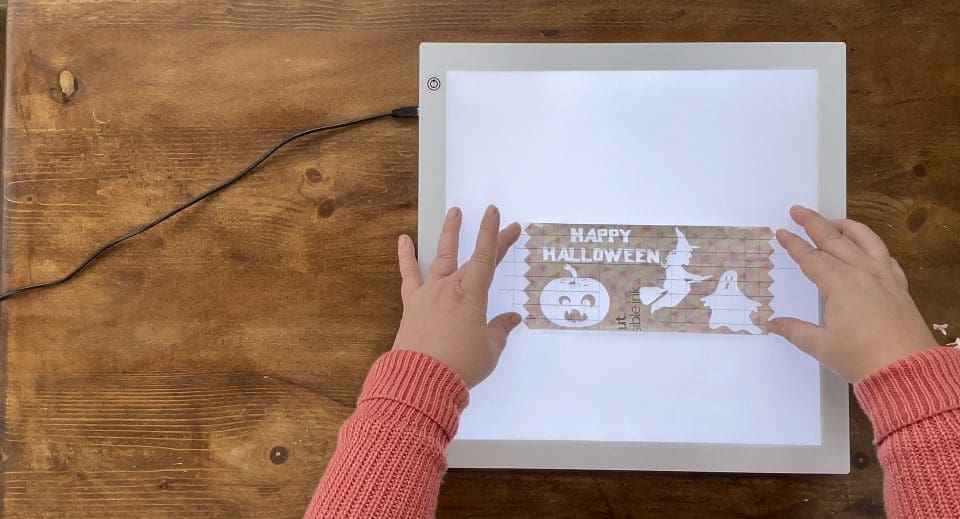
8. Whilst the mug press is warming up ready, you can take your LED light pad, and remove the waste (Weeding) from the backing, paying careful attention not to loose the small details in the middle of letters for example. (should this happen trim a replacement from your waste with scissors and stick it in place on the backing sheet, remember to place this with the ink face up if you need to do this) Once weeded, I always turn the design over on my light pad to check I have correctly removed everything, and check no middles etc are missing. See below.
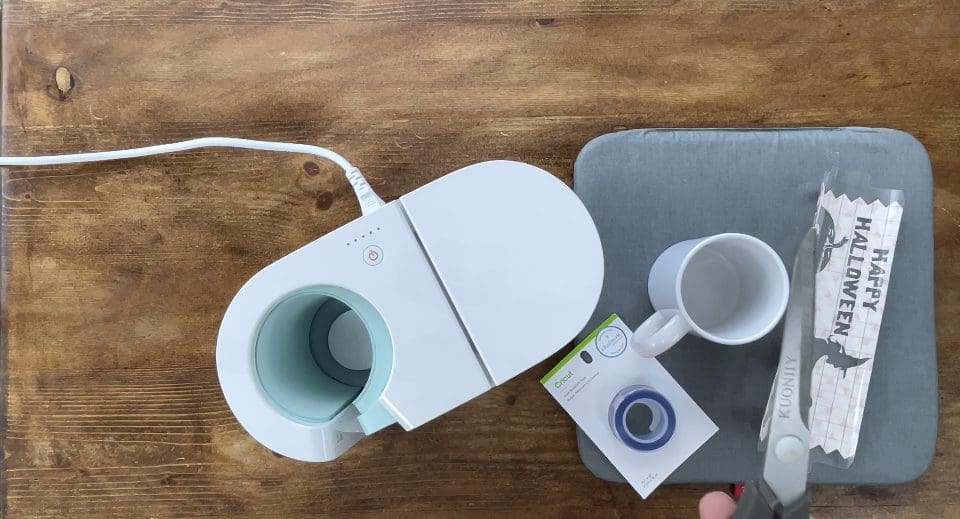
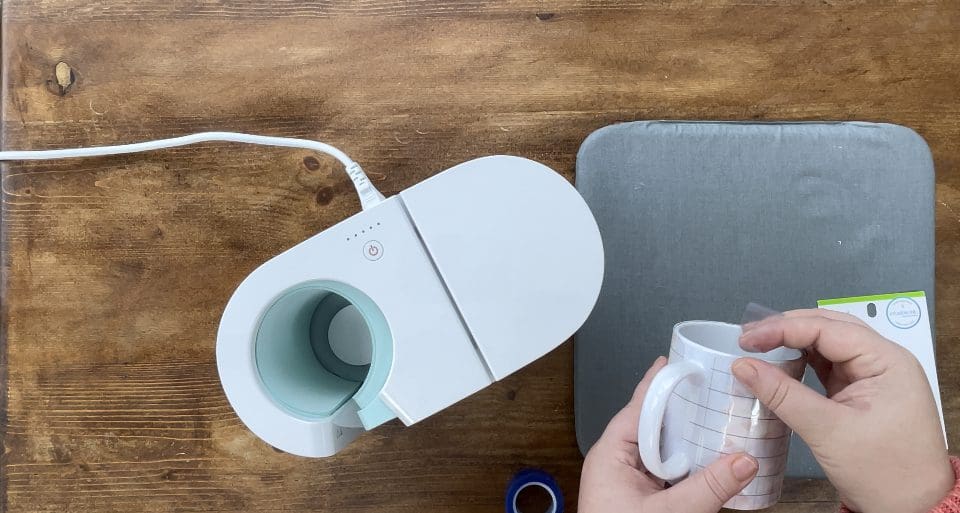
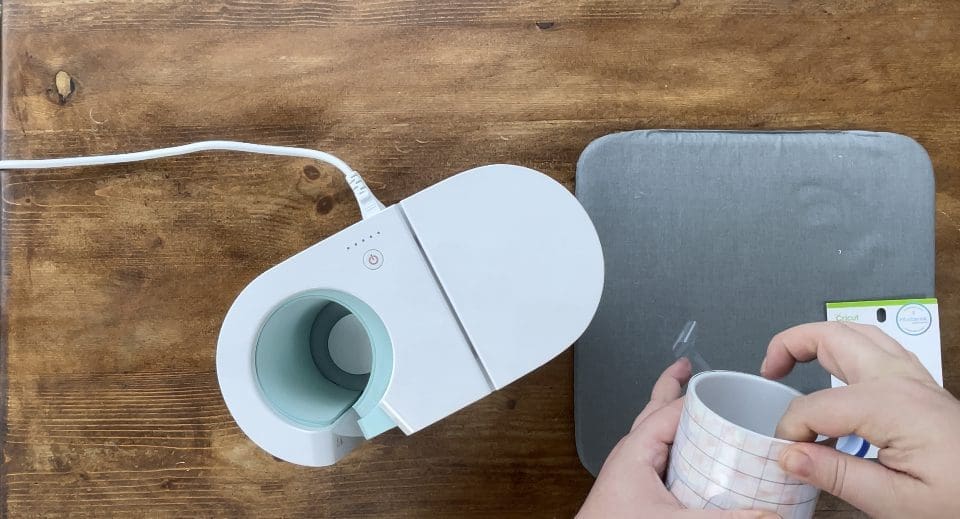
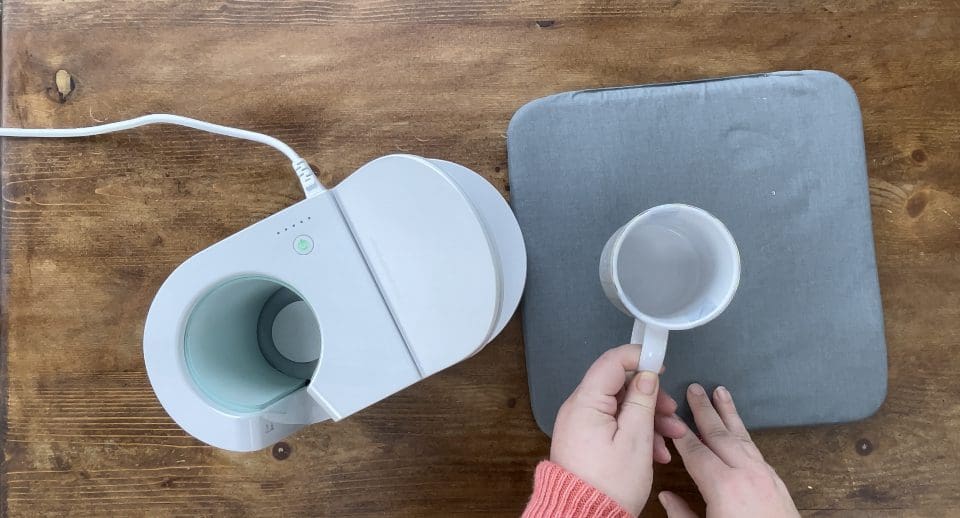
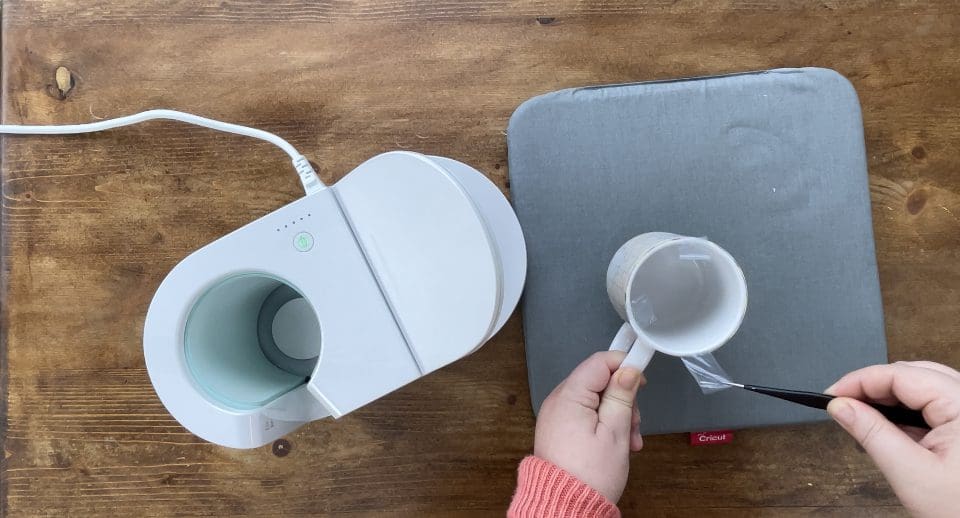
9. Prepare to place your mug design on the mug, take a Cricut Infusible mug, Cricut Heat resistant tape, your pre weeded design and some scissors. Cricut also recommend running a lint roller over your mug to prevent any dust interfering with the infusible sheet’s application. Before we proceed, Please note below Cricut instructions for the infusible sheets on a Mug. link here for more info see below

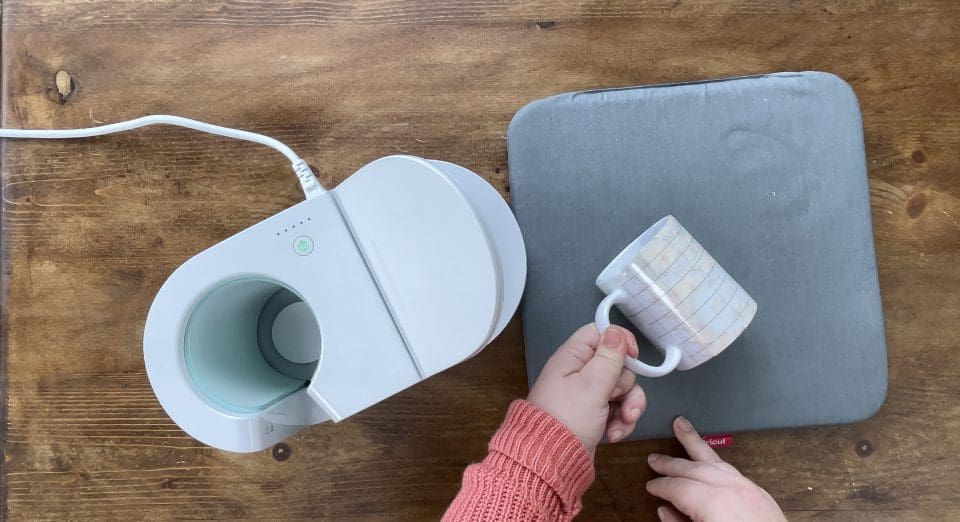
10. Once you are ready, take your mug wrap and place the clear tab now showing after weeding, under the handle, ensuring the design is square with the top and bottom of the mug and with firm pressure wrap around the mug, rubbing it in place, before placing the other clear tab to meet the first one under the handle. Be sure to wrap this with the ink on the mug and clear sheet facing out towards you. Once you are happy with the placement, cut 3 pieces of heat resistant tape (approx. 7-10cm long) and use these to secure at either end near the handle, half on the design, half folded and pressed into the inside of the mug, and use the 3rd some where near the middle. See below.
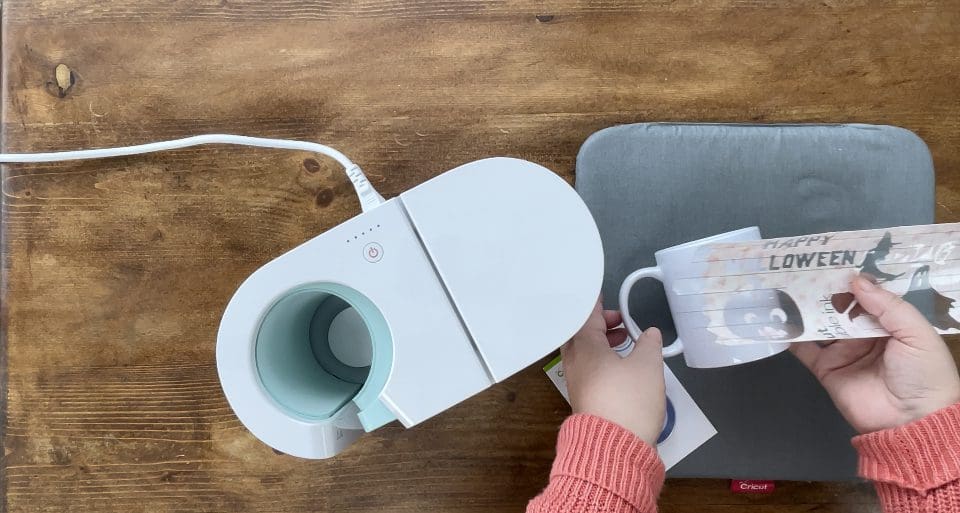
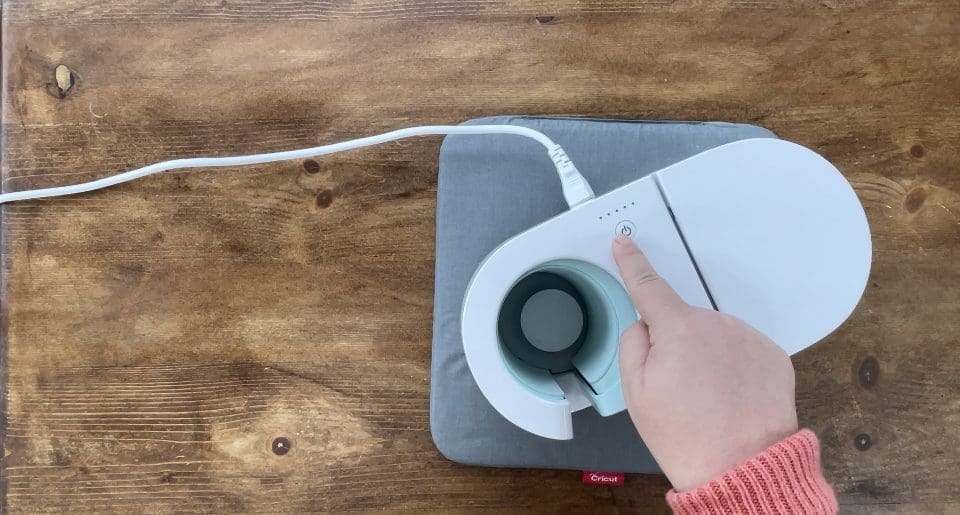
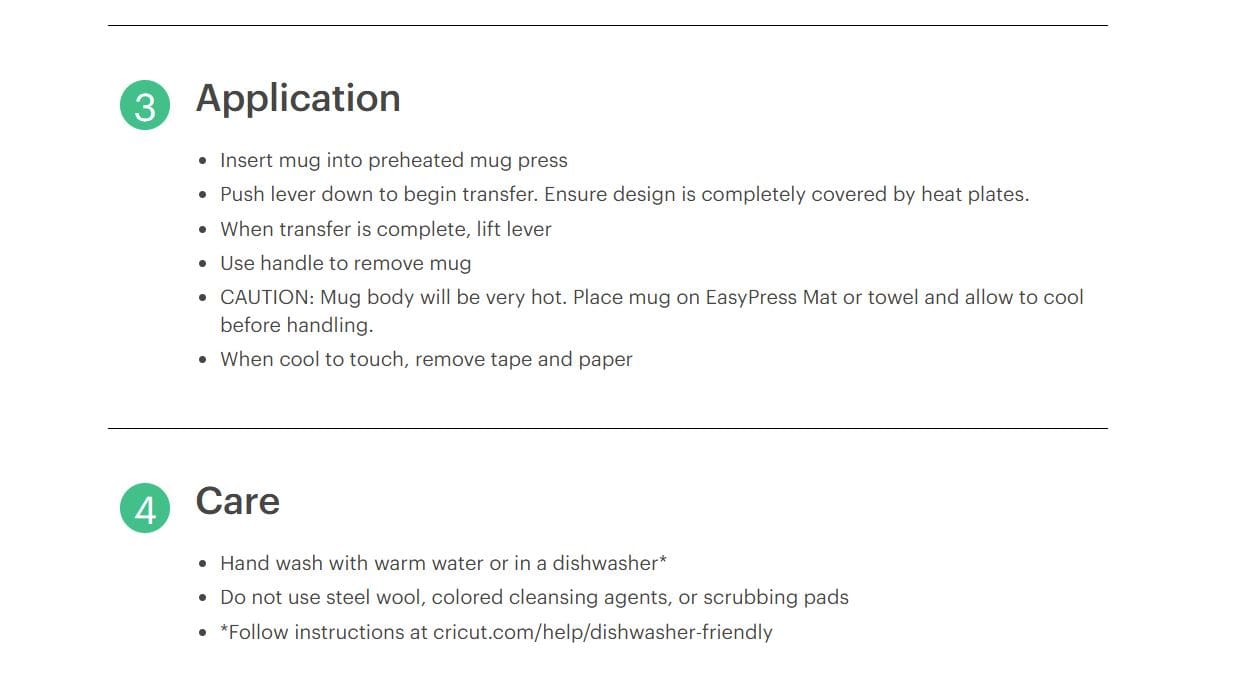
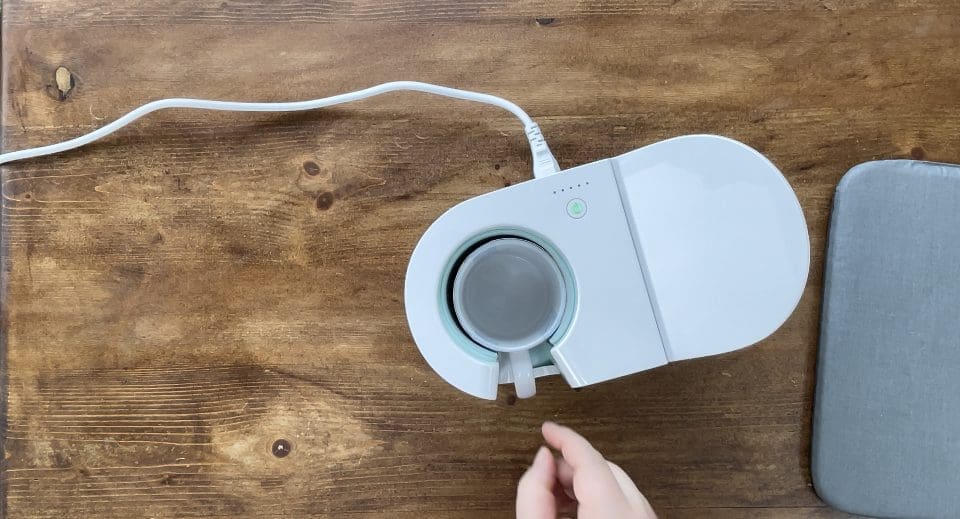
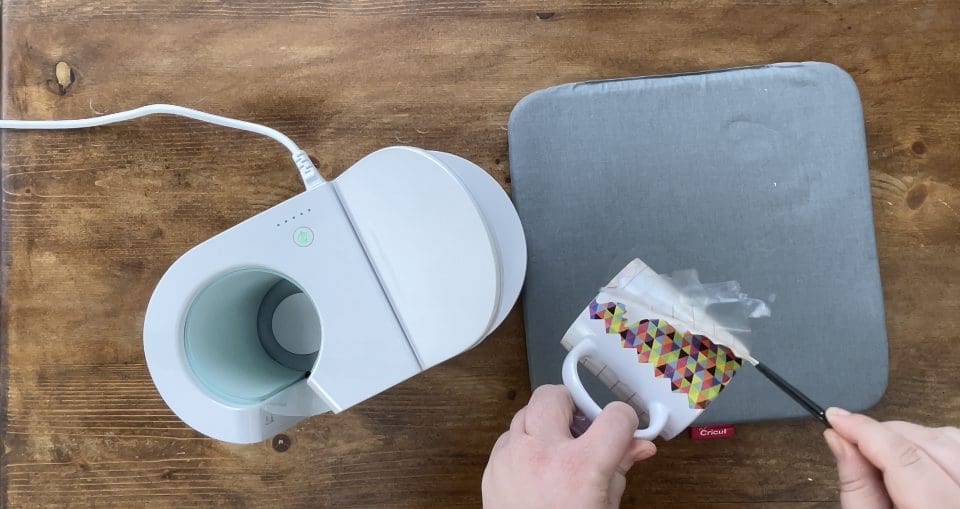
11. When the Cricut power light has gone from Orange to Green your press is ready. Place the mug with the handle out of the press in the middle as below, once you are happy with it’s placement, with the flat of your hand push down on the right hand side, to close the press, this may take a little pressure and it will not close more than it should, the leaver should be flat once fully closed. The white dots above the power light will start to flash more and more light up, until the final one, and then the machine will make a short beep and the lights will all flash to tell you it is ready- 6 minutes later.
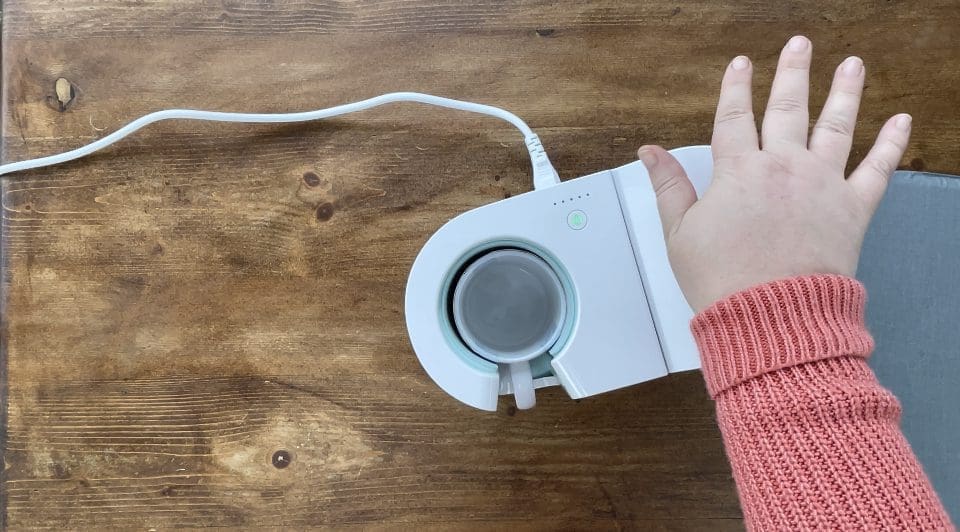
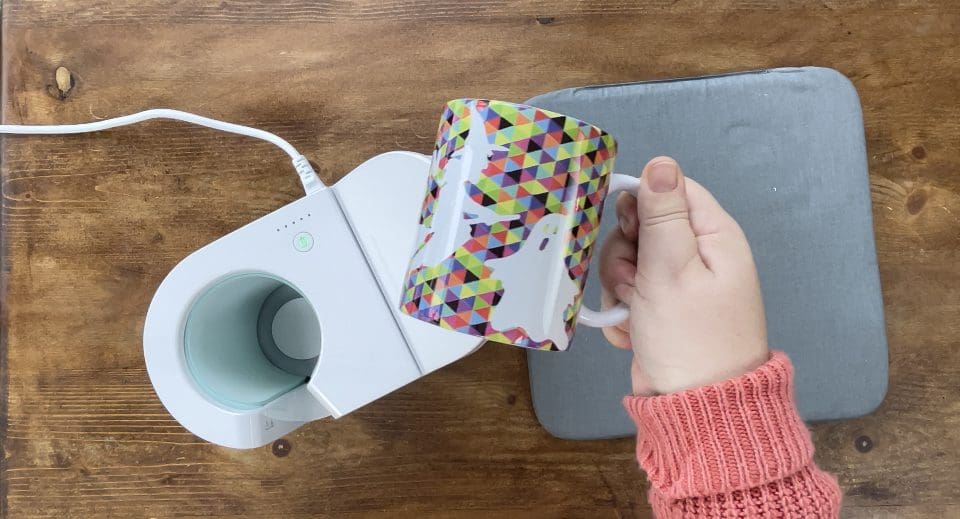
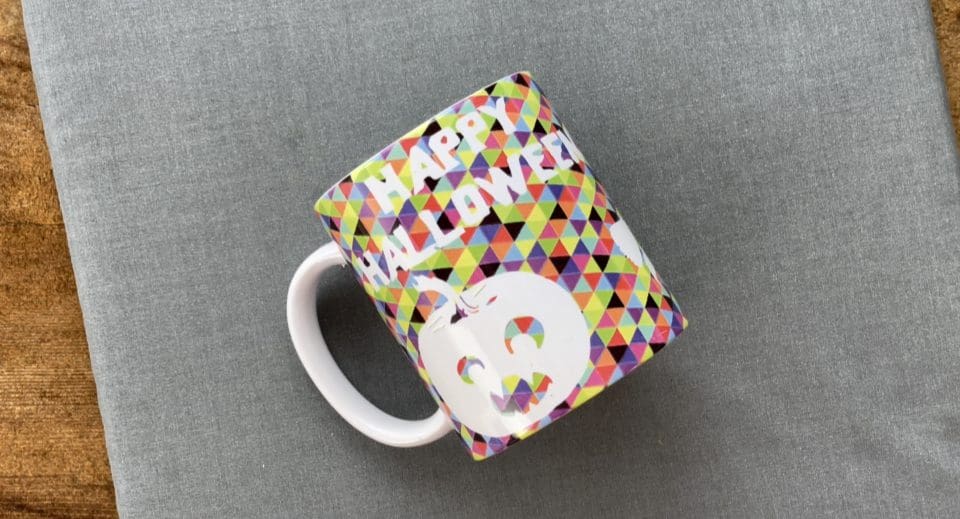
12. Once it has beeped and all the lights are lit, carefully take the lever back up from the right to open the clamp, be careful the mug is very hot, and whilst the handle is ok to touch, the mug itself will burn you, please place it onto a heat resistant mat once removed and allow to cool.
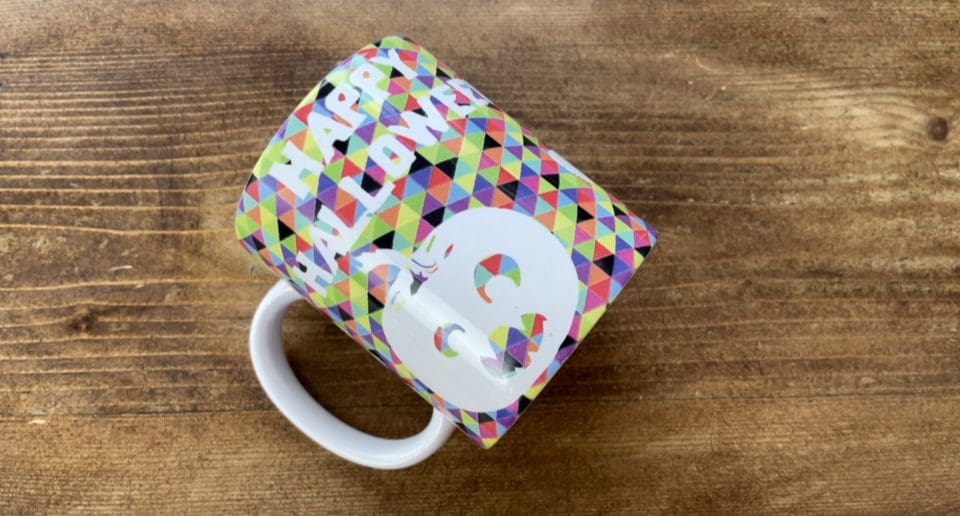
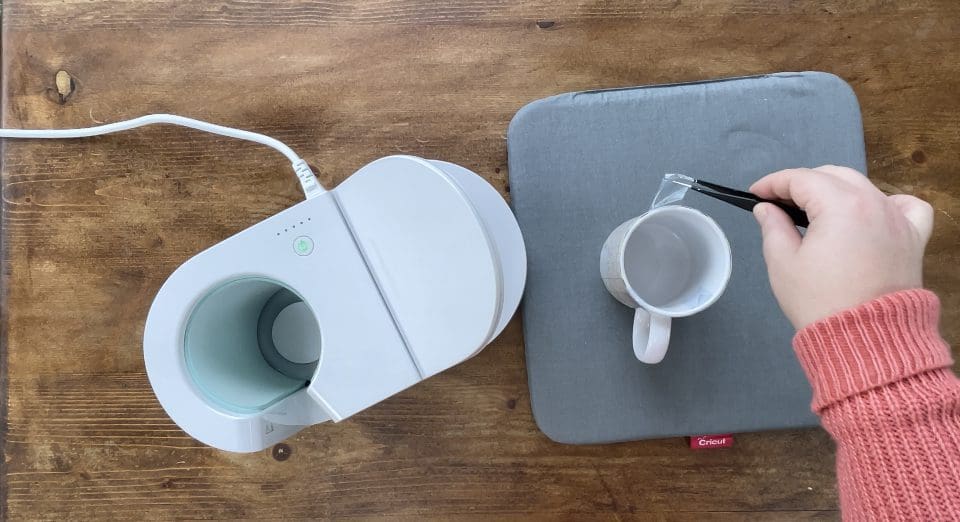
13. Once cooled remove the heat resistant tape, and the infusible wrap sheet completely, remember to check no fine details have stuck to the mug. I use tweezers to ensure any residual heat doesn’t cause me any problems whilst doing this.
14. Don’t forget your finished design can be matched by using the cut files for any material cut using a cutting file, card, self adhesive vinyl or even HTV. We’d love to see your makes on our social media pages! Or email them in!
Silhouette Cut File
Instructions:
Before you start, you need to download the cut file, Upload the cut file into Silhouette Studio and resize as necessary, (when resizing bring all layers into the design software and select all at once to get the correct offset layers and save the adjusted file, so you can cut layers individually at that correct scale you have chosen) Remember to test cut if necessary and cut settings are found here along with test cut guidelines for every machine. (I would cut the infusible ink sheet using the holographic htv setting we use on our guide as a starting point but please test cut before doing the project following the info here on page 2 or 3 for your machine) .
Brother Cut File
To import these files into the Brother Canvas Workspace:
After downloading, please log in as usual to your design space account, open a new project mat, then left click on the SVG icon in the top left bar in canvas, this will then allow you to import your files. Once you left click this icon, a pop up box appears with you to choose where to import file from, choose to import the file from your downloads list or where you have chosen to save when unzipped.
(I would cut the infusible ink sheet using the holographic htv setting we use on our guide as a starting point but please test cut before doing the project following the info here on page 2 or 3 for your machine) Cut settings are found here
Just incase you need the link CanvasWorkspace (brother.com)