
Tutorial/Free Cut File
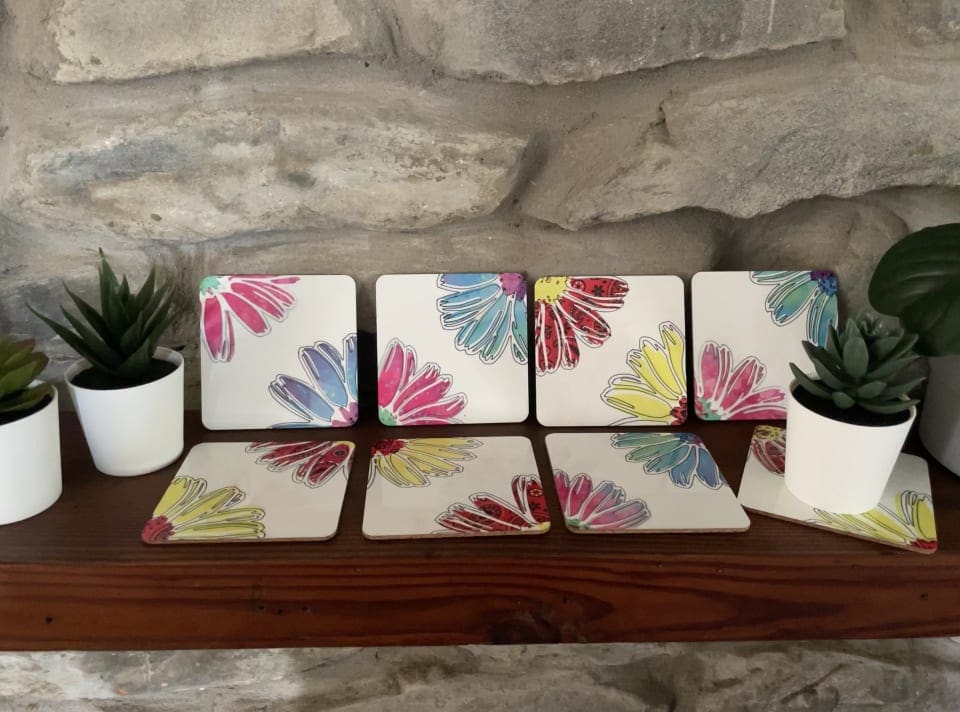
Cricut Infusible Inks Tutorial and Flower Coaster design
Hello there!
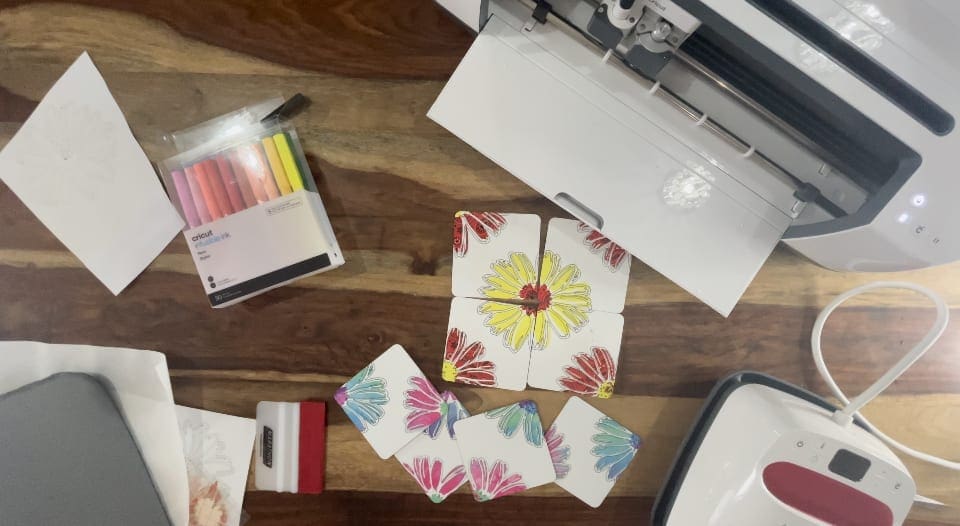
Here’s a quick and easy tutorial for a set of 4 Cricut Infusible Ink Coasters. Of course, this design isn’t limited to coasters and could work on any form of project, including using on a card with pens and vinyl, layer as a T-shirt design using infusible ink or as a cutting file with HTV, just adapt the process to the medium you plan to use it on and be sure to check our application guides as appropriate.
Get crafting this fun design for loved ones, friends, and family. You could even do a matching Card, T-shirt and Gift bag with the design to really impress!, This Tutorial is also suited for the Silhouette Cameo and portrait range, Cricut Maker, the Air 2 and if resized for the Joy, and also Brother scan n cut, Please see further down for the free files for Silhouette and Brother machines after the tutorial. Please bear in mind the cut and mat settings will need to be adjusted as appropriate for the machine – see our settings guide here
We would love to see what you make! Have you found our You Tube channel yet? The video showing this and all of our other tutorials are available on there, as well as exclusive demos, inspiration and more! Join us on Facebook , Instagram or Tiktok or send us an email to sales@gmcrafts.co.uk we would love to hear from you!
***watch this being made here***
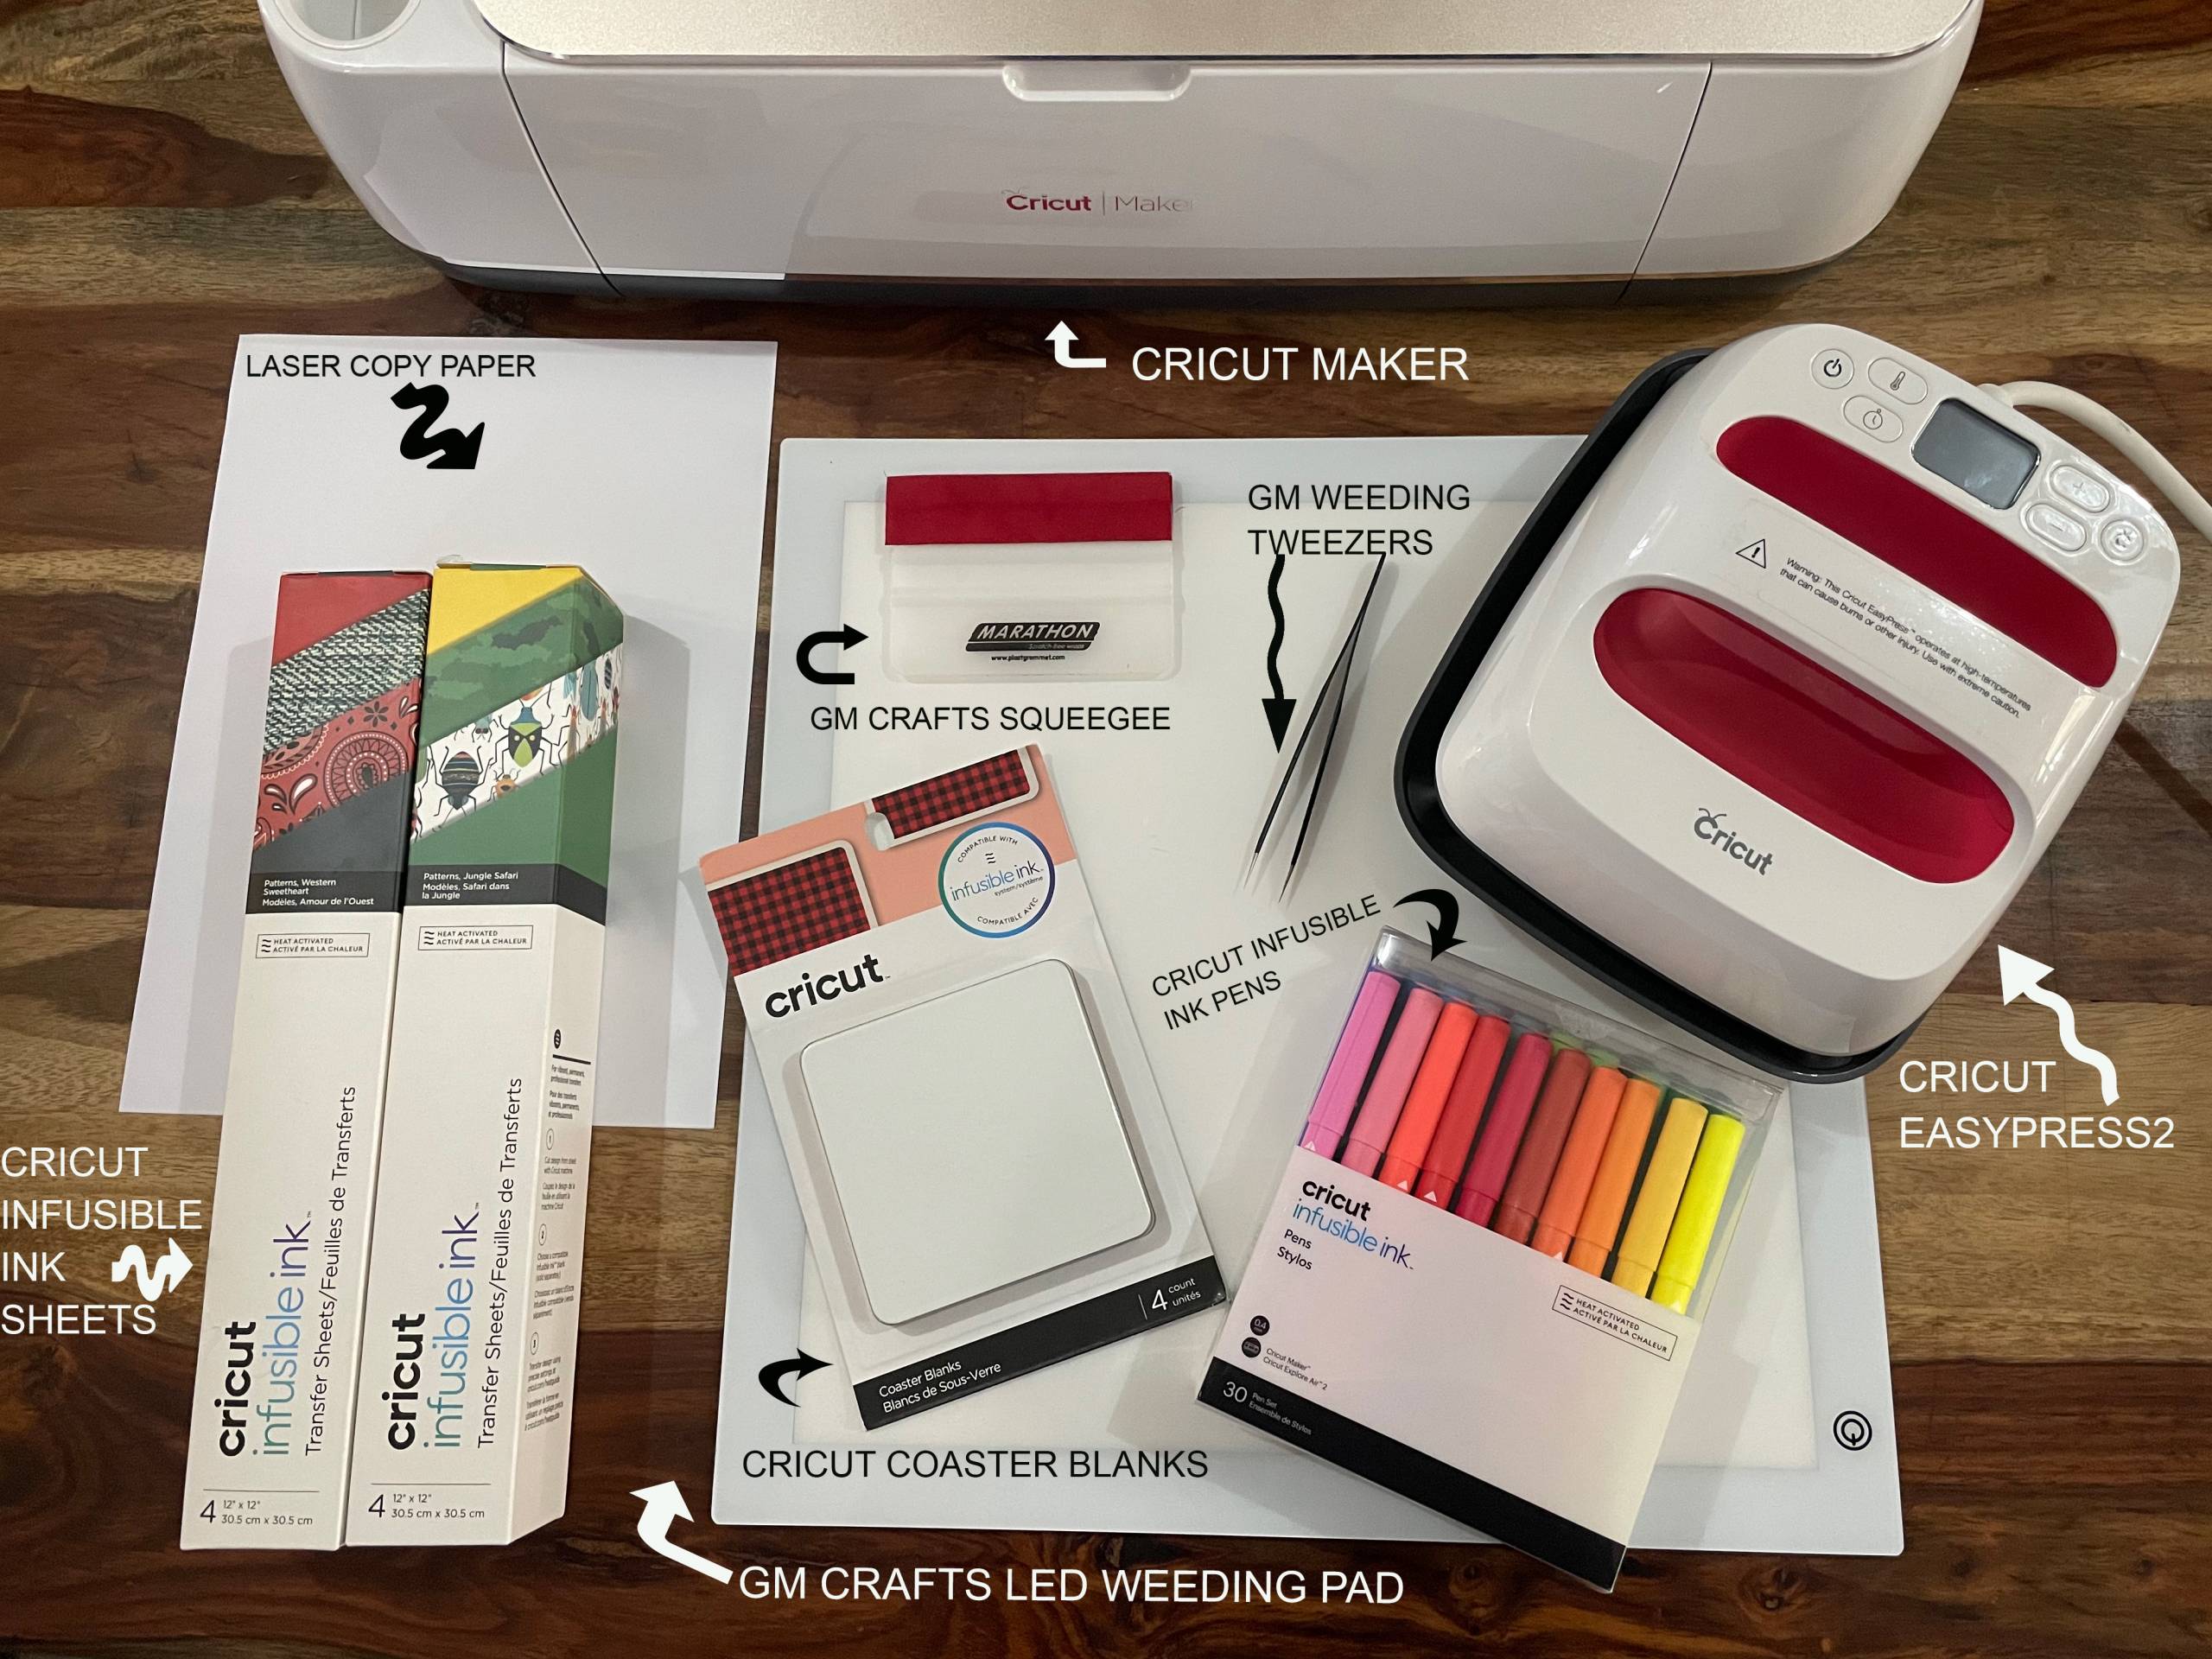
What you’ll need:
- Cricut maker . Available here
- Cricut Easyprees 2. Available here
- Cricut infusible inks. Available here
- Cricut coaster blanks. Available here
- Cricut infusible pens. Available here
- GM Crafts LED Weeding pad. Available here
- Squeegee. Available here
- Weeding tweezers . Available here
- Scissors and Laser copy paper from your own stash..
- Cut files, which are free below! Including, Cricut, Silhouette and Brother cut files.
- Cricut has it’s own infusible guide and instructions here
Infusible Inks daisy Coaster files
Instructions:
1. Before you start, you need to download the cut and drawing file for your machine above.
2. Upload each PNG into the design space. Click “Upload Image” on the left-hand Design Panel, and navigate to the files you want to open. Select ‘Insert image’ and select image type ‘simple’ when prompted. Next you’ll be asked to delete any space that does not get cut, you can skip this part by pressing ‘continue’. When asked if they’re print-then-cut images or just cut images, select cut images. Click save and do this for all cut files. When all have been uploaded, Insert all the images onto the canvas and resize to suit your project.
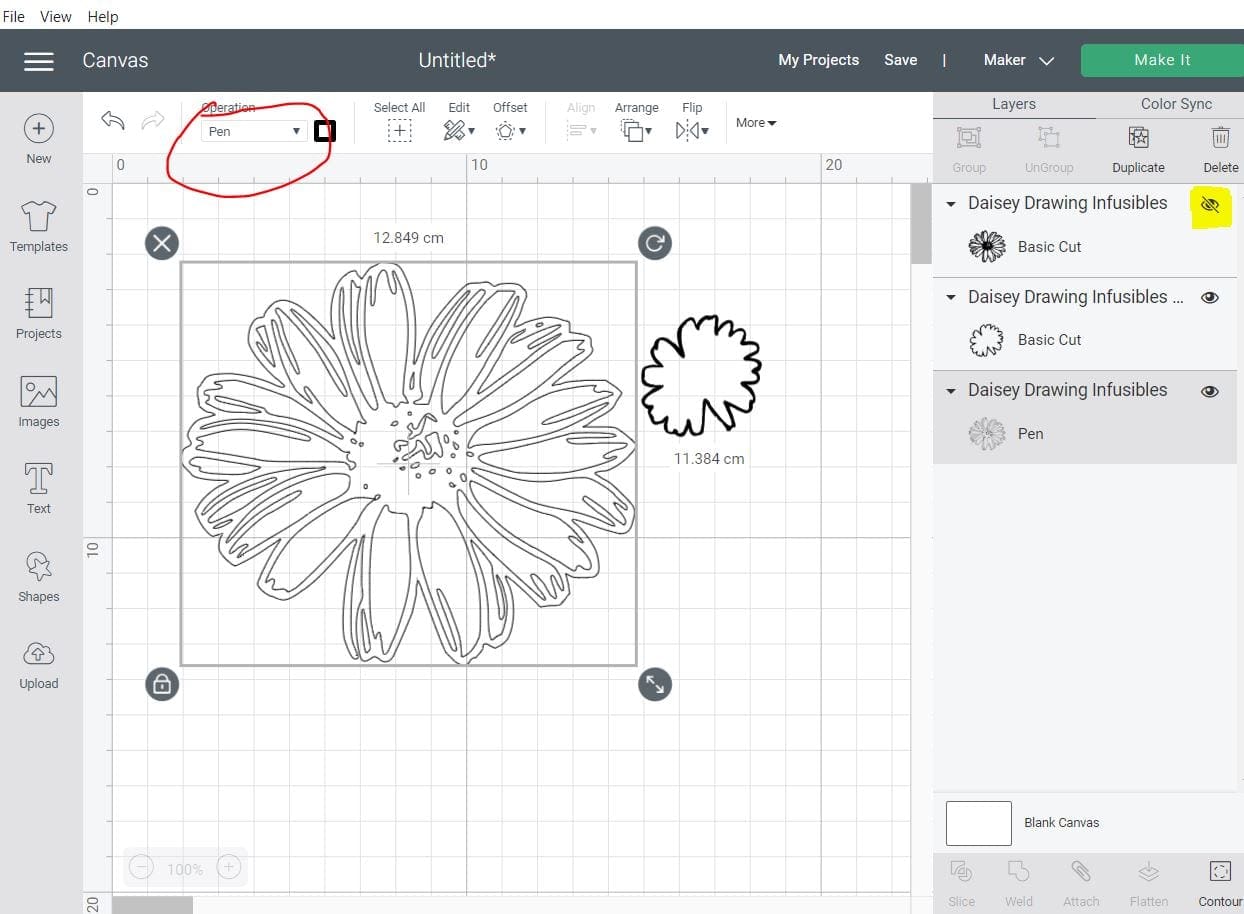
I then use the eye to hide layers I don’t want to cut so it is all accessible from one place. (click highlighted in yellow to hide layers) I also select one layer for the infusible flower as a cut and then click the same flower but set it to the pen operation. (see red circle) this then gives you 3 files 2 cut and 1 draw as below.
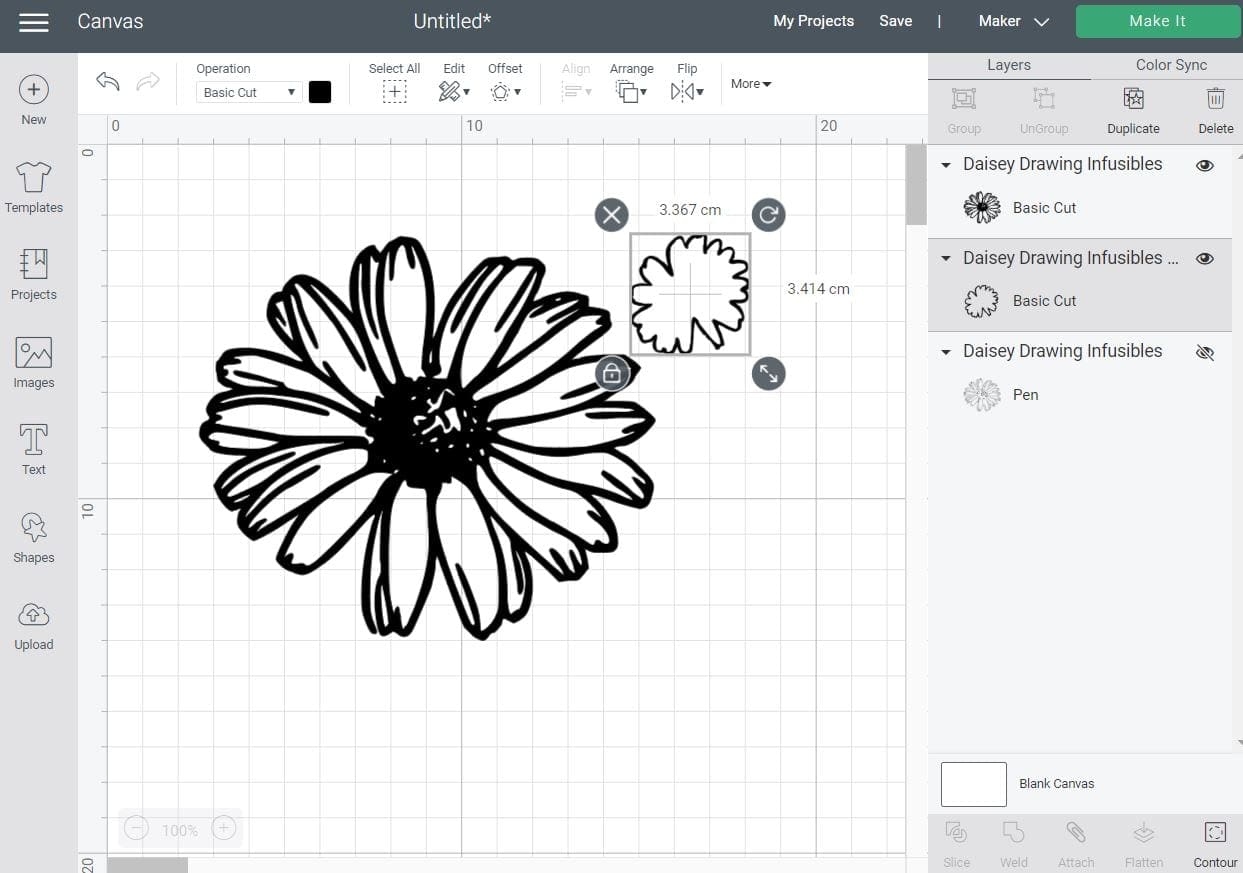
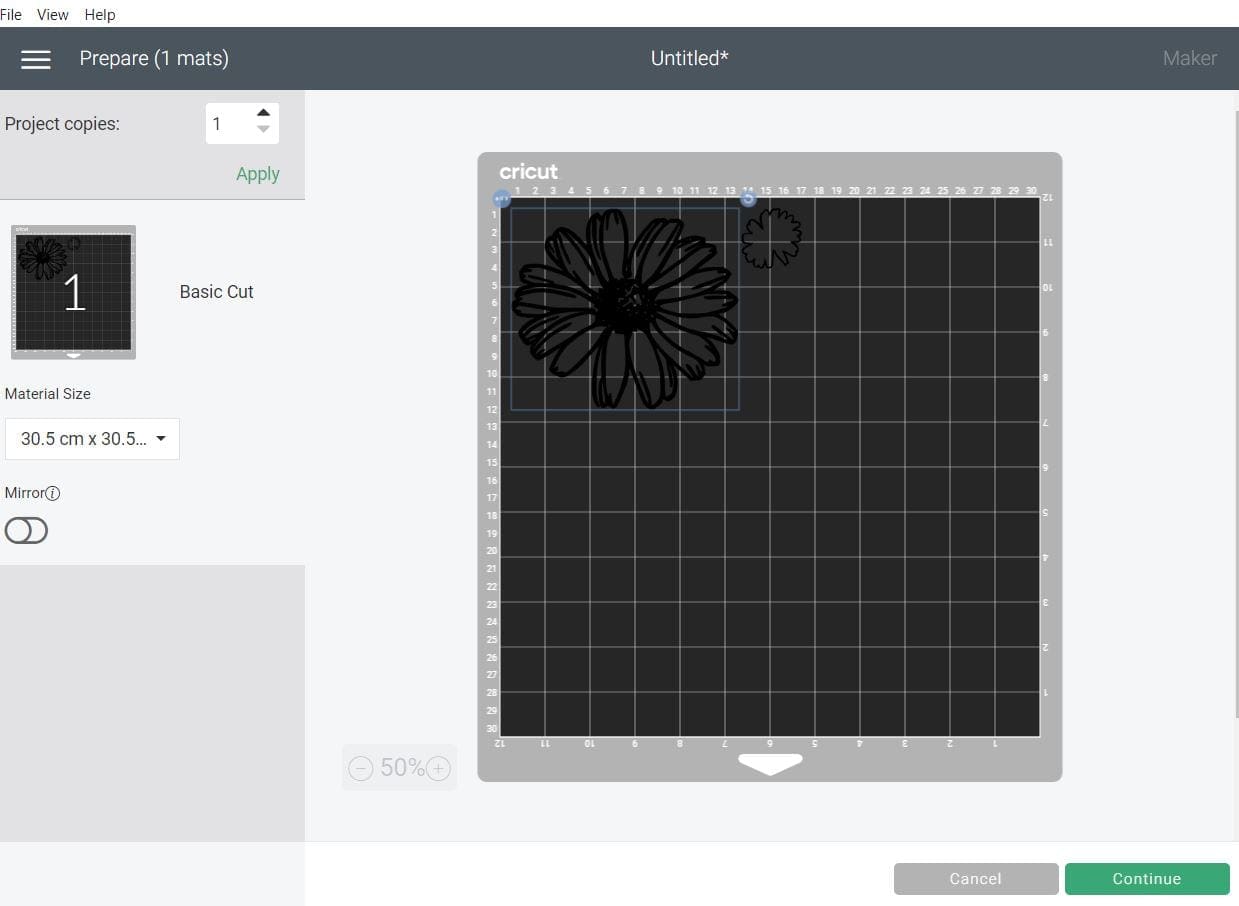
3. Cut the coloured infusible sheet layers first, – to do this, place 1 cutting large flower on your mat and one small see photo below. Click Make it. I cut 2 different contrasting sheets so the colours are different on each flower and put the opposite on the middle layer to bring the design together when applied at the end.
4. You will see the flowers are both together at the top of the next screen below, move if needed before clicking Continue.
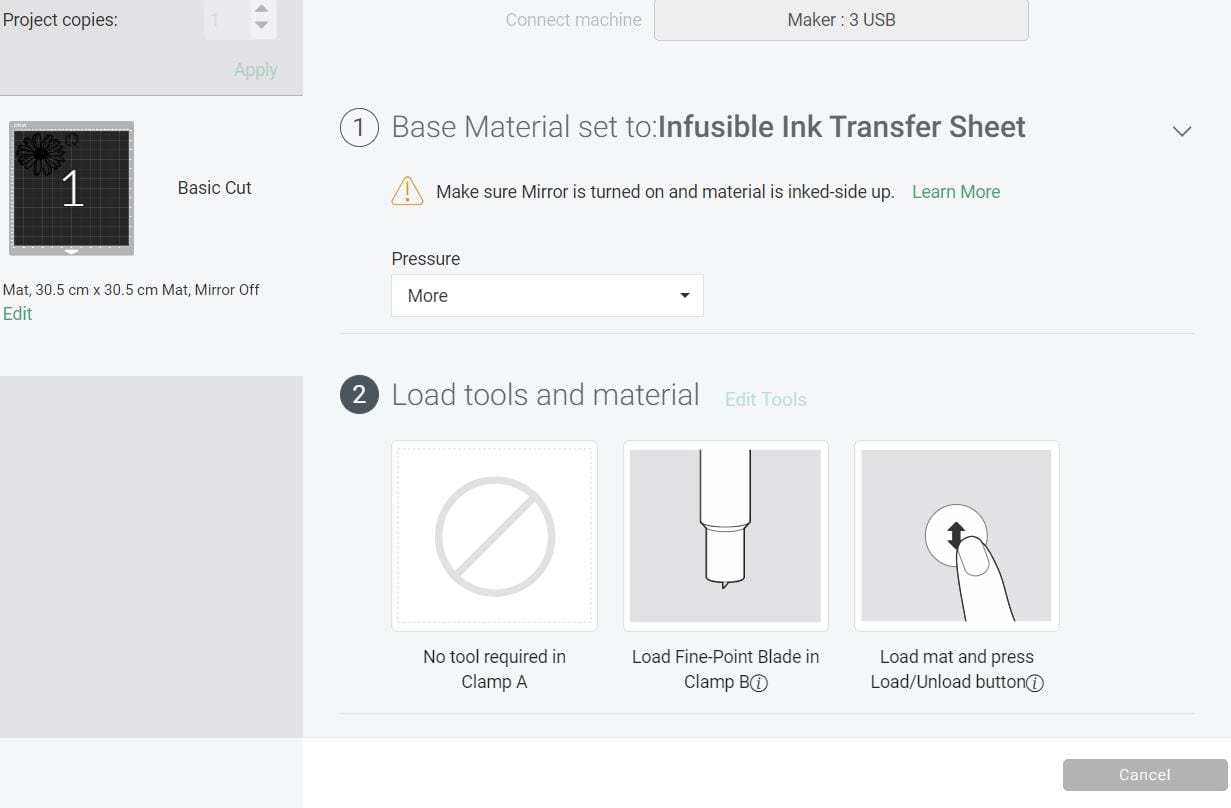
5. Choose the correct settings as below before proceeding to cut , load the mat, and press the flashing Cricut symbol to cut. REPEAT THIS PROCESS TWICE choosing a different infusible sheet, so you end up with 2 large and 2 small flowers ready to weed.
6. Weed the flowers so you have the inner petals on the bigger ones only and the middle of the small one.

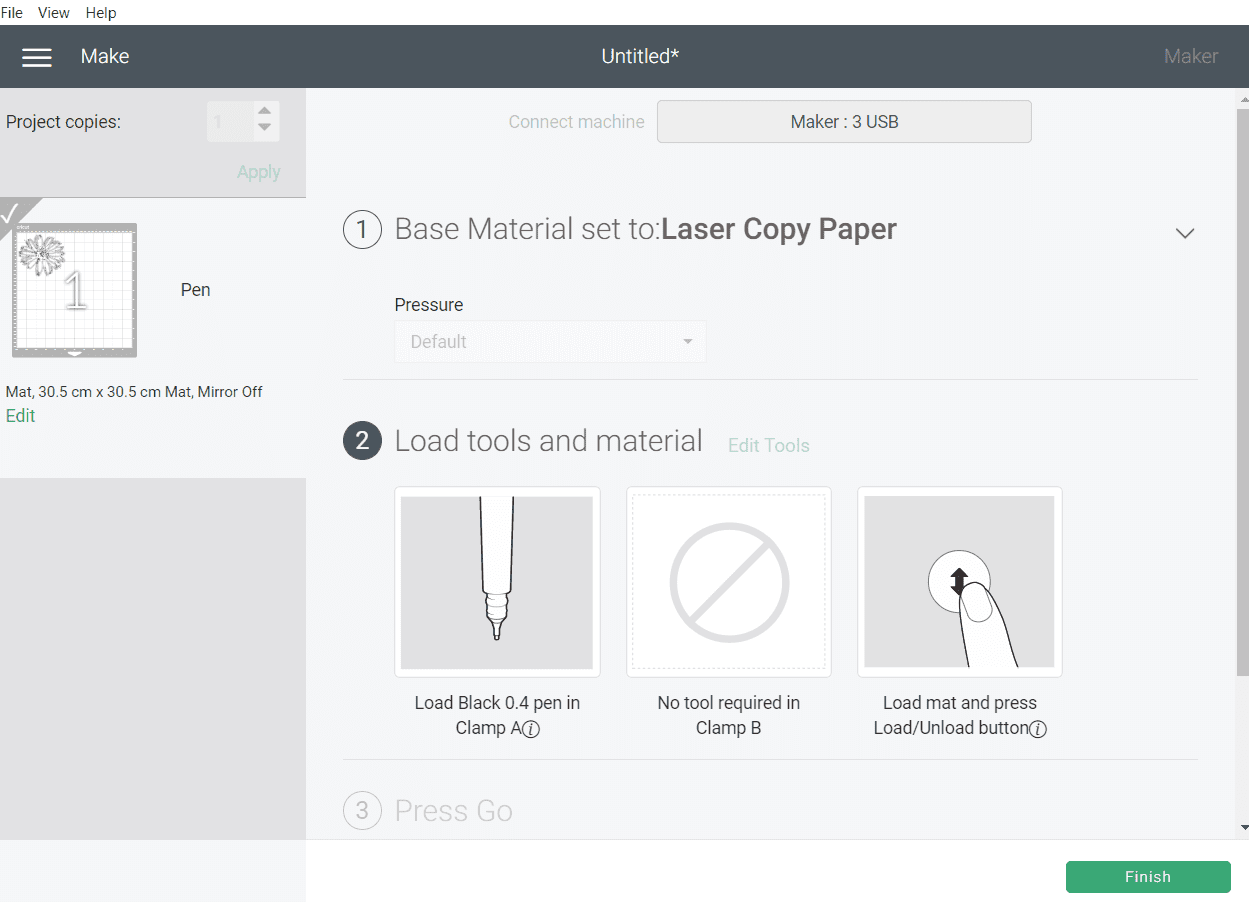
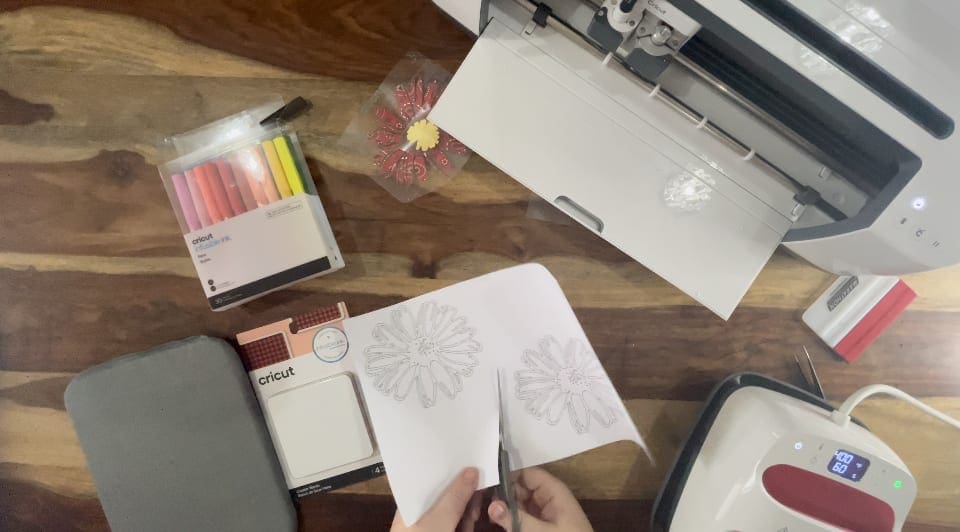
7. Place the pen in the holder on the left hand side clamp A, load the mat with laser copy paper attached and choose the draw function for the larger flower as below. Send it to draw 2 flowers on the mat.
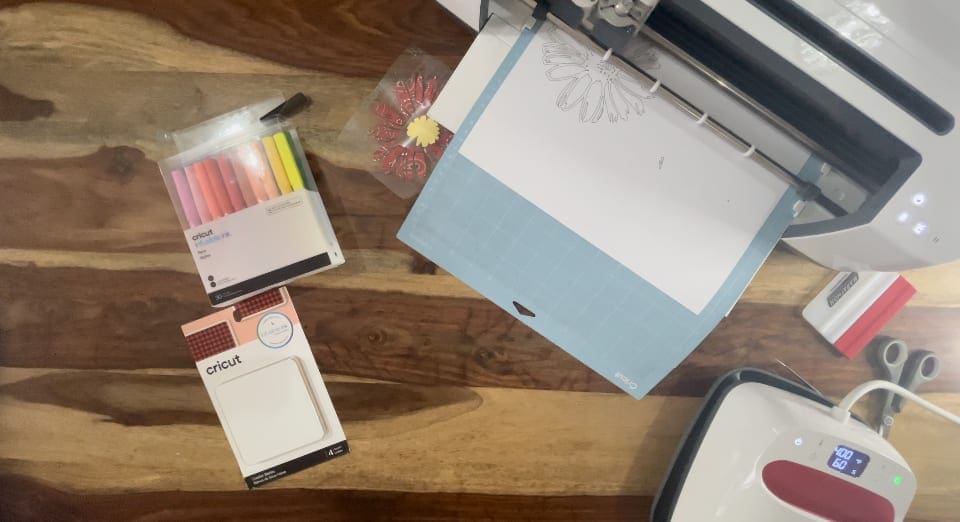
8. Once the flowers are drawn remove from the machine, take your scissors and cut the sheet in half as shown.
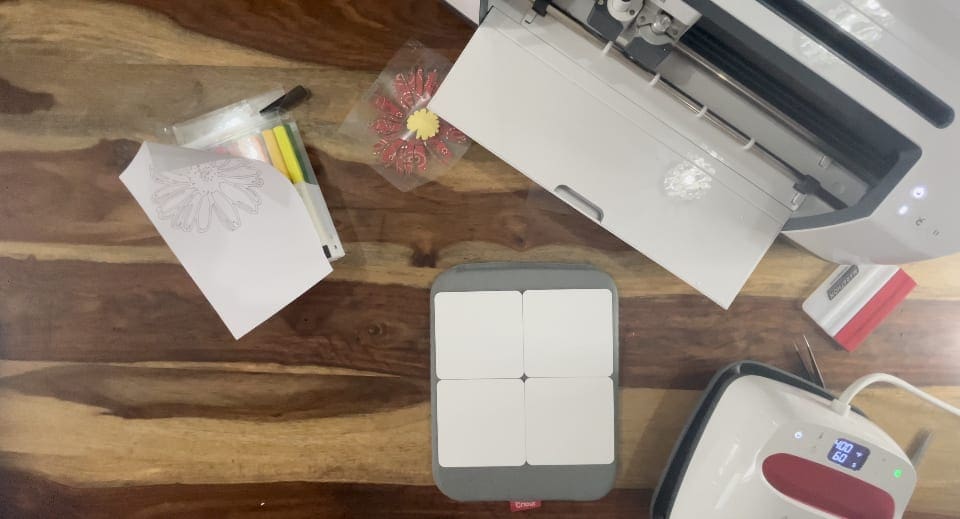
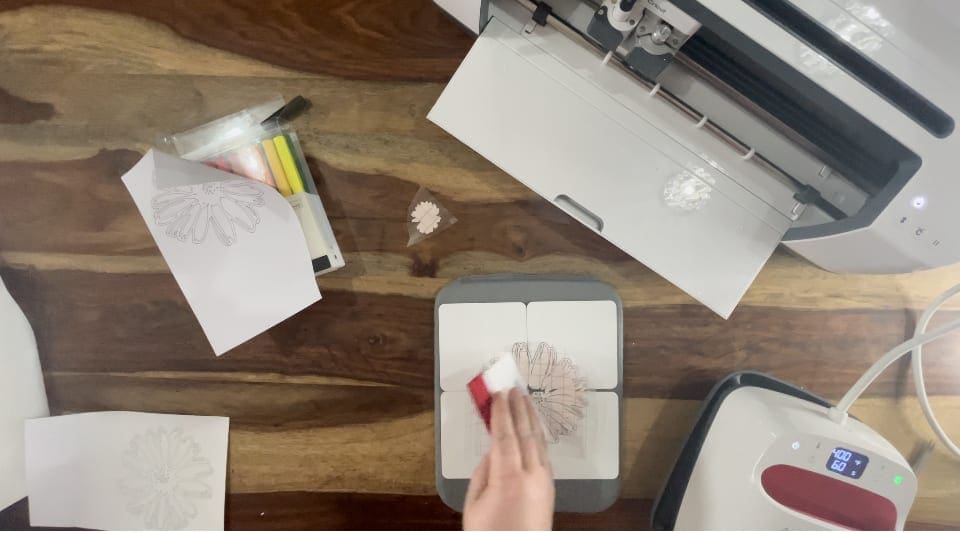
9. Set the easy press to 400’f and 60 seconds. Lay the Cricut mat with coasters on top as shown below.
10.
Prep
- Preheat EasyPress™ 2 to 400°F
- Wipe Square Coaster with lint-free cloth
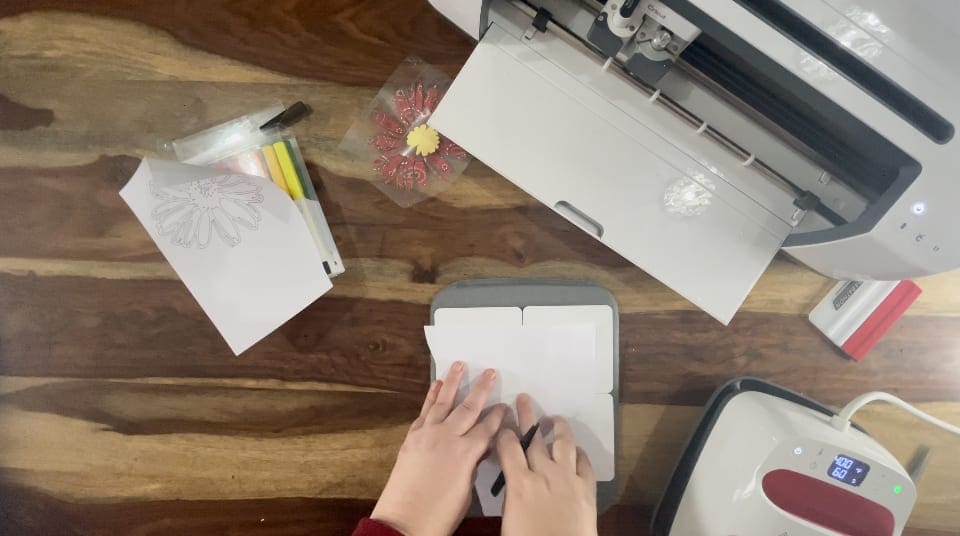
- Cover mat with cardstock to protect surface
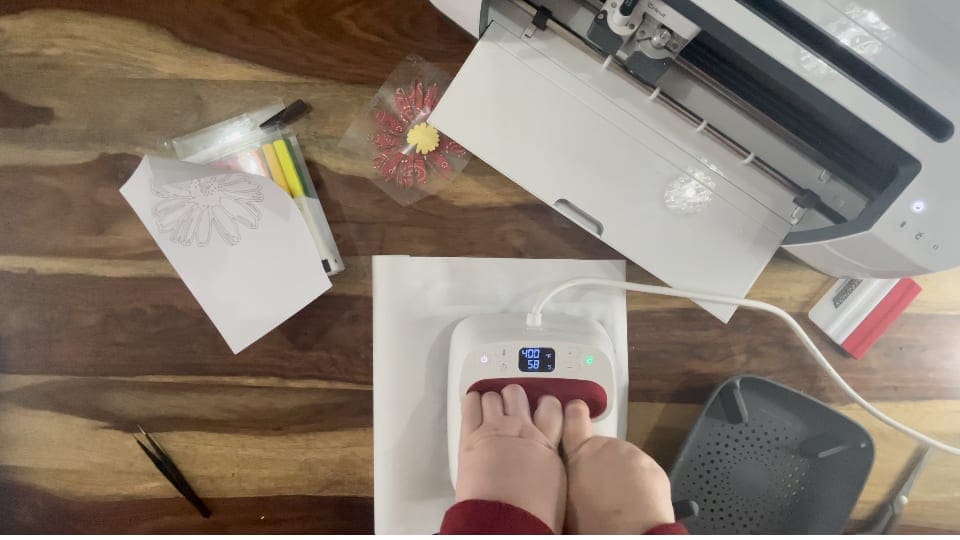
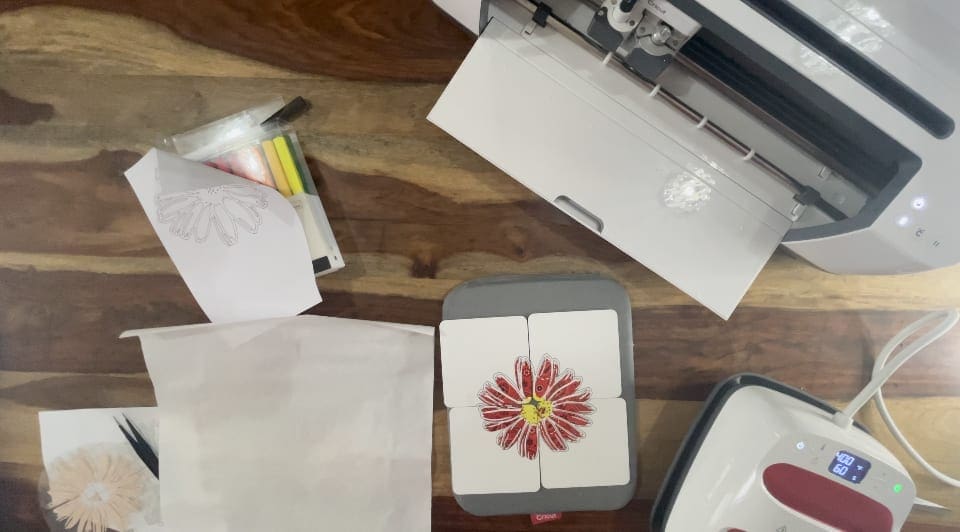
Once your press gets to temperature, apply the first drawn Daisy in the centre, cover with the baking paper included in the transfer sheets, and press with the Easypress with a little pressure , for 60 seconds, be sure to use the Green Cricut button on the press to use the countdown timer! (please refer to Cricut guide for this process here)
Application
- Place coaster glossy side up
- Place design face down
- Secure with tape if you wish, avoiding image area
- Cover with clean butcher paper larger than heat plate
- Press with minimum pressure at 400°F for 60 s
- Slowly lift press
- Remove butcher paper
- CAUTION: Square Coaster will be very hot. Let cool completely.
- Remove tape and drawn image when cool to touch
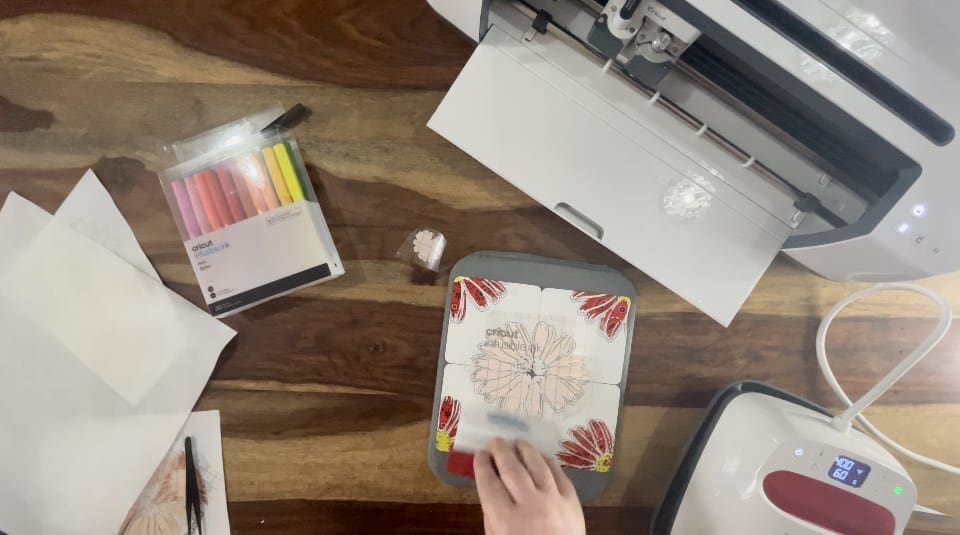
11. Repeat step 10 for the first flower petals layer.
12. Repeat step 10 for the middle of the flower layer.
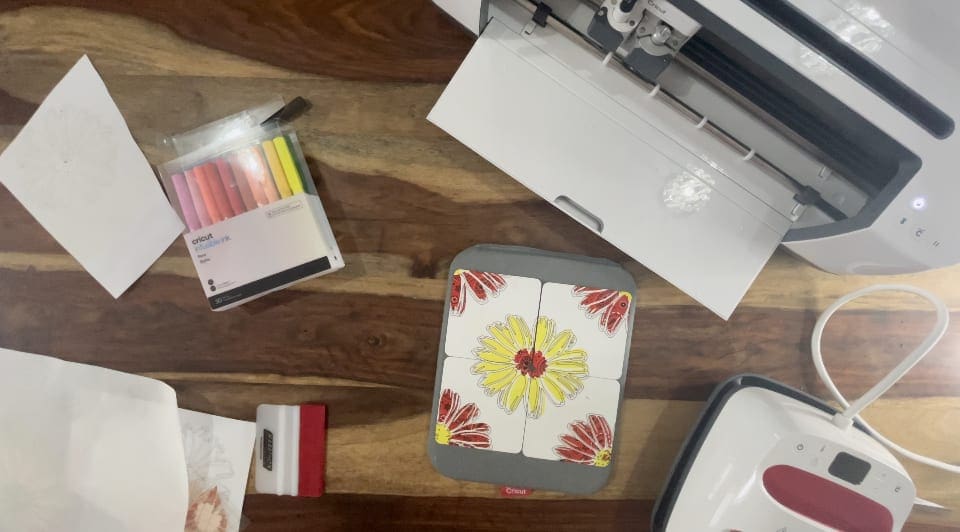
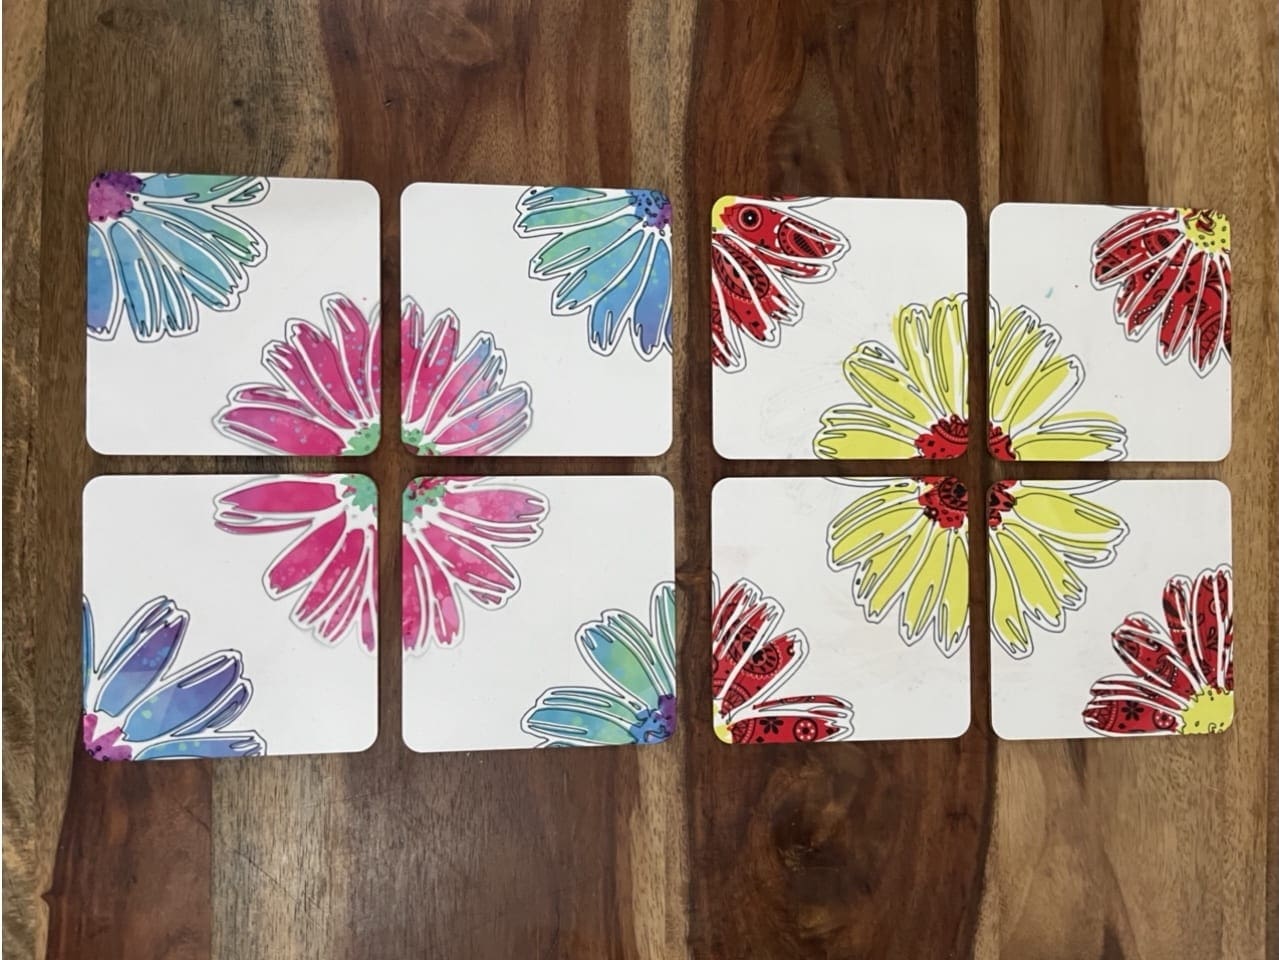
13. Turn the coasters around so the first flowers are all on the outside corners and Repeat steps 10-12 for the 3 middle layers, layering the black drawing first then the petals followed by the middle layer.
14. Don’t forget your finished design can be matched by using the front layer for any material cut using a cutting file, card, self adhesive vinyl or even HTV. We’d love to see your makes on our social media pages! Or email them in!
Silhouette Cut File
Instructions:
Before you start, you need to download the cut file, Upload the cut file into Silhouette Studio and resize as necessary, (when resizing bring all layers into the design software and select all at once to get the correct offset layers and save the adjusted file, so you can cut layers individually at that correct scale you have chosen) Remember to test cut if necessary and cut settings are found here along with test cut guidelines for every machine. (I would cut the infusible ink sheet using the holographic htv setting we use on our guide as a starting point but please test cut before doing the project following the info here on page 2 or 3 for your machine) .
Brother Cut File
To import these files into the Brother Canvas Workspace:
After downloading, please log in as usual to your design space account, open a new project mat, then left click on the SVG icon in the top left bar in canvas, this will then allow you to import your files. Once you left click this icon, a pop up box appears with you to choose where to import file from, choose to import the file from your downloads list or where you have chosen to save when unzipped.
(I would cut the infusible ink sheet using the holographic htv setting we use on our guide as a starting point but please test cut before doing the project following the info here on page 2 or 3 for your machine) Cut settings are found here
Just incase you need the link CanvasWorkspace (brother.com)