Tutorial/Free Cut File
GM Crafts Bonanza Of Free Christmas Cut Files For All Machines And Layering HTV Tutorial
Hello 🙂
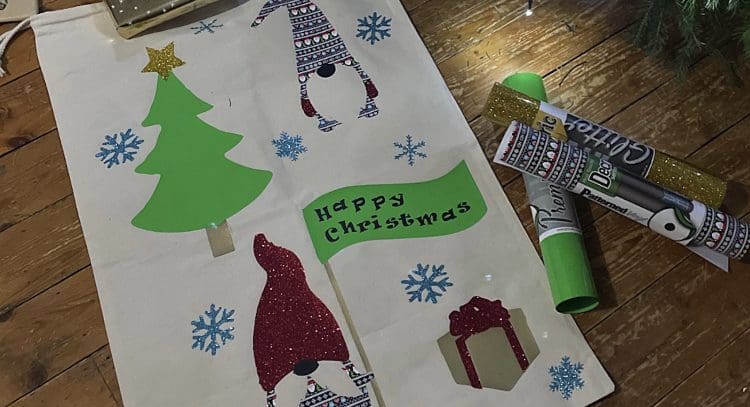
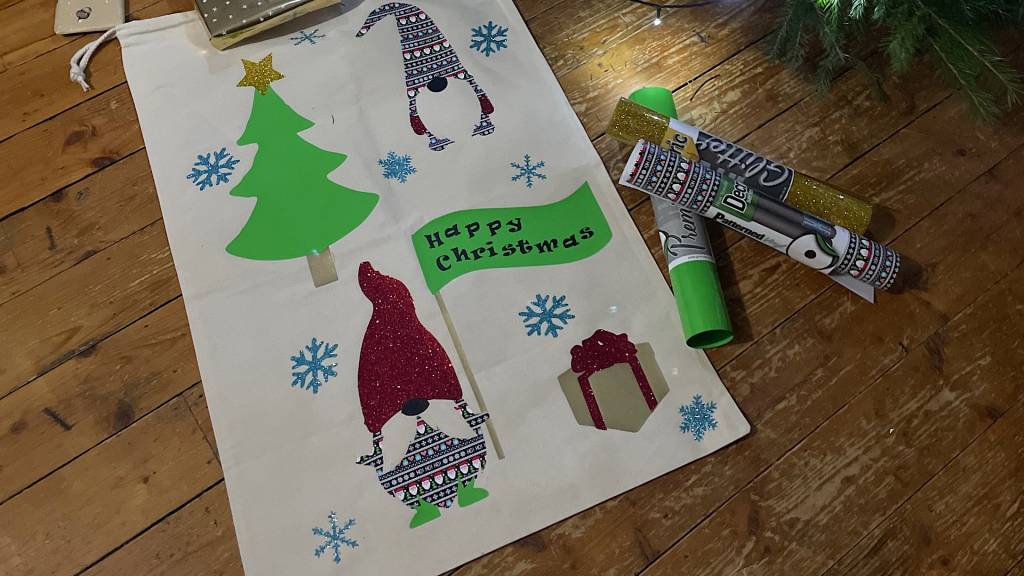
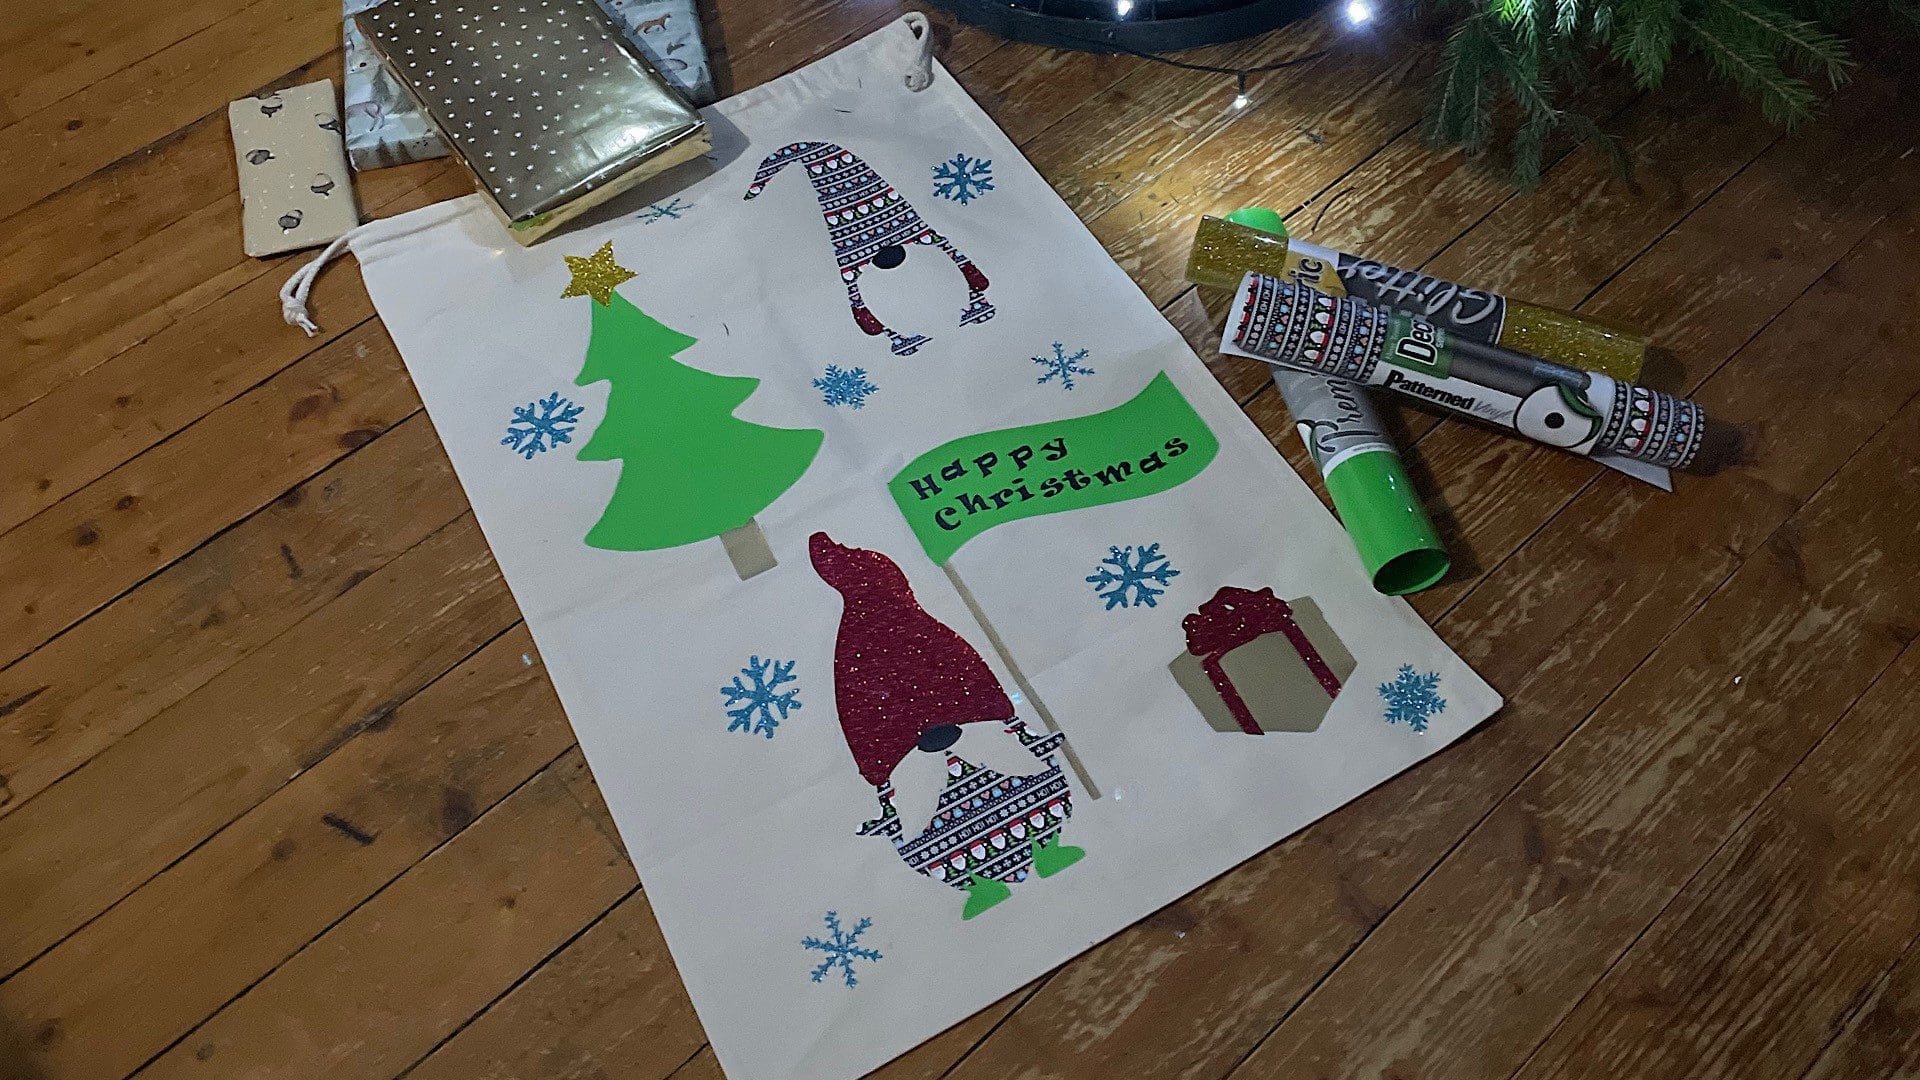
Well it’s almost Christmas! So this week we are bringing you a bonanza of free cut files- which can be used with any cutting machine, This time we have used it to make a Christmas Sack- but you could use some or all of it, to make cushions, jumpers, decorations, even cards and gift bags! Alter it- resize it – use different vinyl- use it with card, the choice is completely yours. We hope you enjoy it and this weeks tutorial and video too.
We wish you all a very Merry, and enjoyable festive break – and of course a very Happy, Healthy and Prosperous 2022!
And of course, we would love to see what you make! Have you found our youtube channel yet? The video showing this and all of our other tutorials are available on there, as well as exclusive demos, inspiration and more! Join us on Facebook , Instagram or Tiktok or send us an email to sales@gmcrafts.co.uk – we would love to hear from you!
***CLICK HERE TO WATCH THIS BEING MADE ON OUR YOUTUBE***
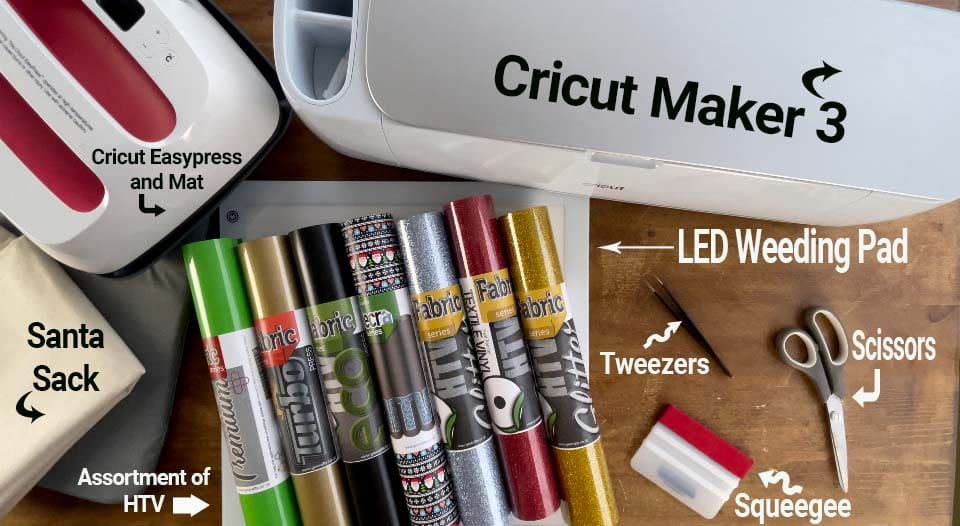
What you’ll need:
- Cricut machine Available here
- OR. Silhouette Cameo 4. Available here
- Cricut Easypress and Easypress Mat Available here
- GMCrafts LED light panel Available here
- GM Santa Sack Available here
- GM Glitter HTV Available here
- GM Pattern HTV we used Christmas Knit Available here
- GM Black Eco HTV Available here
- GM Gold Turbo Available here
- GM Green Premium plus Available here
- Weeding tweezers . Available here
- Squeegee. Available here
- Scissors from your own stash
- Silicone Paper, this is like the baking paper you can buy in the supermarket on a roll for the kitchen- DO NOT USE TEFLON
- Cut files, which are free below! Including, Cricut, Silhouette and Brother cut files
Christmas gonks cut files click here to Download for ALL machines.
Instructions;
1. Before you start you will need to download the cut files for your chosen machine, link above. Unzip the file to use it by right clicking it in your downloads.
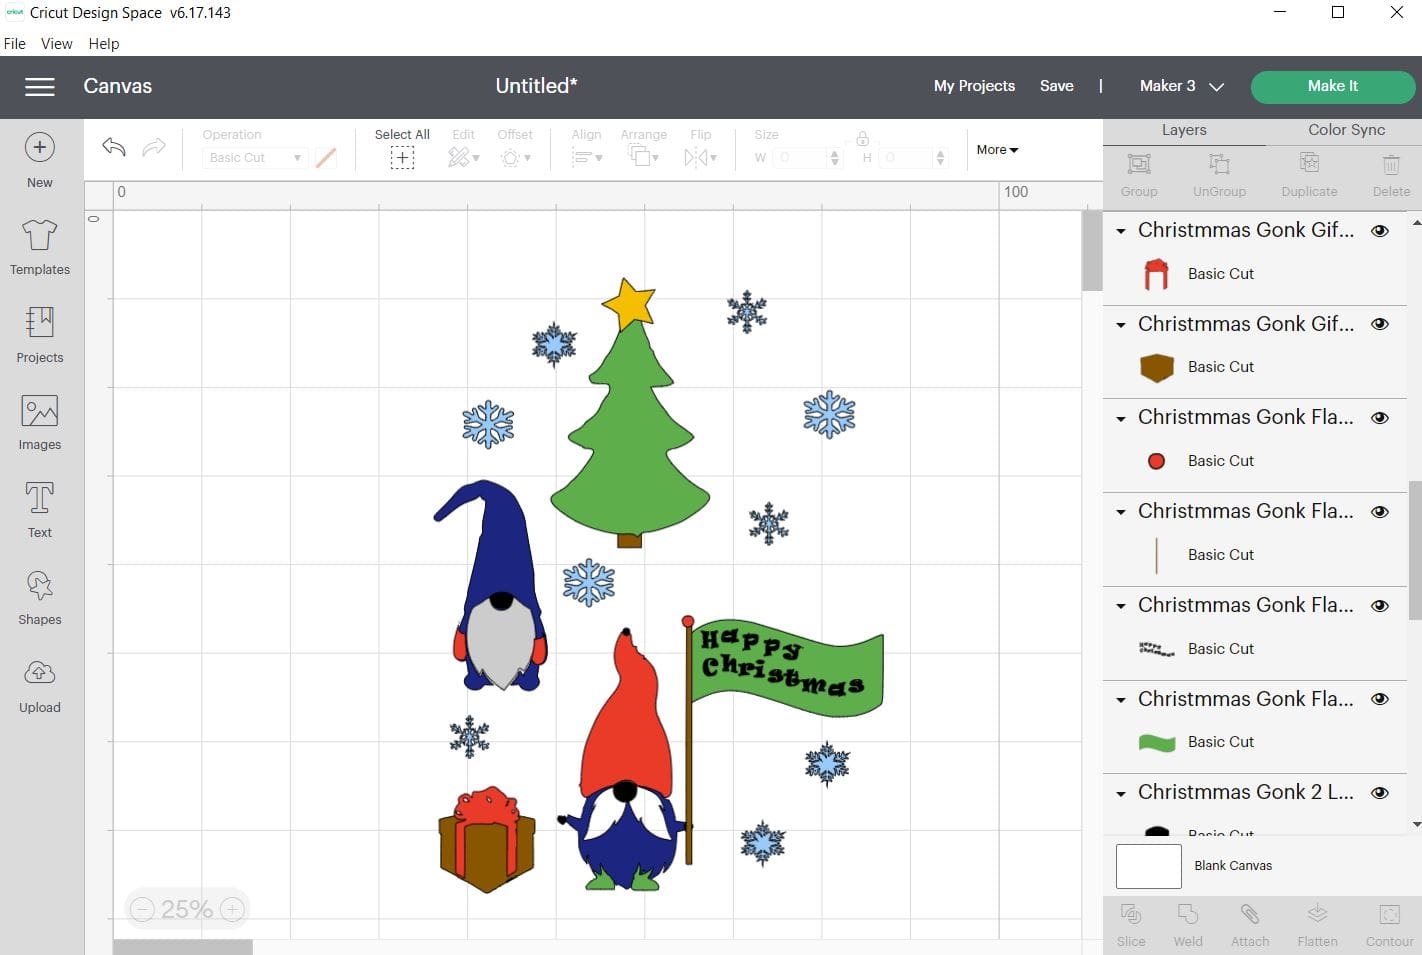
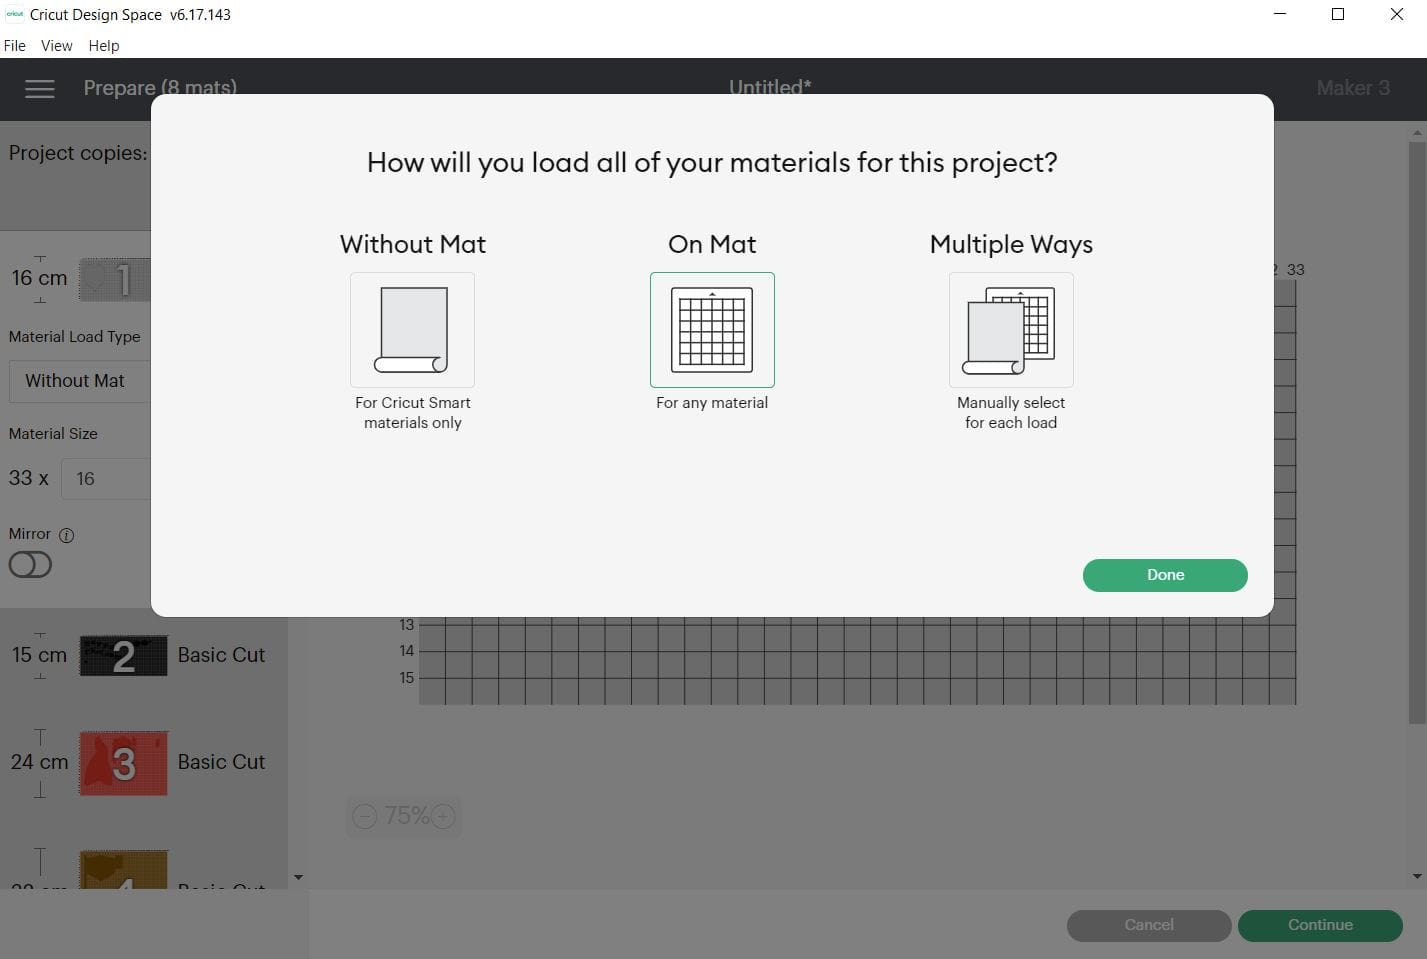
2. Upload each PNG into the design space. Click “Upload Image” on the left-hand Design Panel, and navigate to the files you want to open. Select ‘Insert image’ and select image type ‘simple’ when prompted. Next you’ll be asked to delete any space that does not get cut, you can skip this part by pressing ‘continue’. When asked if they’re print-then-cut images or just cut images, select cut images. Click save. When it has been uploaded, Insert the images onto the canvas and resize to suit your project, I Recolour each one differently, so I can cut the different Vinyl for each layer, which means I don’t have to keep returning to the design page, see below. I set the design out as it would appear on my finished garment so I can drag the resize box once around all the files, when I’m happy with the design – I resize it all in one go to fit my project – then click make it to move on to the next screen. On the next screen, If using the Cricut Maker 3 then you will need to choose to cut on the mat (unless using smart media)
YOU WILL SEE THERE ARE MORE FILES, EXTRAS AND DETAILS INCLUDED IN THE CUT FILES FOR YOU THAT WE HAVE NOT USED HERE.
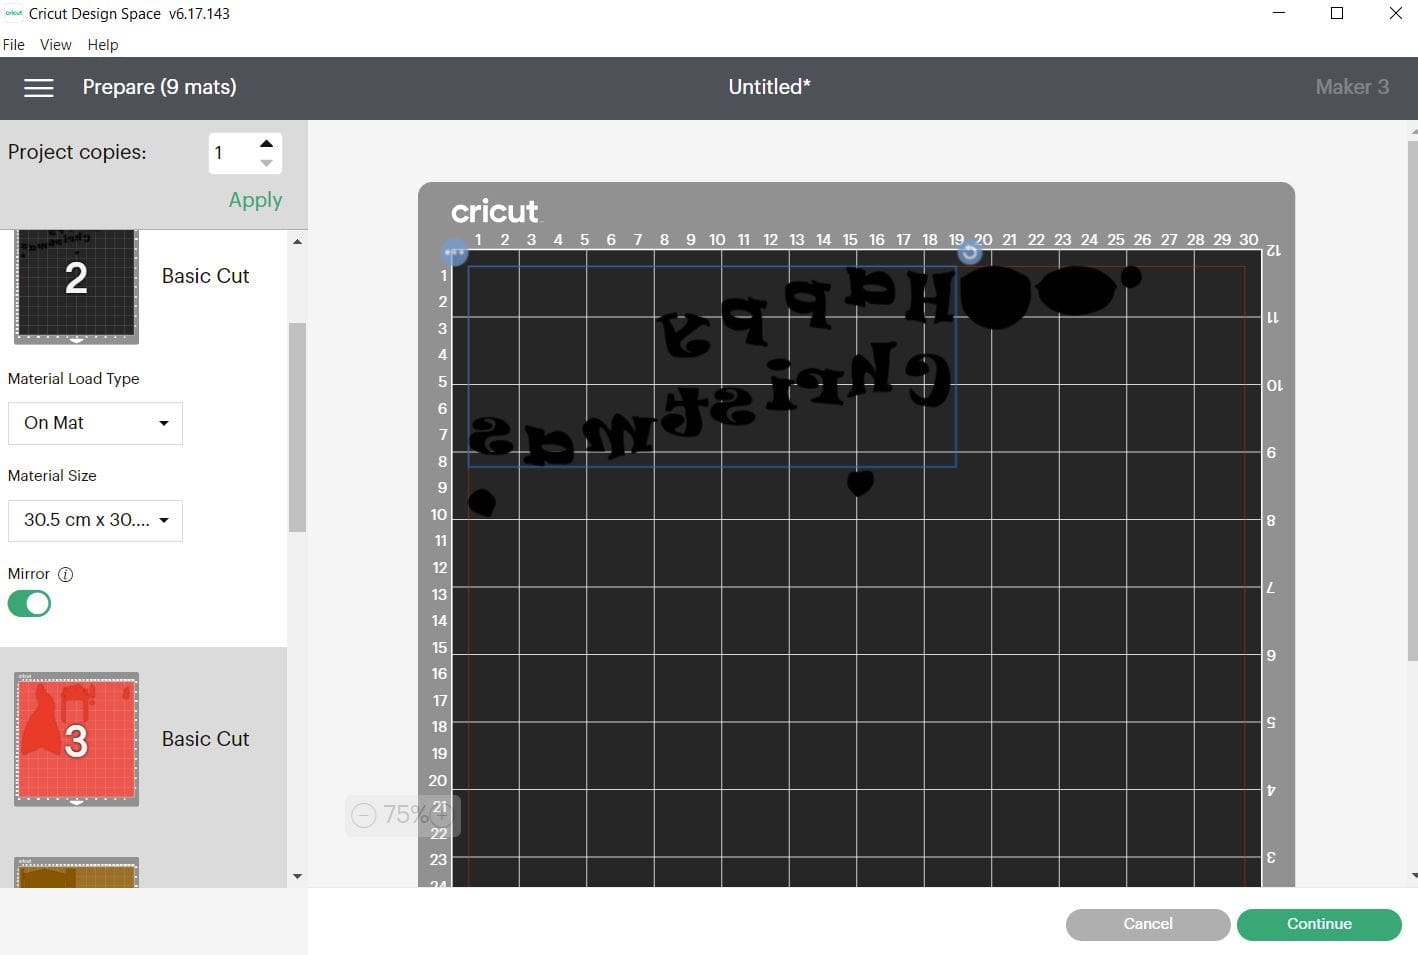
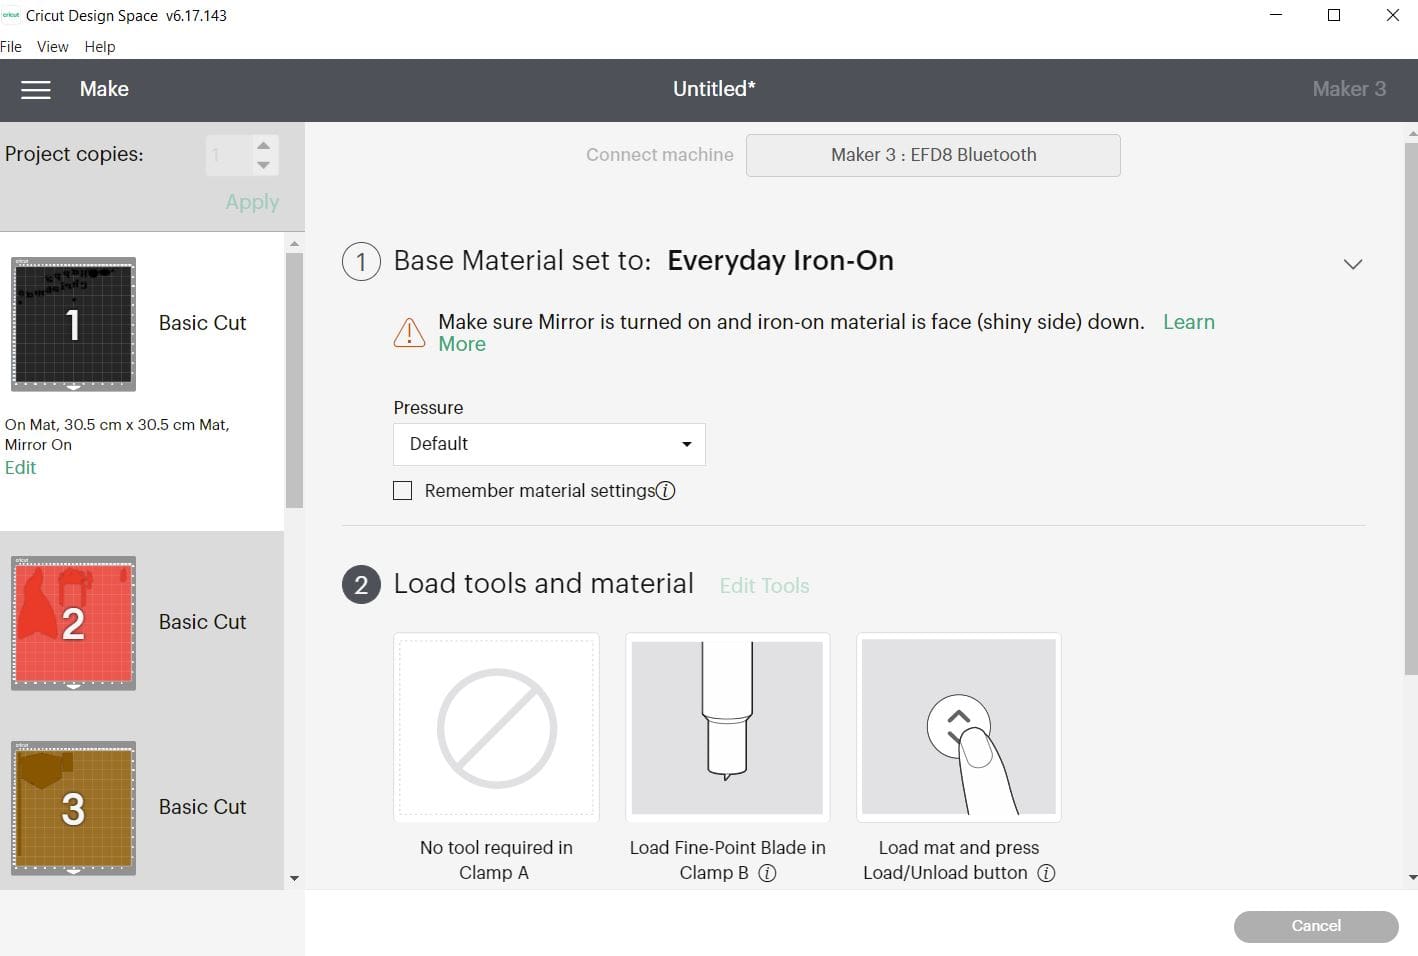
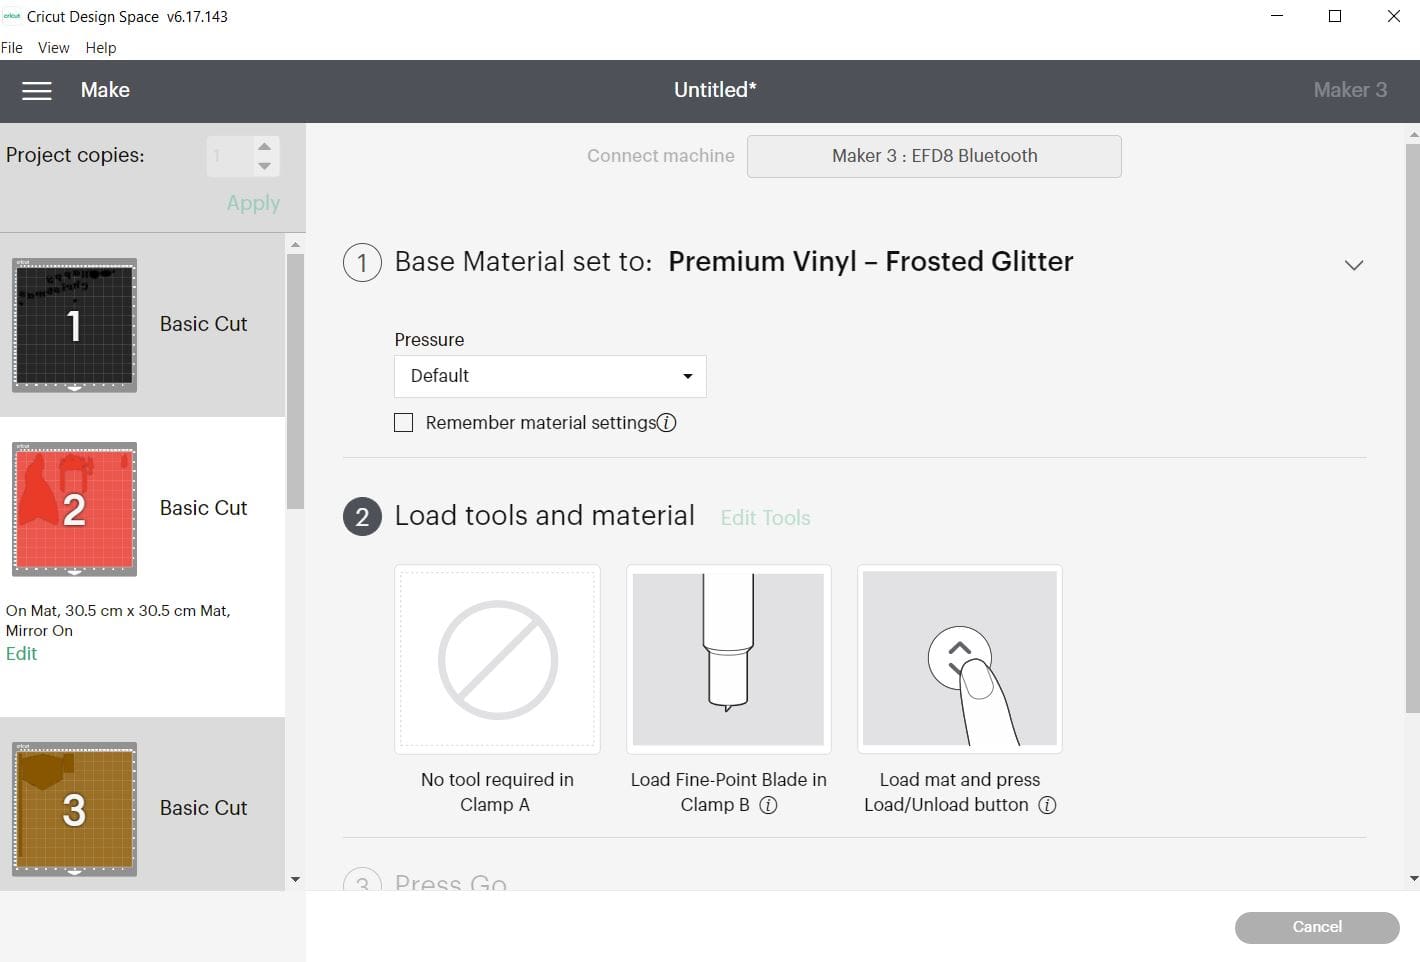
3. When on the next screen above, ensure you MIRROR the design ( EXCEPT FOR ANY USING PATERN HTV DO NOT MIRROR THIS). Click continue in the bottom right on the next screen. In the next window make sure your settings are all set to the successful settings from your test cut and ensure your machine is linked before proceeding to cut. Cut settings: (**please test cut) Press the flashing Cricut symbol on your maker to cut, after loading the sheet into the machine. Apply the settings needed for your chosen Vinyl, we made it with our GM GLITTER HTV on the maker 3, and used the PREMIUM VINYL- FROSTED GLITTER Iron on setting on the Cricut maker 3 with DEFAULT pressure. And our OTHER GM HTV using EVERY DAY IRON ON setting with DEFAULT pressure.
**A reminder that these settings, including the blade setting, are specific to the materials and machine we’re using, adjustments may be necessary if using different materials and machine**
We always recommend before proceeding, you test cut your materials when first using so if you have not recently used this product in your machine. Please test cut for your chosen machine found on our Application guide, and also Blog. Load the Vinyl chosen individually for each layer.
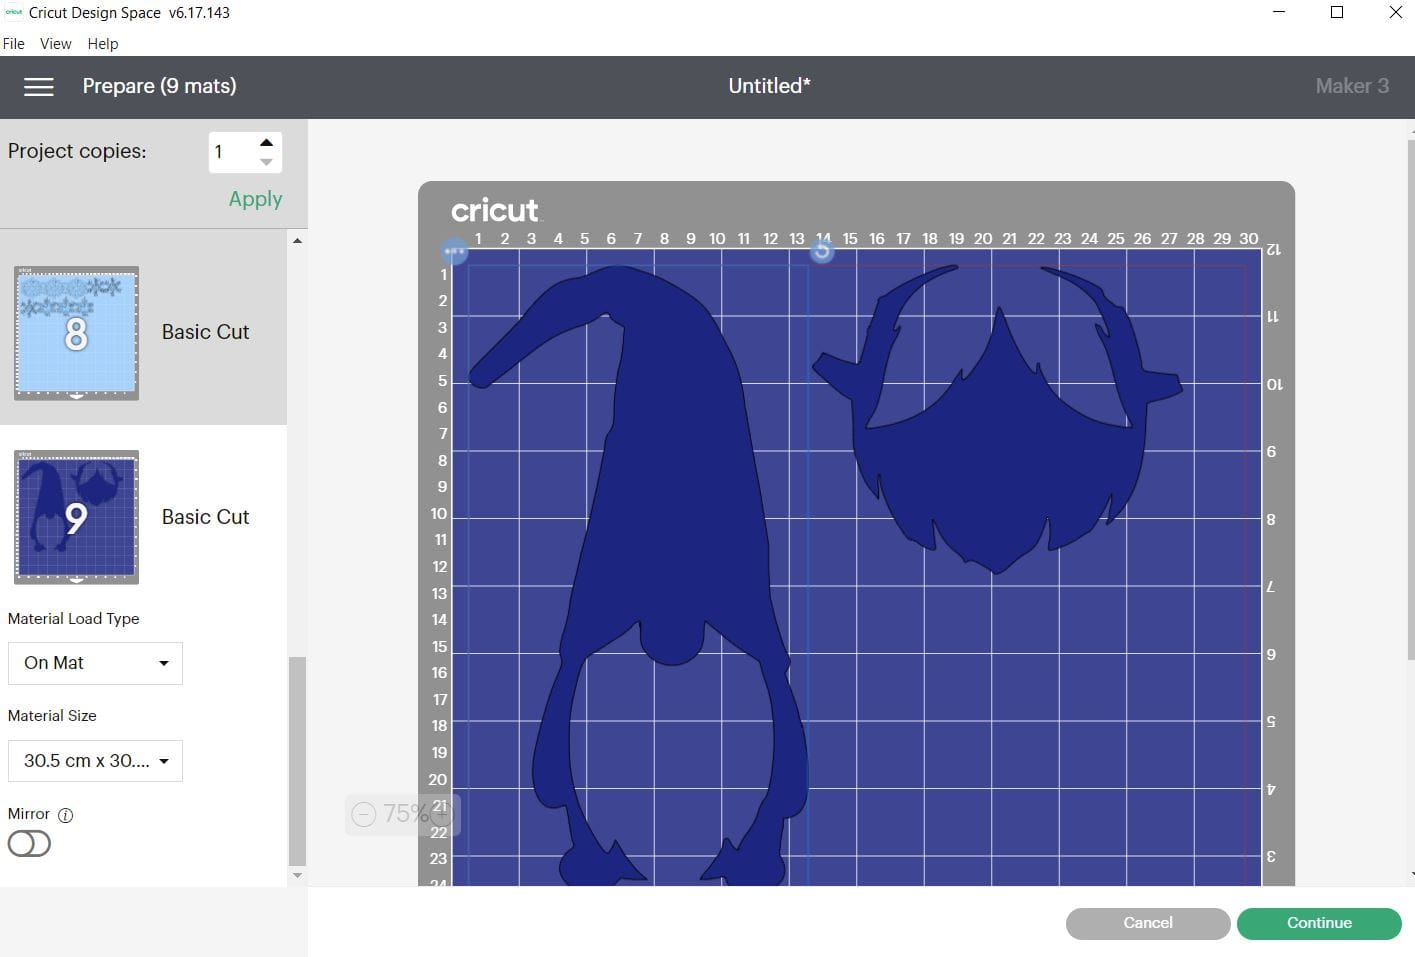
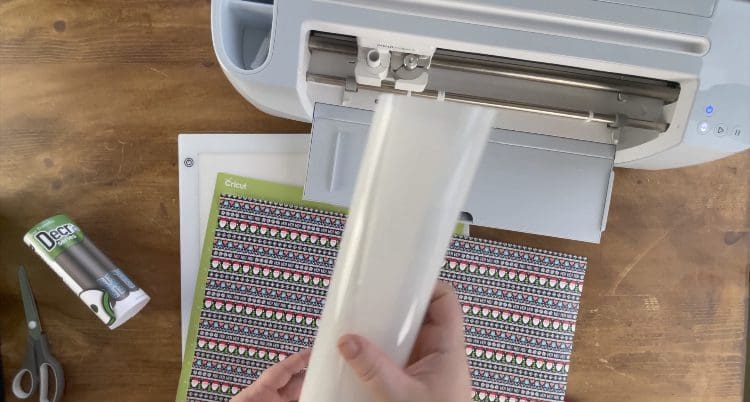
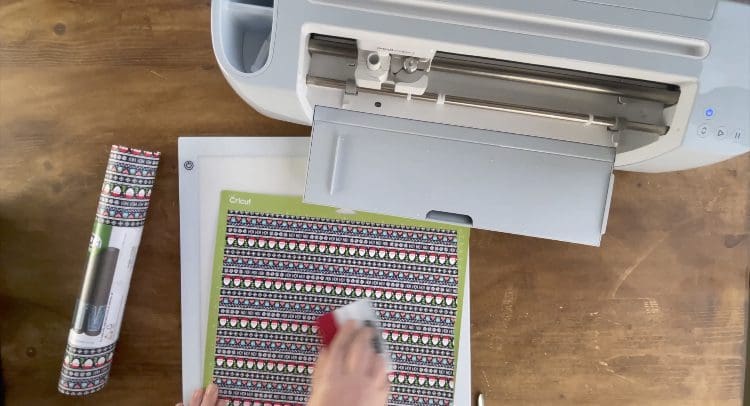
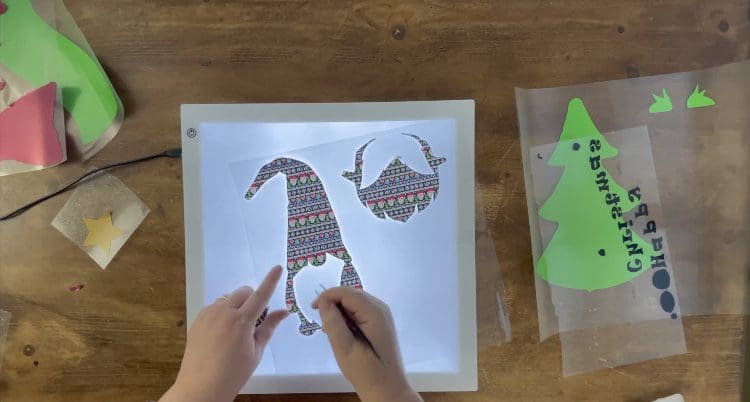
NB WE DID NOT MIRROR THIS SCREEN BELOW AS PATTERN HTV NEEDS TO BE CUT LIKE SELF ADHESIVE- PATTERN FACE UP- AND APPLY APPLICATION TAPE AFTERWARDS SE BELOW.
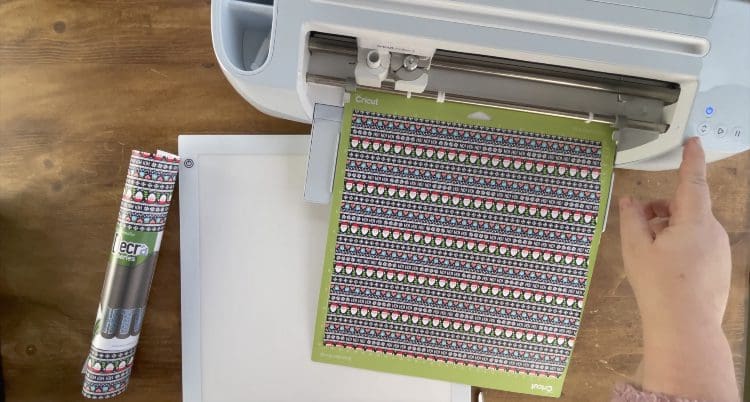
4. Place the Vinyl for the First layer you are cutting on the mat, remember to mirror for HTV but not patterned see above.. Press the up arrow to load the mat, and press the flashing light to proceed to cut on the machine. Once cut repeat to cut with the remaining layer.

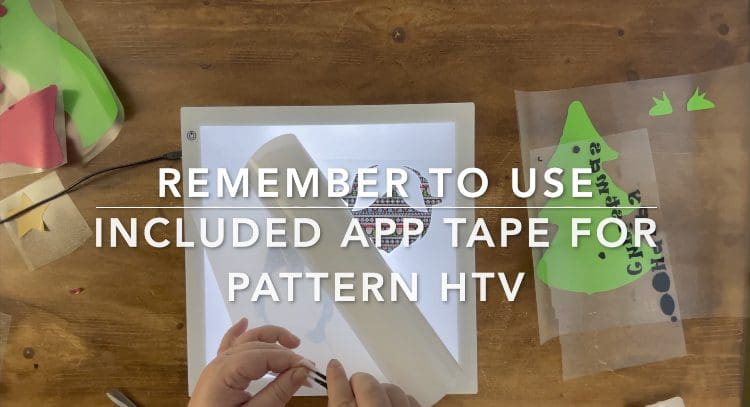
NB BE SURE TO KEEP HOLD OF THIS APPLICATION TAPE BELOW INCLUDED WITH THE PATTERN HTV FOR TRANSFERING THE PATTERN HTV AFTER WEEDING.

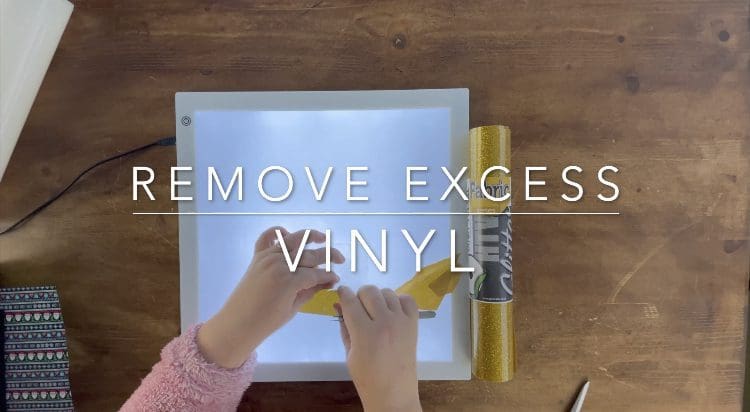
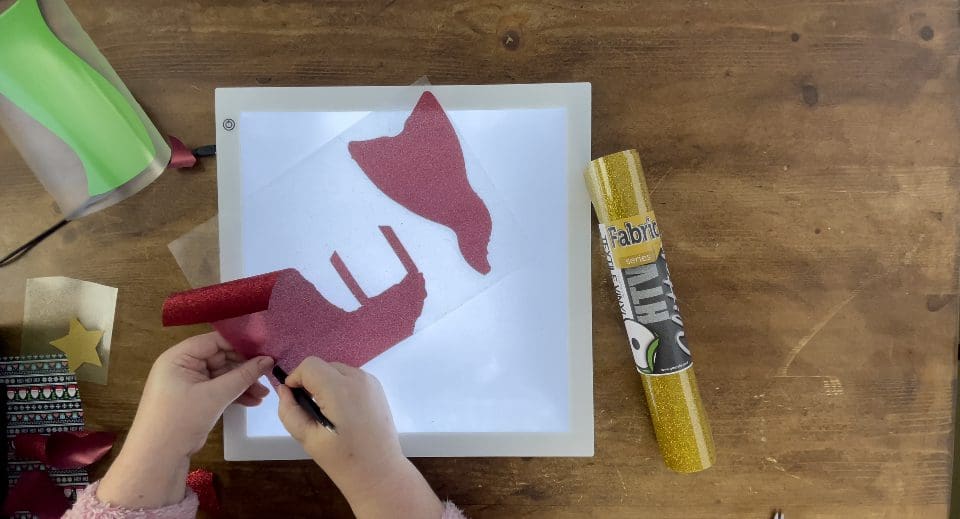
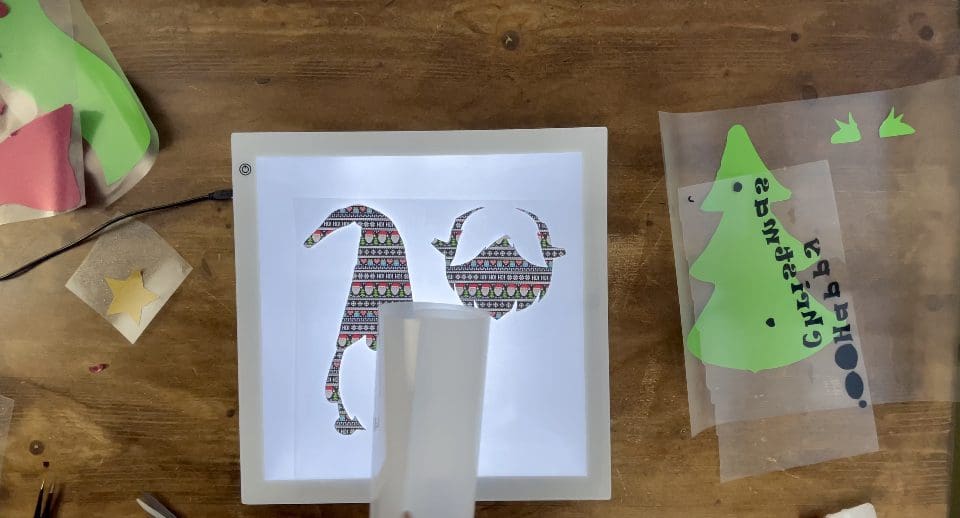
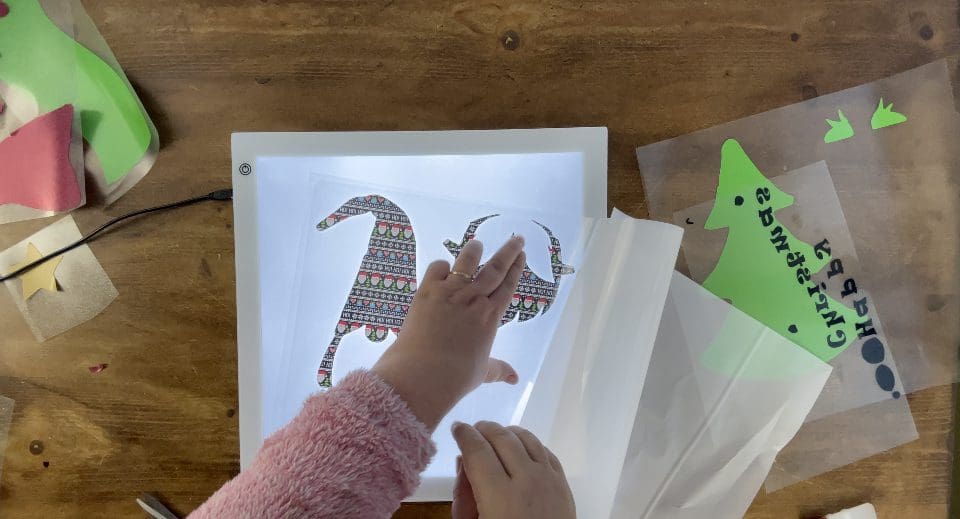
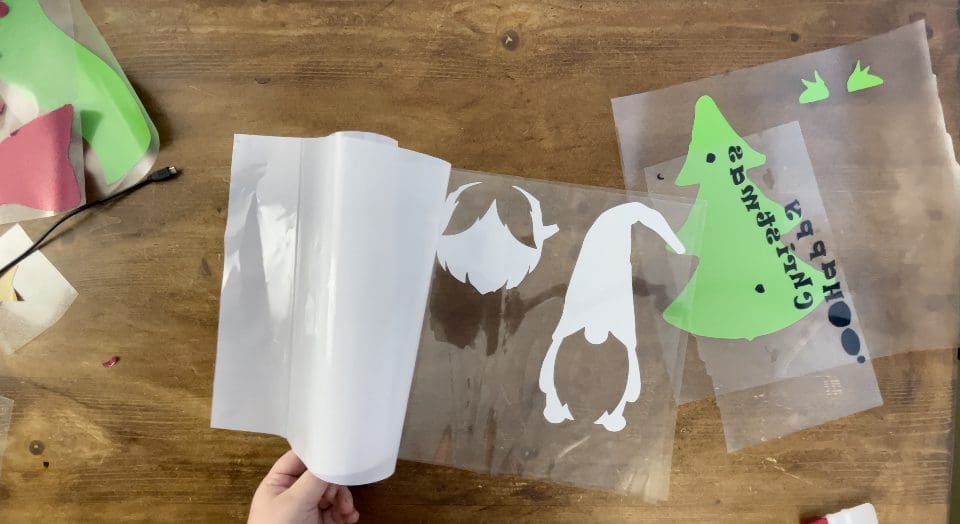
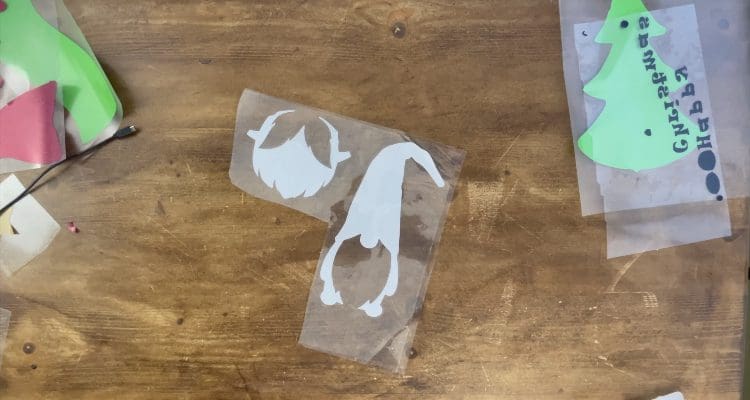
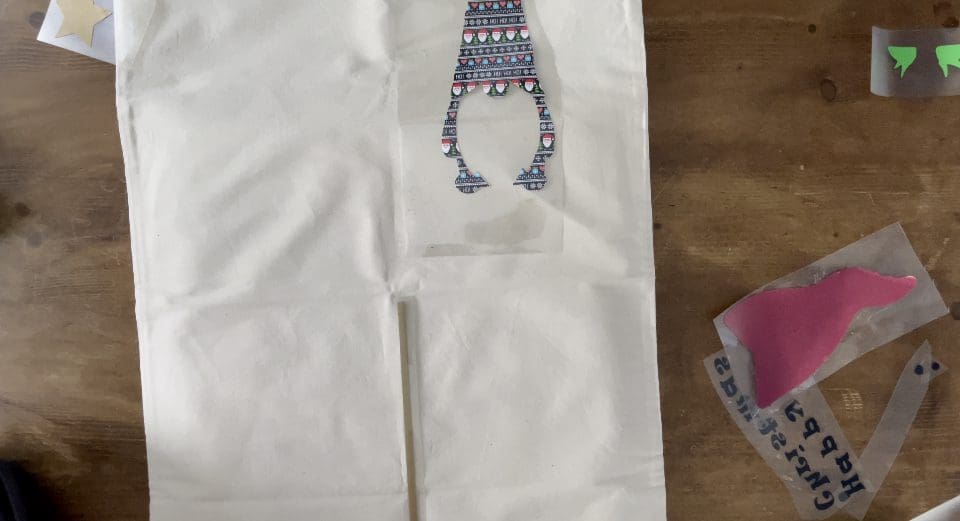
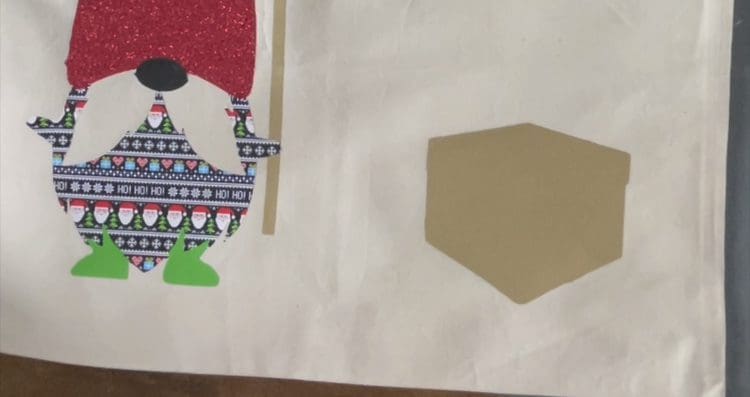
5. Once ALL your colours are cut, switch on your LED pad and remove the waste Vinyl surrounding the designs (weeding) I use a pair of weeding tweezers to do this as shown below.

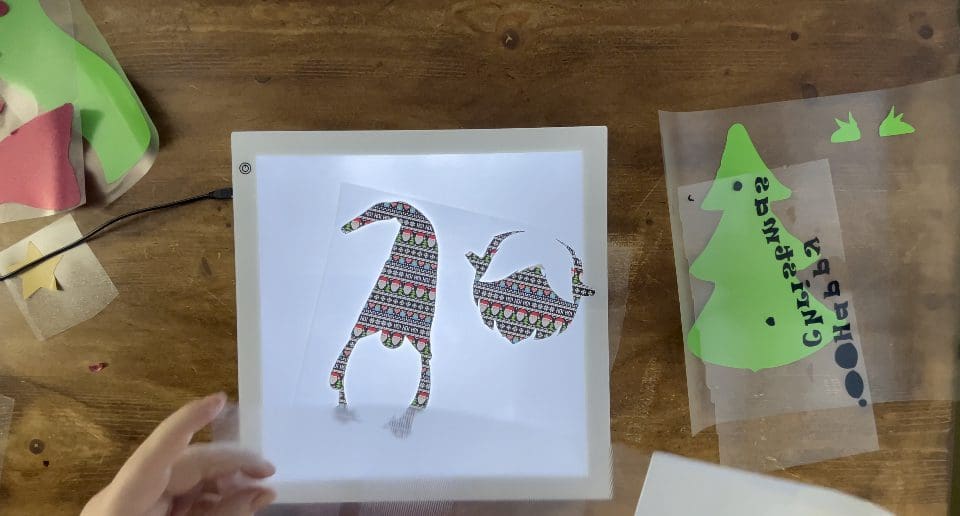
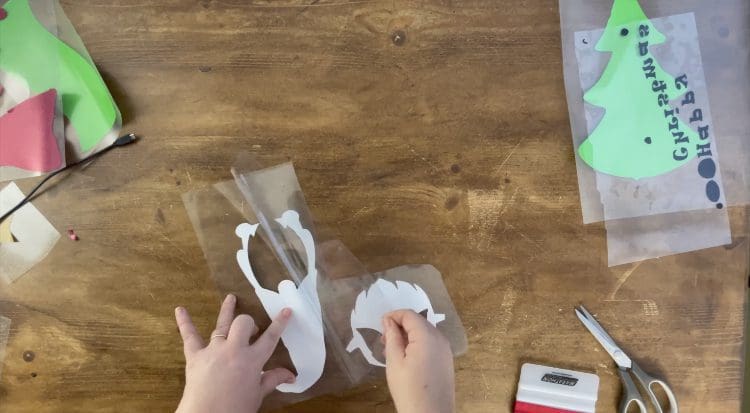
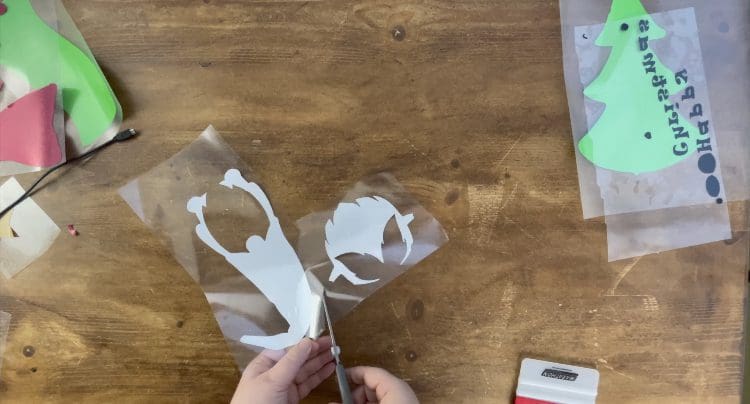
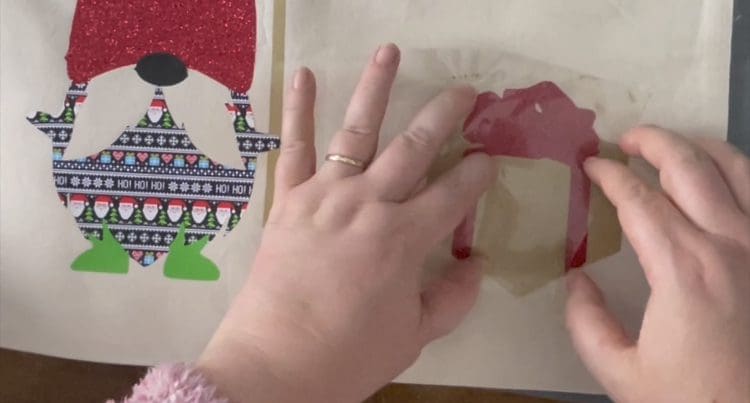
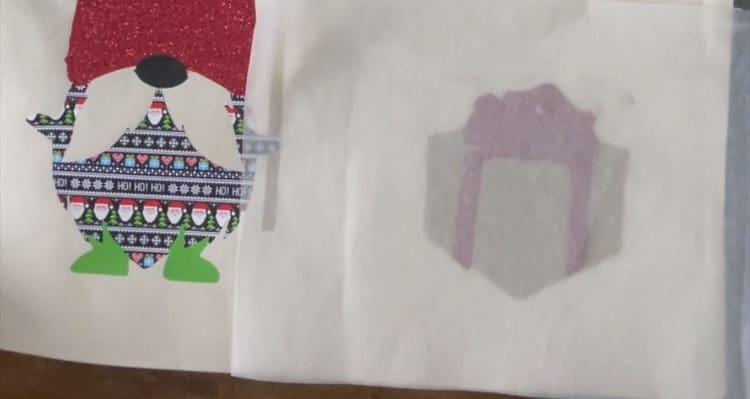
6. Due to the Pattern HTV being used, you will need to transfer it with application tape included, I apply this now. To do this, apply the transfer application sheet provided to the front of your design , rub with your squeegee from behind, Then turning over before carefully peeling the backing. Once the backing is removed cut the 2 designs apart with your scissors. Also cut the pre weeded sheets of the other colours and designs that have multiple parts on to make the application process below easier.
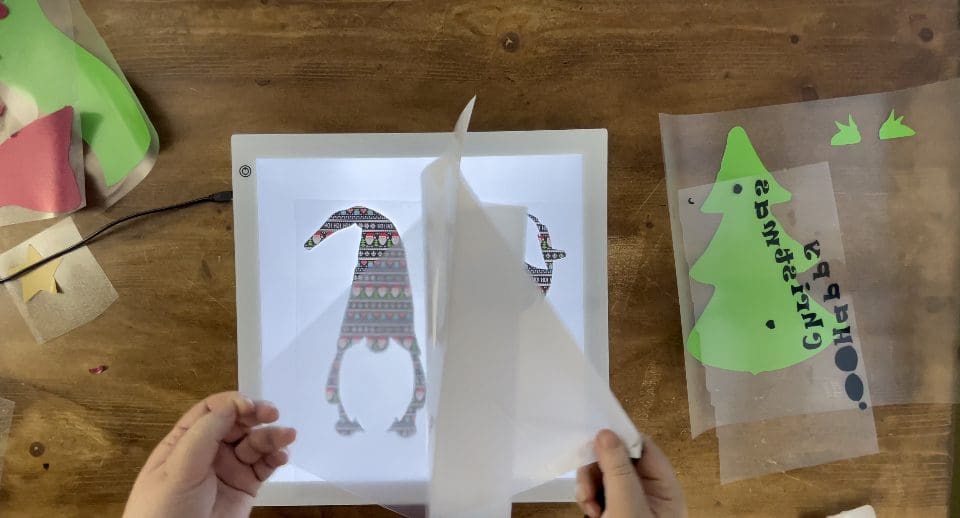
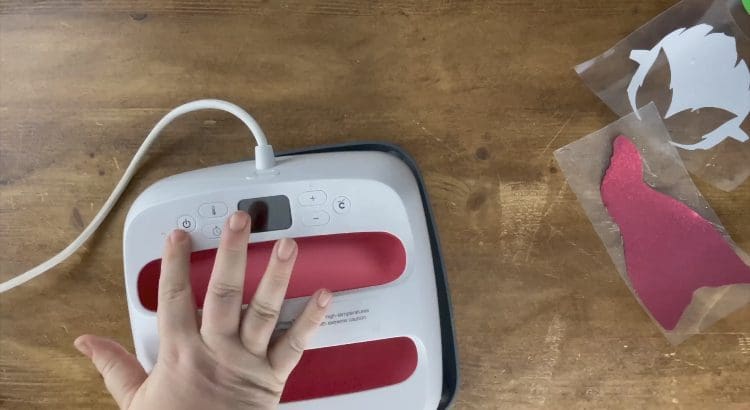
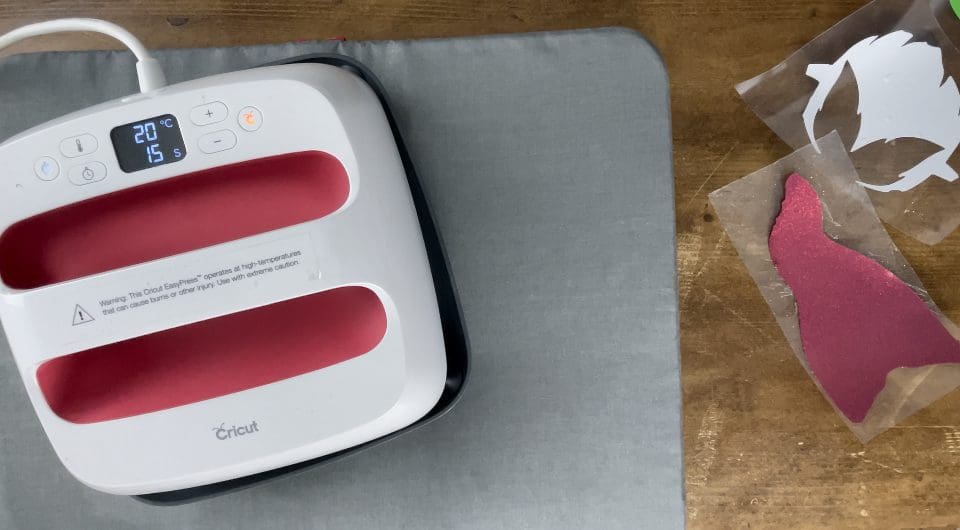
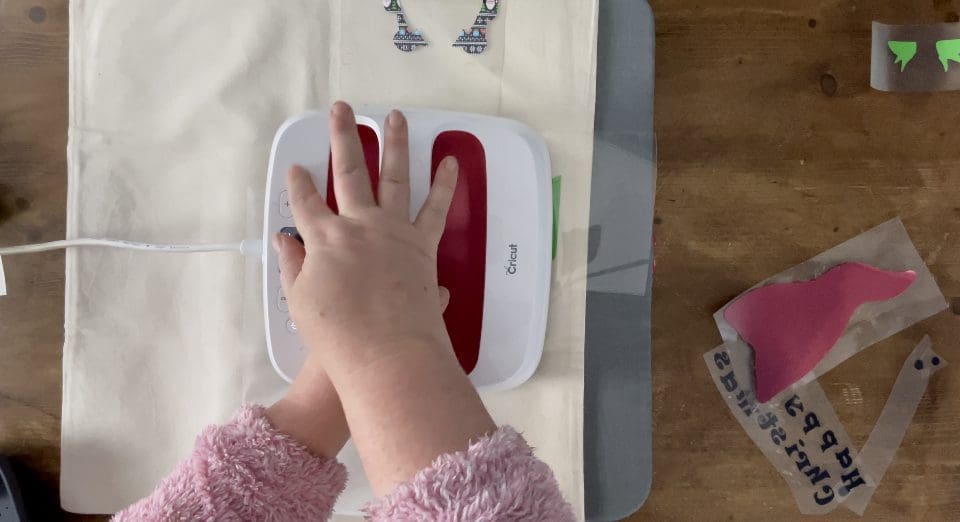
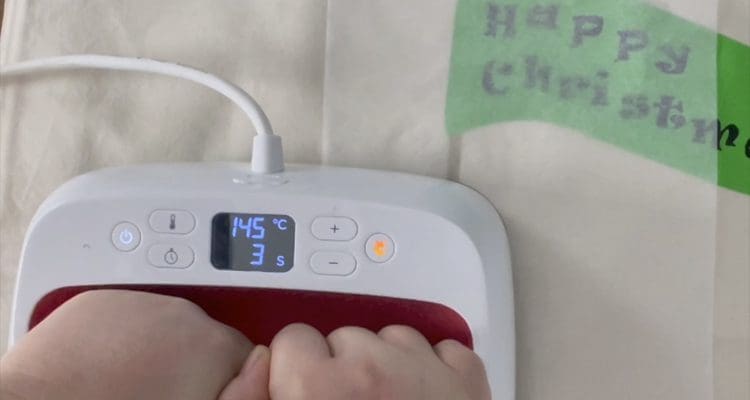
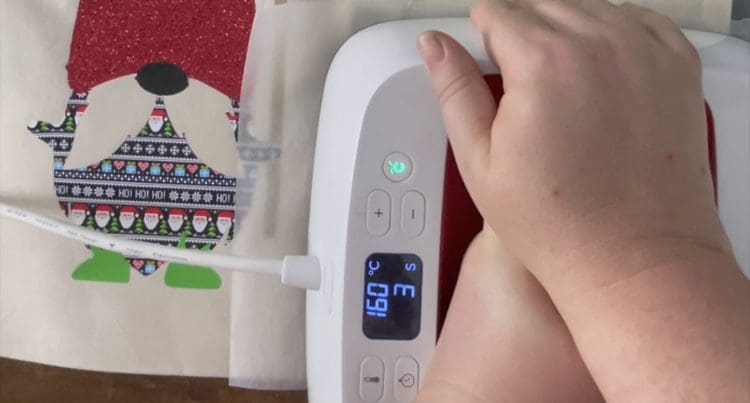
7. Switch your Easy press on, and set the temperature to 160’c and the timer to 3 seconds, (Please note settings for these when pressing a single layer only are different ) For all Vinyl please refer to our Application guide,
Place the easy press Mat under the sack and preheat once the press is ready for 10 seconds to remove any moisture, please note ensure the opening and seams are off the pressing mat so not to interfere with the pressure needed during application.
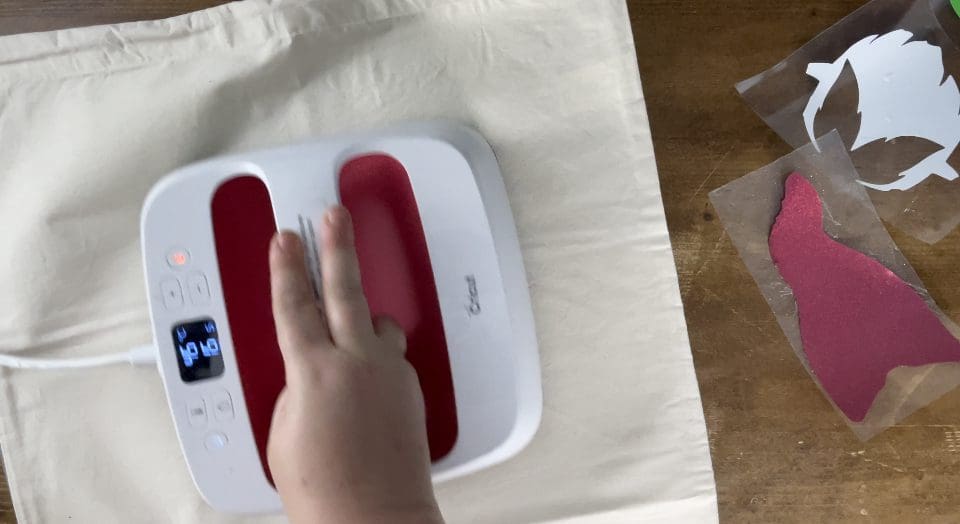
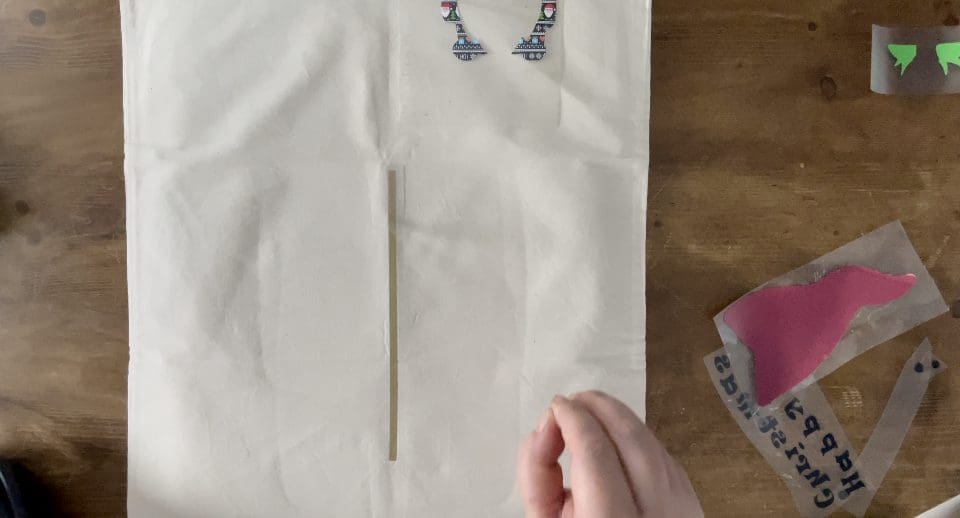
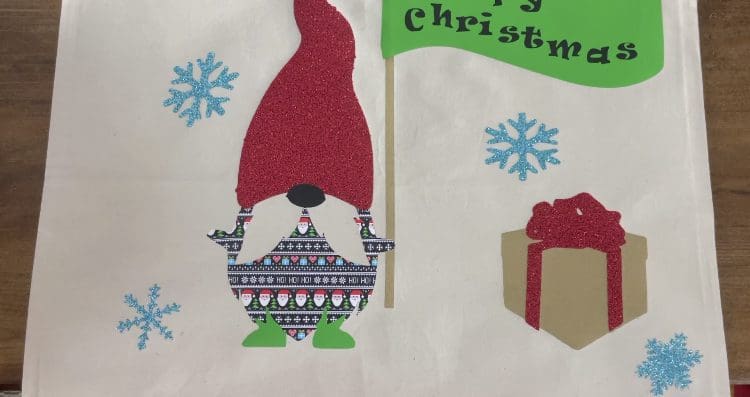
When Layering it is important to reduce the layering times so not to over heat the vinyl. because we used Pattern first, then turbo, Premium plus, Eco and Glitter we applied the layers and approx. times as follows;
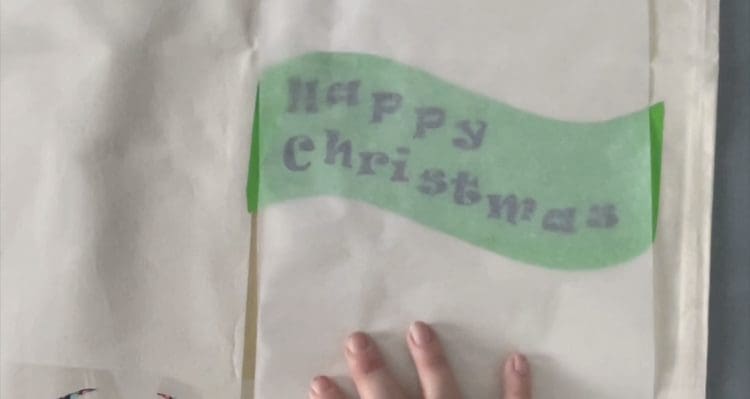
1st layer- Pattern 160 for 6 seconds, let cool slightly and peel- if it lifts re press for a further 3 seconds and so on until the application tape will lift. 2nd layer was turbo, then Premium plus- we changed to 150 for 3 seconds each hot peel- 3rd layer was eco- again 150 for 4 seconds- but let it go cold before removing, and lastly glitter for 160 at 15 seconds. If any of yours lift, repress for a few seconds only.
Check our guide here for more information on applying and using HTV successfully.
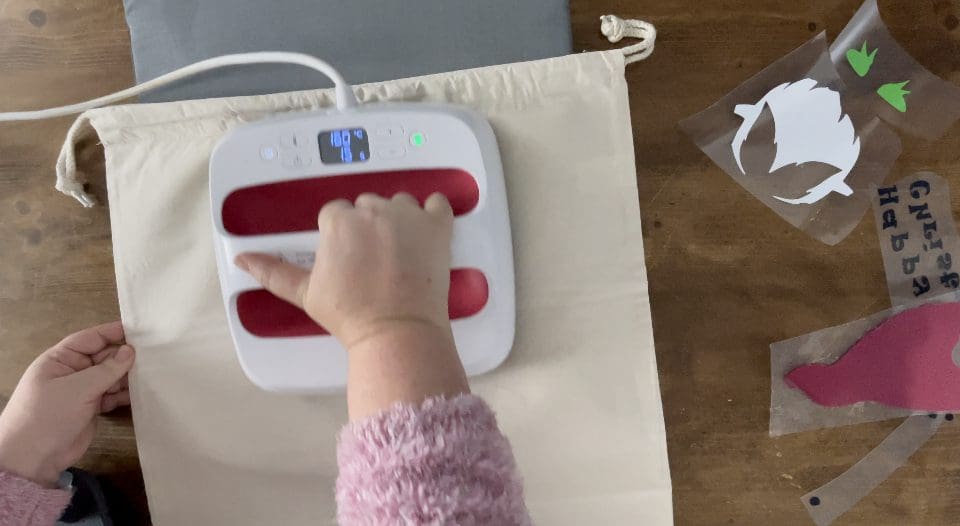
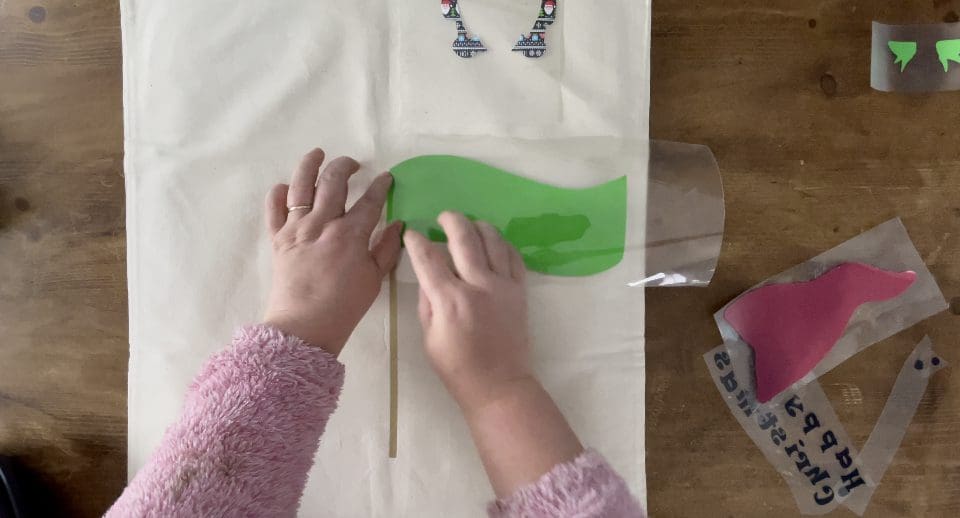
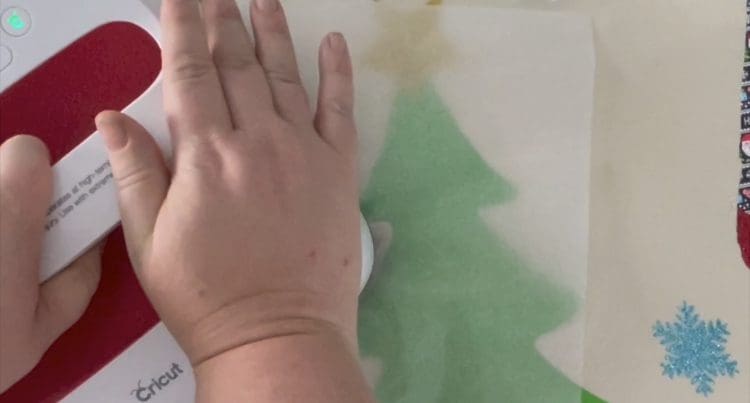
8. Move the bag on the pressing mat, and repeat the steps to apply the different layers as described in step 7- Ensure you protect your design as shown with the silicone paper. (If need be use Baking paper for this)
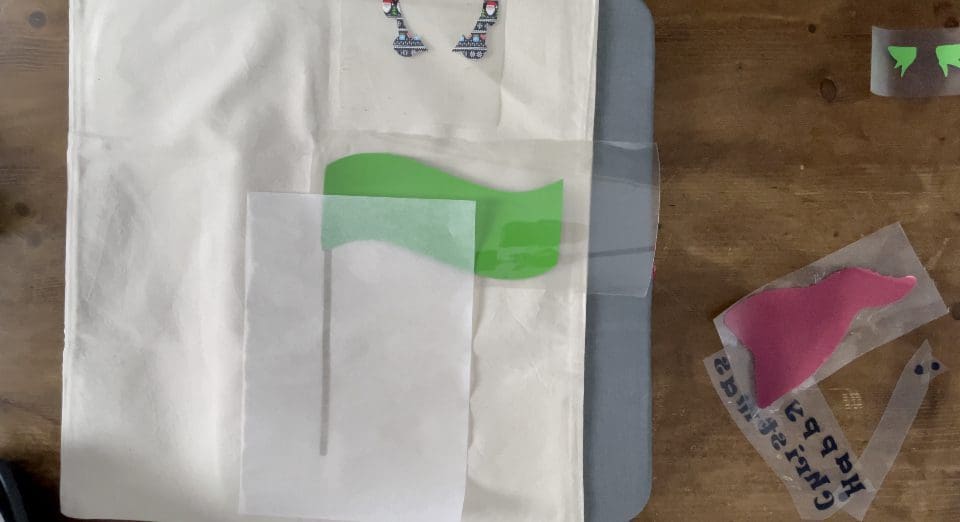
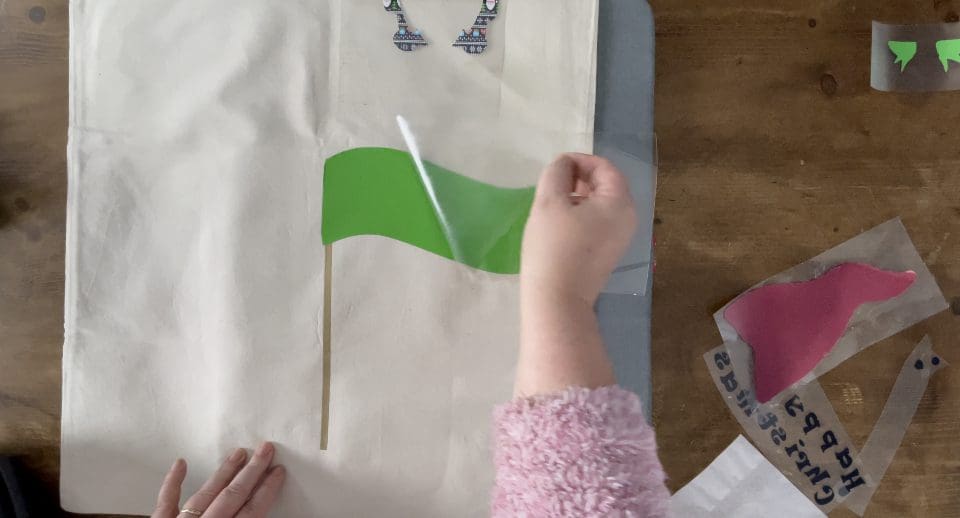
NB REMEMBER TO REDUCE PRESS TIMES WHEN LAYERING SEE STEP 7 FOR REFERANCE
9. If after removing the sheet the bag or design is looking a bit untidy then recover with a sheet of Silicone Paper or baking parchment and quickly repress smoothing over it like an iron would, but quickly so not to over heat. Don’t forget your finished design can be matched by using any material cut using a cutting file, card, self adhesive vinyl or even HTV. We’d love to see your makes on our social media pages! Or email them in!
Silhouette Cut File
Instructions:
Before you start, you need to download the cut file, Upload the cut file into Silhouette Studio and resize as necessary, (when resizing bring all layers into the design software and select all at once to get the correct offset layers and save the adjusted file, so you can cut layers individually at the correct scale you have chosen) Remember to test cut if necessary and cut settings are found here along with test cut guidelines for every machine.
Brother Cut File
To import these files into the Brother Canvas Workspace:
After downloading, please log in as usual to your design space account, open a new project mat, then left click on the SVG icon in the top left bar in canvas, this will then allow you to import your files. Once you left click this icon, a pop up box appears for you to choose where to import file from, choose to import the file from your downloads list or where you have chosen to save when unzipped.
Cut settings are found here
Just in case you need the link CanvasWorkspace (brother.com)