
Tutorial/Free Cut File
Mother’s Day Shadow Box

Hello!
We hope the first couple of months of 2021 have treated you well 🙂 Mother’s Day is just under 2 weeks away so we thought we’d give you some gift ideas if you’re thinking of DIY’ing rather than buying this year. This Rose Shadow Box is so pretty and the perfect keepsake to remind your mum how much she means to you. We have a large range of craft card on site so don’t be afraid to experiment with different styles and colours! Once again, we used a Cricut Maker for this design however, we are gifting you cut files ready for use on Silhouette machines and Brother ScanNCut too (available towards the bottom of the page). If you follow any of our tutorials don’t forget to show us your creations by tagging us on Facebook and/or Instagram, we always love to see them.
We would love to see what you make! Have you found our You Tube channel yet? The video showing this and all of our other tutorials are available on there, as well as exclusive demos, inspiration and more! Join us on Facebook , Instagram or Tiktok or send us an email to sales@gmcrafts.co.uk we would love to hear from you!
***watch this being made here***
Happy crafting 🙂
What you’ll need:
- Cricut Maker. Available here
- Squeegee. Available here
- Wedding tweezers. Available here
- Quilling tool. Available here
- Scissors.
- Glue gun. Available here
- Shadow Box. Available here
- Oracal 551 White vinyl. Available here
- GM Pink Mirror Card. Available here
- GM Purple Mirror Card. Available here
- Transfer tape. Available here

Instructions:
1. Firstly you’ll need to download the cut files.
2. Upload the Rose cut file onto Cricut Design Space and resize as necessary. We resized ours to the measurements shown below.
3. When happy with the size of the design, select ‘Make it’ in the top right corner of your screen and make sure it’s correctly positioned on the mat.
4. Select ‘continue’ in the bottom right of the screen and make sure your machine is connected.
5. Select ‘Glitter Cardstock’ as the material and pressure as ‘More’. We used the Fine Point blade.
6. Position the mirror card face up on the cutting mat and apply slight pressure to secure it.
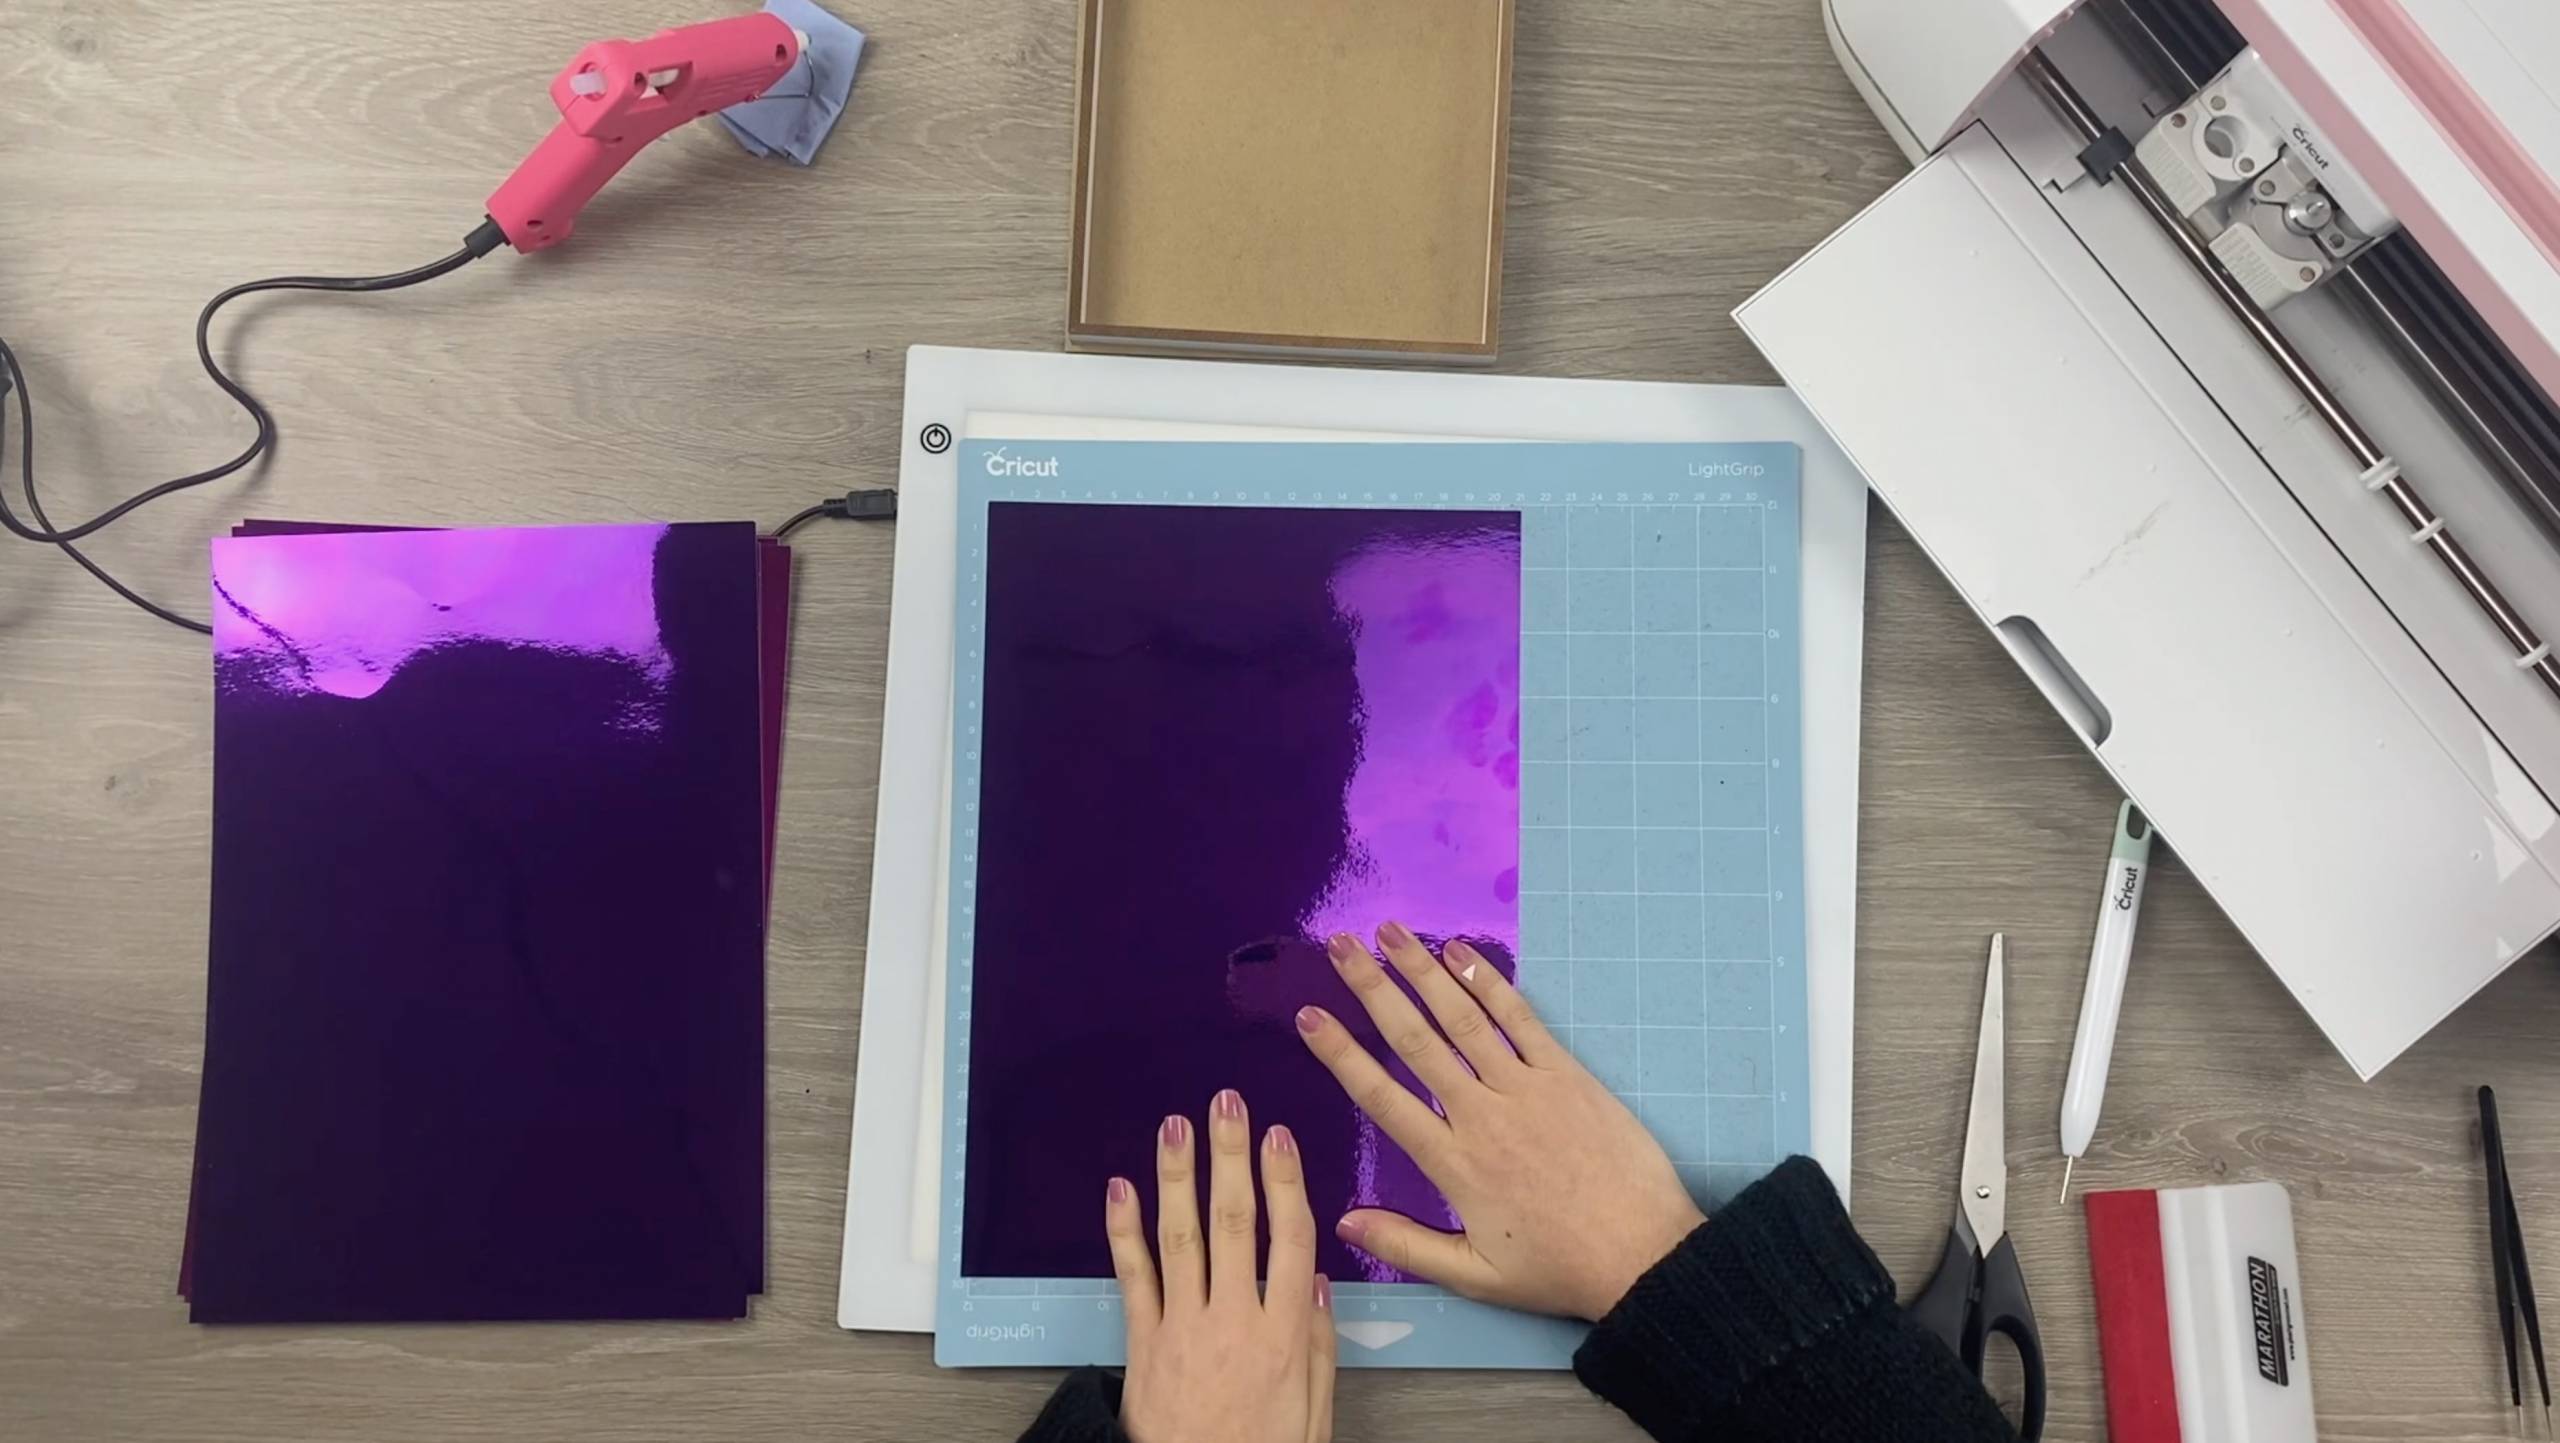
7. Load the mat onto the cutting machine and press the Cricut symbol when ready to cut.
8. When cut gently peel the card off the mat, separating the rose cut out from the rest of the card. Be extra careful here as the design is delicate.
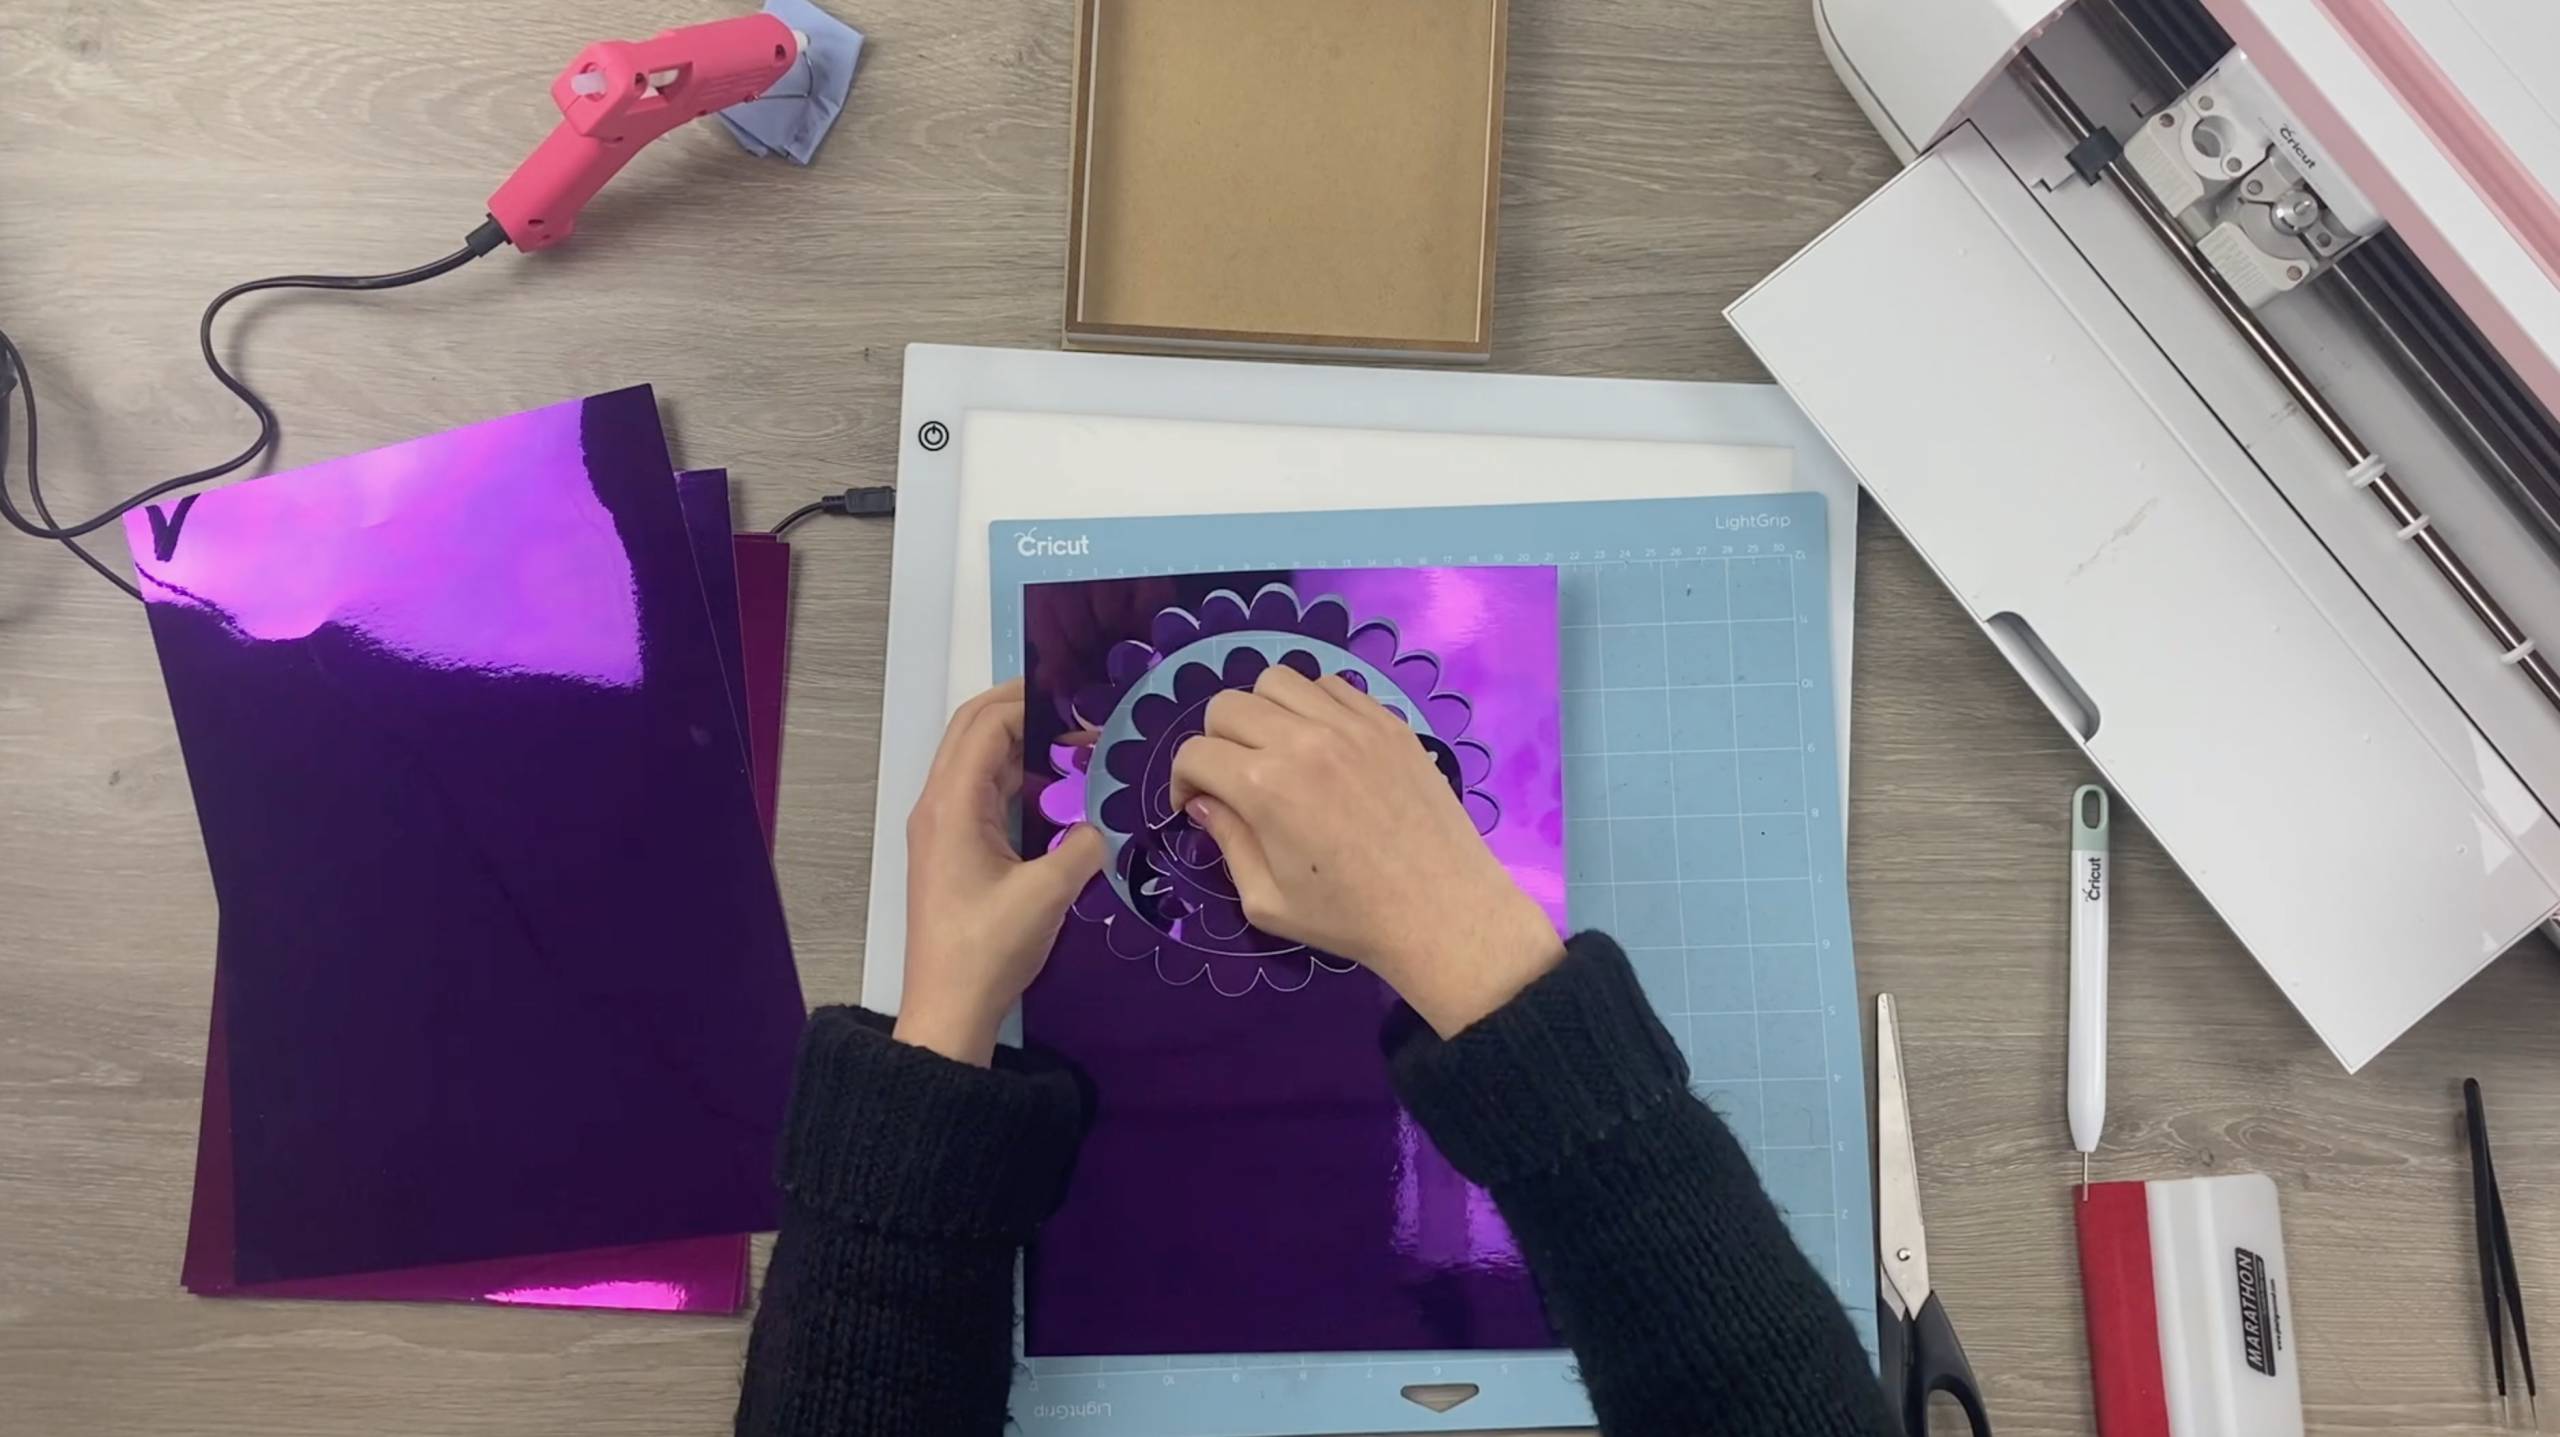
9. You should now be left with the Rose ‘spiral’ ready to be quilled into a rose. We cut out 16 roses. Gently bend each ‘petal’ backwards as this gives the rose a nicer finish.
10. Slide the quilling tool onto the last outer ‘petal’ as shown below.
11. Gently turn the tool to spiral rose as shown below. Ensure the straight edge continues to be lined up correctly.
12. When you finish quilling the rose remove the quilling tool. Lightly loosen your hold on the rose so that it ‘opens’ to look like a rose that has bloomed.
13. Turn the rose over and apply hot glue to the inner side of the last petal, as shown below, then close it again to secure the rose together.
14. Quill all of your roses.
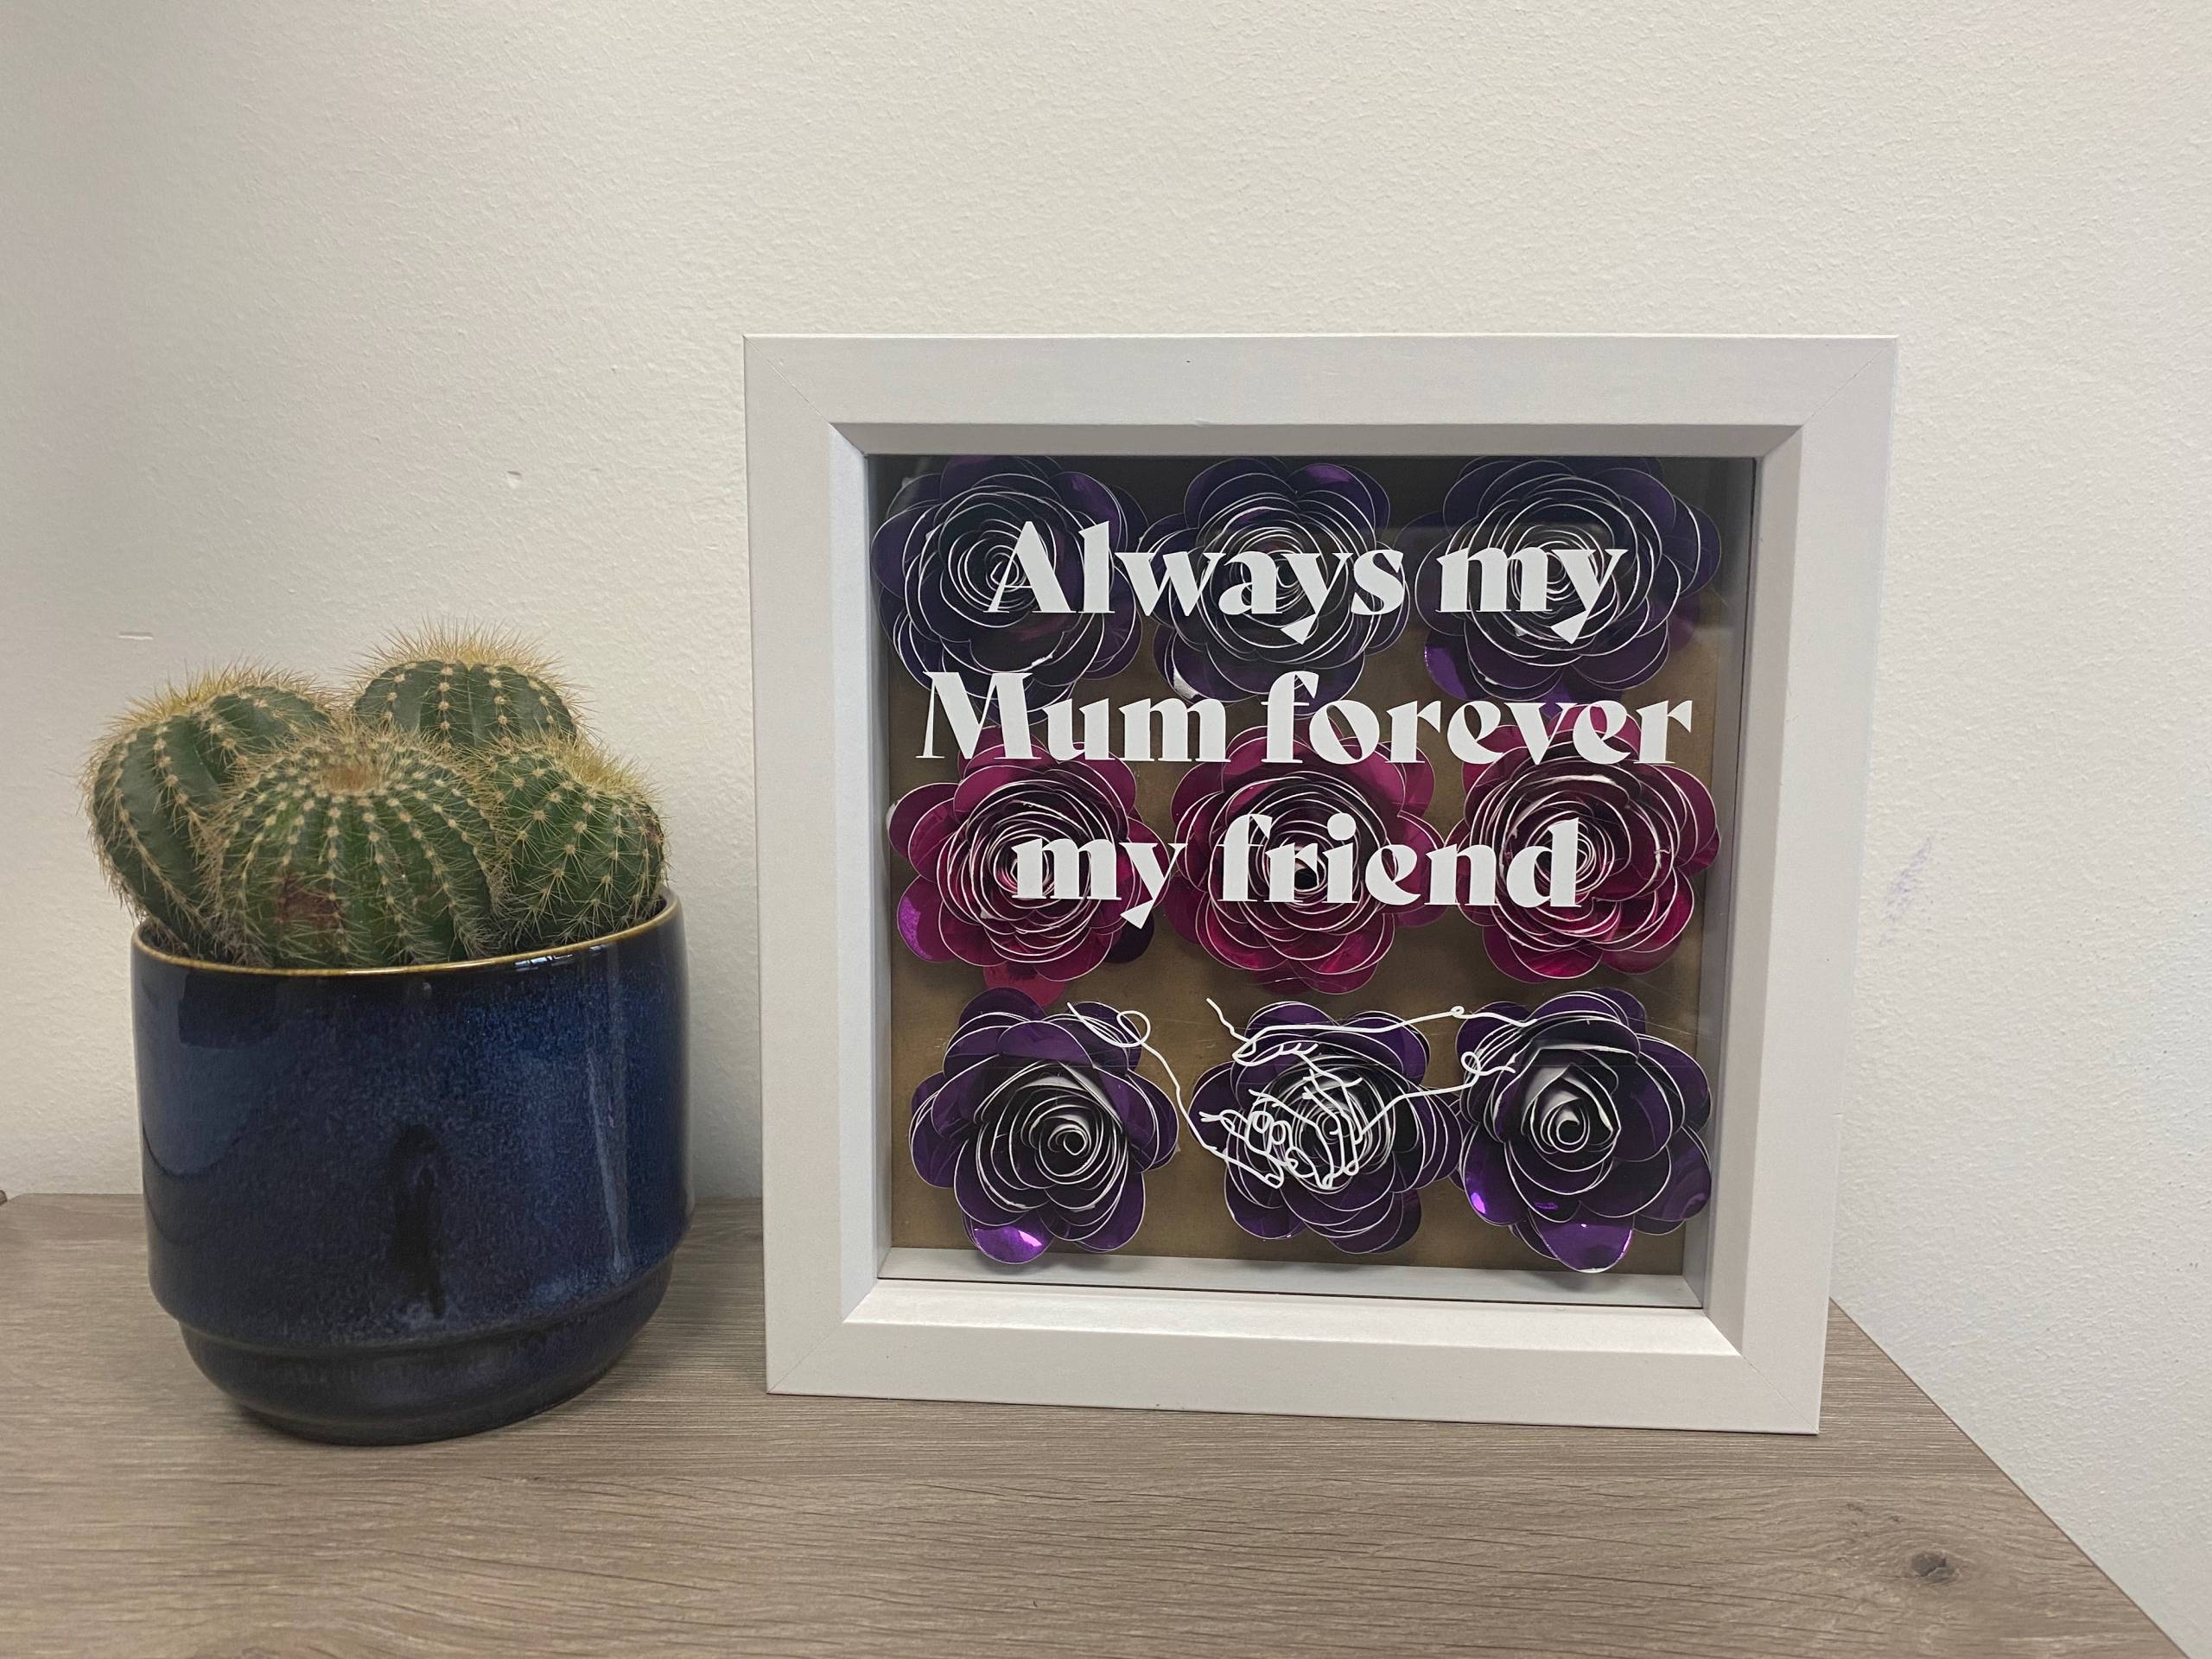
15. Apply hot glue to the back of the roses and secure into place in your shadow box. We simply filled the entirety of our box. You can however position them in whatever design you like 🙂
16. Place the shadow box to the one side.
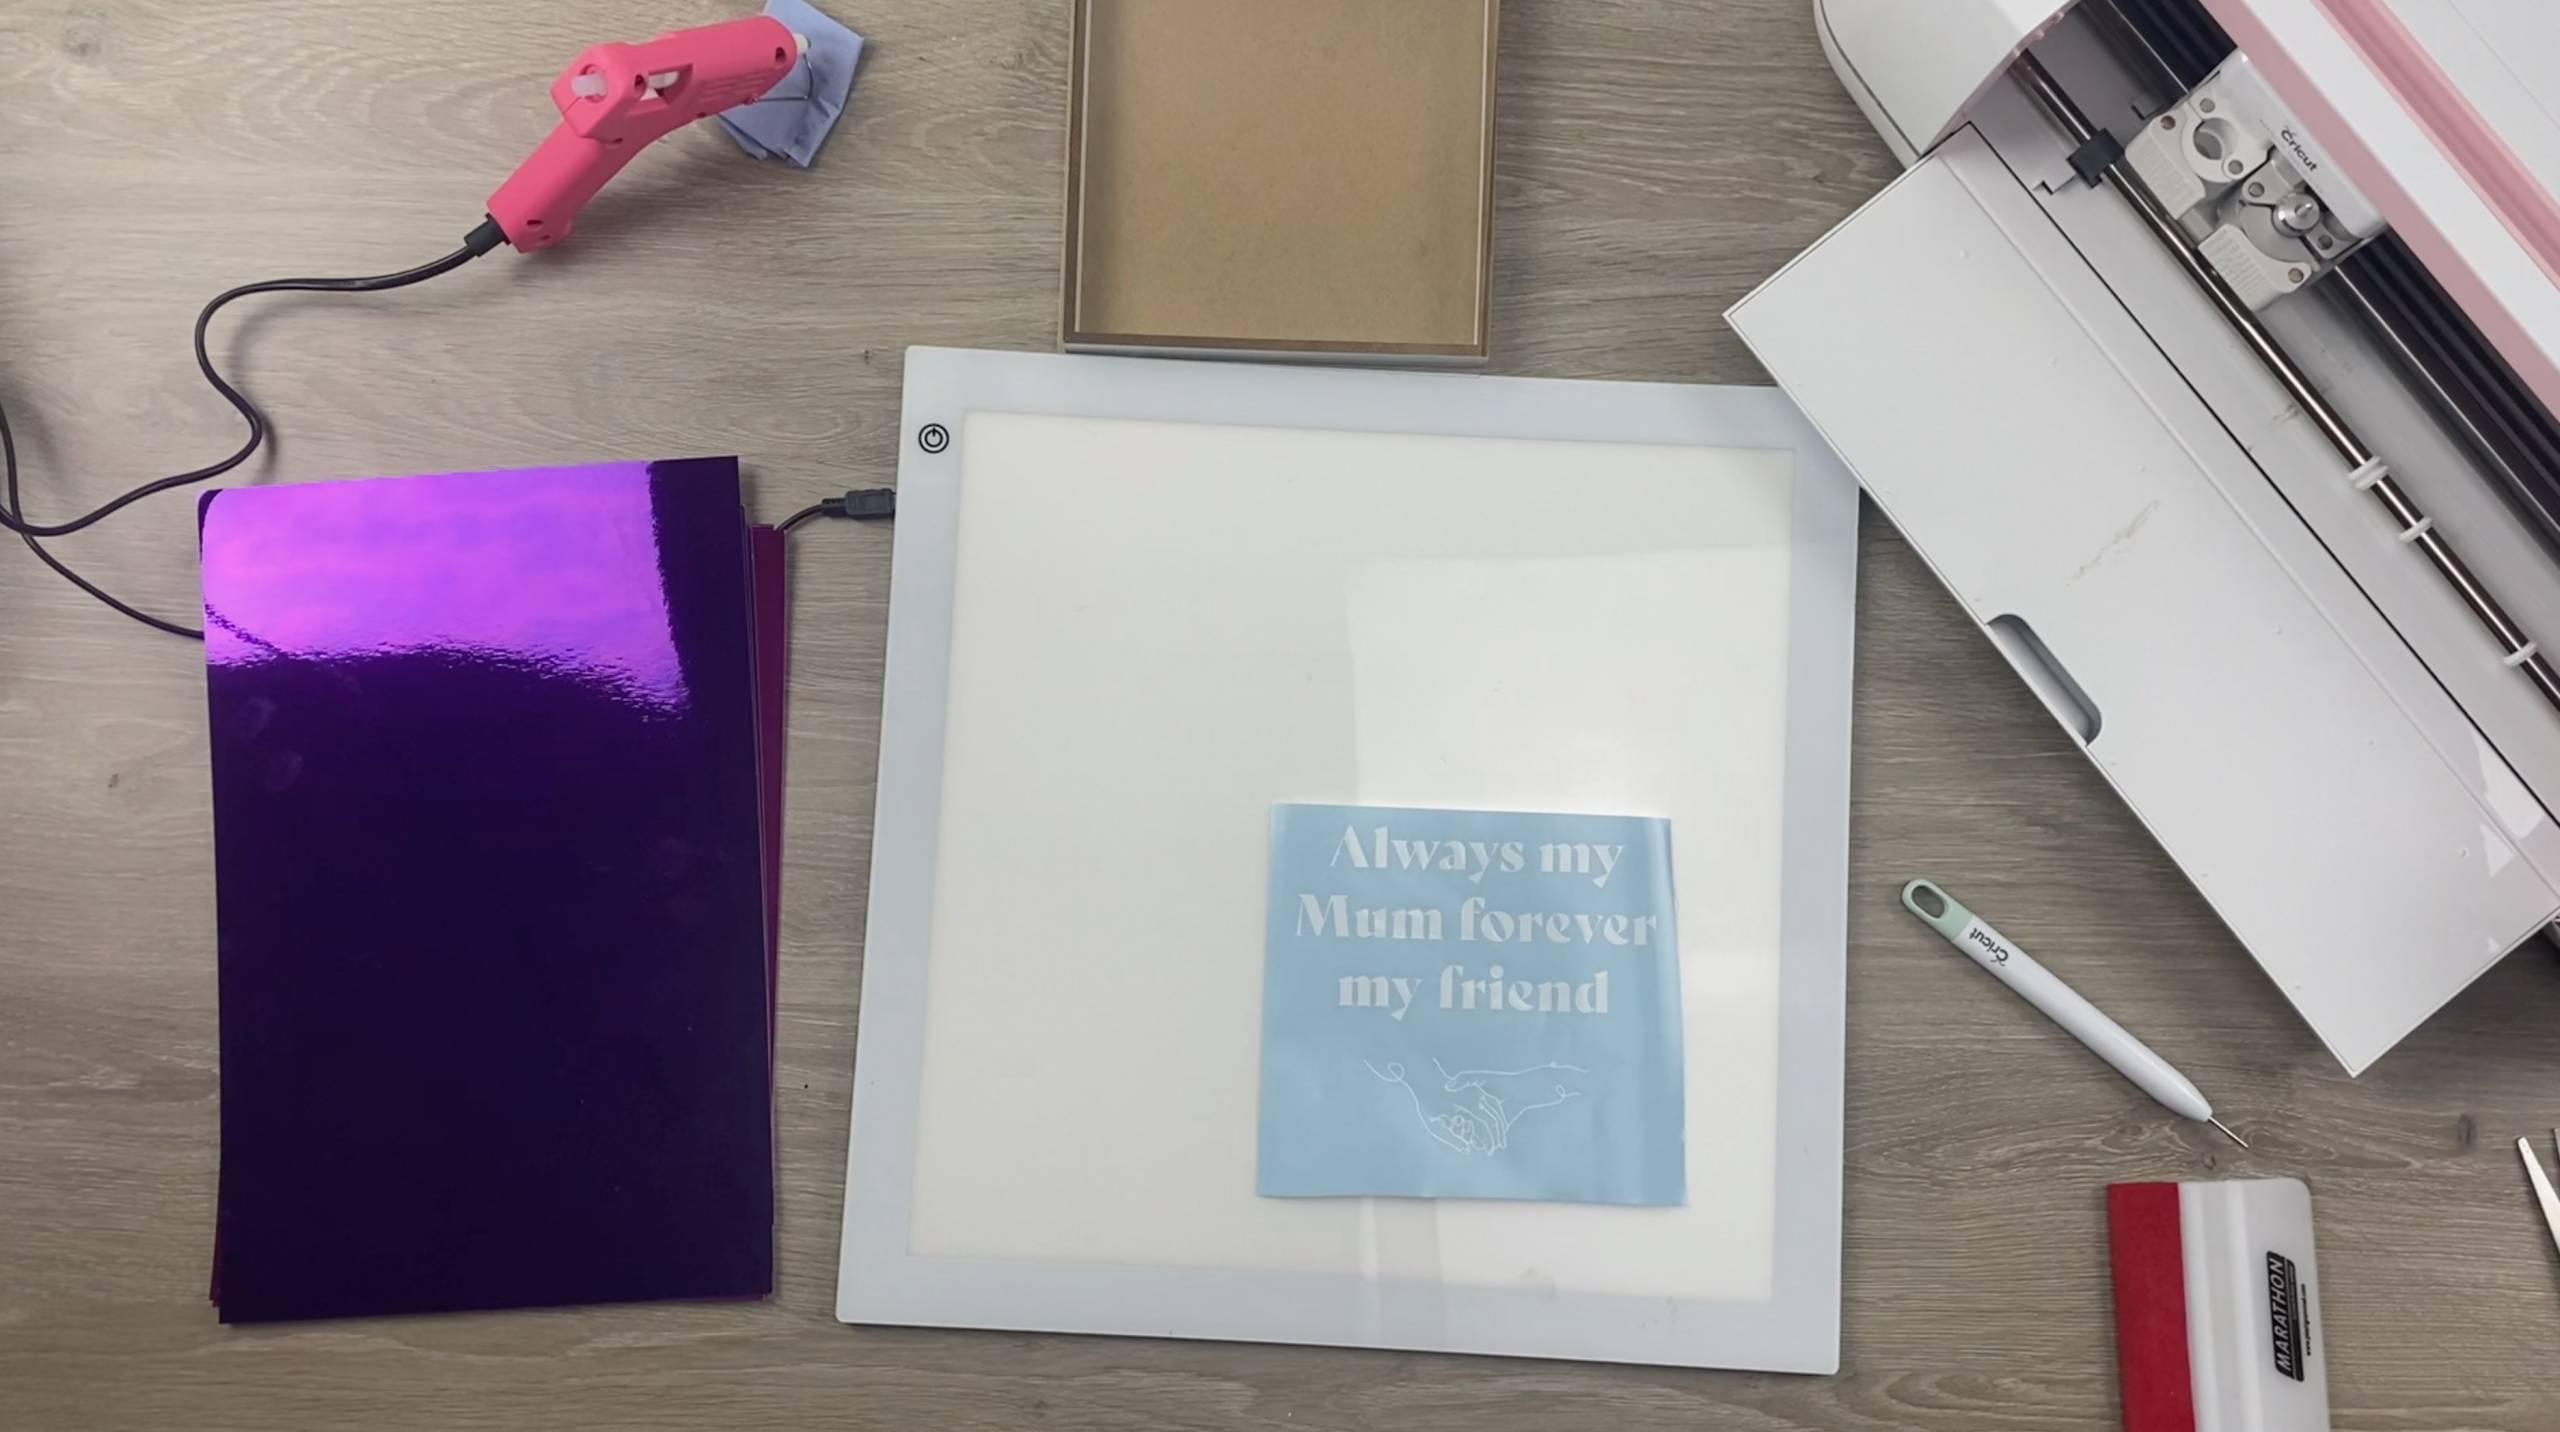
17. Upload the ‘Quote’ cut file into the design space and resize as necessary.
18. When happy with the size of the design, select ‘Make it’ in the top right corner of your screen. Make sure it’s correctly positioned on the mat – self-adhesive IS NOT cut in reverse.
19. Select ‘continue’ in the bottom right of the screen and make sure your machine is connected.
20. Select ‘Premium Vinyl’ as the material and pressure as ‘Default’. We used the Fine Point blade.
21. Position the Oracal 651 face up on the cutting mat and apply pressure to it to make sure it is secure. The vinyl should be face up with the paper carrier sheet face down on the mat, you are only cutting the vinyl, not the paper carrier sheet.
22. Load the mat onto the cutting machine and press the Cricut symbol when ready to cut.
23. When cut, peel the vinyl off the mat and cut to size. Then, weed any excess material so that just the design is left on the carrier sheet.
24. Cut your application tape to size. Apply your application tape, turn over and use the squeegee to firmly rub the carrier sheet making sure the vinyl sticks to app tape. Carefully peel off the white carrier sheet so that the vinyl writing is left on the application tape.
25. Position the design on the glass of the shadow box and stick it to the glass. Using a squeegee firmly rub the design area. Slowly peel off the application tape, leaving the vinyl on the box lid.
26. Reassemble your shadow box 🙂
Silhouette Cut File
Open your studio 3 cut file and resize in Silhouette Studio.
Cut settings:
Glitter Card
Material: Glitter card
Ratchet blade: 6
Speed: 3
Force: 18
Passes: 1
Vinyl:
Material: Vinyl Glossy
Ratchet blade: 2
Speed: 5
Force: 8
Passes: 1
Brother Cut Files
To import these files into the Brother Canvas Workspace:
After downloading, please log in as usual to your design space account, open a new project mat, then left click on the SVG icon in the top left bar in canvas, this will then allow you to import your files. Once you left click this icon, a pop up box appears with you to choose where to import file from, choose to import the file from your downloads list or where you have chosen to save when unzipped.
Just incase you need the link CanvasWorkspace (brother.com)