Tutorial/Free Cut File
How to Update, Calibrate, Clean Your Machine and Mat, Plus How to Use Print and Cut with Free download Files for All Machines.
Hi!
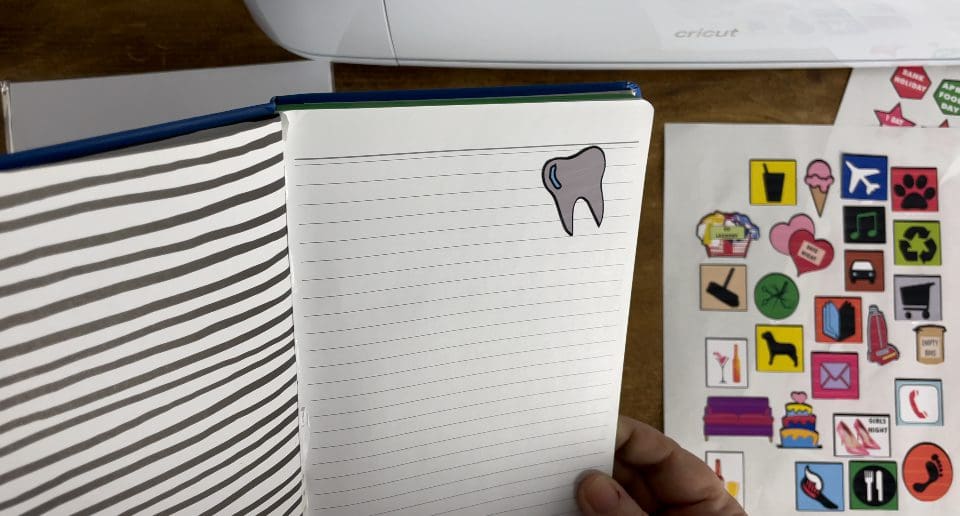
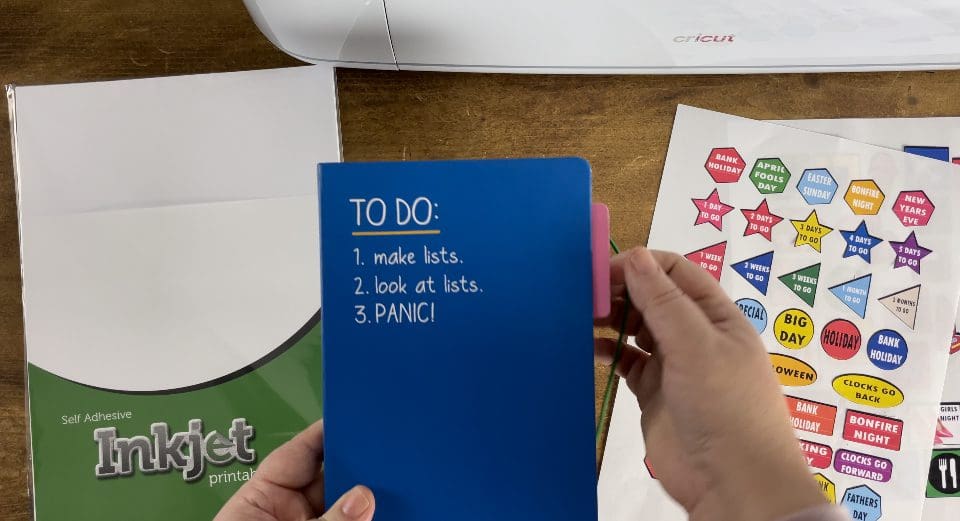
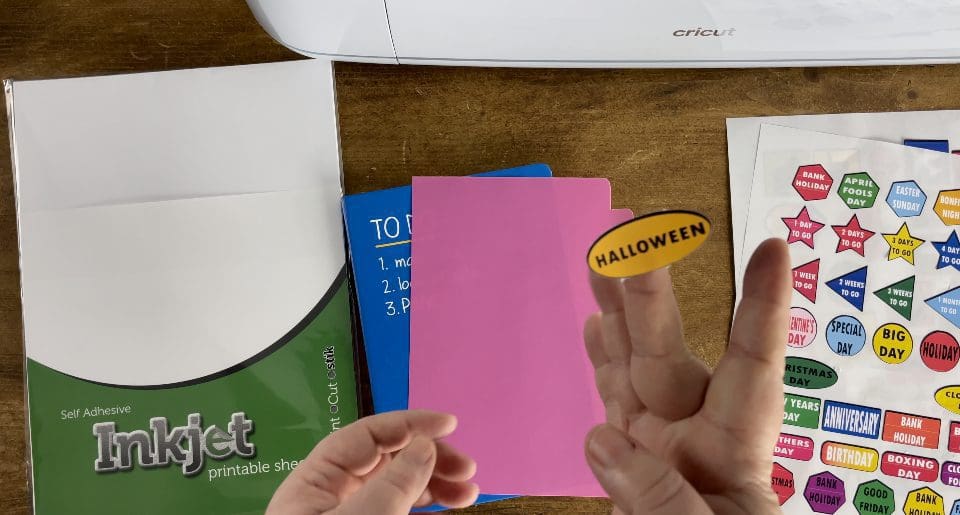
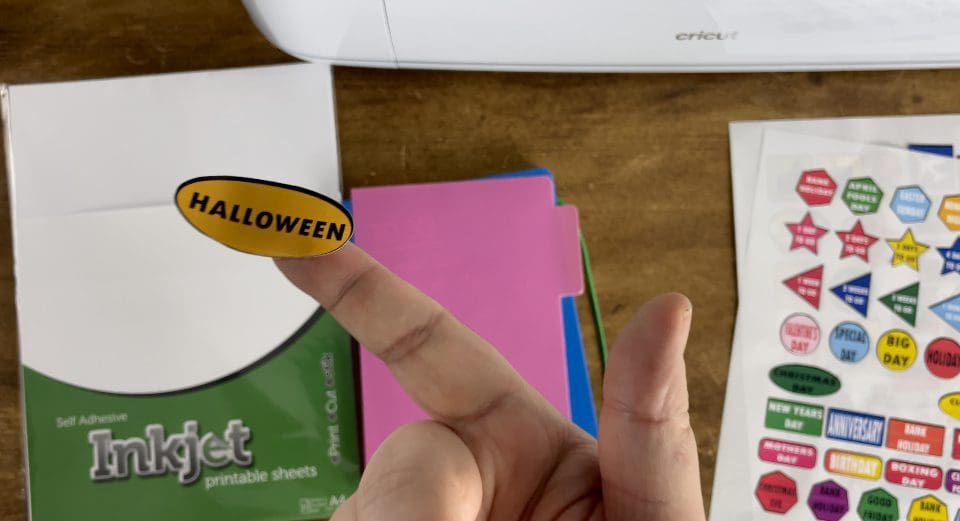
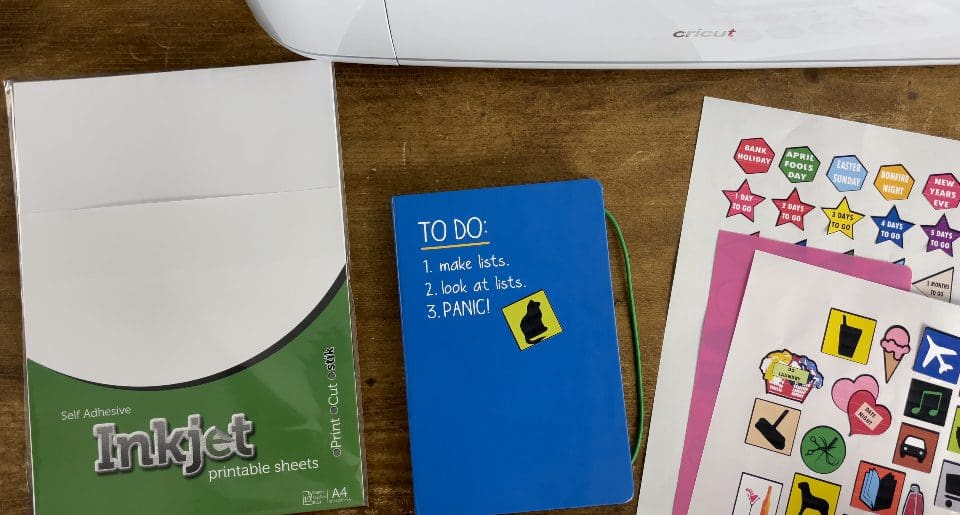
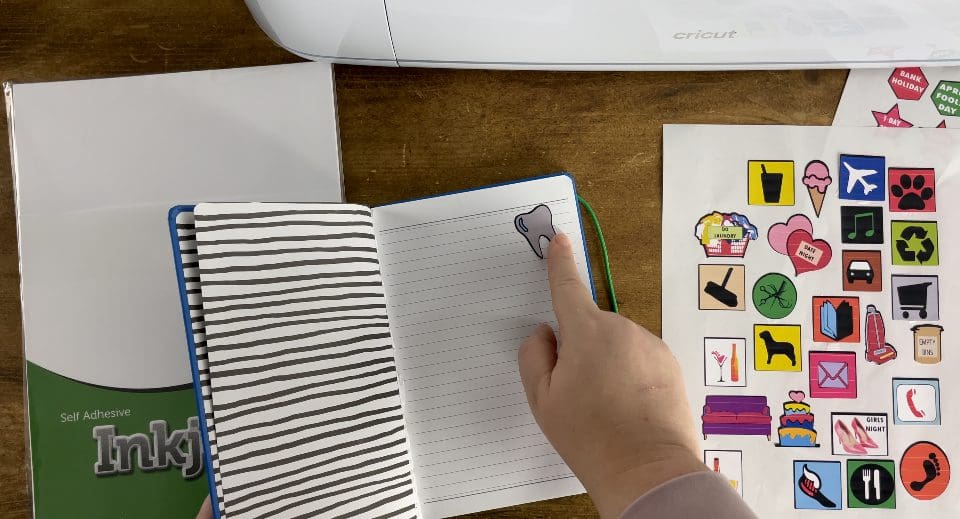
As we are well into January now, and looking forward to another busy year – we thought this week we would help you get ahead with these fun stickers – suitable for anyone who wants to brighten up their diary, journals or year planner displays, as well as you can add them to card making, notice boards and school projects – or cut them out of our magnets and use them on your fridge, or magnet boards too! Alternatively follow the tutorial instead, using your own printed design.
We do also have a Magnet Tutorial with free files that would compliment these, available for the Cricut by clicking here, or the Silhouette here, All our tutorials are suited to every machine, and the alternative instructions for file downloads for other machines are always at the end after the tutorial, just follow the tutorial using your machine instead, should you wish.
We have also included this week a section below on Calibrating your machine, as this can really help – especially as there are many firmware and software updates throughout each year for each of the machines. A calibration after an update is always a good idea, as well as a thorough clean to ensure there are no loose bits of vinyl, or tiny fibres of card inside. These do make a big difference to your results, and the overall health and function of your machine. Lastly we also recommend regularly cleaning your cutting mats (when using them instead of smart media settings) – all of which we have explained fully below – including how to save your cutting mat from disaster!
Please see the different sections below in this blog to follow advice on cleaning your mat, and cleaning your machine, calibrating and updating software – we have even provided you direct links to the software to do this below, this advice can be followed no matter which model or make you use.
We would love to see what you make! Have you found our You Tube channel yet? The video showing this and all of our other tutorials are available on there, as well as exclusive demos, inspiration and more! Join us on Facebook , Instagram or Tiktok or send us an email to sales@gmcrafts.co.uk we would love to hear from you!
***WATCH THIS BEING MADE HERE ON OUR YOUTUBE CHANNEL***
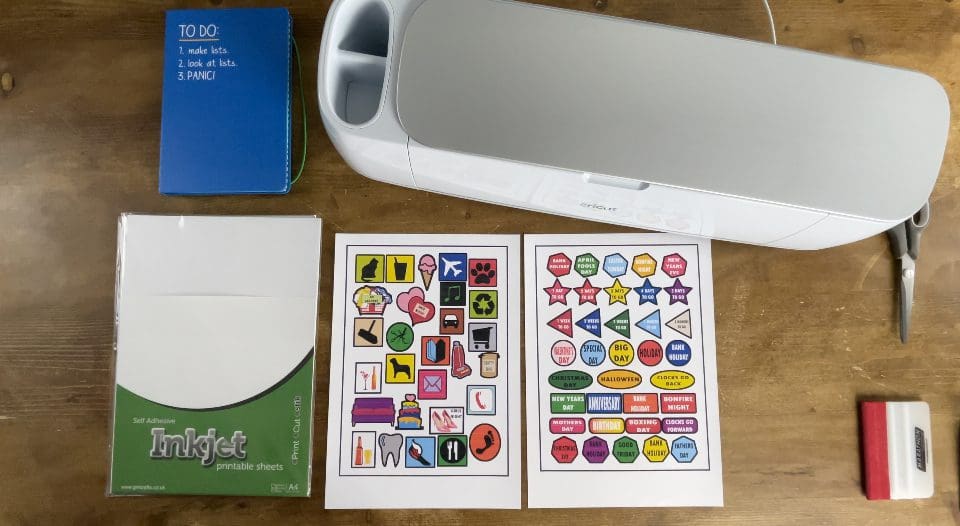
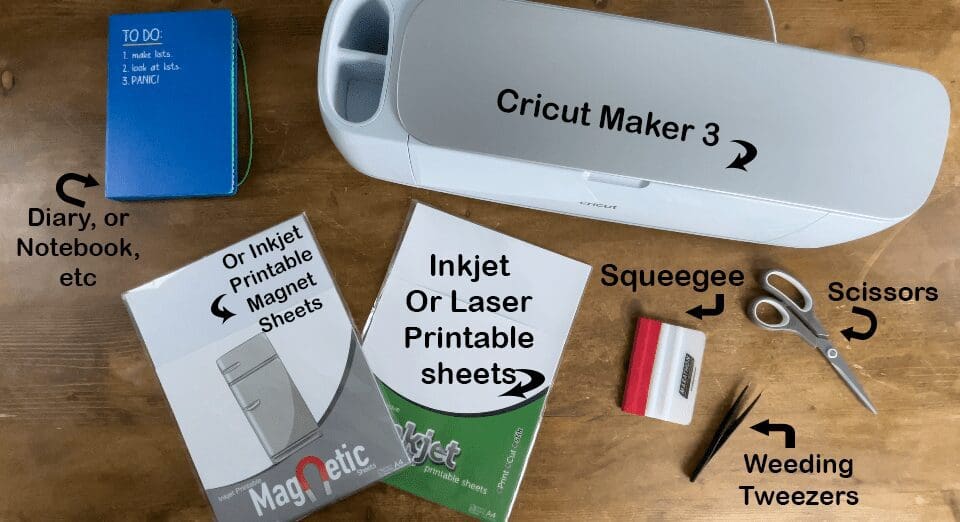
What you’ll need:
- Cricut Maker . Available here
- Or Silhouette Cameo 4. Available here (Instructions for the Cameo and Brother machines at the bottom!)
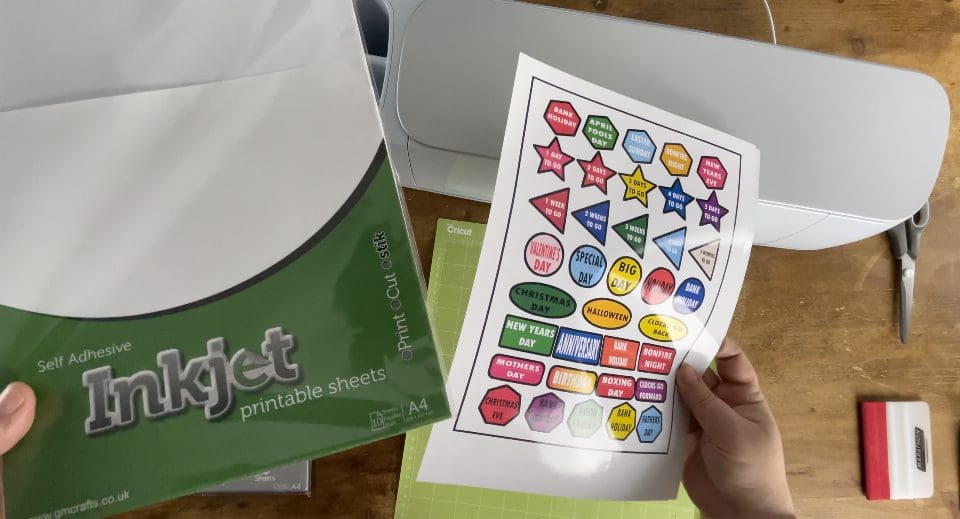
- GM Crafts Printable A4 INKJET AVAILABLE CLICK HERE OR LASER PRINTER AVAILABLE CLICK HERE
- Or Alternatively GM Printable Magnets Available here
- Squeegee. Available here
- Scissors and Diary or Planner etc from your own stash.
- Cut files, are free below! Including Silhouette (Separate Blog to follow). Cricut and Brother instructions to follow at the end.
New Year Sticker sheets Print and Cut FILES CLICK HERE TO DOWNLOAD
Before we start the tutorial we thought we would go through some basic housekeeping. This is applicable to all machines, makes and models, as software is regularly updated, along with machine firmware. So if you have not updated your software manually in the last month, do visit the manufacturers page to do this, and plug your machine in via USB to check for a firmware update afterwards in the software, as there have been many windows background updates that do affect Bluetooth capable cutting machines and printer drivers, and every few months resetting, updating the software and restarting your computer are sensible steps to prevent you having any issues.
Cricut Updates are found by clicking here
Silhouette Updates are found by clicking here
Brother Scan and cut software updates click here
Along with this, recalibrating the machine every 3-6 months is also advisable, this is because these updates do alter the settings, and fluctuating ambient temperature and humidity changes each season can also affect the machine. Below before the blog on Print and Cut we cover cleaning the machine, cleaning the mat and recalibrating too. If you are not a Cricut user, please follow the steps for your own machine’s recalibration, and the links for this are as follows;
To Recalibrate your Cricut please see tutorial Below to follow.
Recalibrate your Silhouette machine info click here
Recalibrate Brother cutting machine info click here
CLEANING YOUR MACHINE.
This isn’t something many people talk about, but to keep your machine in top working order, it is really important to clean it. We get asked quite often why a customers machine isn’t performing as well as it was, or why it has become more noisy than before. This is usually down to tiny fragments being caught inside and the machine needs a clean. Please ensure, before you do anything, you switch the machine off, unplug it completely and remove the cable from the machine. We recommend cleaning the blade and machine regularly and the more you use it, the more frequent this should be, because we use ours every day- we clean ours every week, however we check and clean the blade daily as a tiny fragment can get inside and cause the blade to perform less well and or chip. This extends it’s lifespan enormously.
With the machine then fully open, fold a piece of A4 paper in half. Burnish the folded crease so it’s really neat. Once you’ve got that piece of paper you hold the machine up slightly on one side and flick that folded bit back and forth through the machine, to ensure you have completely cleared it. Get your phone torch and inspect the roller bars and cogs for debris and blow hard, firstly from behind, then in the front, or if you have a nozzle on your hoover, then you can use this, but slightly from a distance so not to damage it.
Put the machine down and leave it to settle for 30 minutes. Should your machine be dusty, or have any marks, I always get a baby or antibacterial wipe, and leave it on the side to almost dry out during the day- so it is only very slightly damp, then use this to wipe and clean the surface of the machine, before dry polishing with a soft cloth to keep it looking like new.
Remove the blade housing from the machine, and here are the 3 different instructions, on cleaning your blade, depending on your machine type- if your machine is not covered please refer to your user manual for how to do this.
Cricut- To remove the tiny blade it holds to clean, this can be done by depressing the button, inspect it whilst doing so. And blow inside the blade holder.
Silhouette- Take the little blade opening tool and open the cap, check for damage, blow inside, and if applicable reset after closing tightly by plunging the blade- unless a ratchet which you reset manually.
Brother- Unscrew the cap- watch for a spring if applicable to your machine type, remove the blade and blow inside the unit, before firmly replacing the cap.
Finally, replace the blade, lock or close the clamp, and if your machine allows you to (some models can not) , move the Blade carriage back and forth to ensure this is freely movable. After that plug everything in and perform a test cut.
CLEANING YOUR CUTTING MAT
Again, not many people tend to realise their cutting mats can be cleaned and the once sticky surface will become revitalised again. There are a lot of methods on the internet and discussions about re sticking mats, we will try to cover the basics for you here.
How often should I clean my mat? – This is a really difficult question to answer, but we can assist you to know when;
Firstly what if you get something stuck on it?- for example you get a sheet of paper, card or backing paper stuck?- DO NOT PANIC! Just get a bowl or sink full of clean hot soapy (washing up liquid) water- and let it soak in the water for a hour or so, then gently with your hand only- rub the stuck paper or card away- using no force, and re soak if needed until it comes away.- rinse in clean water- let it air dry over night- and your problem is solved.
However if under normal use, how often should you clean them? This does vary on a number of factors; what material you are using on it, how often you use it, and believe it or not if you have pets in your craft room – pet hair can easily become air borne and catch on the sticky part of the mat – but fear not, the solution is simple, and no you don’t need to keep them out of the room! We here at GM crafts are huge animal lovers and when at home, it has been known to find our cat sat on a fresh new mat- which now needs urgent attention! – it is easy to resolve so please don’t worry.
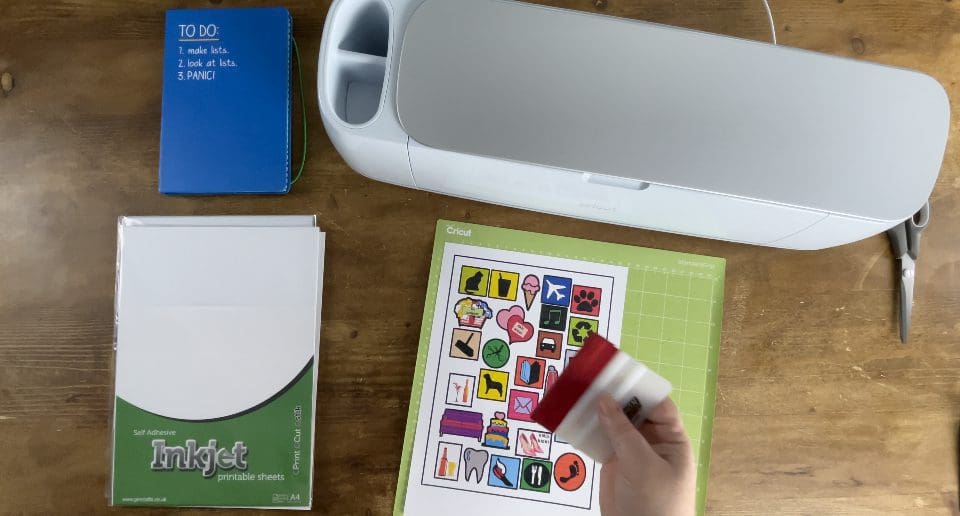
Cleaning mats, should always be performed when you have time to let it air dry- or if you have spare- we clean ours on a Friday afternoon- so they are fresh for Monday. Run a bowl, or sink full of hot soapy water ( washing up liquid is best) deep enough to cover the mat. If the mat is really dirty – you can gently rub a tiny amount of diluted washing up liquid in to pre soak for 10 minutes before putting in the water. Let it sit in the water for an hour. Then gently wash off under running water to clear any fluff, bits or fibres – repeat if there are any stubborn bits. DO NOT SCRUB OR RUB HARD as this will damage the adhesive. Let your mat air dry whilst flat preferable over night. It’s stickiness should now return as before.
If you have rubbed or damaged your mat- and damaged the adhesive, then in these circumstances it can be re stuck your self, but this is not something you should do unnecessarily as regular and careful cleaning of it, and letting it air dry should keep your mat going for a very long time. If you need to re stick it, there are a number of repositionable and temporary adhesives on the market to choose from, we use a Jumbo Zig 2 way Glue pen to do this and these can be purchased online.
When re sticking, ensure you have thoroughly cleaned the mat as above, and it is thoroughly dry. Take masking tape to mask off the mat area so the gridded area only is showing and the adhesive can not go on the outside area of the grid, then carefully in strokes cover the mat with a thin layer of the adhesive, again let this air dry over night, then your mat is ready for use.
Last of all – do remember between projects and cutting to cover your mat with it’s protective clear sheet- this will ensure your mat is kept dust and particle free at all times when not in use – and should, like us, your cat accidentally sneak into your craft room – if they sit on it – it isn’t going to be covered in hair after you oh so diligently cleaned it. If by some misfortune you have lost or damaged your cover sheet- you could cut a piece to size, after discarding the application sheet on or Pattern HTV, as this is not sticky and is the perfect replacement. You can buy our Pattern HTV by clicking here.
CALIBRATING YOUR CRICUT MACHINE
There are many reasons why you would calibrate your machine, firstly when machines are delivered, they have been subject to movement and vibrations during transit, and calibration before you use for the first time, would help you get to know your machine, but also saves you any hassles. This is especially important if you use print and cut and saves you so much stress! As you will see from the tutorial and calibration steps, the difference it makes can be huge.
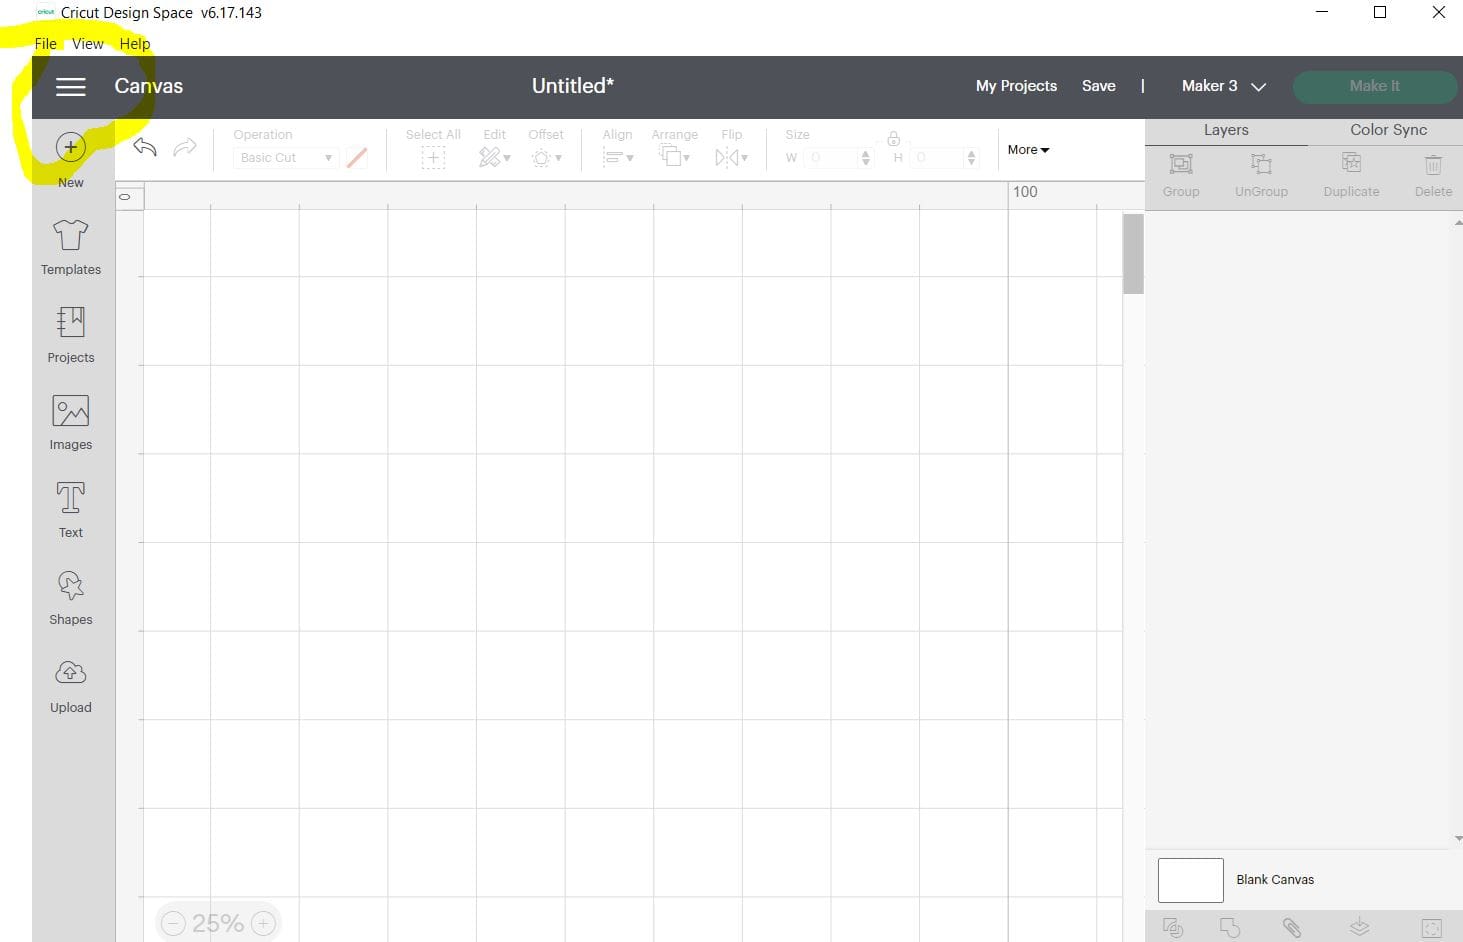
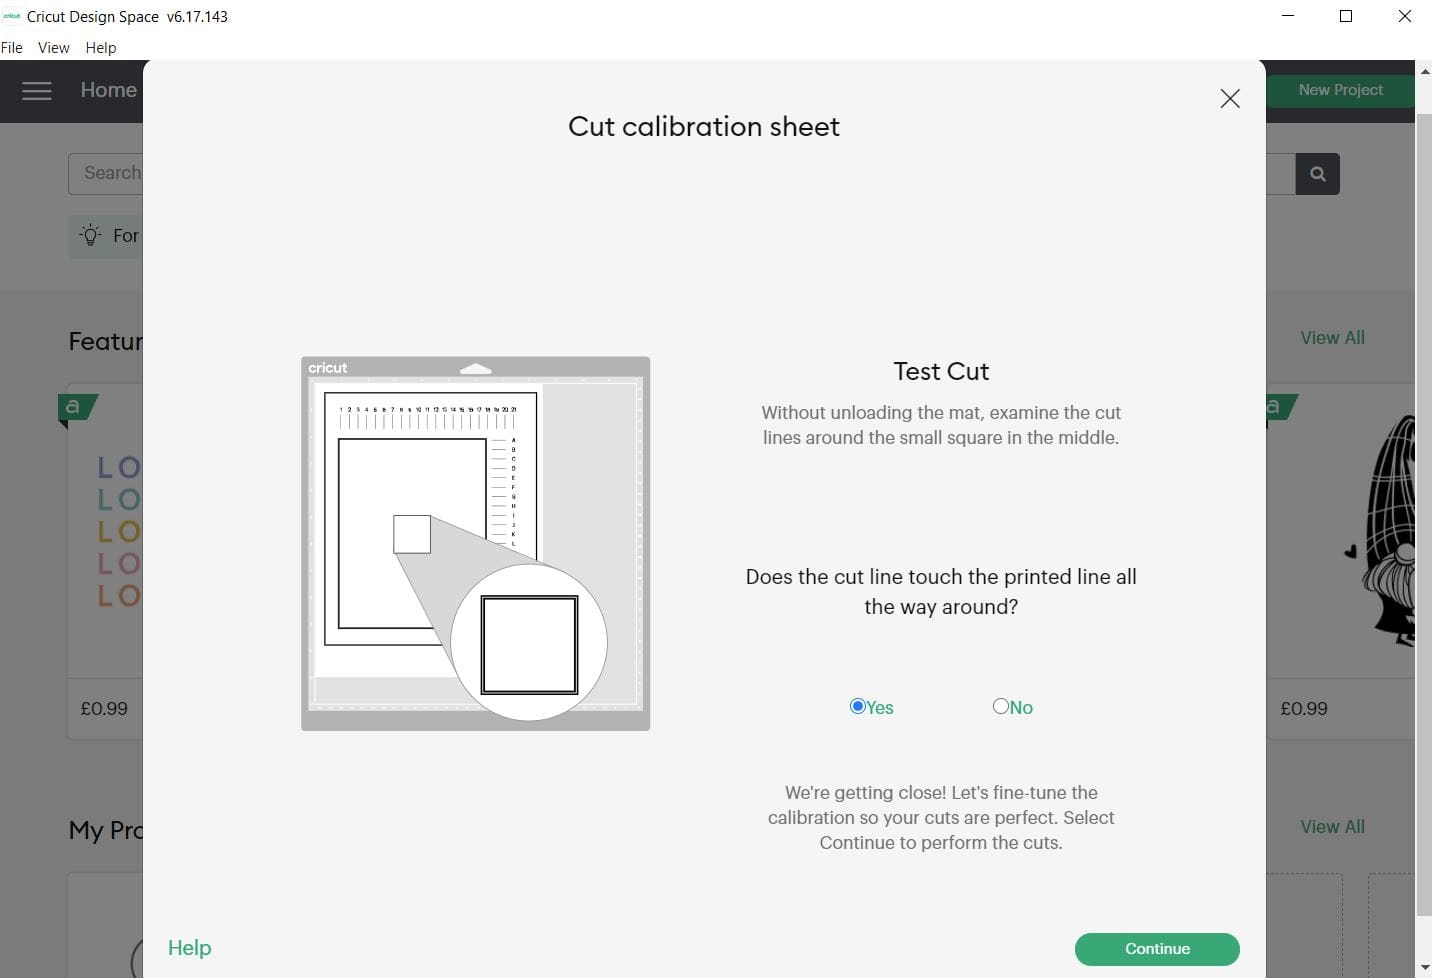
STEP 1
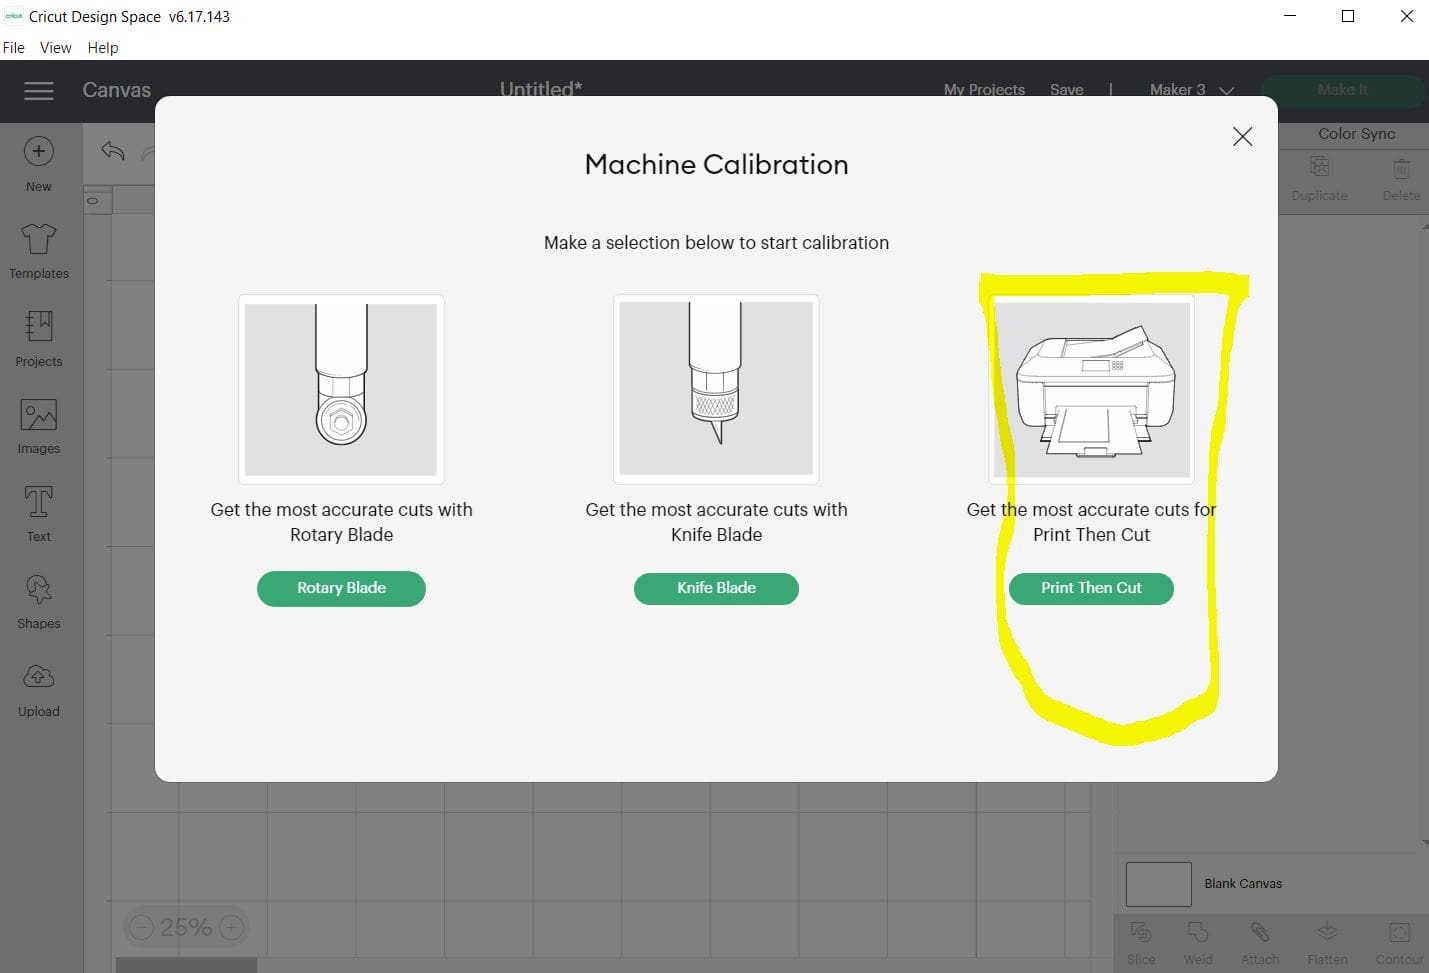
Open up design space, choose the 3 bars as highlighted below in the first picture, and click with your mouse to open up the menu as shown in the second picture, please then click calibrate, and this opens up 3 options as shown in the 3rd picture, for this tutorial we are going to use the PRINT AND CUT option as highlighted below.
STEP 2
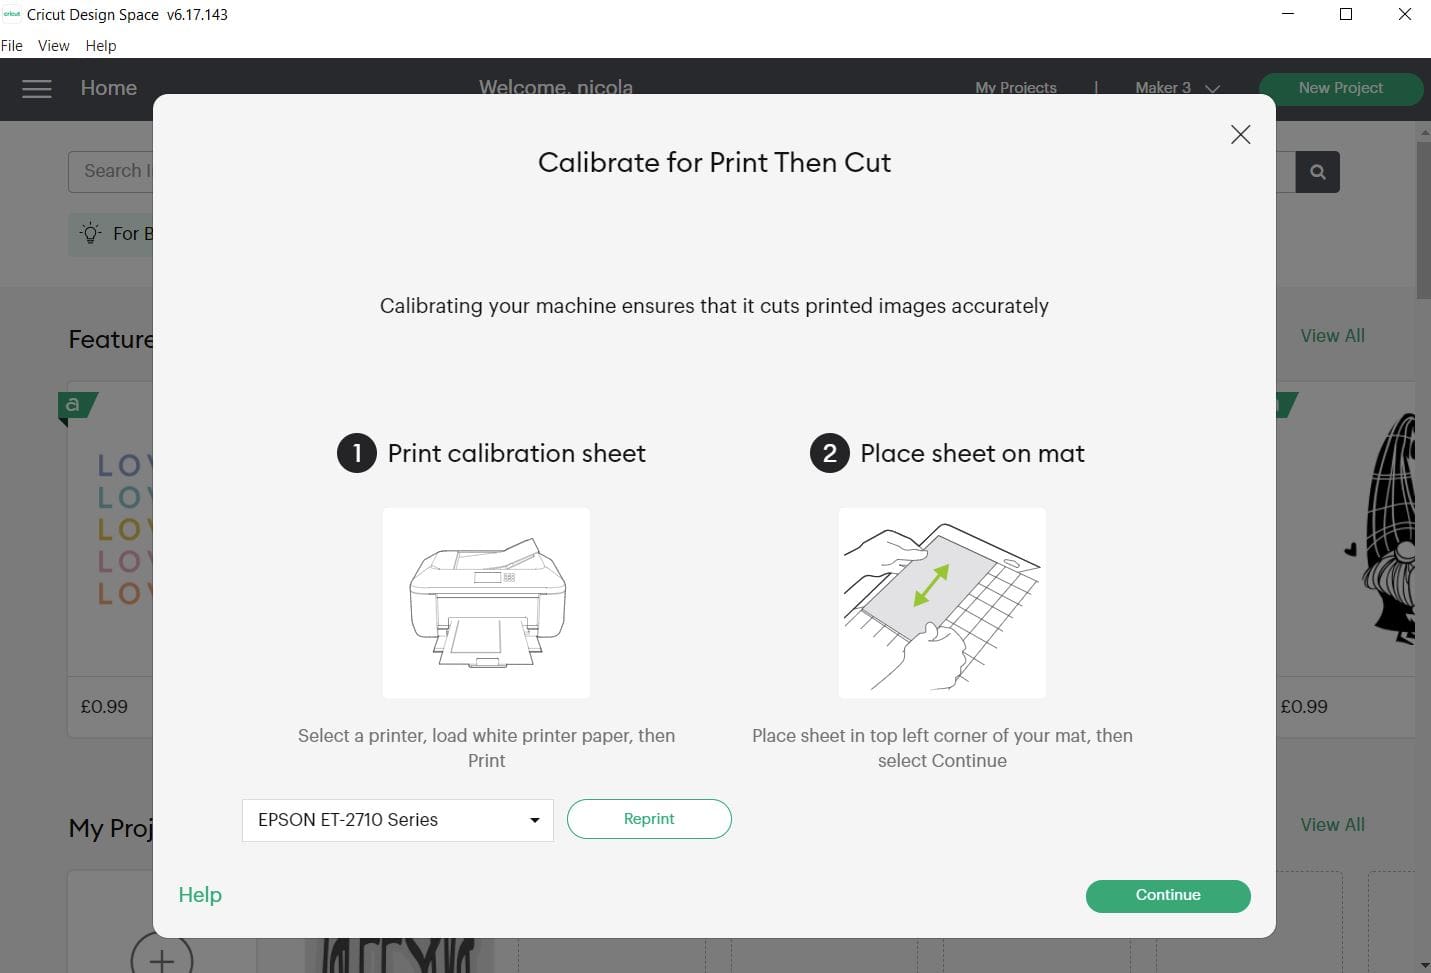
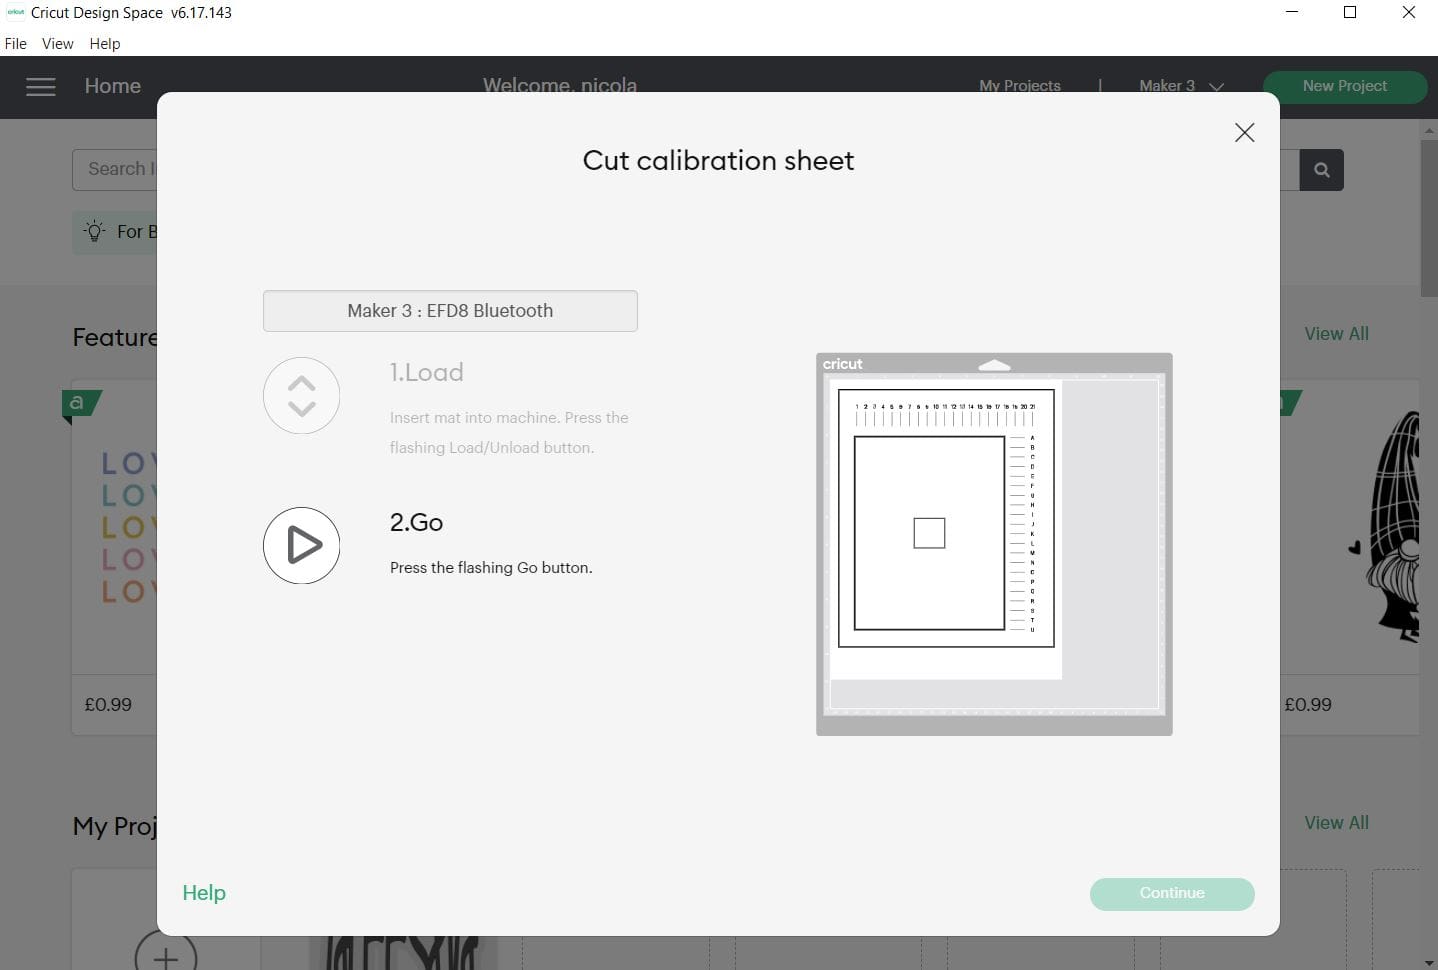
Next print the calibration sheet via the software as shown below and follow the steps to load this on your mat into the machine.
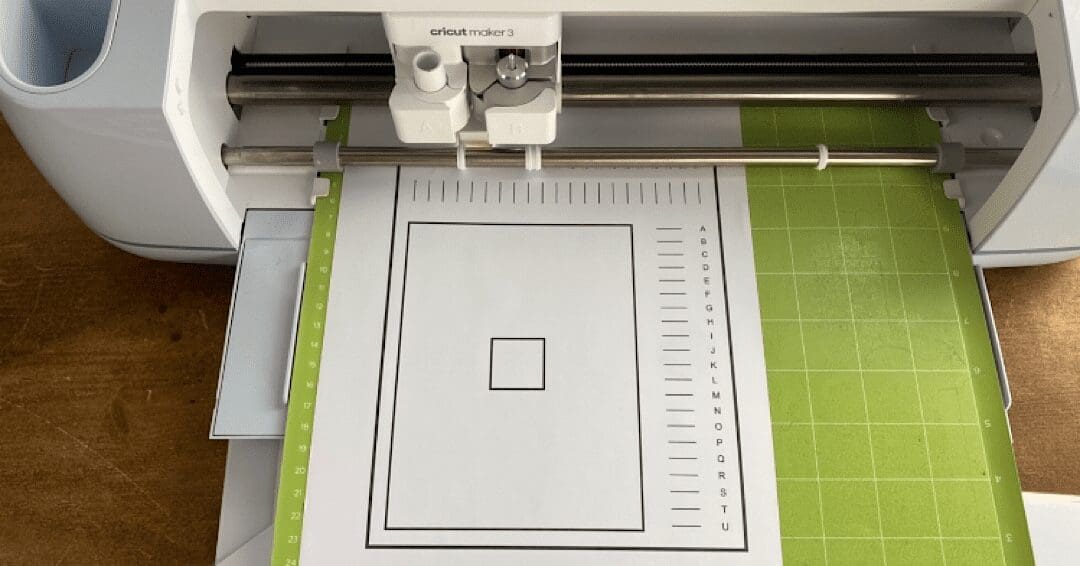
STEP 3
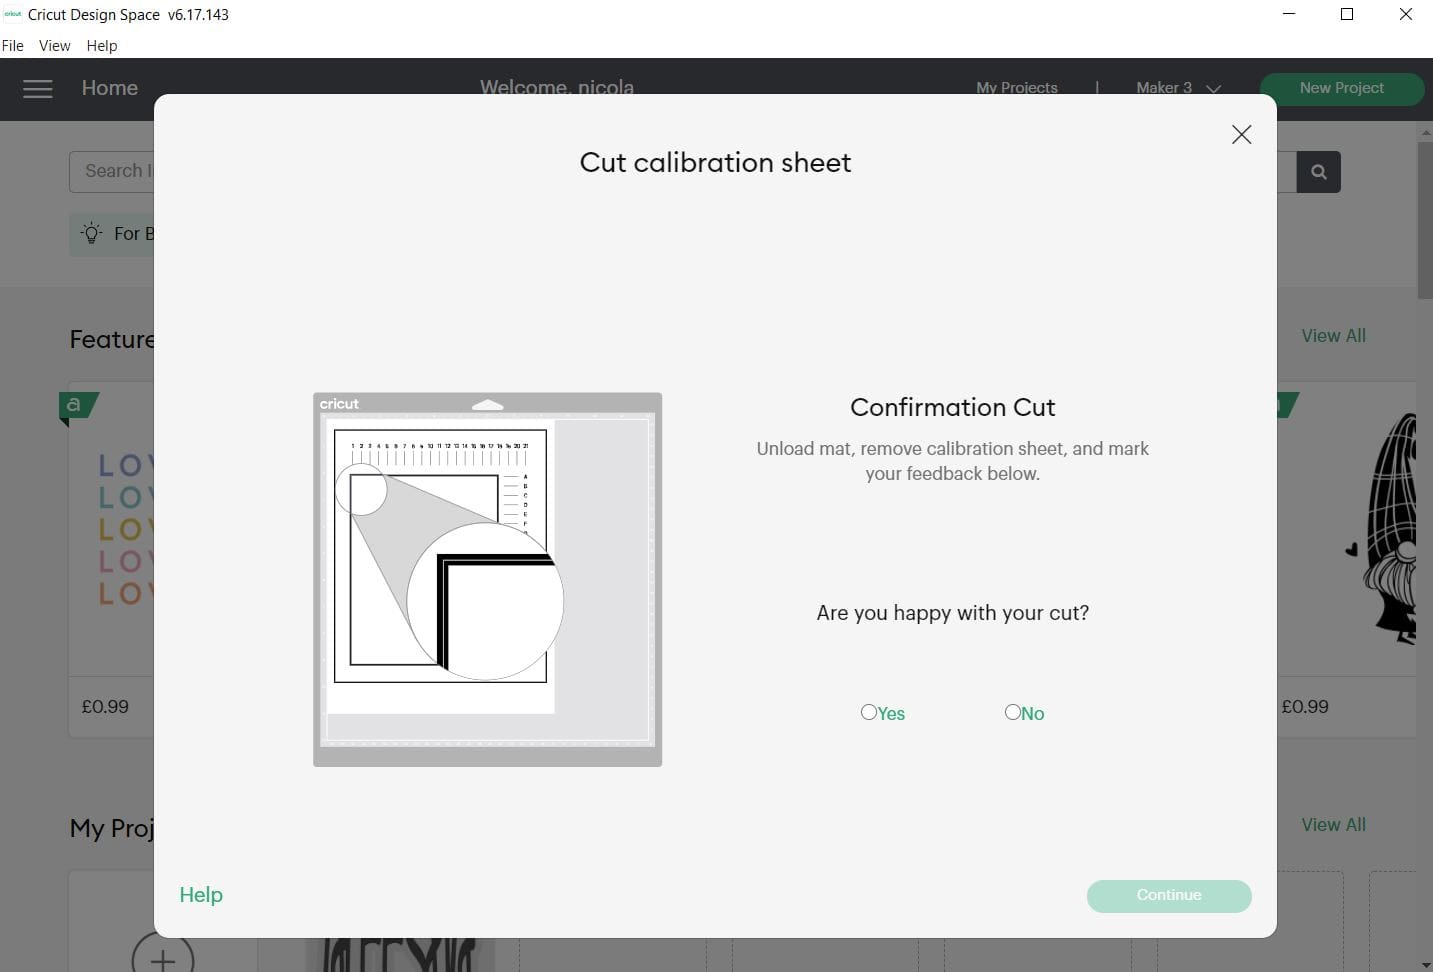
Following the steps in the software, it will ask you to do the first test cut, see below, this test will be in the middle of the sheet, do not move the sheet, or eject the mat, otherwise it makes you start again. You can see our first test cut is not touching all 4 edges of the black square. So We then had to click NO and Continue to start the calibration.
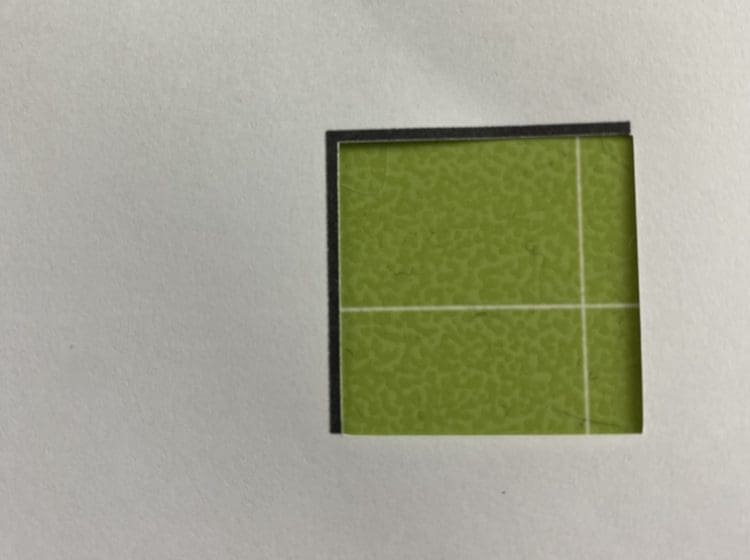
The below Picture shows the test cuts are wrong
This test cut below is a yes, and you get to fine tune in the next step.
 STEP 4
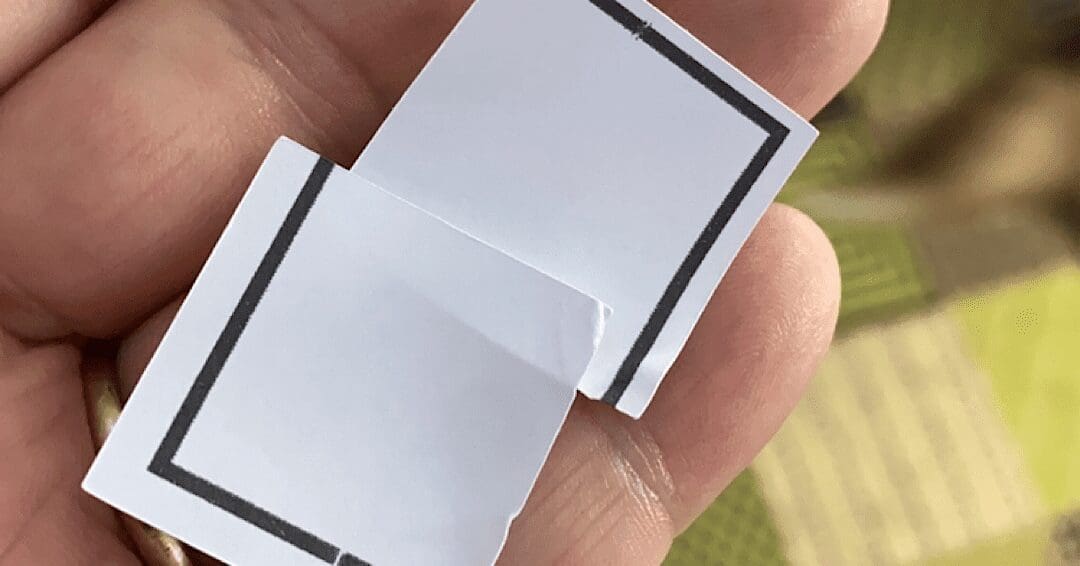
Next the software will ask you to read a sheet the machine has cut – after you saying yes or no to the “is the square touching all 4 sides on it’s cut” if you answered yes because yours looked ok, this will be the final step to fine tune, if you said no, these steps will be repeated again after the below.
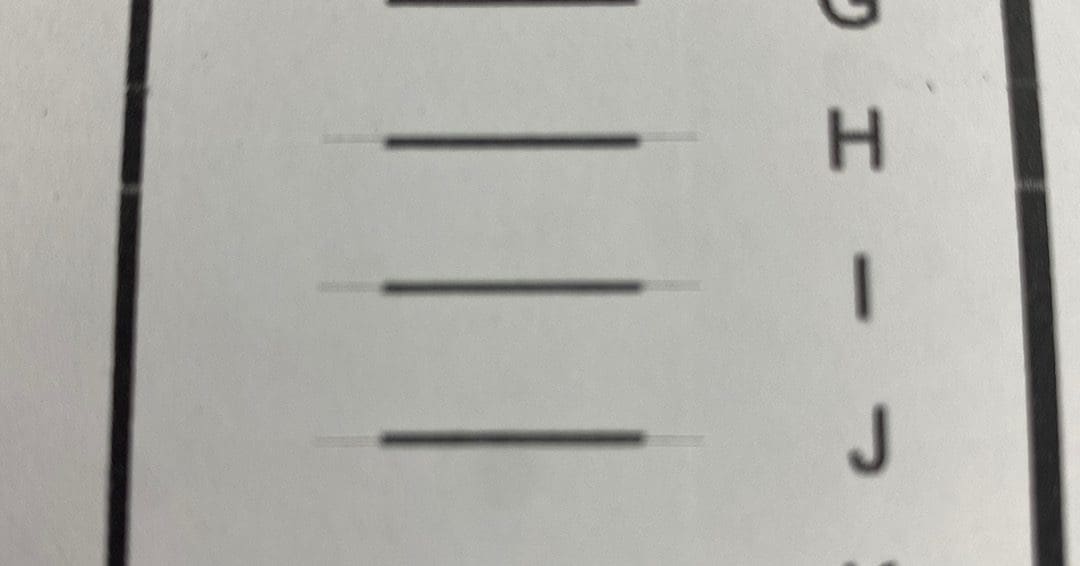
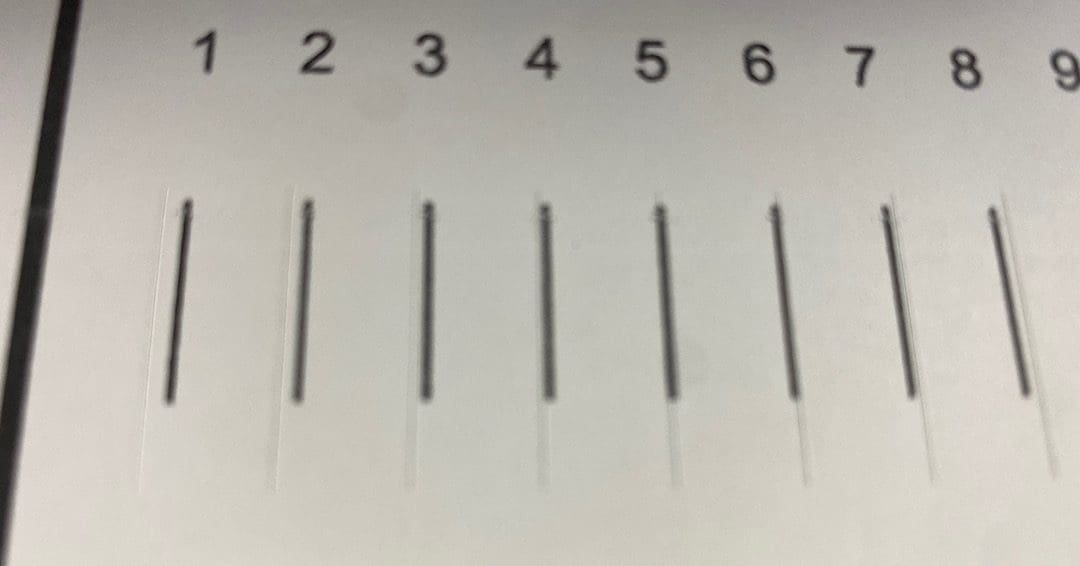
Once it has cut, it will ask you to choose which top and which side cut is closest to the centre of the black lines. You then add this into the drop down box choices it gives you. Follow the instructions and it will keep repeating until you have a test cut you are happy with.
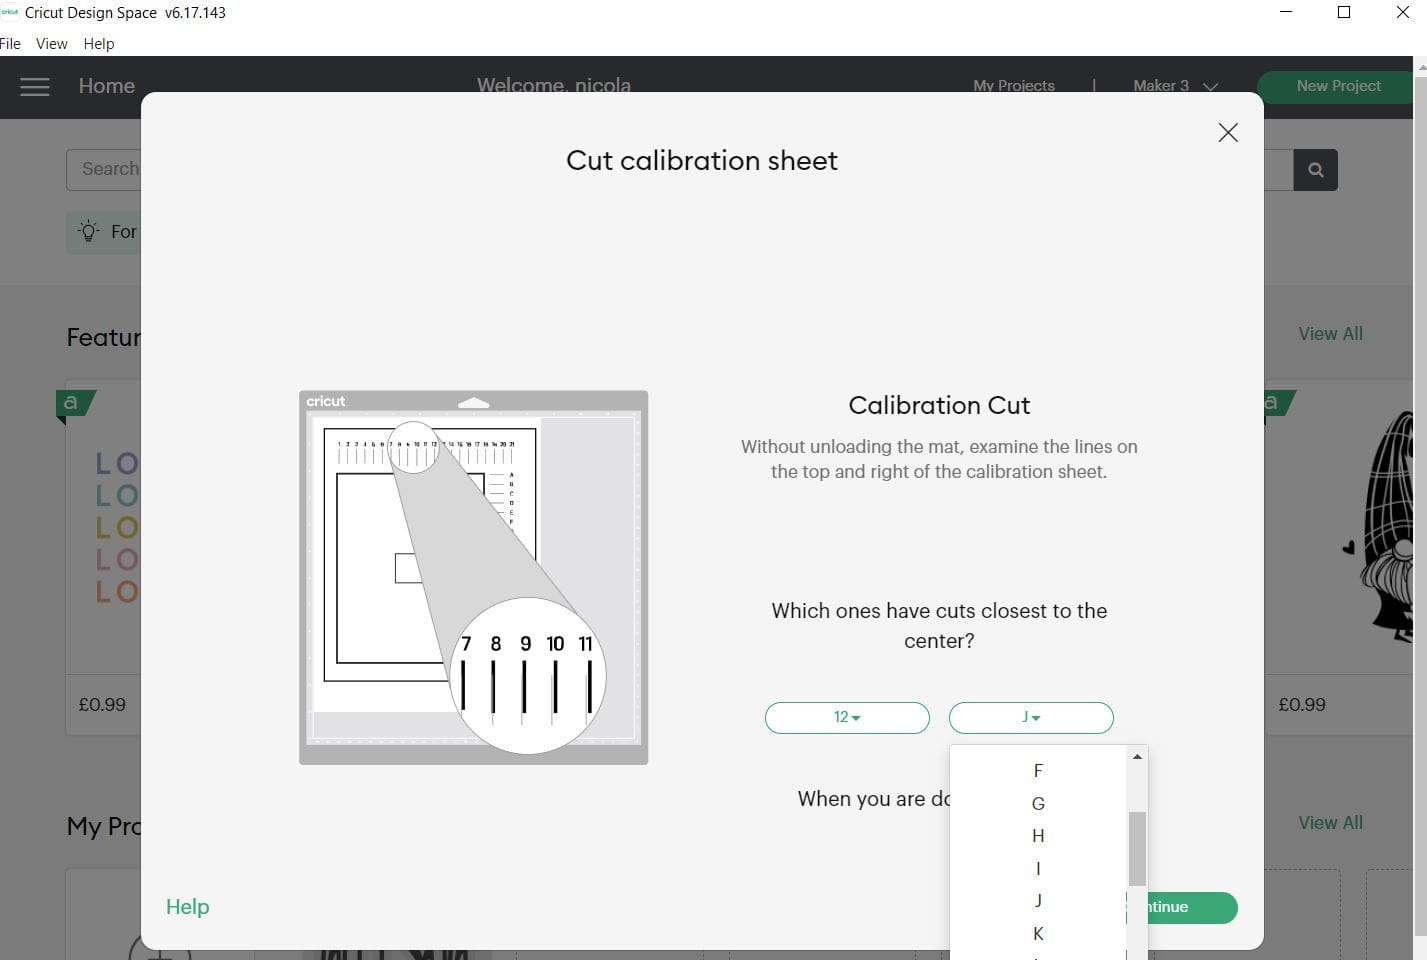
As a guide, If this was your sheet below then you would choose line I a it is closest to the middle and Line 5 below.
Below is the last test cut screen it will offer, and if the test cut is satisfactory (still do not remove the matt from the machine or it takes you back to the start) then click yes and it finishes, if it isn’t then click no and it will restart the fine tuning, if like the first pictures above show the test cut is way off, it may take you a couple of these run throughs to bring it in line, but be patient and keep repeating the steps until it is correct.
STEP 5.
Once you are happy your last test cut is correct you can confirm in the software and the calibration window will close and you can continue onto your project. If you are unsure, you can always test a sticker sheet design , by using copy paper first so not to waste your sheets as shown below.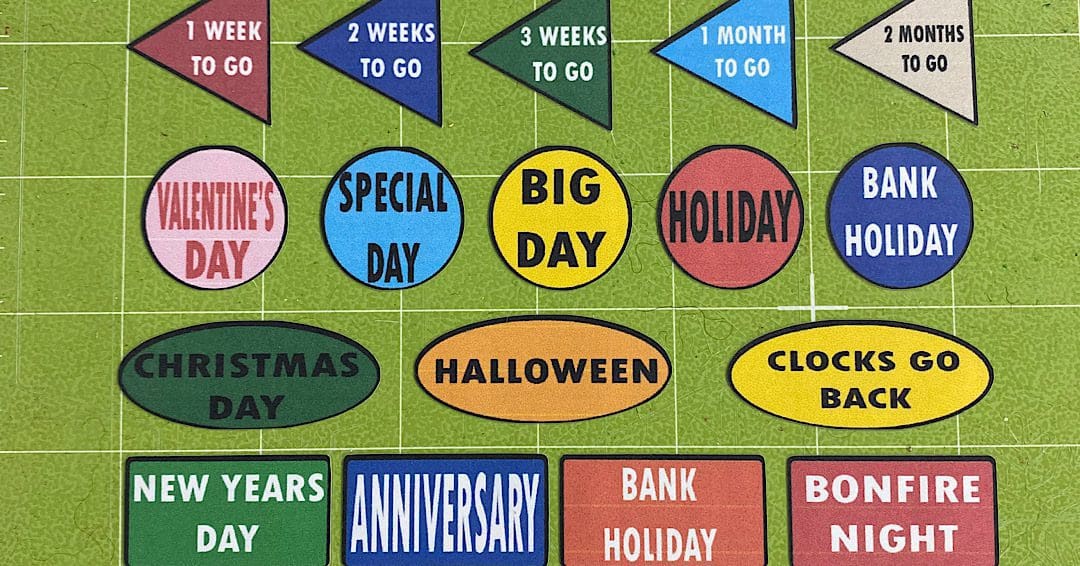
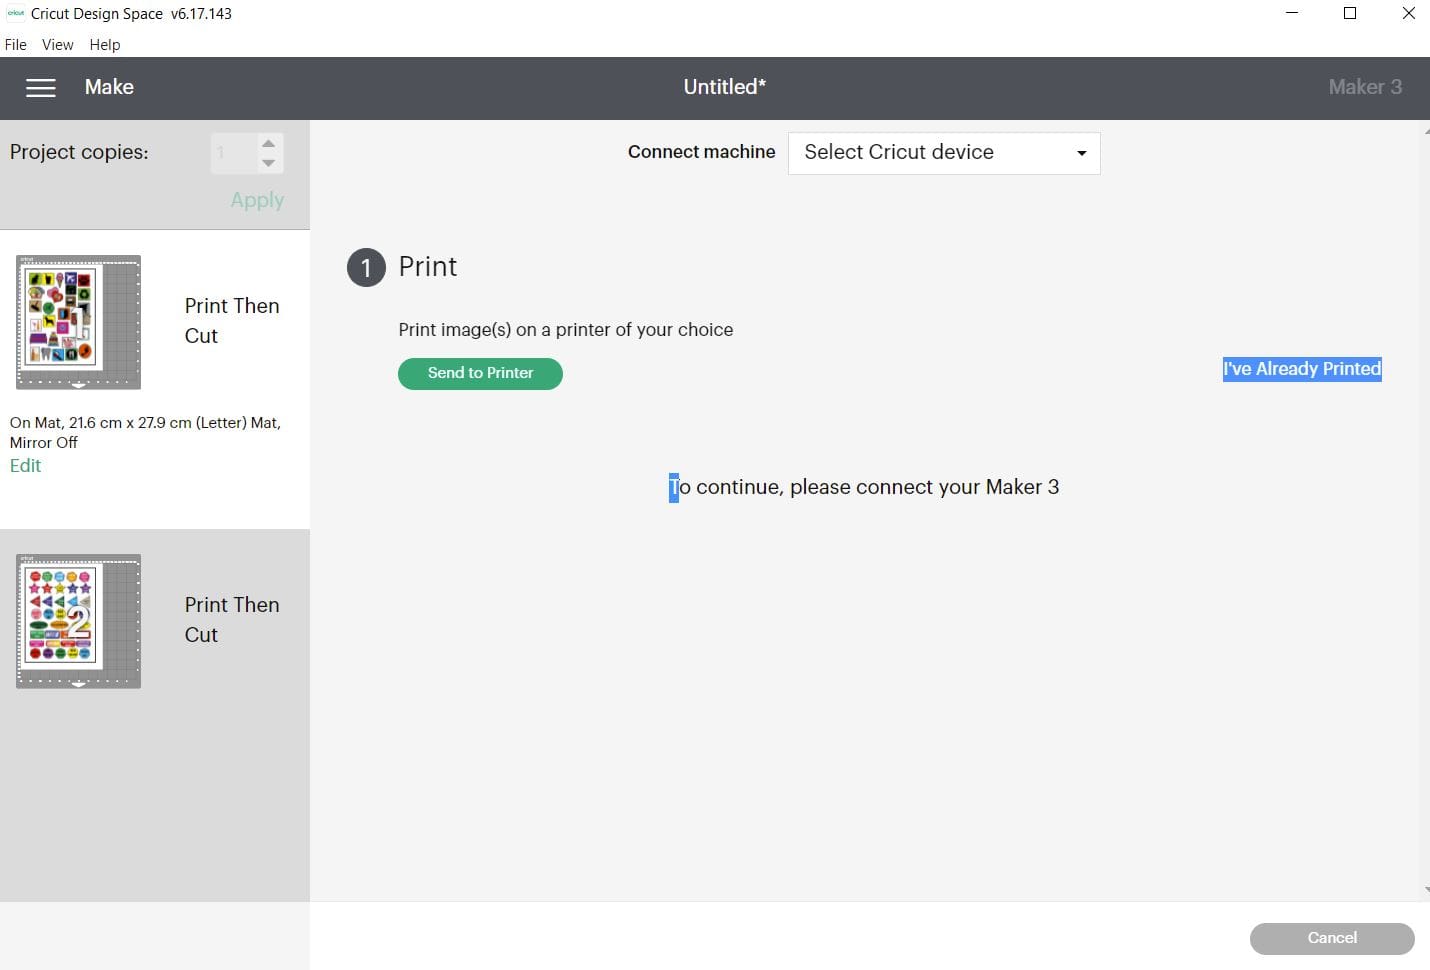
PRINT AND CUT INSTRCTIONS:
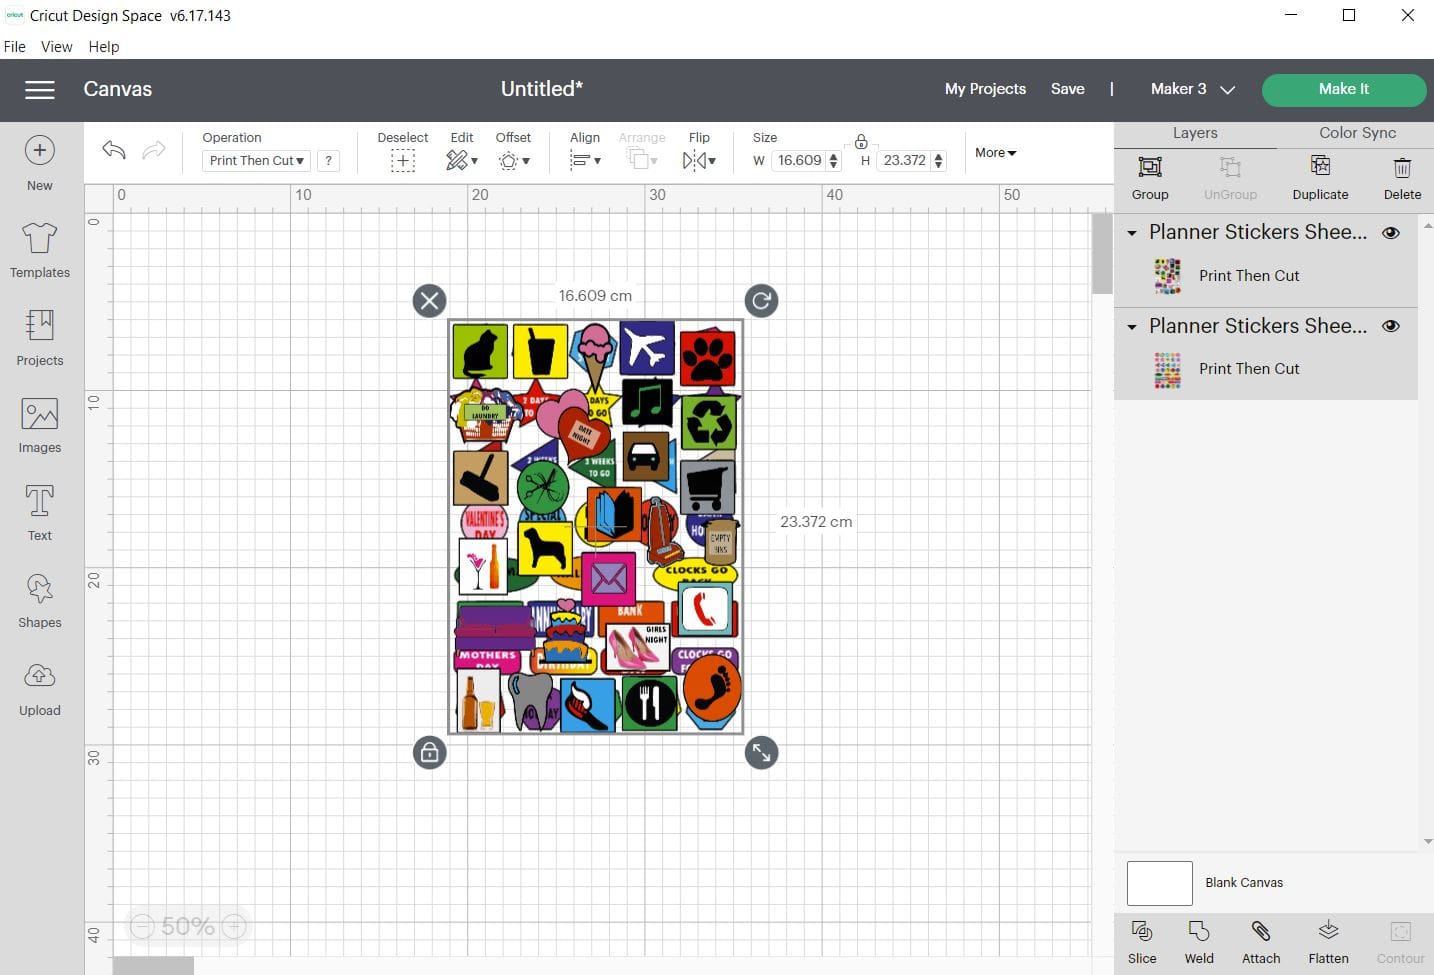
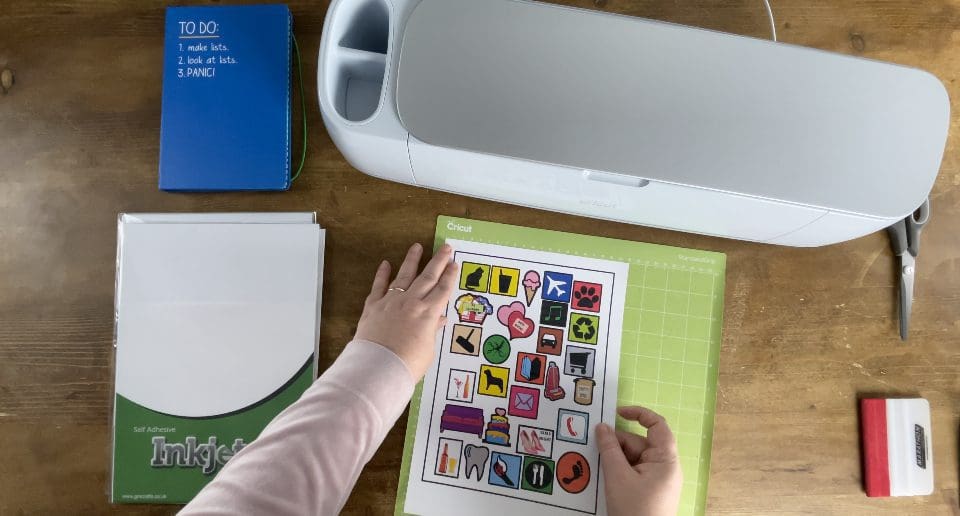
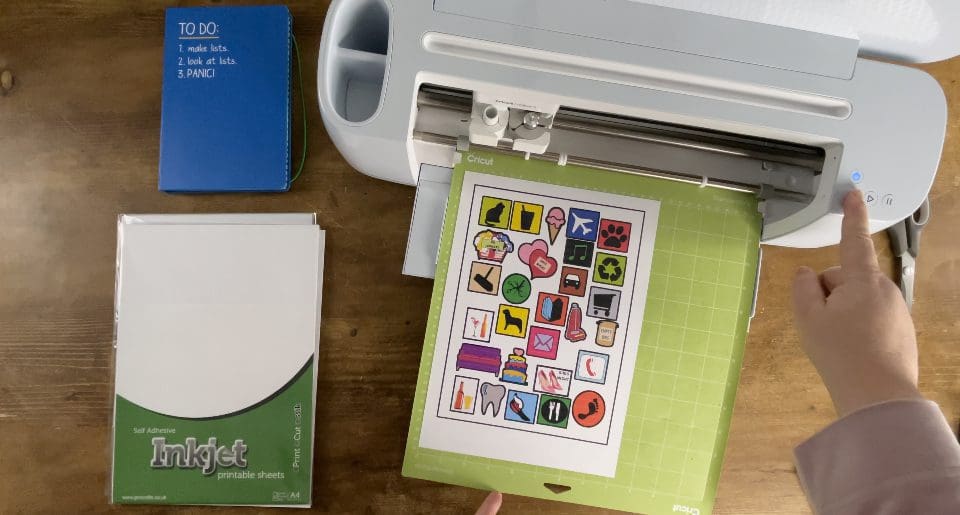
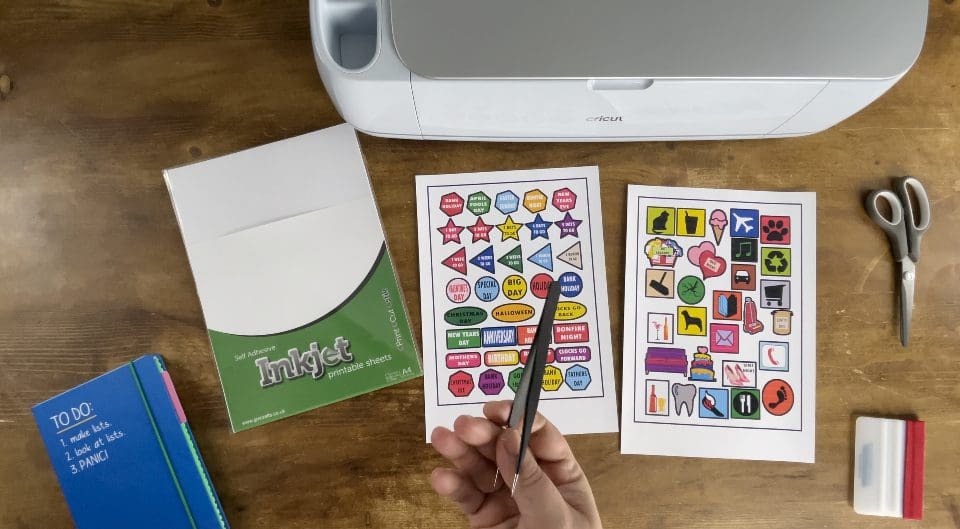
1. Before you start, you need to download the print and cut files for your machine above. Upload each PNG into the design space. Click “Upload Image” on the left-hand Design Panel, and navigate to the file you want to open. Select ‘Insert image’ and select image type ‘Complex’ when prompted. Next you’ll be asked to delete any space that does not get cut, you can skip this part by pressing ‘continue’. When asked if they’re print-then-cut images or just cut images, select print and cut images. Click save. When uploaded, Insert the images onto the canvas and resize to suit your project. When re-sizing for this project I measure the A4 sheet taking into account the registration marks to ensure it will fit. I bring both sheets of the design onto the mat as it will be on the project so I can then get the entire size for both in one box so I get the over all design size correct with no hassle.
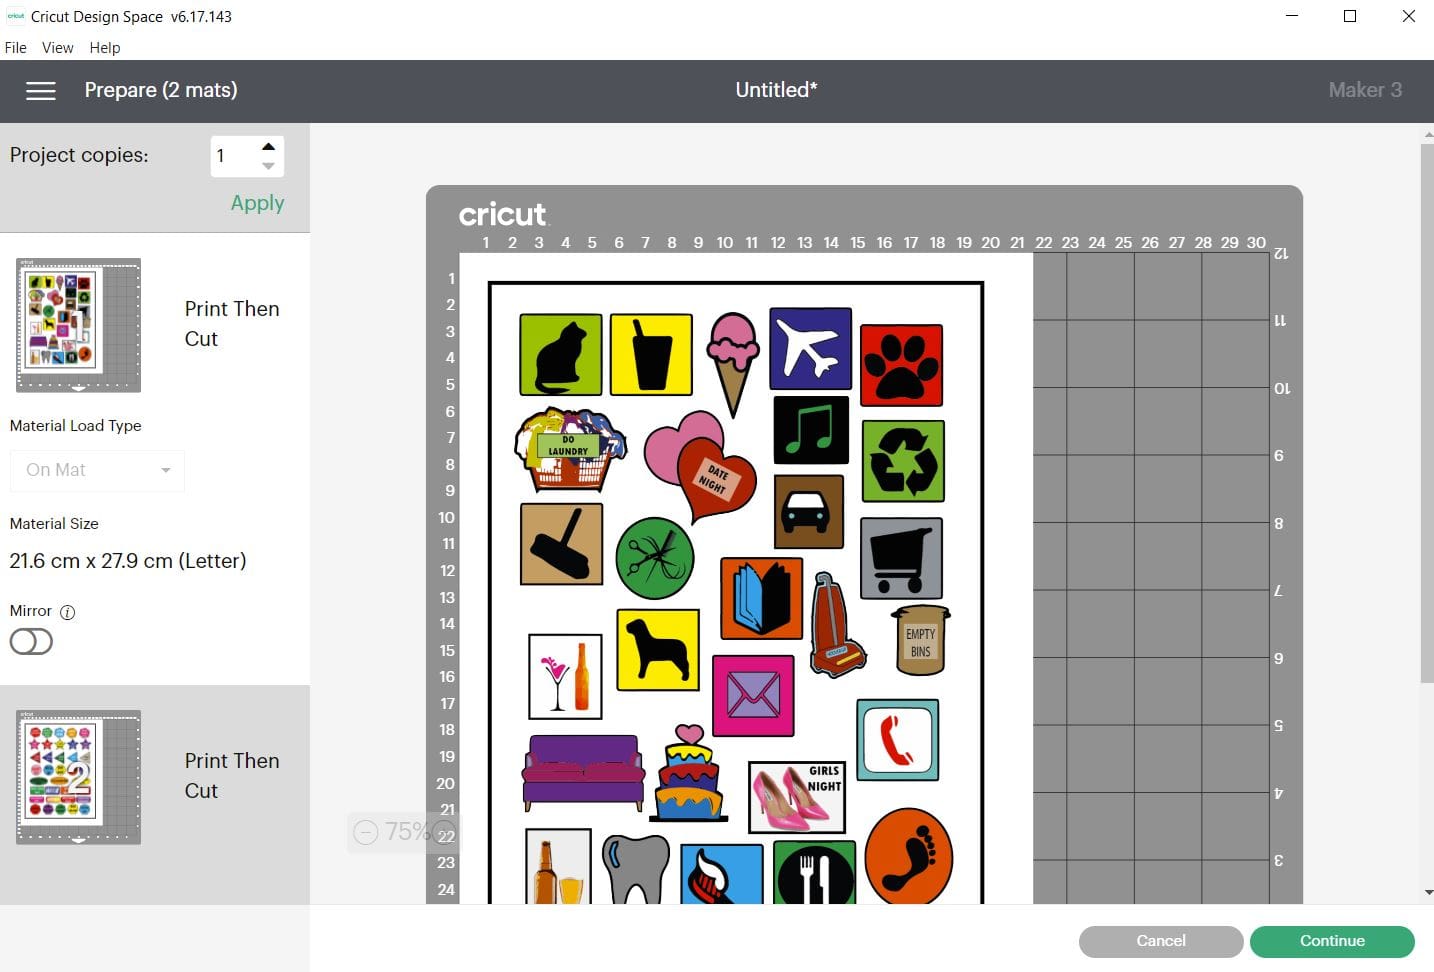
2. Be sure to choose the print and cut option in the operation drop down box, before clicking make it. On the next screen, If using the Cricut Maker 3 then you will need to choose to cut on the mat (unless using smart media)
3. Check on the next screen your design fits in the print border as below. Click Continue.
4. Next choose select printer, before checking your screen matches the settings on ours, with your chosen printer. Once you are happy, place the printable sheet in your INKJET Printer, and click print. Please see following notes on how to perfect your print.
To ensure your printed design works perfectly when cutting on the machine, the first place to start is not the cutting machine, but the media you are using (the sheet) and the printer you are printing with.
Almost 90% of print and cut issues are because the printer isn’t printing perfect, I will try to explain, apologies for the level of detail but it is complex to explain when not sat beside you. When you put the paper into the printer it must be square and even before you start (sometimes if your A4 sheet can be slightly cut wonky literally a few mm on one side makes a complete difference when printing, you’ll see why in a second, so always check the sheet is square).
When in the printer it must be tight in the tray so when the printer loads it and brings it round the rollers it does not move again, a few mm or even 1 mm when moved slightly down the page, literally destroys the accuracy of the registration marks completely.
For example, my previous printer had a loading bay for the paper, with an adjustable arm on one side that acts like a clamp to hold the paper in the loading tray , as my printer pulls the paper through to feed round the rollers if I pinch it too little or too much there is a slight difference by the time the whole sheet has printed, and it will never cut the whole sheet accurately, this is often seen by the top (or bottom) being perfect cuts and the other end has a offset very slightly when cut, this is the printer process to blame.
Also you must make sure the registration mark is bold enough some people make it too small , and again it is best to space the design out so the lenses can read it when cutting correctly, Print and cut mostly replies on that registration mark as it’s guide and cuts where the lines are on the screen only and will not convert the print on the sheet to the cut if that makes sense? When printing those registration marks are best kept on default on the software, and should they bleed or look less than a sharp edge it will cause you reading issues.
I have some customers who will watch the printer feed to ensure it isn’t moving or slipping on one roller side which again will cause the same issue.
When using the media (printed sheet) it must be suited to your printer type- so for example inkjet only sheets must be on a inkjet printer. When printing, if not using our media you must ask the manufacturer for their print settings, ours you need best or photo print quality only.
The last thing is to check your cutting machine is calibrated see above steps in this tutorial.
It is worth noting Cricut update their software very regularly and before moving onto troubleshooting it is worth checking yours is a current version, You can do this by visiting their website, download the current version and then open it to install, it will automatically remove the previous version.
Once your software has been updated, please connect your machine via the USB to check if it needs a firmware update, again instructions for this are found .above at the start of this blog.
Please see attached links to refer to;
Please follow these steps to resolve any print and cut issues you have;
https://help.cricut.com/hc/en-us/articles/360009387274-How-do-I-Print-Then-Cut-in-Design-Space-
Error message not reading cut sensor marks- Important: Reflective materials, coloured materials, or materials containing any kind of pattern may interfere with the cut sensor marks being read by the Cricut Explore machine. Please try a mat label sticker on the registration marks area to side step this and follow the link below;
https://help.cricut.com/hc/en-us/articles/360009426434-I-m-getting-an-error-that-the-machine-cannot-read-the-cut-sensor-marks
Calibrating your machine for Print Then Cut; Note: Depending on your current offset, you may find more than one calibration is needed. Choose to refine the calibration as needed until you are satisfied with the cut results.
https://help.cricut.com/hc/en-us/articles/360009424974-Calibrating-your-machine-for-Print-Then-Cut
ENSRE BLEED LINES IS ON AS THIS HELPS GET A TIDY CUT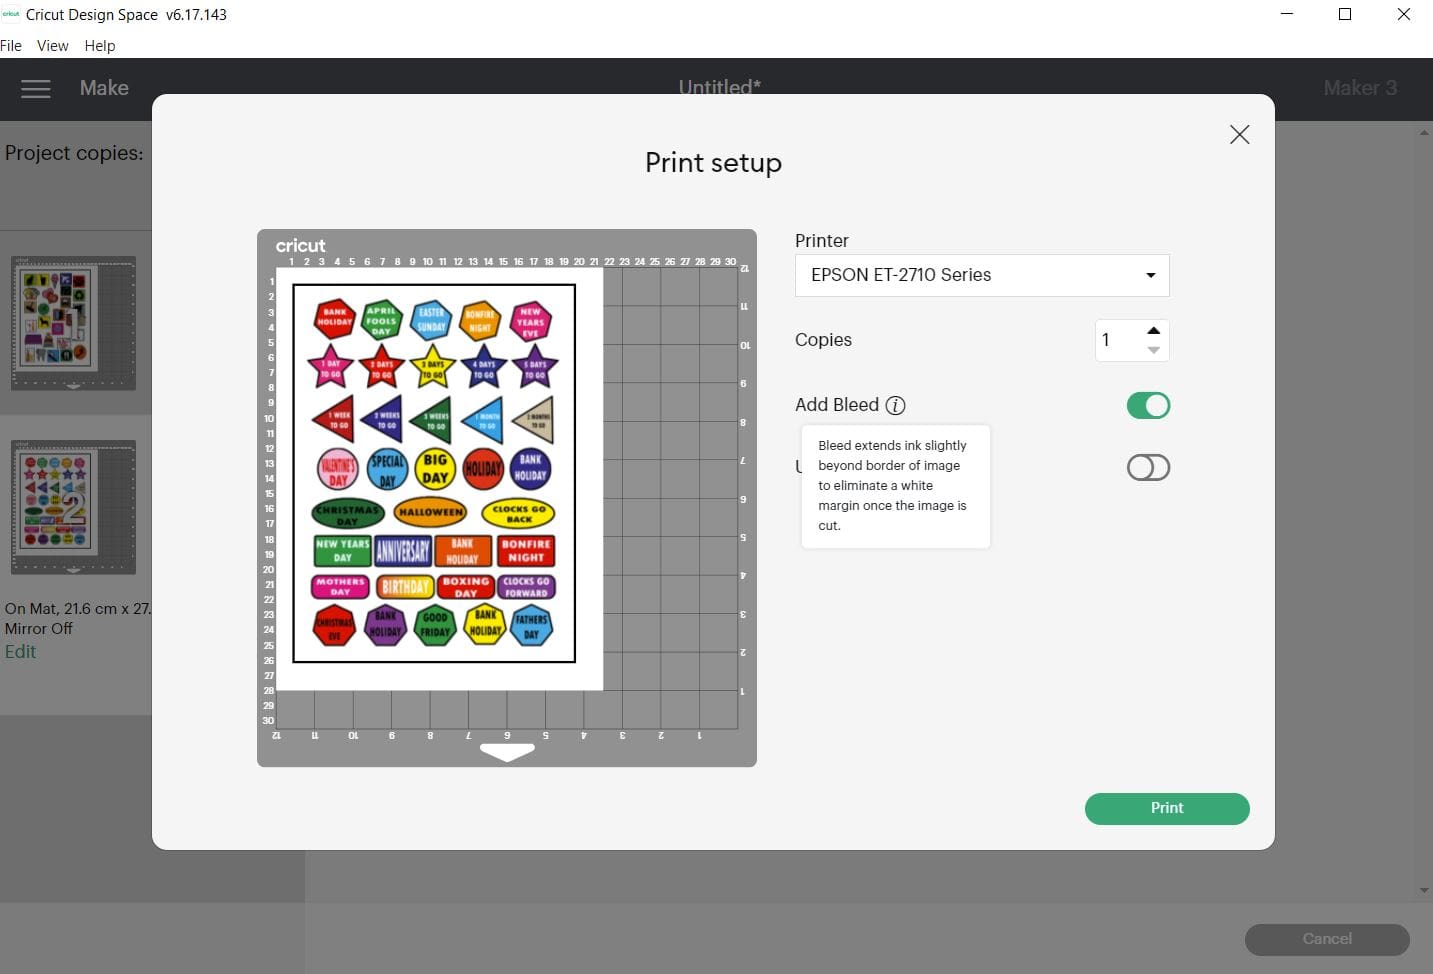
5. Once printed, you can then place the sheet on your mat and load it into your machine, then the Cricut play button will flash for you to cut the sheet. Make sure your settings are all set to the successful settings from your test cut and ensure your machine is linked before proceeding to cut. Cut settings: (**please test cut) Press the flashing Cricut symbol on your maker to cut, after loading the sheet into the machine. Apply the settings needed for your chosen media, we made it with our GM Printable Self adhesive gloss sheets on the maker 3, and used the WASHI sheet setting on the Cricut maker 3 with Default pressure.
**A reminder that these settings, including the blade setting, are specific to the materials and machine we’re using, adjustments may be necessary if using different materials and machine**
We always recommend before proceeding, you test cut your materials when first using so if you have not recently used this product in your machine. Please test cut for your chosen machine found on our Application guide, and also Blog. Load the Vinyl chosen individually for each layer.
DONT FORGET YOU CAN ALSO USE THE MAGNET SHEETS AS SHOWN ABOVE WITH THE BELOW SETTINGS INSTEAD AS SHOWN IN THE OTHER MAGNET TUTORIAL WHICH CAN BE FOUND BY CLICKING HERE 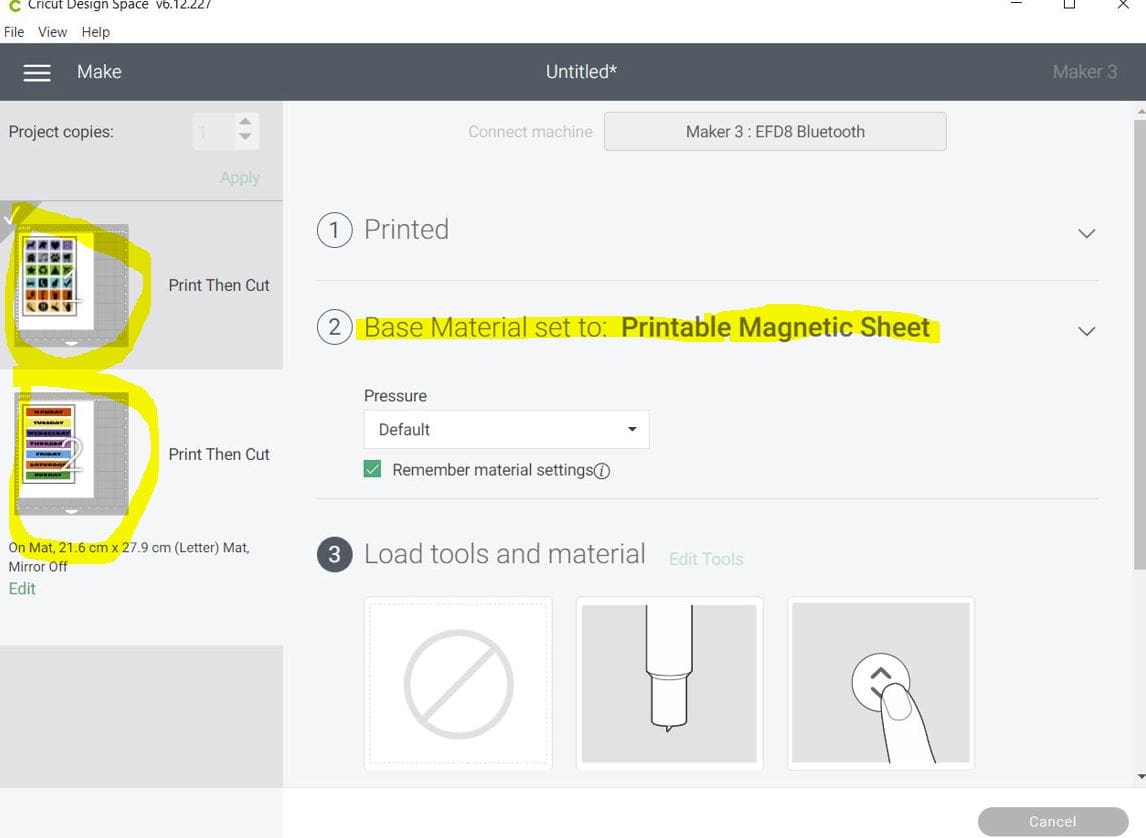
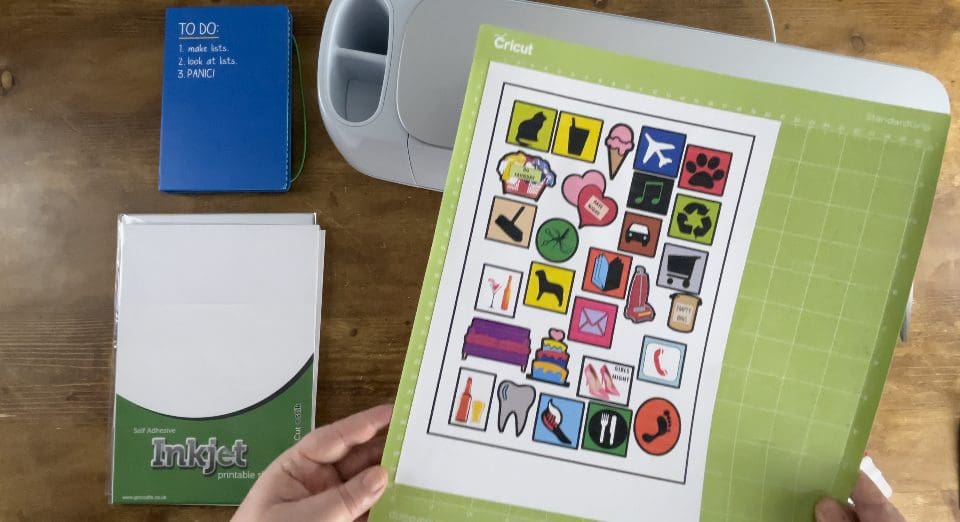
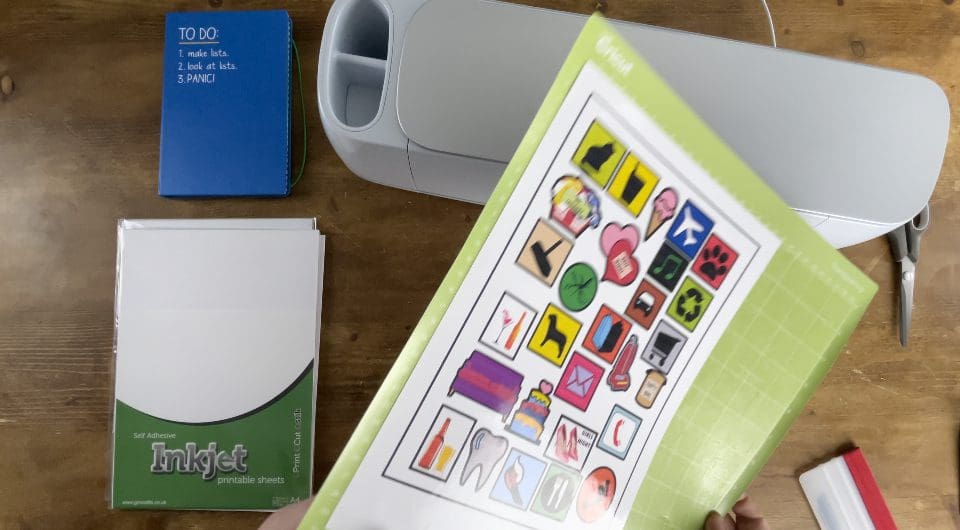
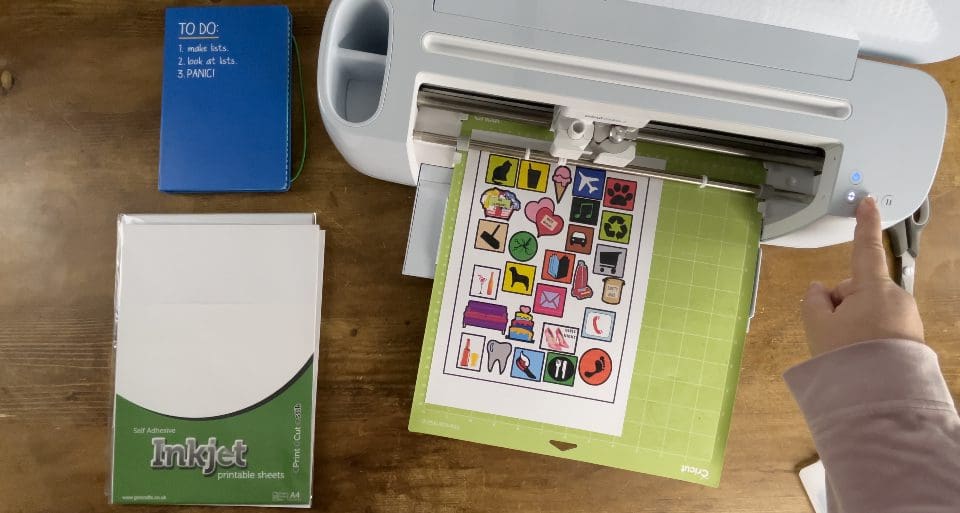
6. Your machine will make a series of passes to check the print borders before proceeding to cut. Once cut remove the cut parts and waste from the sheet, and then repeat with the second sheet.
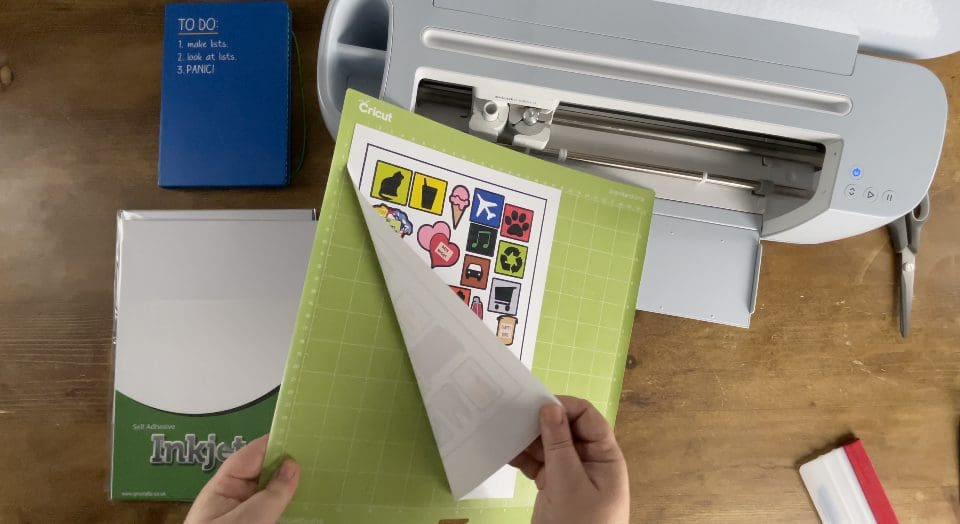
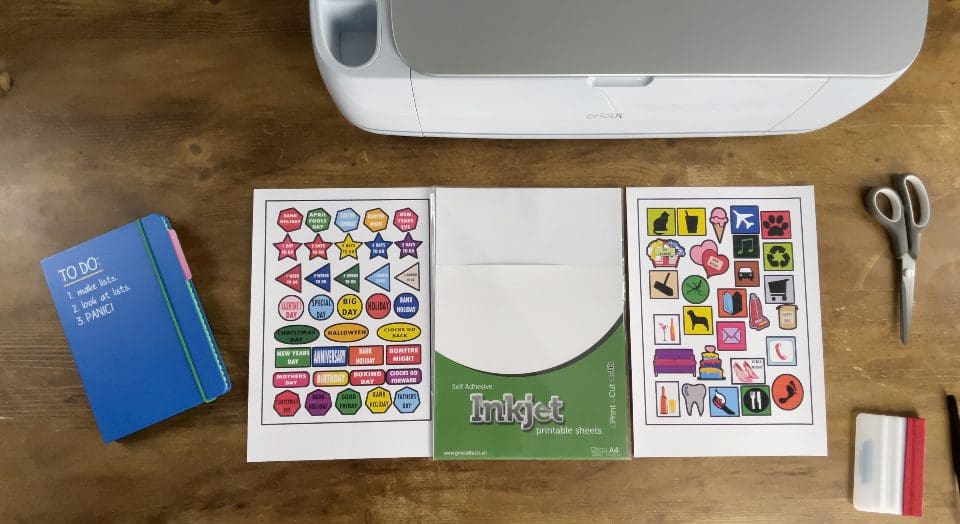

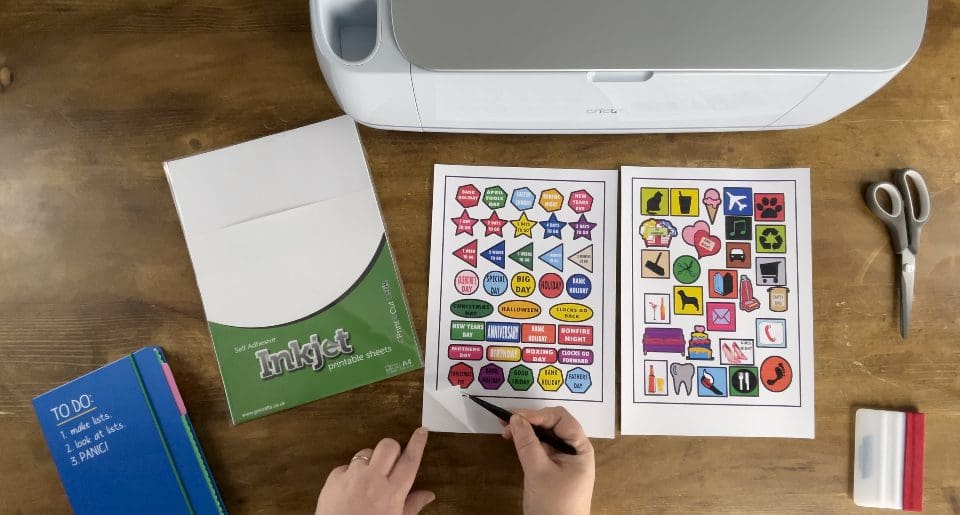
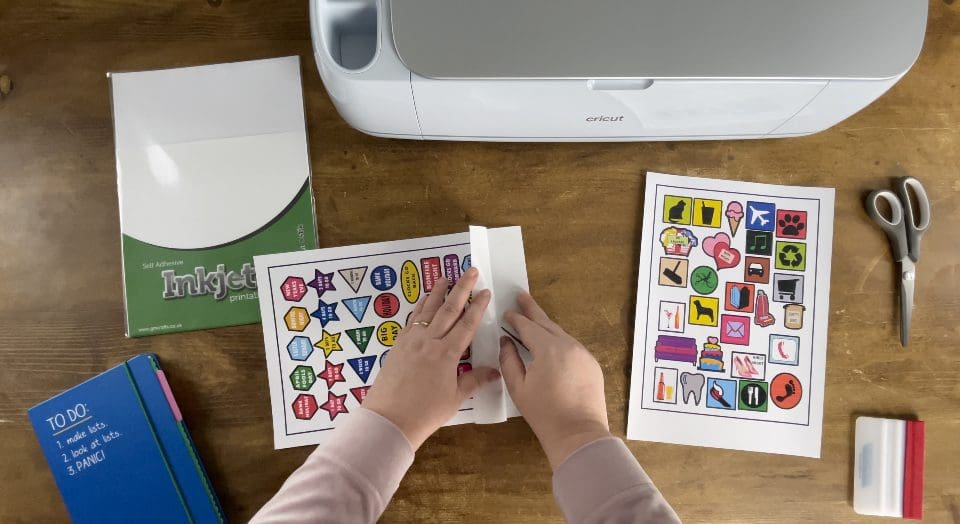

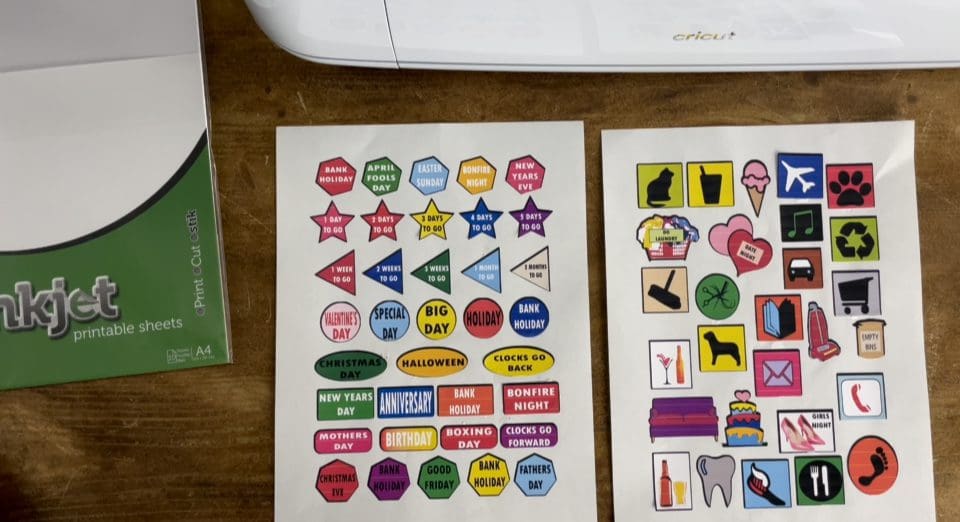
7. You can now use the stickers until your heart’s content! Don’t forget your finished design can be matched by using any material cut using a cutting file, card, self adhesive vinyl or even HTV. We’d love to see your makes on our social media pages! Or email them in!
Silhouette Cut File
Instructions:
Before you start, you need to download the cut file, Upload the cut file into Silhouette Studio and resize as necessary, (when resizing bring all layers into the design software and select all at once to get the correct offset layers and save the adjusted file, so you can cut layers individually at that correct scale you have chosen) Remember to test cut if necessary and cut settings are found here along with test cut guidelines for every machine.
Brother Cut File
To import these files into the Brother Canvas Workspace:
After downloading, please log in as usual to your design space account, open a new project mat, then left click on the SVG icon in the top left bar in canvas, this will then allow you to import your files. Once you left click this icon, a pop up box appears with you to choose where to import file from, choose to import the file from your downloads list or where you have chosen to save when unzipped.
Cut settings are found here
Just in case you need the link CanvasWorkspace (brother.com)