Tutorial/Free Cut File
GM Crafts Crafty Matt Free Smart Machine Compatible Self Adhesive Vinyl Tutorial With Free Cut Files For All Machines

Hello!
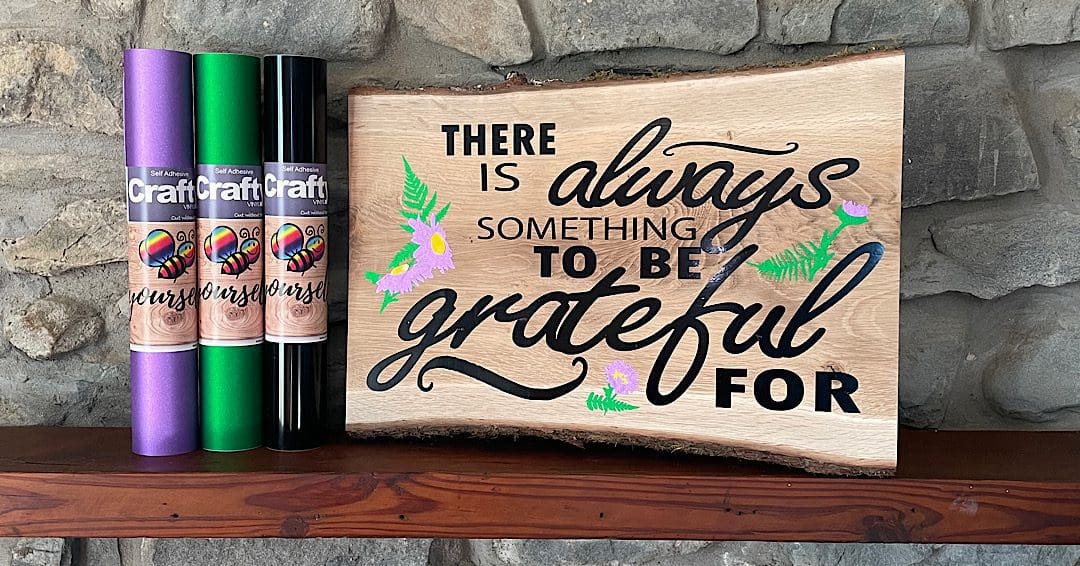
Welcome to another tutorial blog! This week we are bringing you a tutorial to use with our new Crafty Vinyl – this has been exclusively created for you to use without your cutting mat on your Cricut and Silhouette machines. This design can be used in a variety of ways. Cut it out of Self Adhesive or HTV Vinyl or use it with our A4 card available in a huge variety of styles here.
Our Exclusive to us, Crafty Vinyl, is not only capable of being used without the mat on your smart media compatible machines and Silhouette machines, but can also be used with your cutting mat, allowing complete versatility. The added bonus is the backing release liner of the vinyl can go straight into your household recycling, and aids easy weeding too! It is a permanent Self Adhesive Vinyl; suitable uses include (but not limited to) vehicle graphics, ceramics/china and glass, metal, smooth wood, canvas, homewares, windows, some plastics, commercial graphics, house signs, stencils and many other decorative uses.
This Free Cut File design can of course be used for adults, kids, and you can use it for almost anything that you wish to personalise, and would look fantastic on the wall too!
We would love to see what you make! Have you found our You Tube channel yet? The videos showing all of our tutorials are available on there, as well as exclusive demos, inspiration and more! Join us on Facebook , Instagram or Tiktok or send us an email to sales@gmcrafts.co.uk we would love to hear from you!
***TO WATCH THIS IN FULL CREEN ON YOUTUBE CLICK HERE***
What you’ll need
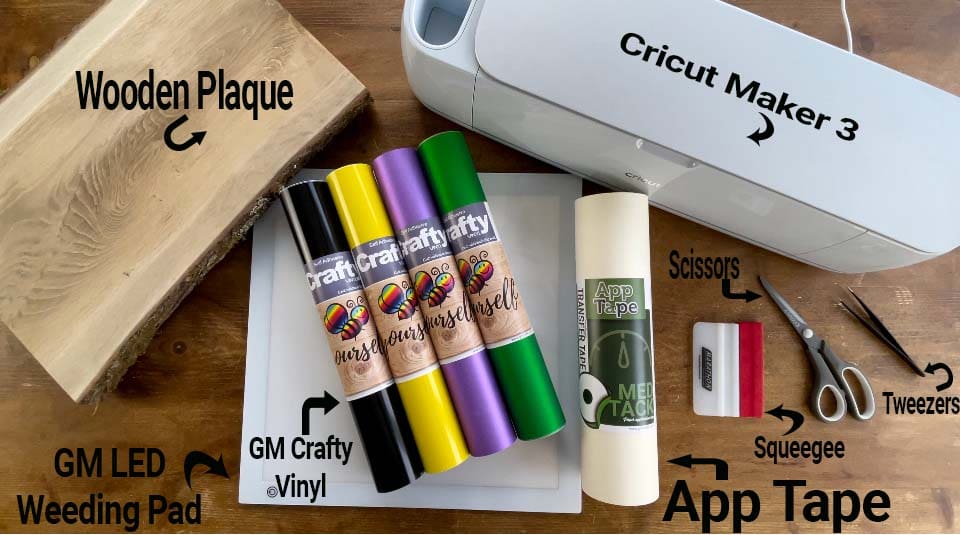
- Cricut Maker 3, Explore 3 or Cricut Joy (if you wish to make it smaller in width). Available here
- Or Silhouette Cameo 4. Available here
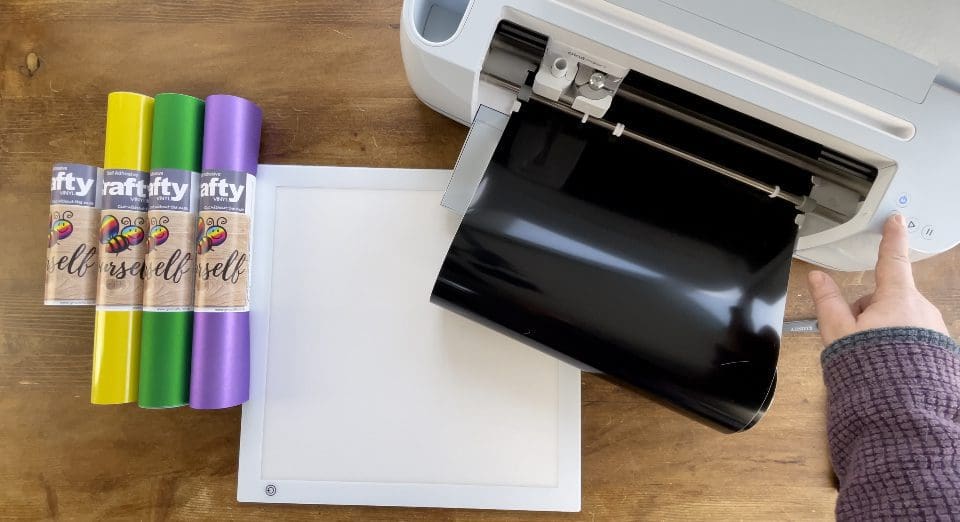
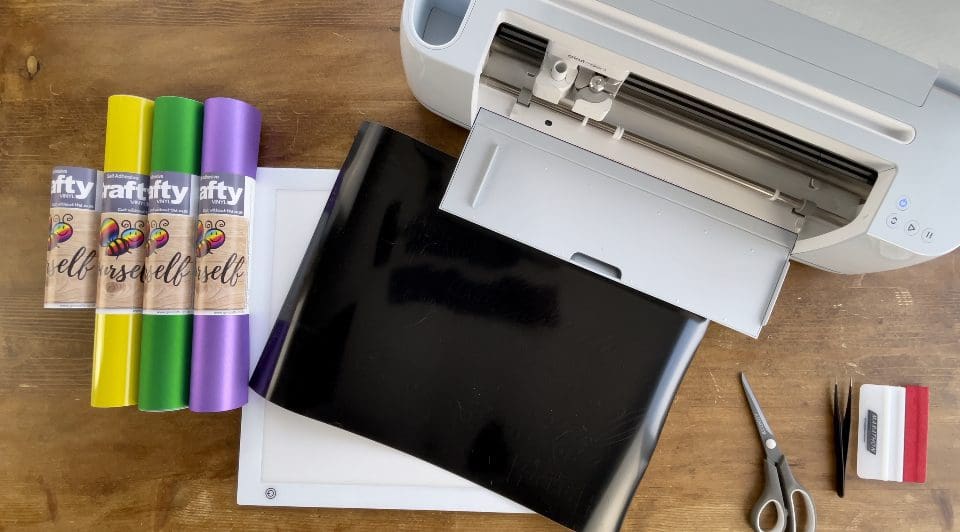
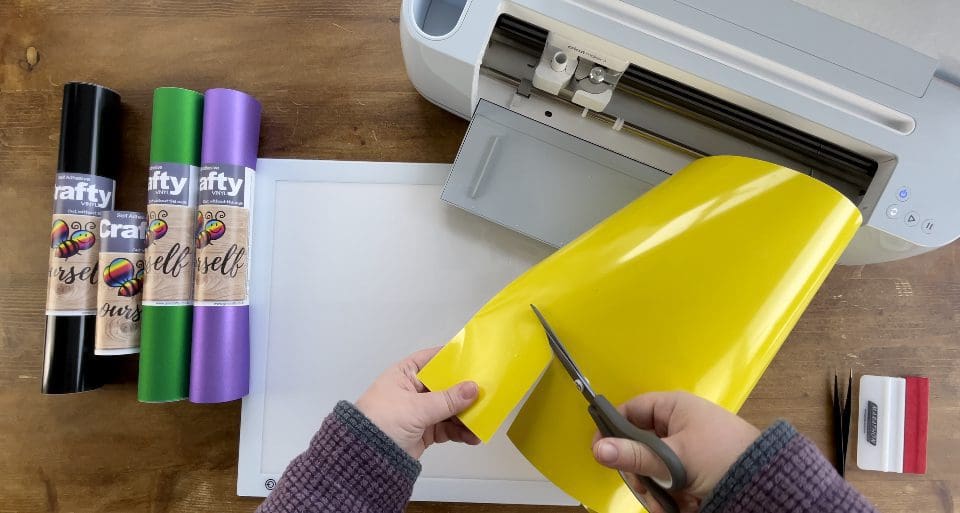
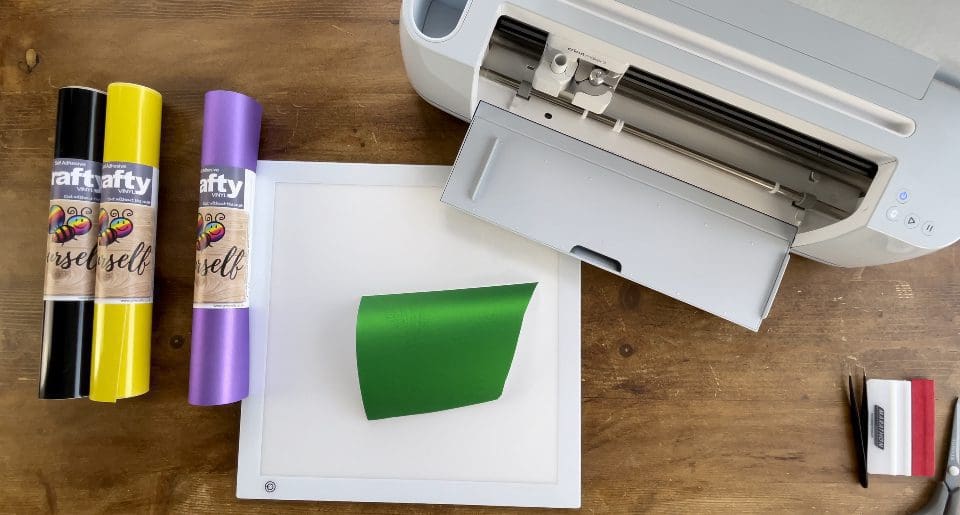
- GM Crafty Vinyl (We chose Black, Green Purple and Yellow in 330mm size) Available here
- Squeegee. Available here
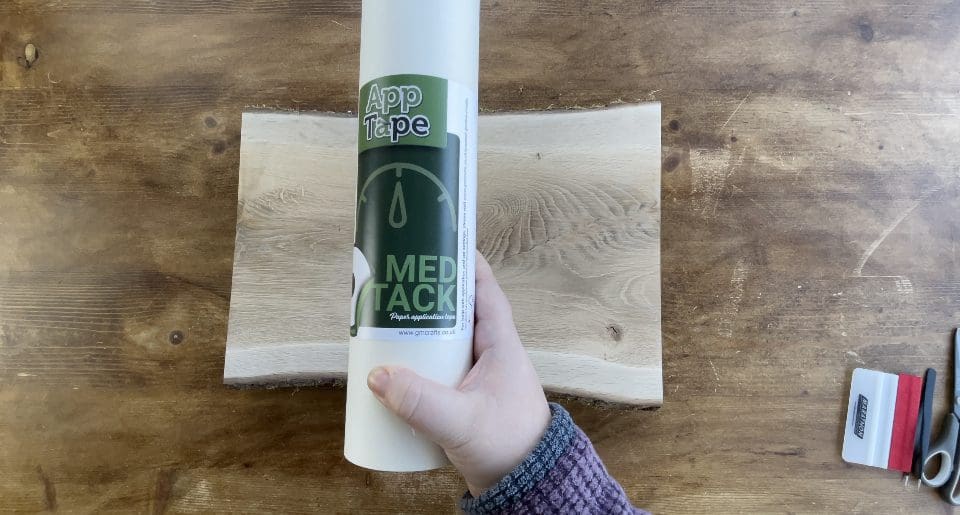
- App tape Available here we recommend high tack
- Scissors and Wood piece from your own stash.
- Rubbing alcohol and lint free cloth should you wish (We didn’t use it as our wood had been freshly sanded and cleaned ready) here
- Cut files, are free below! Including Silhouette Cricut and Brother instructions to follow at the end.
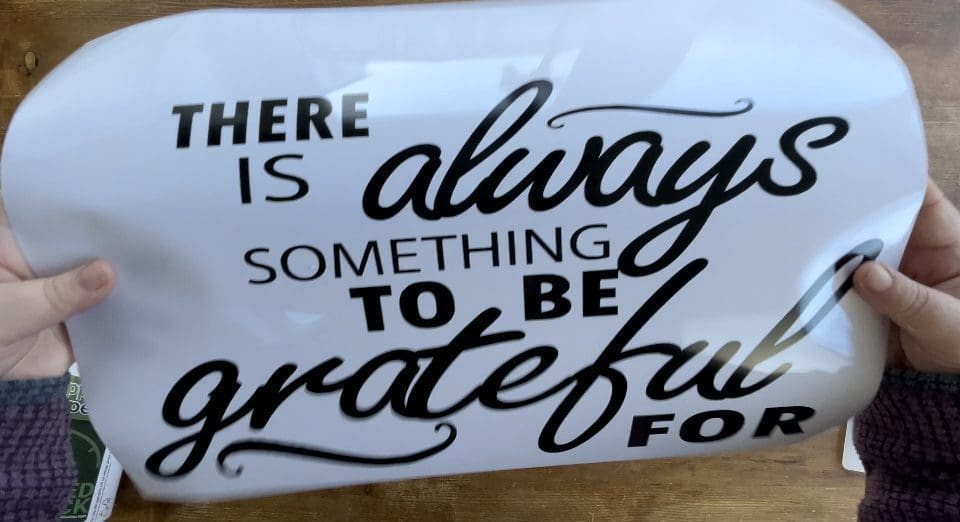
SOMETHING TO BE GRATEFUL FOR CUT FILES CLICK HERE TO DOWNLOAD
Instructions;
1. Before you start you will need to download the cut files for your chosen machine, link above. Unzip the file to use it by right clicking it in your downloads.
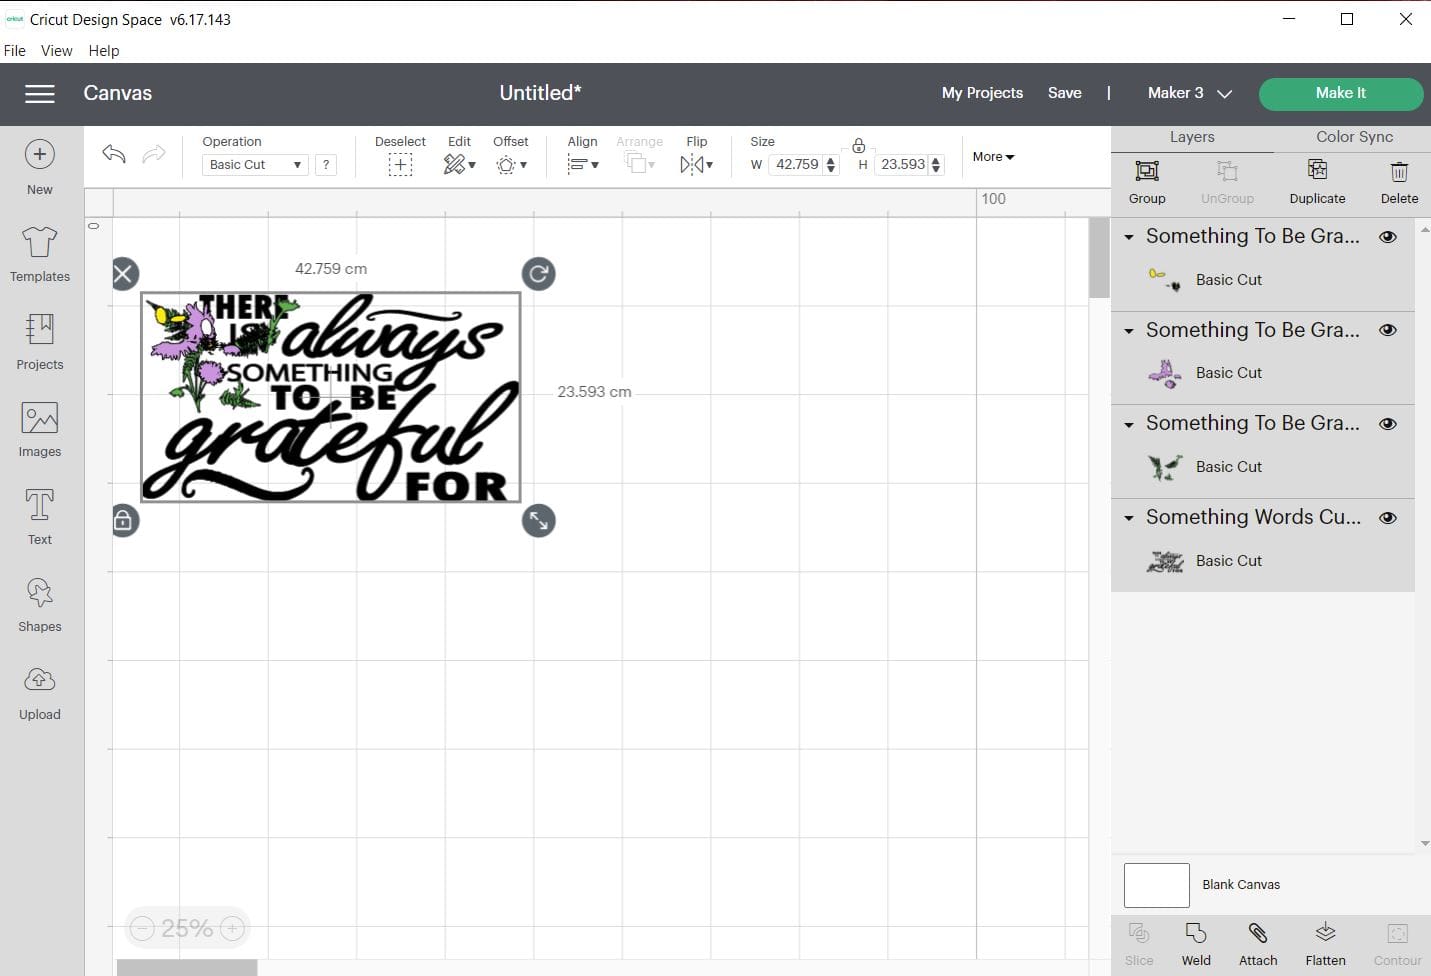
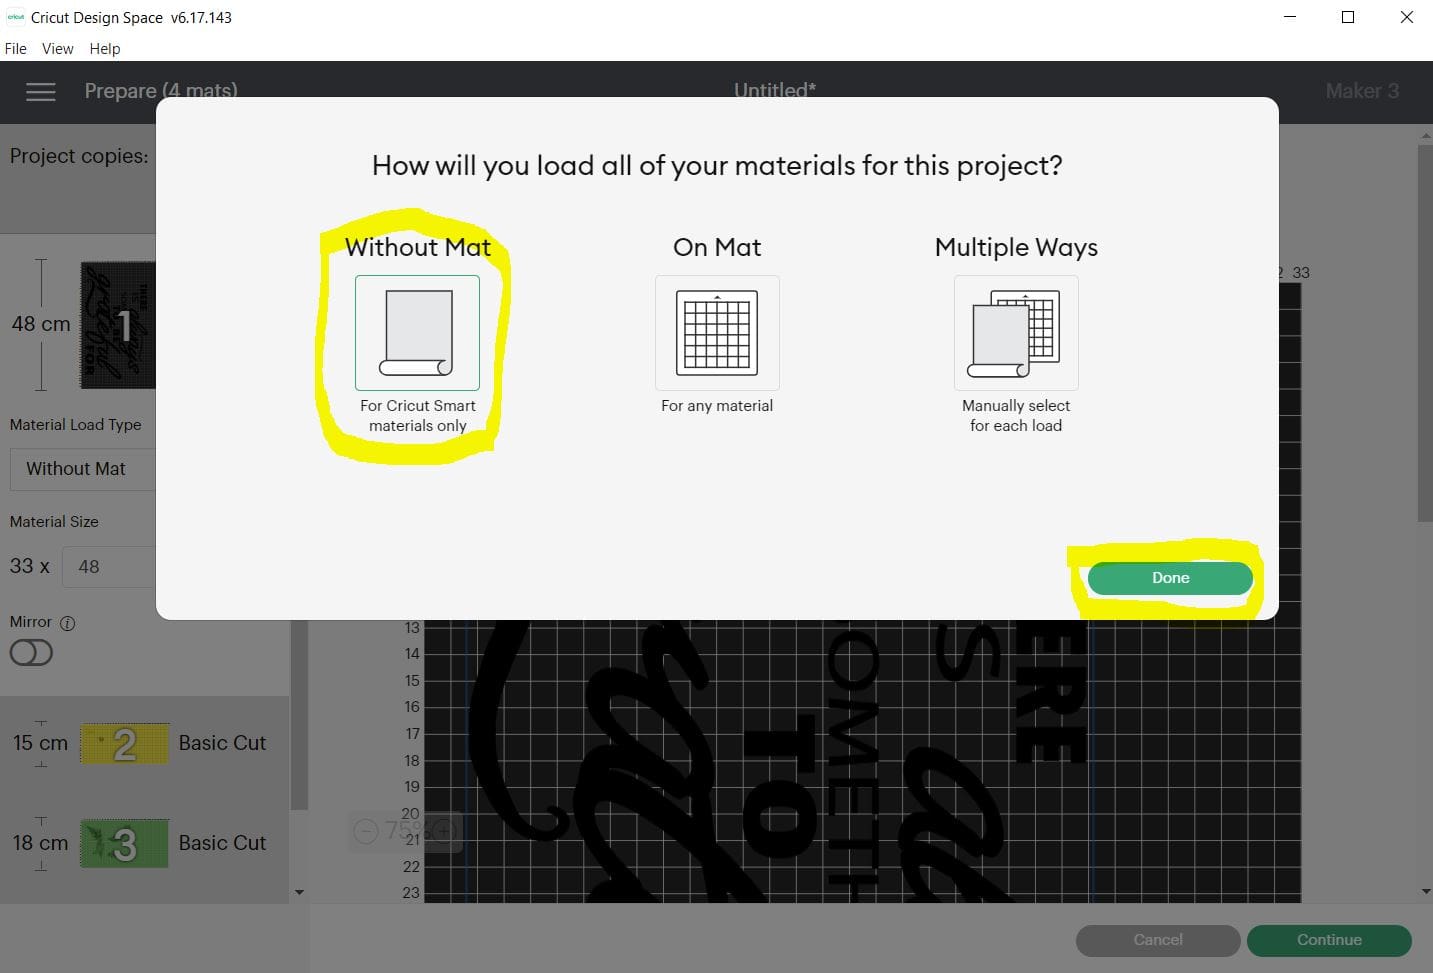
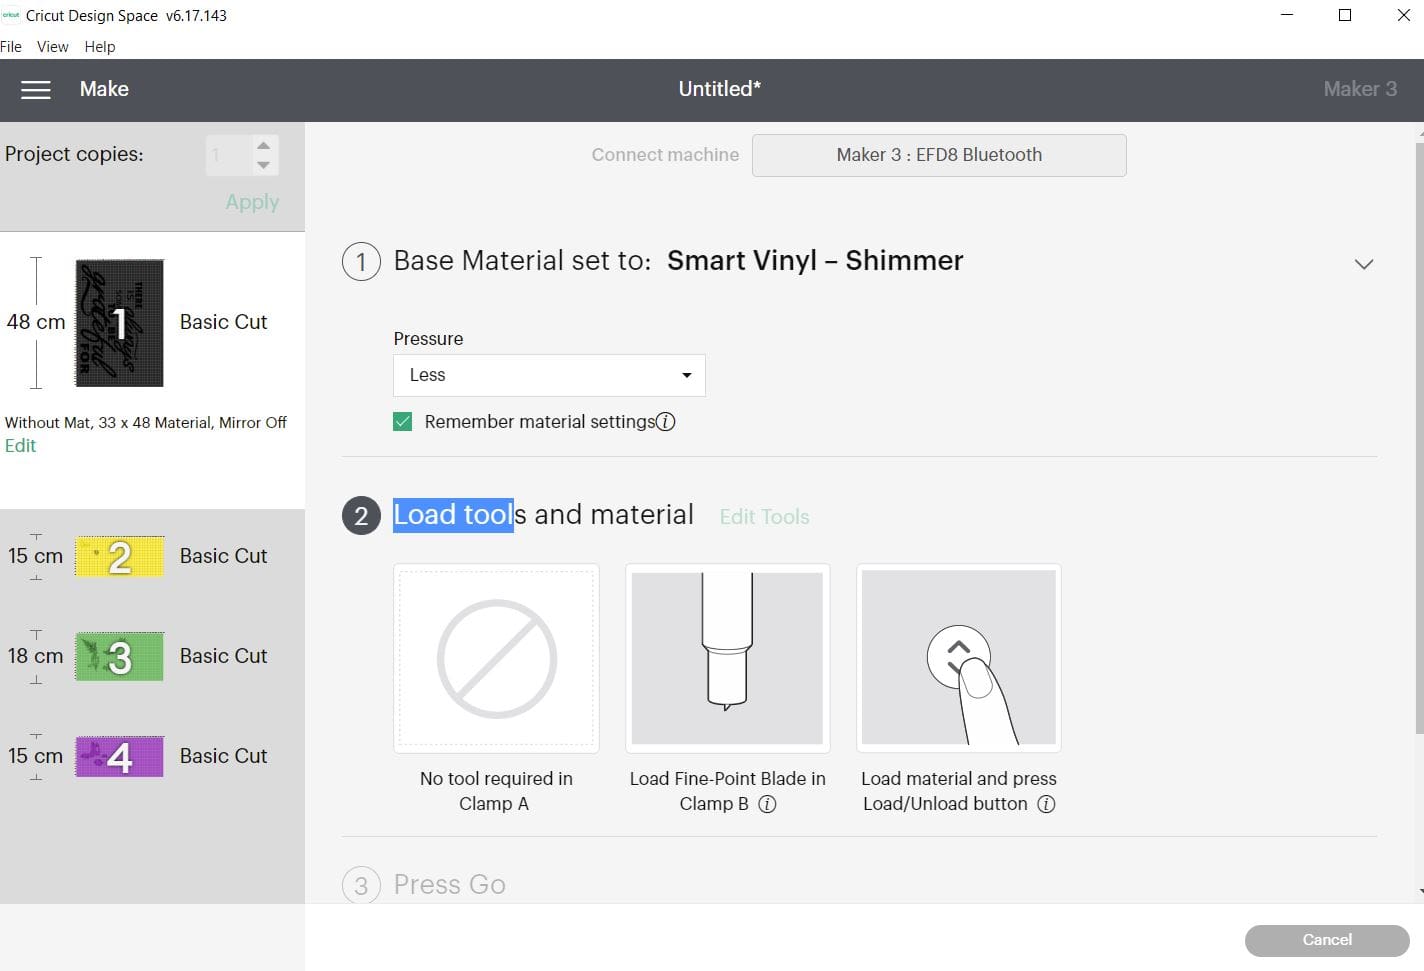
2. Upload each PNG into the design space. Click “Upload Image” on the left-hand Design Panel, and navigate to the files you want to open. Select ‘Insert image’ and select image type ‘simple’ when prompted. Next you’ll be asked to delete any space that does not get cut, you can skip this part by pressing ‘continue’. When asked if they’re print-then-cut images or just cut images, select cut images. Click save. When it has been uploaded, insert the images onto the canvas and resize to suit your project. I Recolour each one differently, so I can cut the different Vinyl for each layer, which means I don’t have to keep returning to the design page, see below. On the next screen, if using the Cricut Maker 3 or Explore 3 Smart settings, then you will need to choose to cut without the mat
(This vinyl can also be cut on your mat too!)
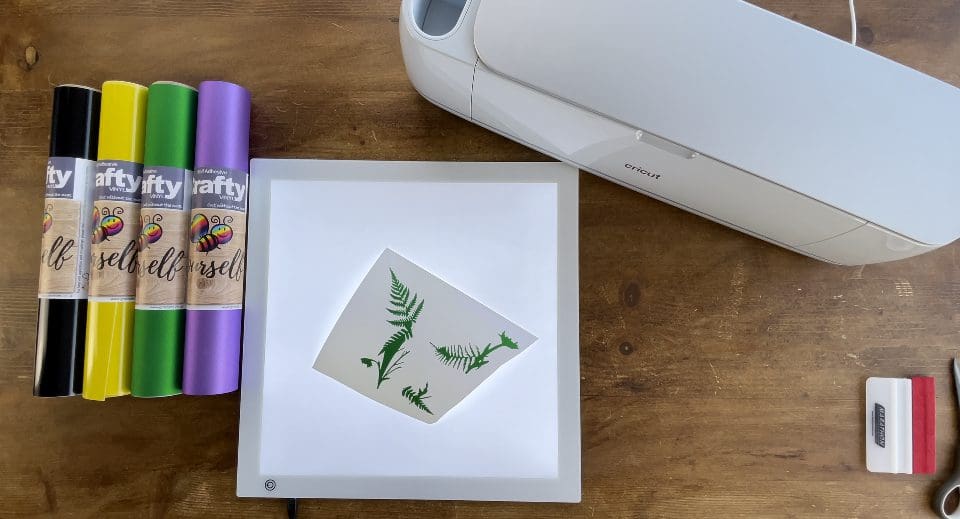
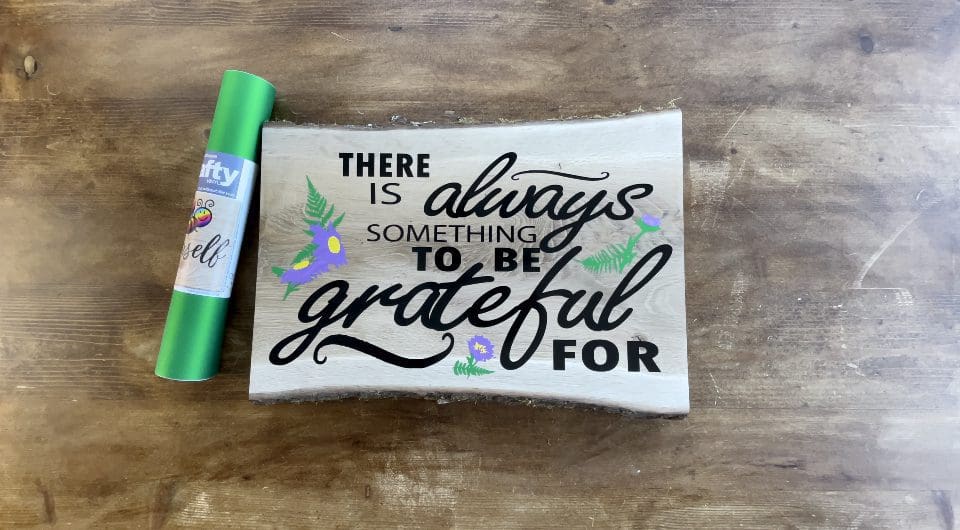
We have included a screen grab of the final layout of the design for your reference, and have included 2 varieties to choose from within the cut file- to give you greater choice, you only need 1 of each- so you have the flowers and leaf’s as a PNG that is close together, as the first shot below shows, saving waste- and you can also use the one that is spread out in the second screenshot below, saving you from having to work out where it goes, but this will waste a lot of vinyl area- please do cut this and save to use on your mat, before you weed to save unnecessary waste. We have chosen to use the first version, where the flowers and leaf’s are bunched together.
TOP TIP- When re sizing your design, insert it all onto your canvas as the first screen shows below, highlight it all to resize as one, therefore keeping the file sizes all correct effortlessly.

3. Click continue in the bottom right on the next screen. In the next window make sure your settings are all set to the successful settings from your test cut and ensure your machine is linked before proceeding to cut. Cut settings: (**please test cut) Press the flashing Cricut symbol on your maker to cut, after loading the sheet into the machine. Apply the settings needed for your chosen Vinyl, we made it with our GM Crafty 330mm Vinyl on the maker 3, and used the Smart Vinyl Shimmer setting on the Cricut maker 3 with Less pressure. Then Press the flashing Go Symbol on the machine to cut.
**A reminder that these settings, including the blade setting, are specific to the materials and machine we’re using, adjustments may be necessary if using different materials and machine**
We always recommend before proceeding, you test cut your materials when first using so if you have not recently used this product in your machine. Please test cut for your chosen machine found on our Application guide, and also Blog. Load the Vinyl chosen individually for each layer.
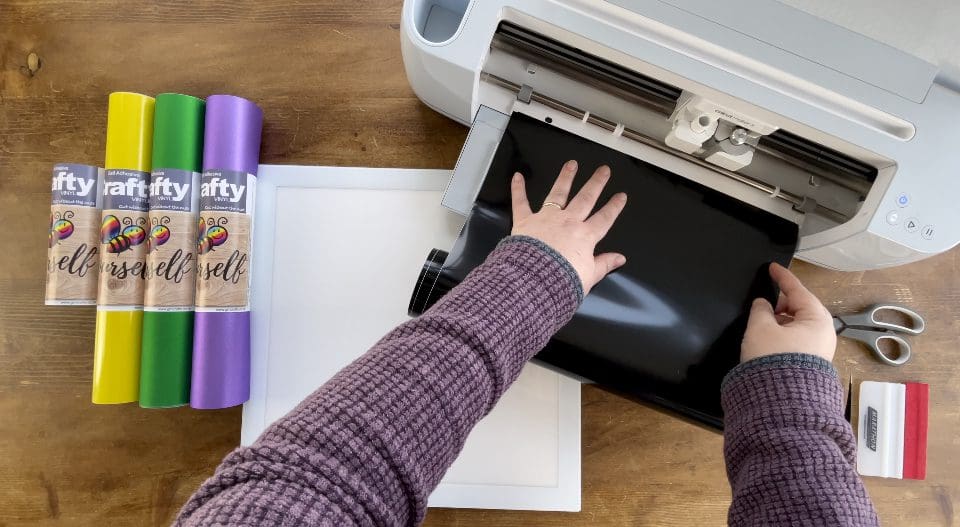
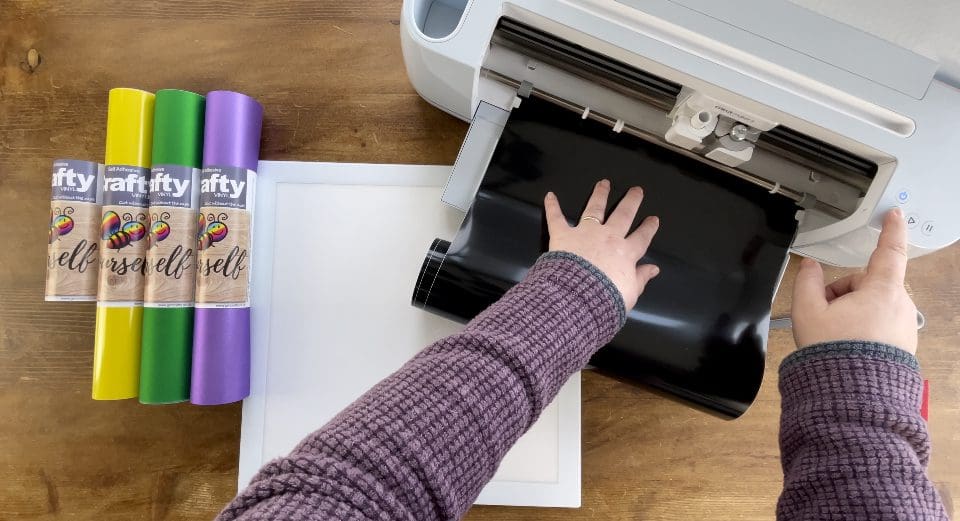
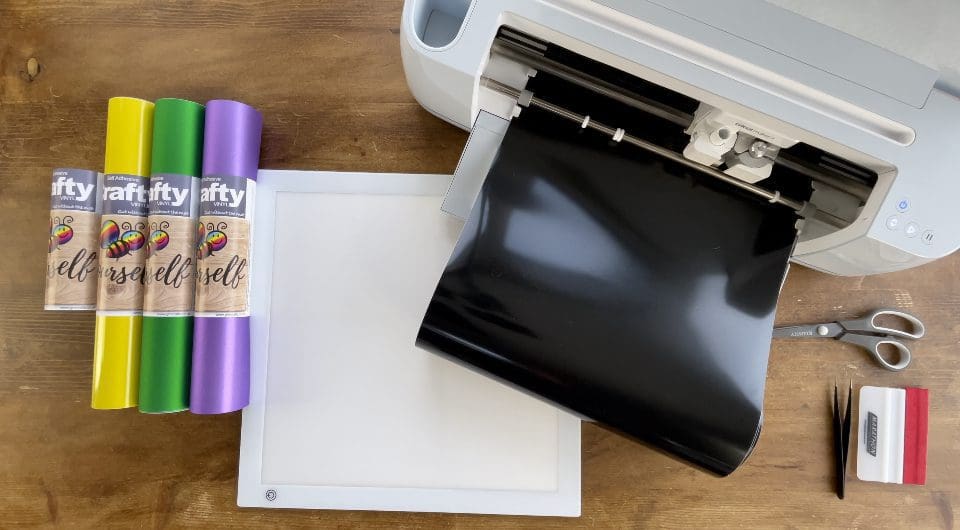
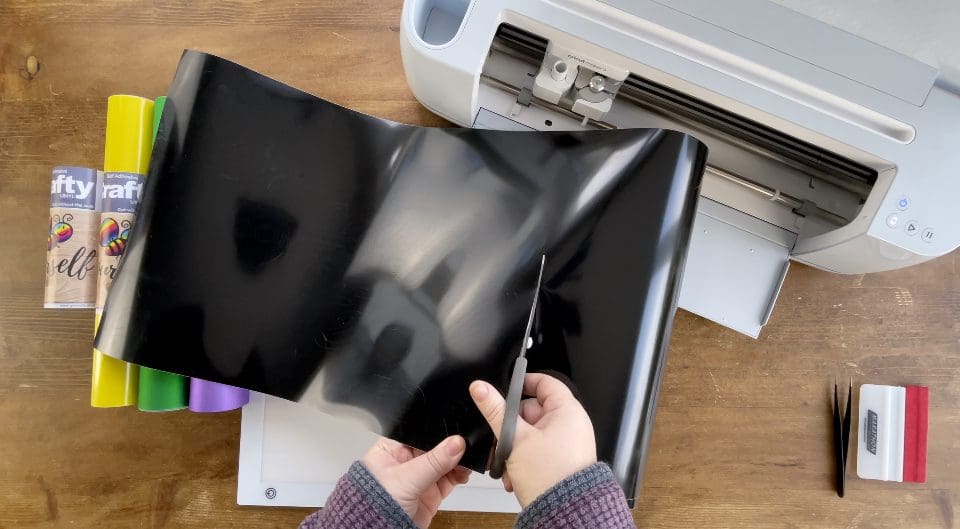
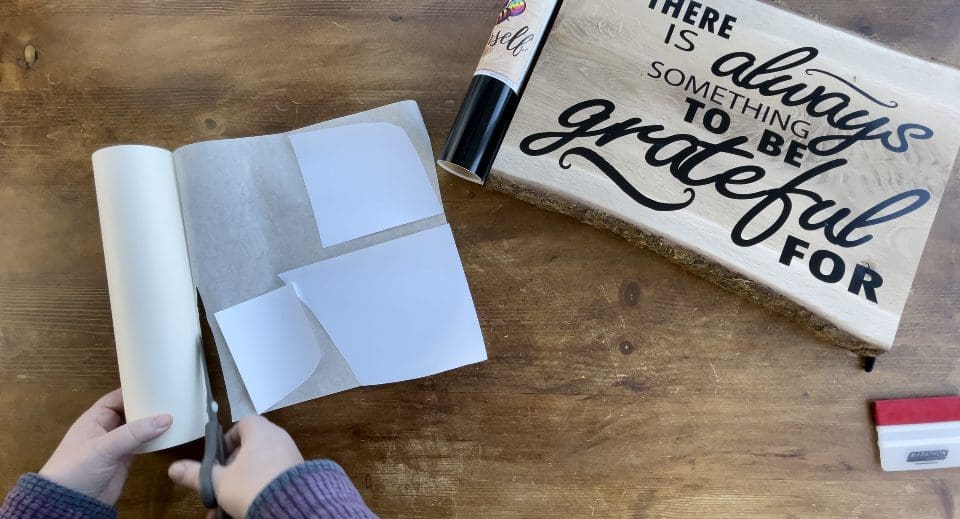
4. Once the machine is finished, unload the Vinyl from your machine, By pressing the left hand flashing button, using scissors cut around the design to save any waste, you can cut this “scrap” of vinyl on your mat later to not waste any. (BE SURE TO REDUCE SETTINGS IF USING IT ON YOUR MAT)
Repeat to cut the remaining layers.
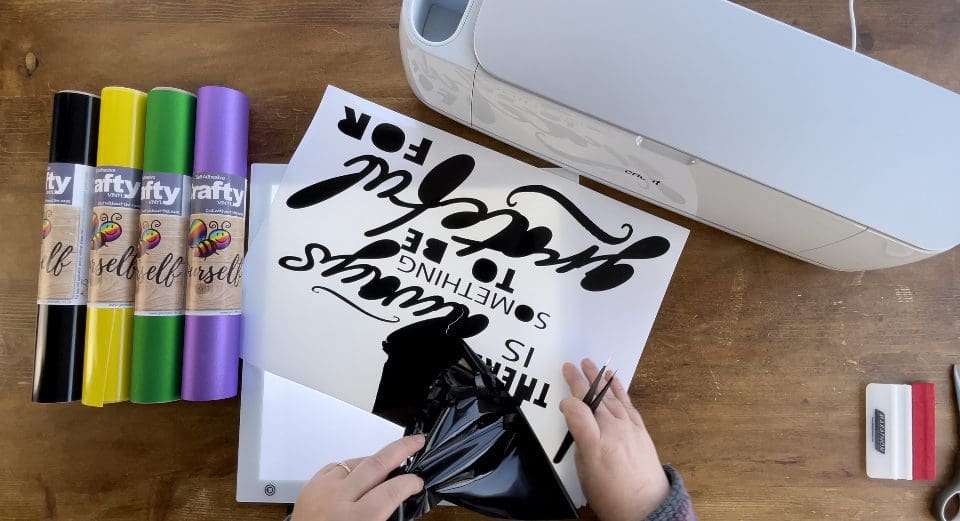
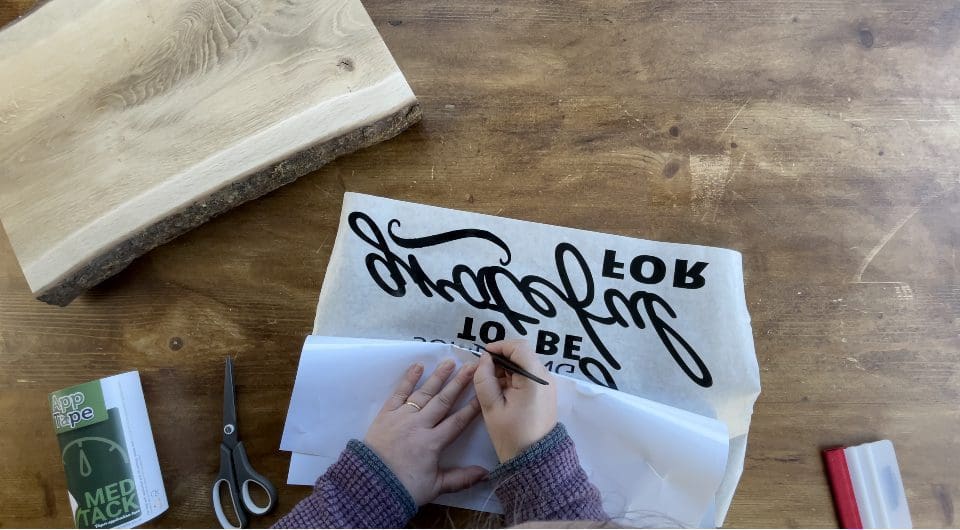
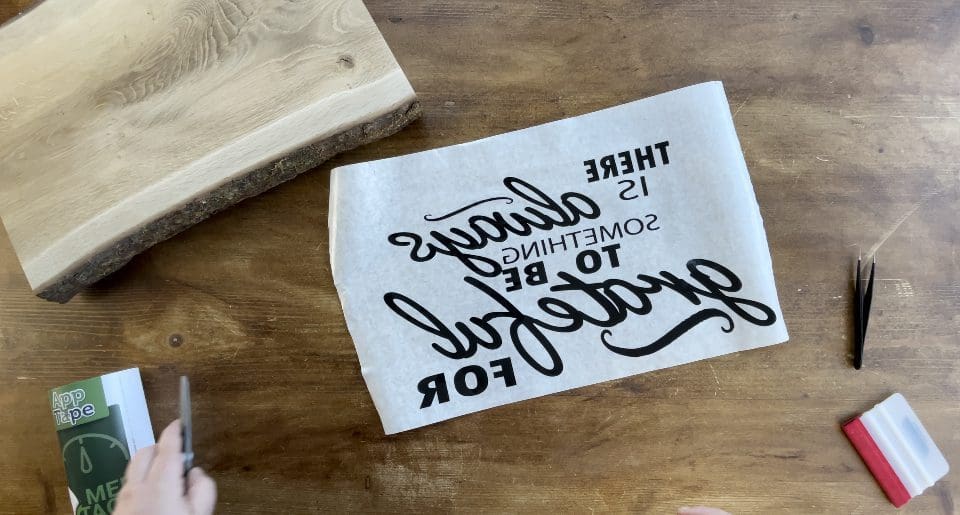
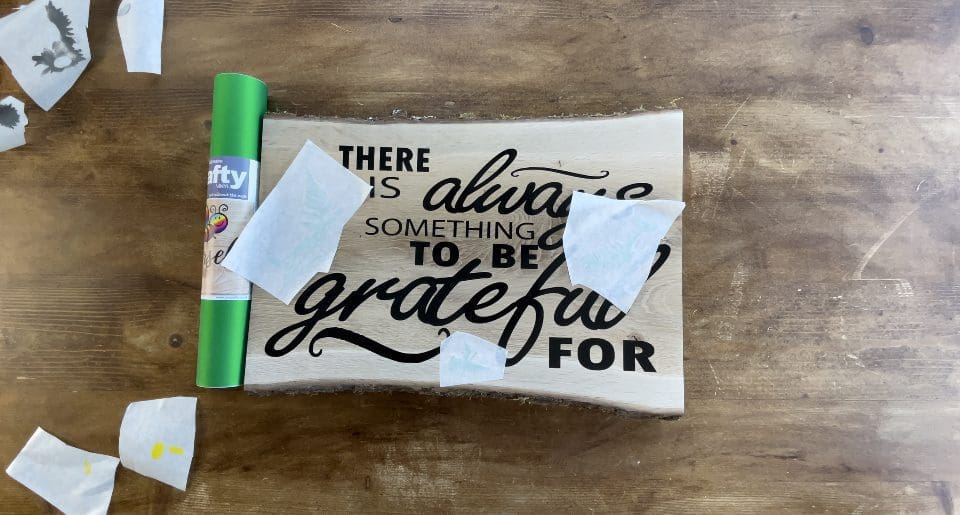
5. Switch on your LED pad and remove the waste Vinyl surrounding the designs (weeding) We use a pair of weeding tweezers to do this as shown below.
OPTIONAL STEP Normally at this point we encourage our customers to use rubbing alcohol to prepare the surface, we have skipped this step as our wood has just been freshly prepared and sanded prior to our use.
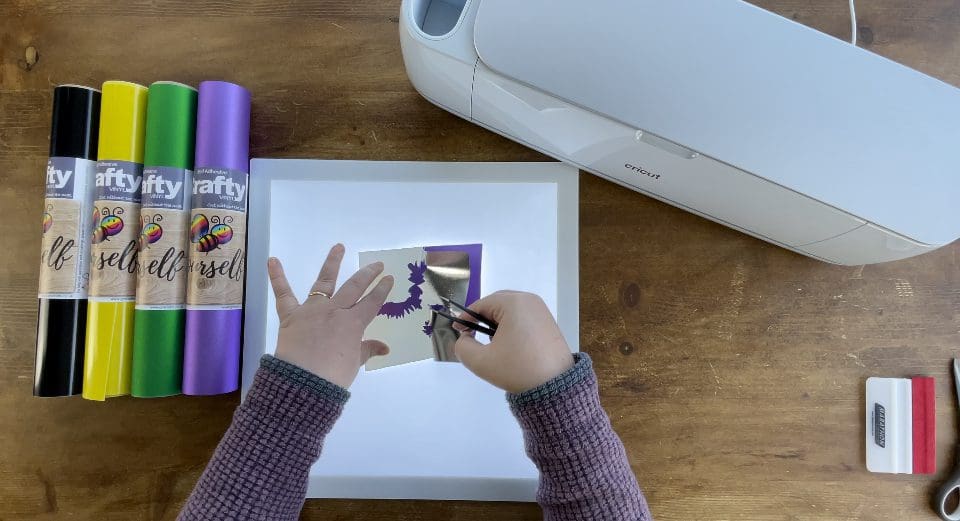
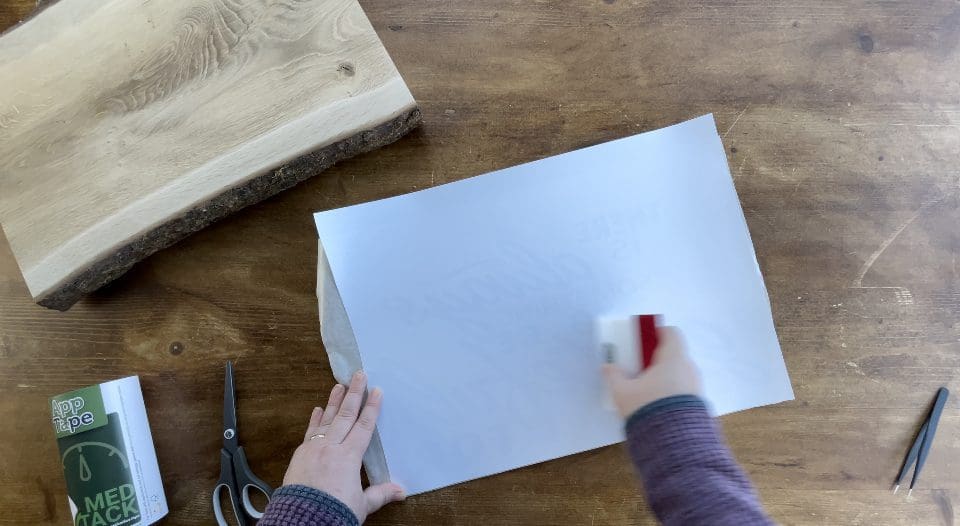
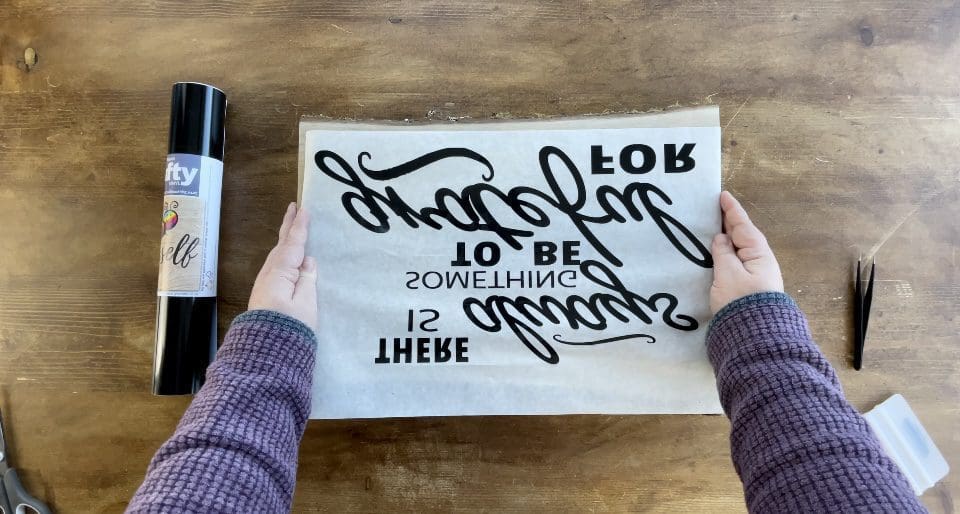
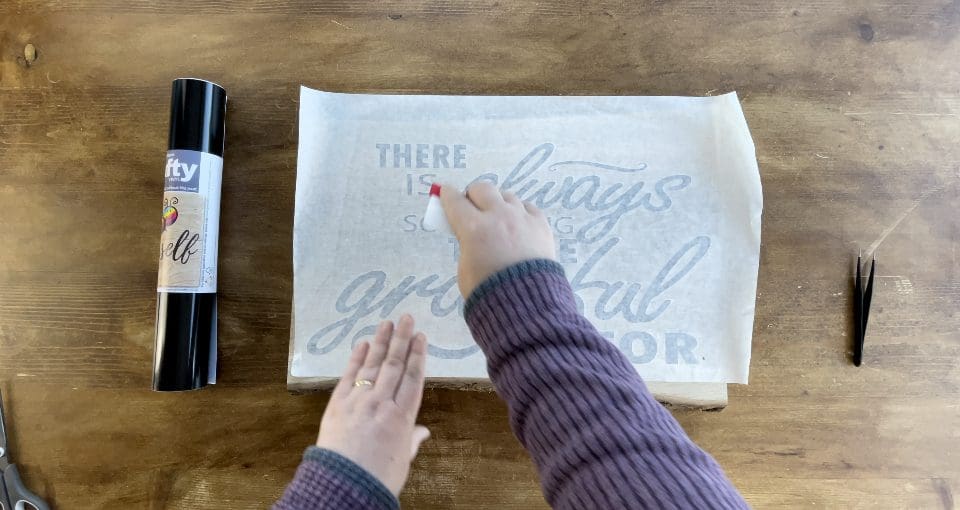
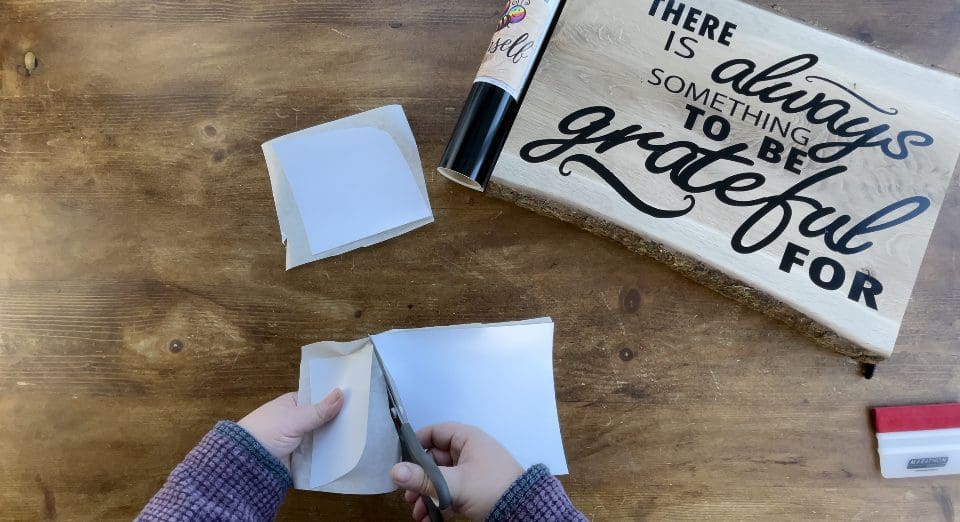
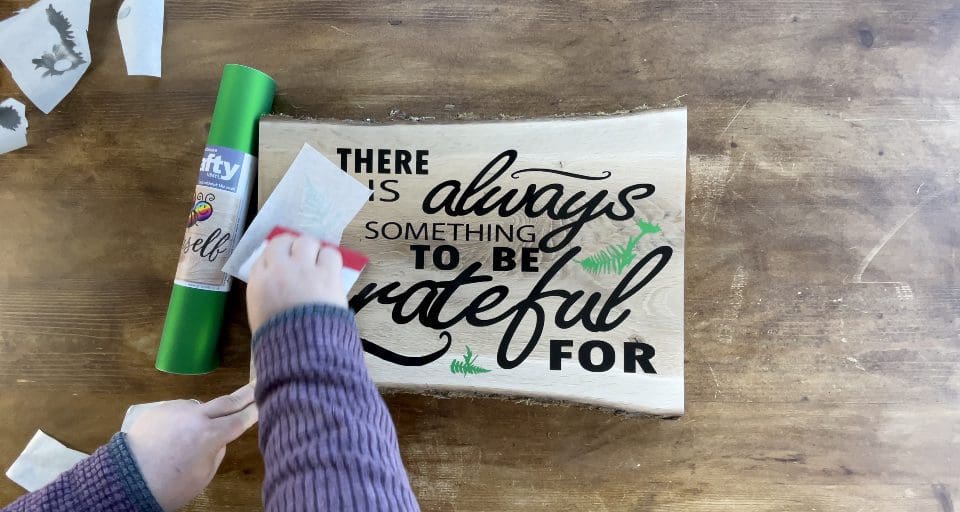
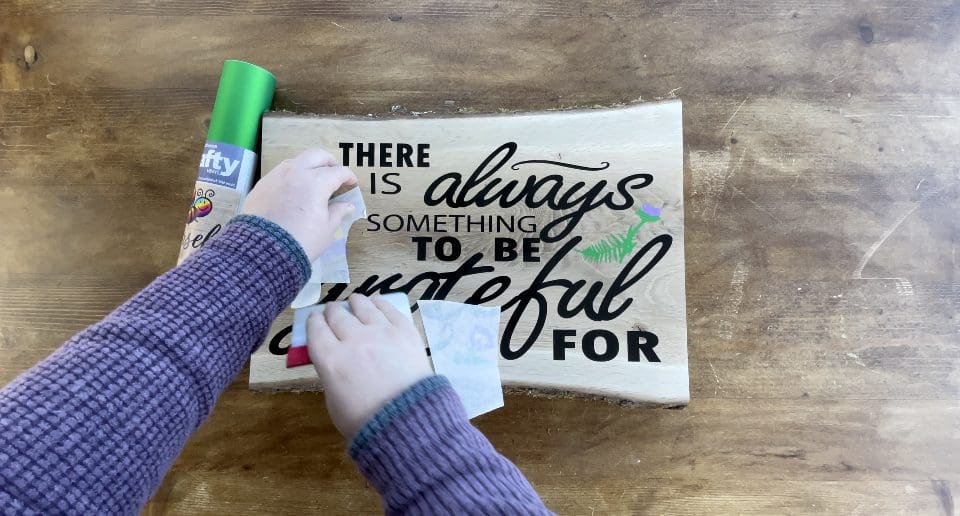
6. Once weeded. Take your transfer tape and lay it with the sticky side facing up on the table. Place the weeded design onto the sticky side face down, before trimming the application tape from the roll to fit. Take your squeegee and rub the back of the vinyl very hard to transfer it onto the application tape. Lift the backing paper back upon itself ready to apply. See Below. We used medium and we have used High tack app tape and recommend using HIGH Tack to make it easier, if you struggle to lift- check you have not scored the backing paper attached to the vinyl with your blade- as you may need to reduce the pressure and use a custom setting as some machines calibrations do vary and this is why we advise a test cut.
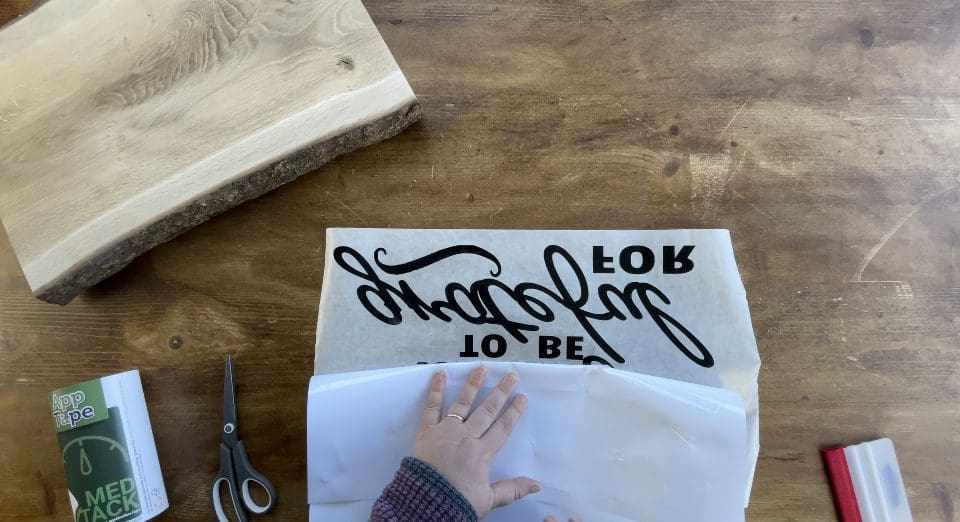
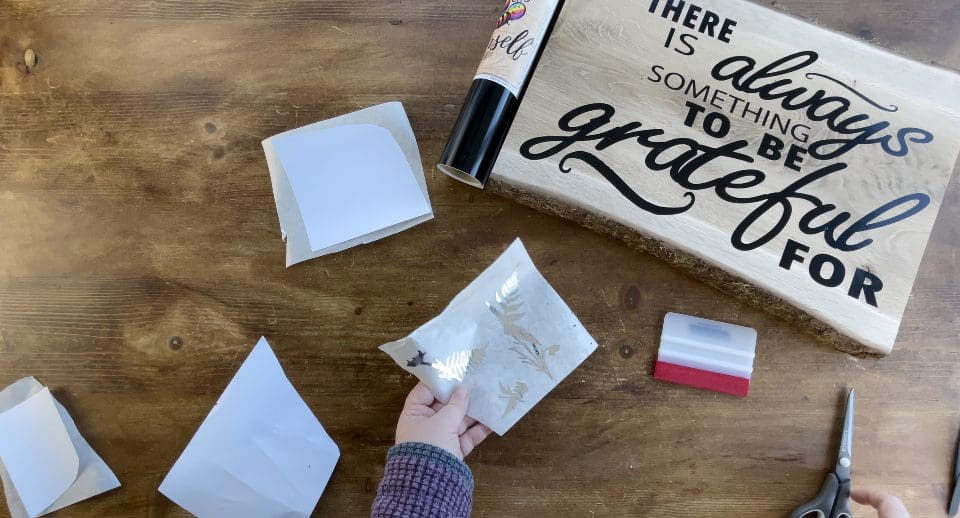
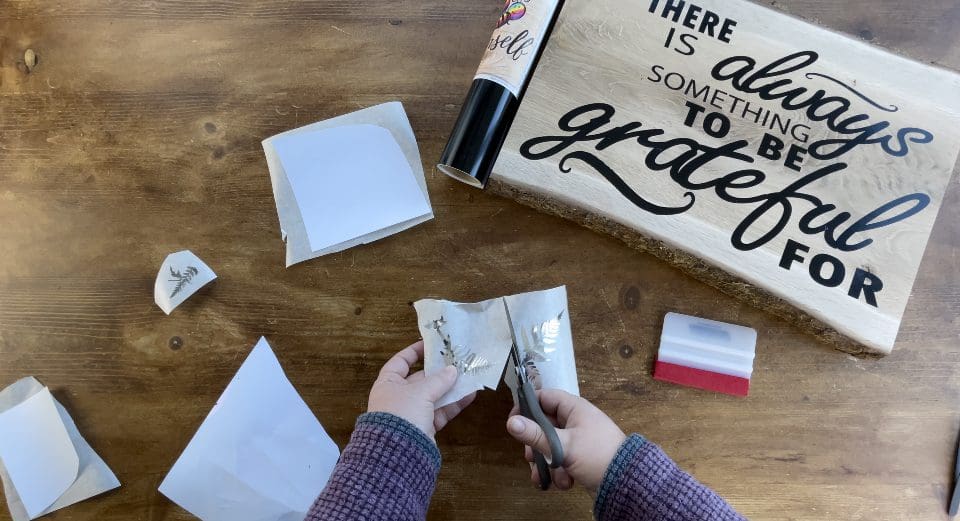
7. TOP TIP If you have slightly cut too deep, or the small details won’t lift off the sheet onto the transfer tape easily. use your tweezer to loosen from the backing paper, re rub with the squeegee and continue, as shown below.

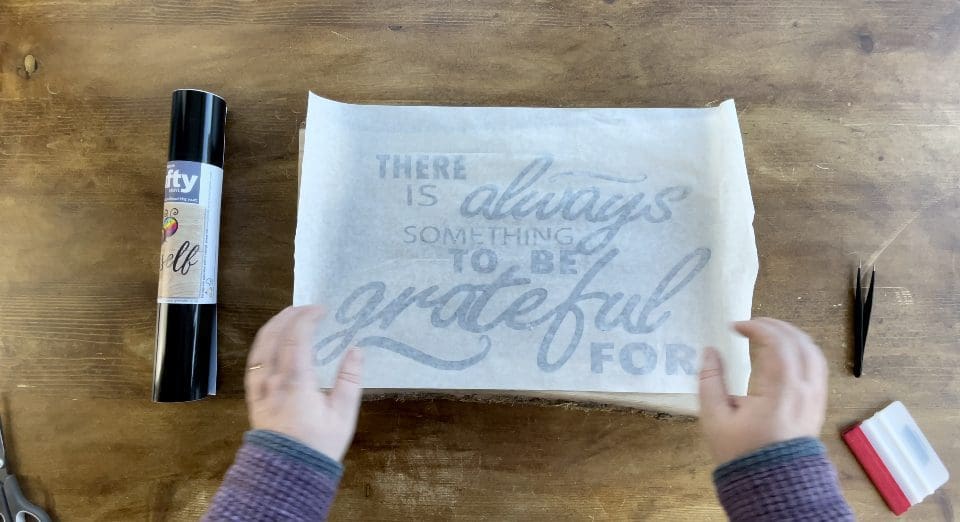
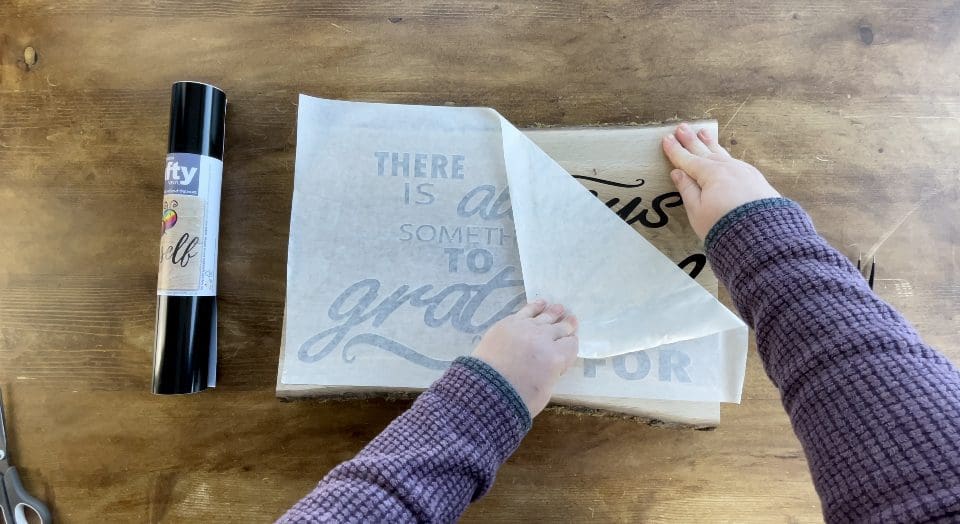
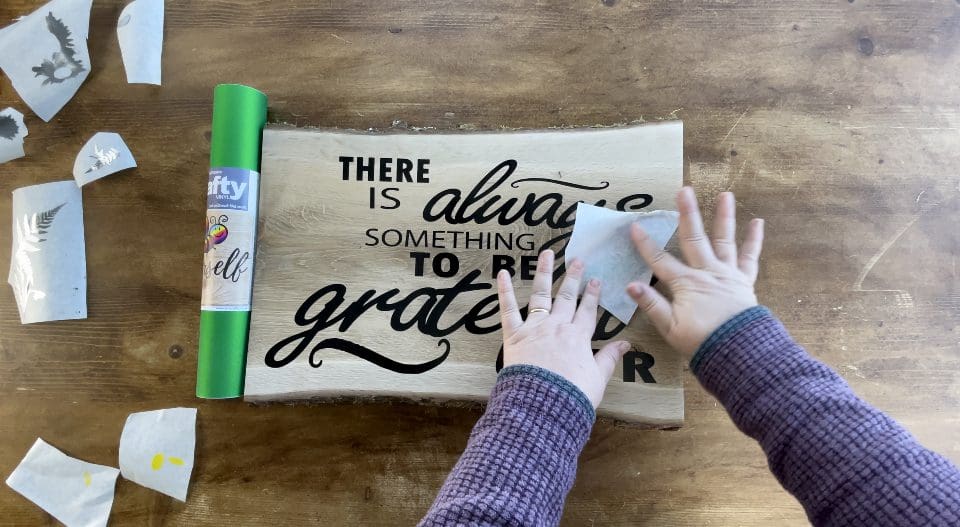
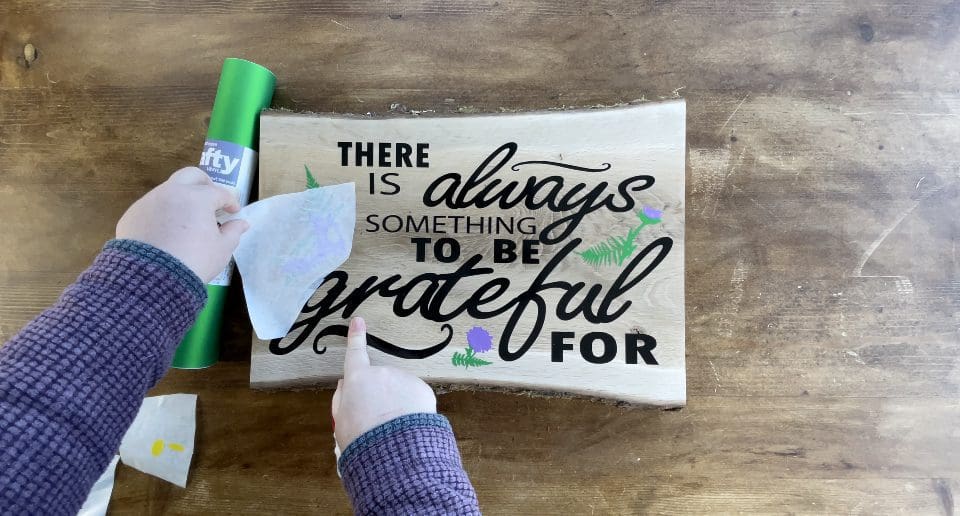
8. Line up your design first by placing it the wrong way up, so you know where to apply it, when you are happy you can turn it over to apply. Rub with the squeegee once placed correctly to transfer and then remove the Application tape backwards upon itself.
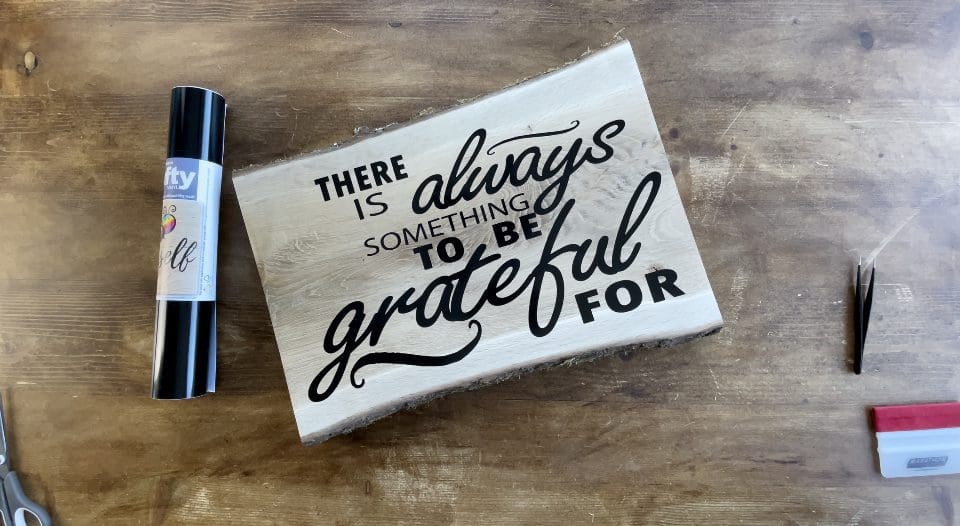
9. Repeat steps 6-8 for the remaining layers as shown below, we cut the foliage, flowers and the yellow flower middles as shown, so we can still place them in the different locations, allowing us to use less vinyl. We placed the Green Foliage on first, followed by the Purple Flower heads and finished with the 2 Yellow flower centres last. Remember to apply pressure with your squeegee during application, this activates the adhesive which will reach it’s maximum adhesion after 48 hours from application.

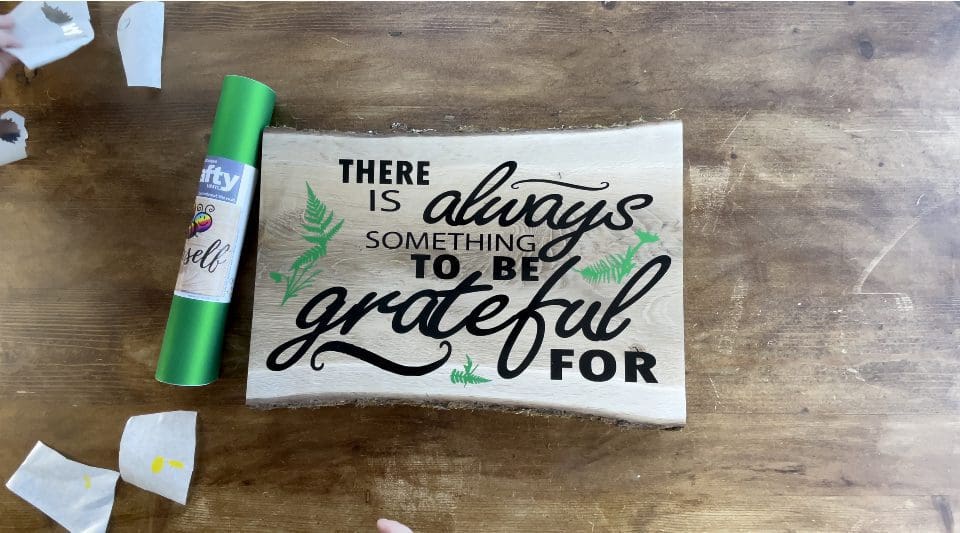

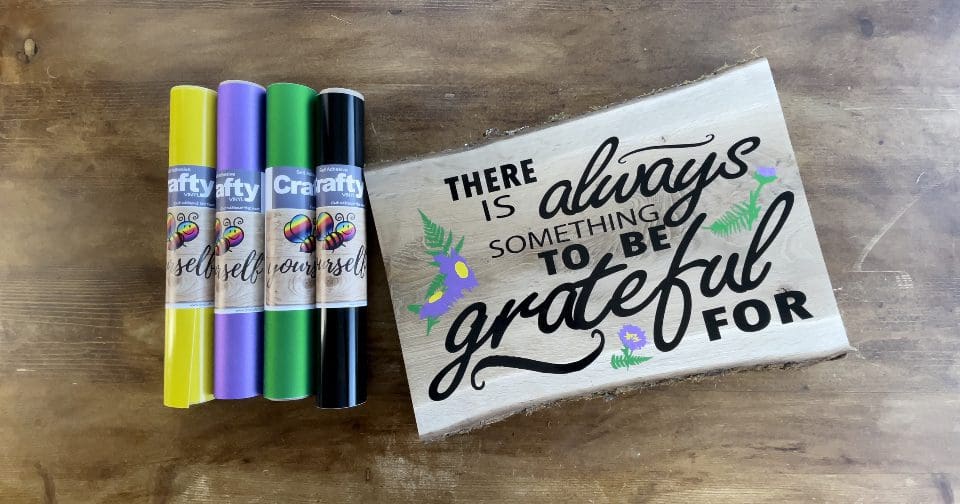 Don’t forget your finished design can be matched by using any material cut using a cutting file, card, self adhesive vinyl or even HTV. We’d love to see your makes on our social media pages! Or email them in!
Silhouette Cut File
Instructions:
Before you start, you need to download the cut file, Upload the cut file into Silhouette Studio and resize as necessary, (when resizing bring all layers into the design software and select all at once to get the correct offset layers and save the adjusted file, so you can cut layers individually at that correct scale you have chosen) Remember to test cut if necessary and cut settings are found here along with test cut guidelines for every machine.
Brother Cut File
To import these files into the Brother Canvas Workspace:
After downloading, please log in as usual to your design space account, open a new project mat, then left click on the SVG icon in the top left bar in canvas, this will then allow you to import your files. Once you left click this icon, a pop up box appears with you to choose where to import file from, choose to import the file from your downloads list or where you have chosen to save when unzipped.
Cut settings are found here
Just in case you need the link CanvasWorkspace (brother.com)