
Tutorial/Free Cut File
How to make a cake topper
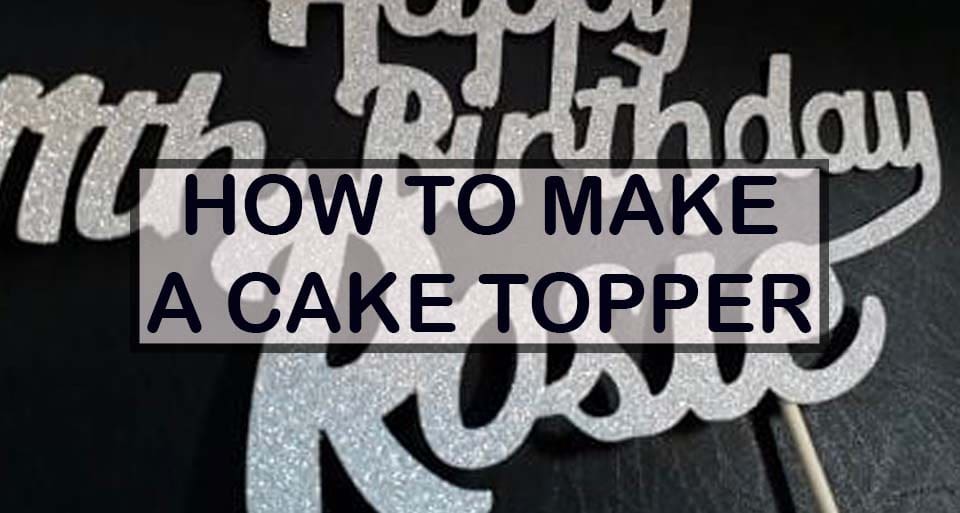
Many of our customer are astounded by the cake toppers they see on our social media pages like Facebook , Instagram or Tiktok, and often ask us how these are made. Here is our quick guide to creating Cake Toppers, using our variety of card stock found if you click here.
Here at GM Crafts we have a ever growing range of papercrafts products all found if you click here. You can use ANY of our vast array of card to make your topers, and our Glitter Card has been designed deliberately to not shed, and therefore is safe to use as a topper! We have Gloss, Mirror, Glitter, Pastel, Brights, even Linen Card for you to choose, and customers sometimes use our Vinyl on top , or run it through a embossing machine to elevate their design, the possibilities are endless.
Firstly, to design your cake topper. The wording needs to be joined together by ungrouping and welding your text, so that it cuts as one solid design. We show you how to do this for a HTV design if you click here.
To make this process easier, type each individual letter as a single character, then re click text to type the next one, so that you can then bring the font together and weld it to get it to look as close to those fashionable styles as possible. Be sure to move each letter as you type it otherwise the software will lay them all on top of each other.
Cut one piece of your design as you see it the right way of reading it and cut the same piece but mirrored, so the wording is in reverse. This reverse layer will sandwich on the back to create a double sided topper that looks good from any angle.
We always recommend before proceeding, you test cut your materials when first using so if you have not recently cut our Card please test cut for your chosen machine found on our Blog. Load the Card chosen individually for each layer.
When placing our Glitter Card on your cutting mat, we suggest placing the glitter side face up onto the mat.
Always cut using 2 or 3 cut passes, rather than deeper blade settings or extra force, as that results in too much pressure on the card and can cause the cut to ‘miscut’ or not cut successfully.
When weeding, if you find sharp corners are difficult to remove use our weeding tweezers found here to help remove the cut-out, rather than tug at it, as that would result in torn rough edges.
For stability it is recommended to cut another 1 or 2 layers from plain white card. These will be ‘packed’ in-between the front and back layer to give it more stability and prevent it from flopping.
Use wooden skewers, taped or glued in place between the layers. Or use our fantastic new Transfer Adhesive found here to glue the layers and skewers perfectly due to it’s high tack and usability this is perfect for this.
We have a tutorial showing you how to us this here
Your Card Topper is now complete.
(Keep away from naked flames such as candles)
We would love to see what you make! Have you found our You Tube channel yet? The videos showing all of our tutorials are available on there, as well as exclusive demos, inspiration and more! Join us on Facebook , Instagram or Tiktok or send us an email to sales@gmcrafts.co.uk we would love to hear from you!