
Tutorial/Free Cut File
GM Crafts Silhouette Print and cut Tutorial with Free Magnetic Organiser Cut files
Hello!
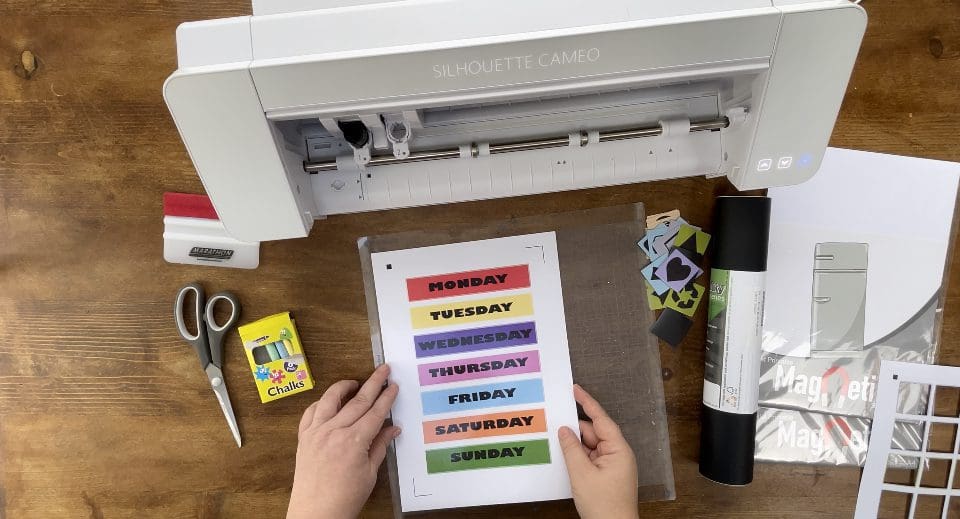
Welcome to another tutorial blog! If you are using a Cricut machine please check the Print and cut tutorial for that here. We hope this tutorial sparks some great creative ideas for you! This design can be used in a variety of ways, cut it out of Self Adhesive or Magnetic printable Vinyl as the below tutorial shows, add it to planners, diaries and wipeable boards too!
This design can of course be used for adults, kids, and we created it for our design team member’s Autistic son! use it for almost anything that you wish to personalise.
We would love to see what you make! Have you found our You Tube channel yet? The video showing this and all of our other tutorials are available on there, as well as exclusive demos, inspiration and more! Join us on Facebook , Instagram or Tiktok or send us an email to sales@gmcrafts.co.uk we would love to hear from you!
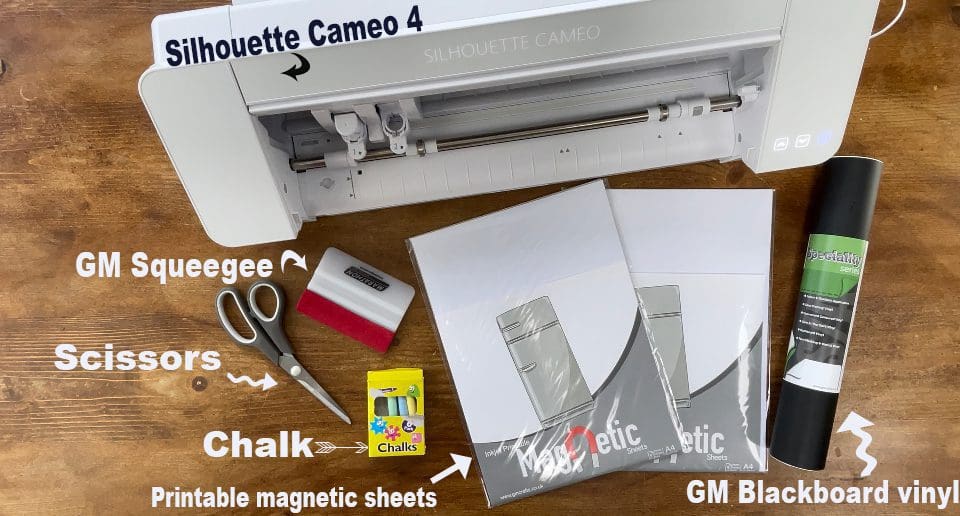
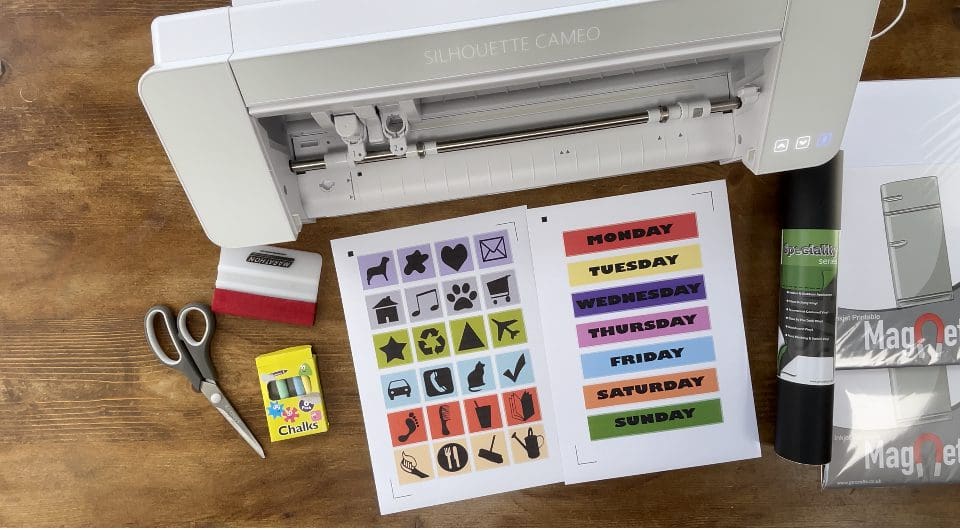
What you’ll need:
- Silhouette Cameo 4. Available here
- Or Cricut Maker . Available here (Instructions for the Cricut Print and cut Here) Brother machines instructions at the bottom of this page!
- GM Printable Magnets Available here
- Blackboard Vinyl. Available here
- Squeegee. Available here
- Scissors and chalk from your own stash.
- Rubbing alcohol and lint free cloth should you wish here
- Cut files, are free below! Including Silhouette (Separate Blog to follow). Cricut and Brother instructions to follow at the end.
***WATCH THIS BEING MADE HERE***
Magnetic week planner PRINT AND CUT FILES CLICK HERE
Silhouette Print and Cut
Instructions:
1. Before you start, you need to download the print and cut file, Upload the cut file into Silhouette Studio and resize as necessary, (when resizing bring all layers into the design software by using “merge” and select all at once to get the correct scale you have chosen)
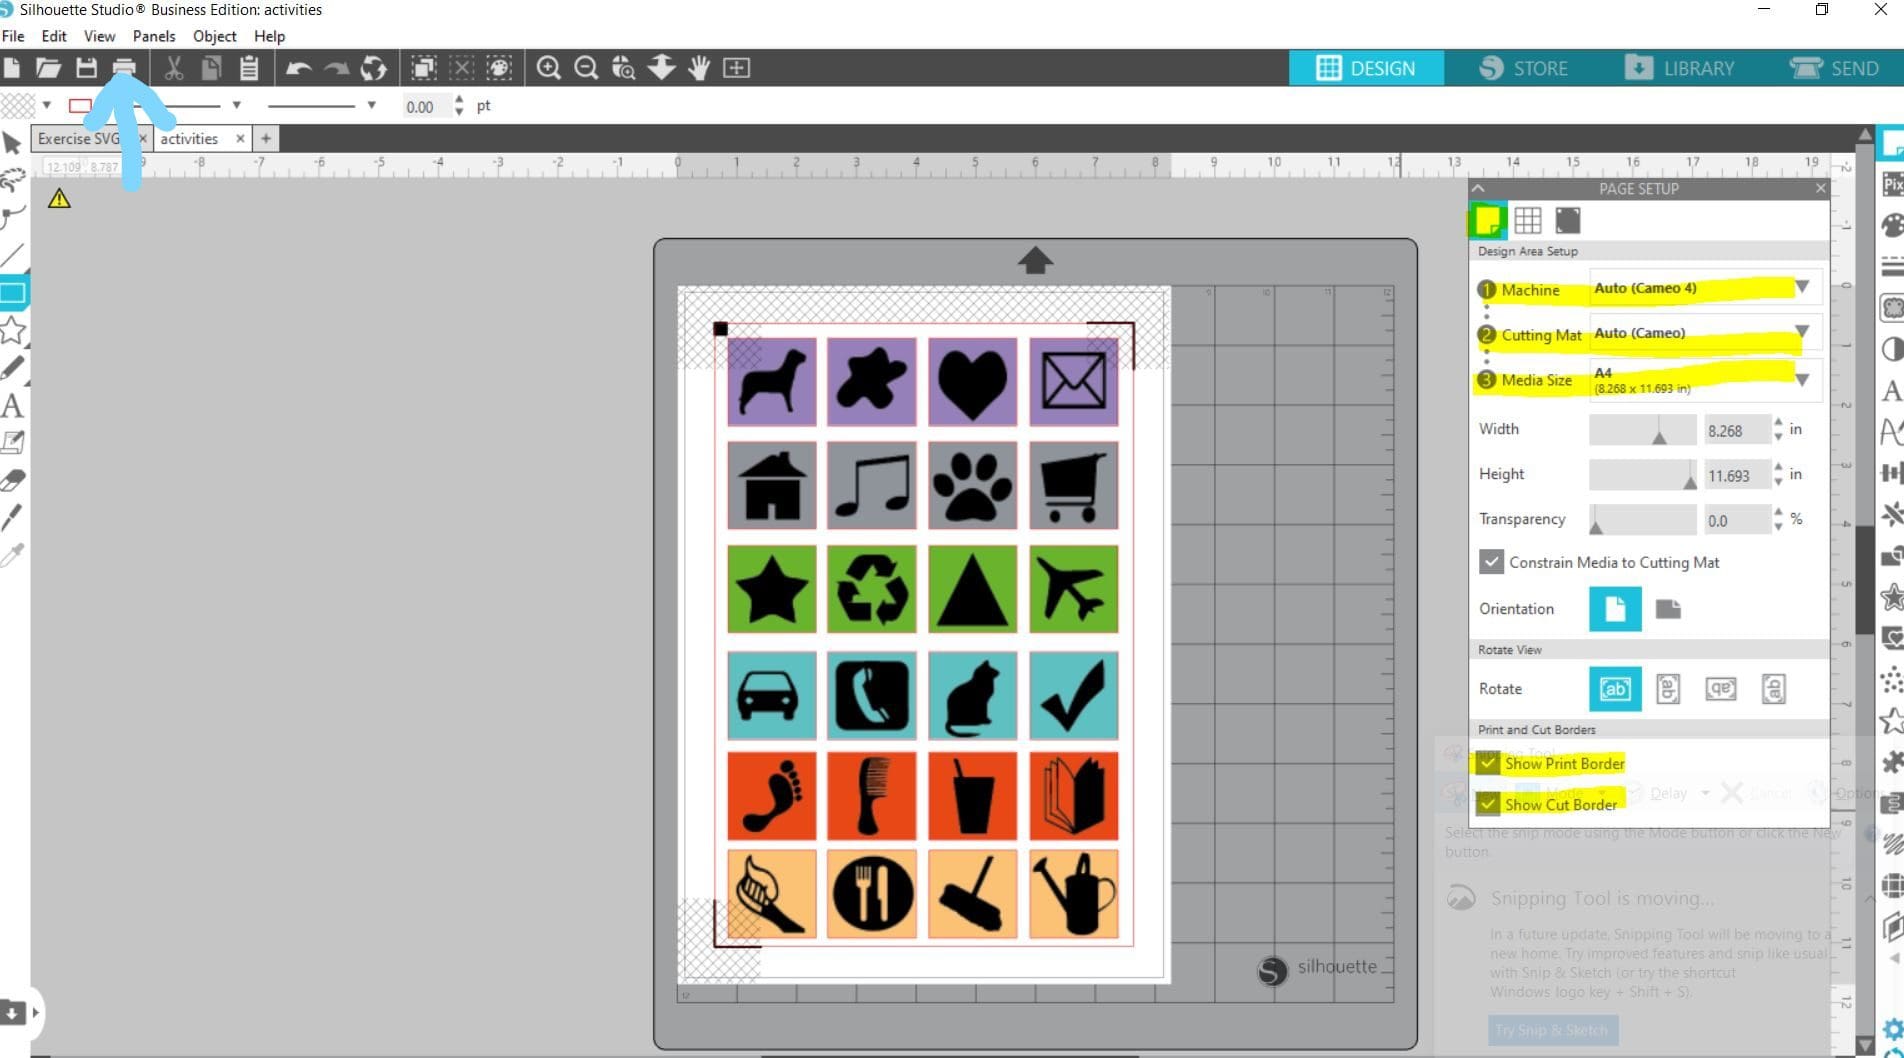
2. Choose the machine you are using to cut in see below, choose a4 sheet, and select show print border as below, then chose the 3rd mat icon on the screen as show in yellow to go to add Registration marks prior to printing.
Remember to test cut if necessary and cut settings are found here along with test cut guidelines for every machine.
3. Next see picture below, choose to add registration marks, then once you are happy with this sheet, choose the print icon, which is in the top left bar under the words View and Panels, click the printer icon to move to the print screen. Circled in a fine red line below.
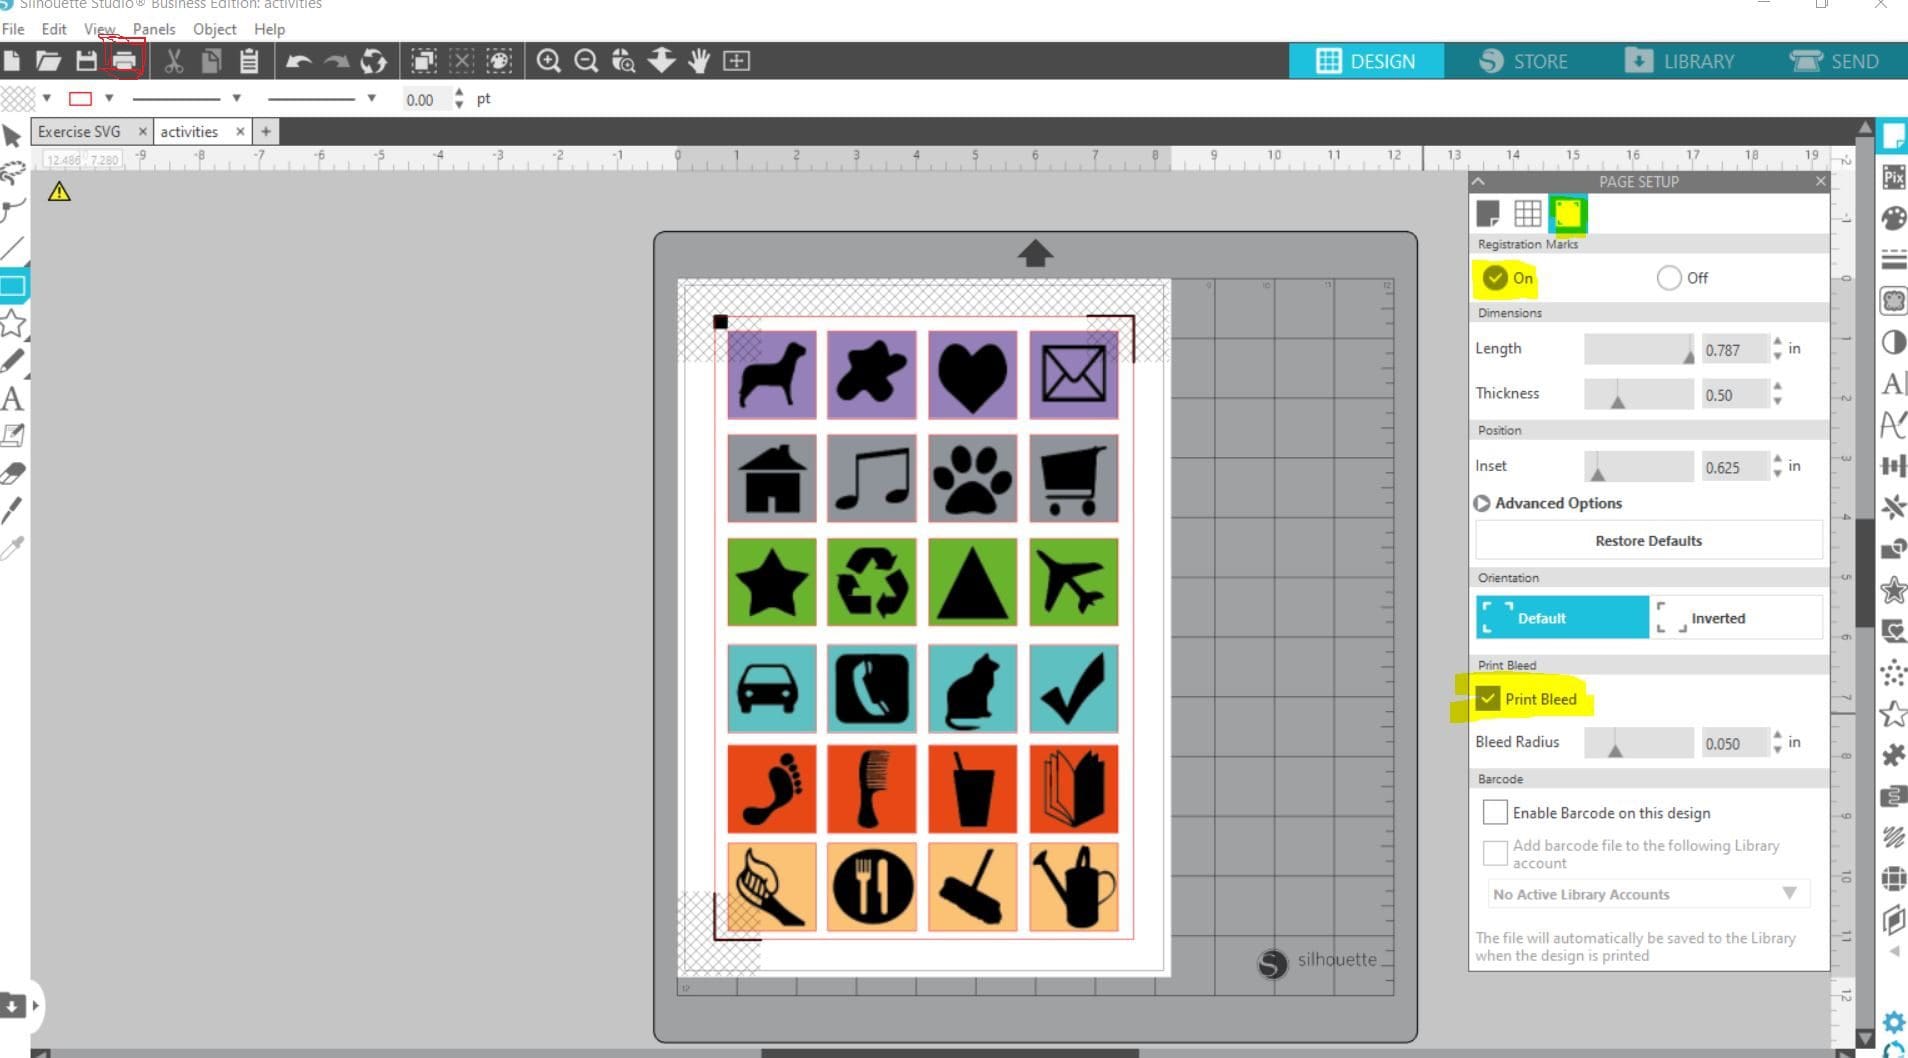
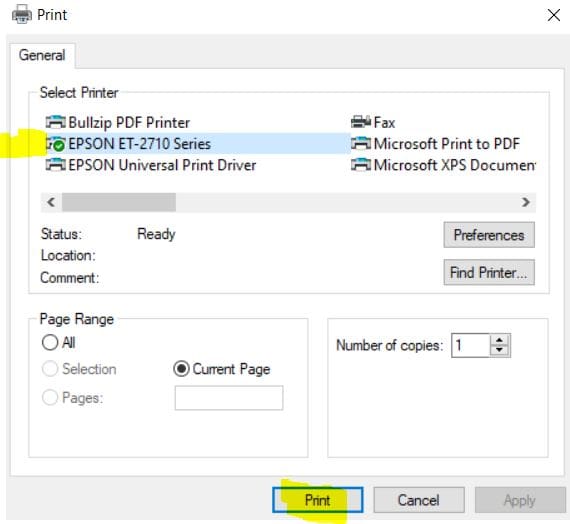
4. Once you are happy with the Print preview below, click Print as highlighted in Yellow, and then choose your printer on the next screen, and choose print again, see below.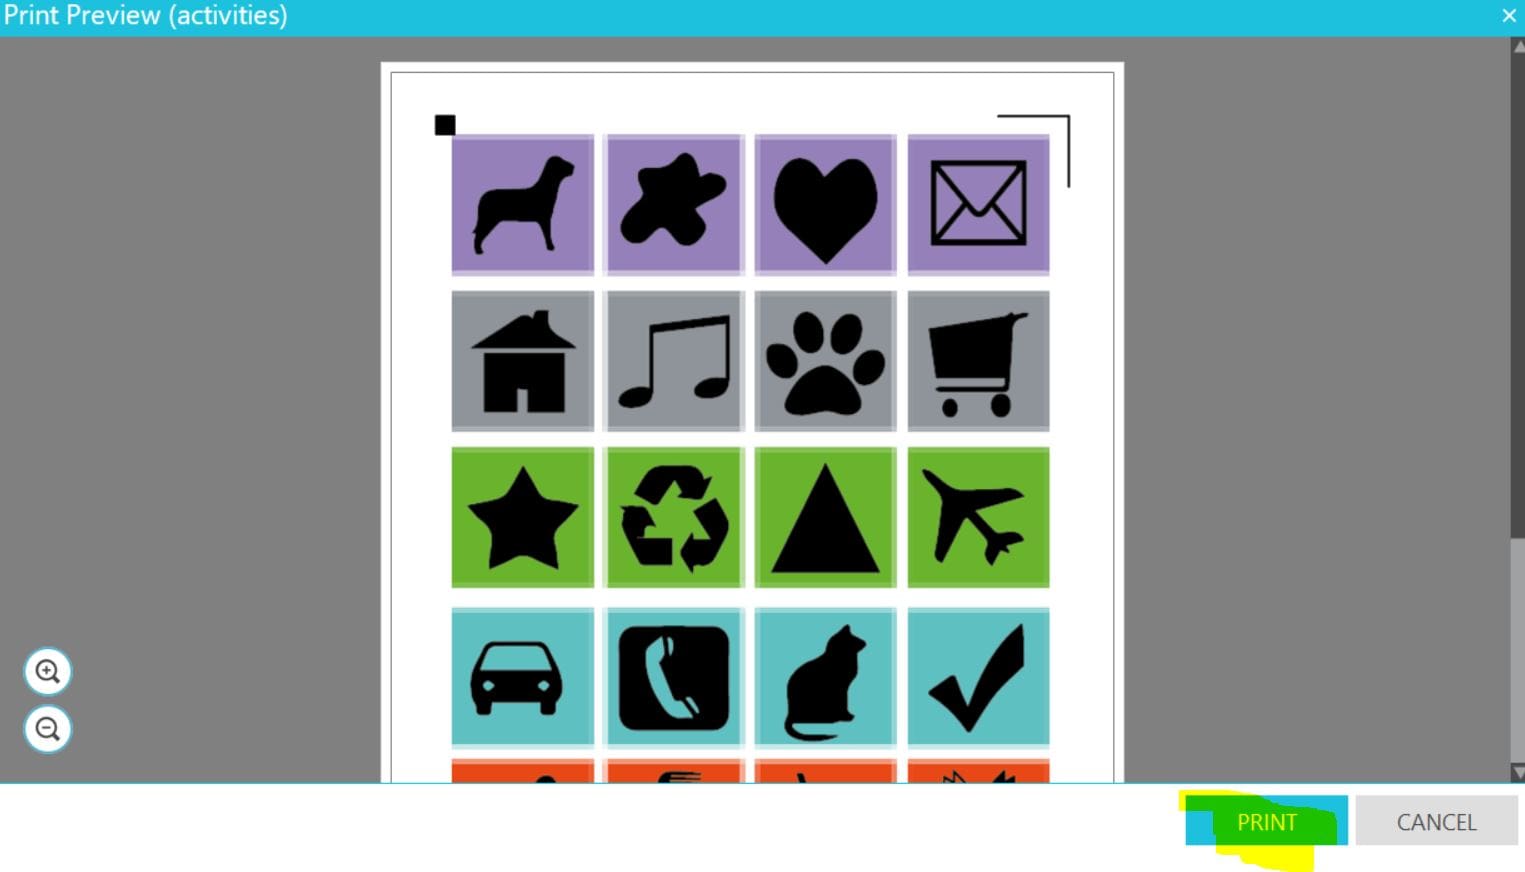
5. To ensure your printed design works perfectly when cutting on the machine, the first place to start is not the cutting machine, but the media you are using (the sheet) and the printer you are printing with.
Almost 90% of print and cut issues are because the printer isn’t printing perfect, I will try to explain, apologies for the level of detail but it is complex to explain when not sat beside you. When you put the paper into the printer it must be square and even before you start (sometimes if your A4 sheet can be slightly cut wonky literally a few mm on one side makes a complete difference when printing, you’ll see why in a second, so always check the sheet is square).
When in the printer it must be tight in the tray so when the printer loads it and brings it round the rollers it does not move again, a few mm or even 1 mm when moved slightly down the page, literally destroys the accuracy of the registration marks completely.
For example, my previous printer had a loading bay for the paper, with an adjustable arm on one side that acts like a clamp to hold the paper in the loading tray , as my printer pulls the paper through to feed round the rollers if I pinch it too little or too much there is a slight difference by the time the whole sheet has printed, and it will never cut the whole sheet accurately, this is often seen by the top (or bottom) being perfect cuts and the other end has a offset very slightly when cut, this is the printer process to blame.
Also you must make sure the registration mark is bold enough some people make it too small , and again it is best to space the design out so the lenses can read it when cutting correctly, Print and cut mostly replies on that registration mark as it’s guide and cuts where the lines are on the screen only and will not convert the print on the sheet to the cut if that makes sense? When printing those registration marks are best kept on default on the software, and should they bleed or look less than a sharp edge it will cause you reading issues.
I have some customers who will watch the printer feed to ensure it isn’t moving or slipping on one roller side which again will cause the same issue.
When using the media (printed sheet) it must be suited to your printer type- so for example inkjet only sheets must be on a inkjet printer. When printing, if not using our media you must ask the manufacturer for their print settings, ours you need best or photo print quality only.
The last thing is to check your cutting machine is calibrated and Silhouette website will have a tutorial and guide on doing that too. Or again pop into google how do I calibrate my “machine”
It is worth noting should you encounter any issues, Silhouette update their software very regularly and before moving onto troubleshooting it is worth checking yours is a current version, You can do this by visiting their website, download the current version and then open it to install, it will automatically remove the previous version.
Also please reset the preferences in advanced to Factory default as any windows background updates can cause conflict and this will assist.
Once your software has been updated, please connect your machine via the USB to check if it needs a firmware update, again instructions for this are found on the website or add it to your google search.
For silhouette machines with print and cut there are some very good resources on their website that help you resolve any issues and teach you additional techniques at the same time here are the 2 most useful;
A PDF filled with step by step and trouble shooting advice.;
https://www.silhouette101.com/wp-content/uploads/2020/01/ebook-print-and-cut-perfection.pdf
Troubleshooting and Video ;
https://www.silhouetteamerica.com/faq/solution/print-and-cut-registration-failure-or-cutting-off
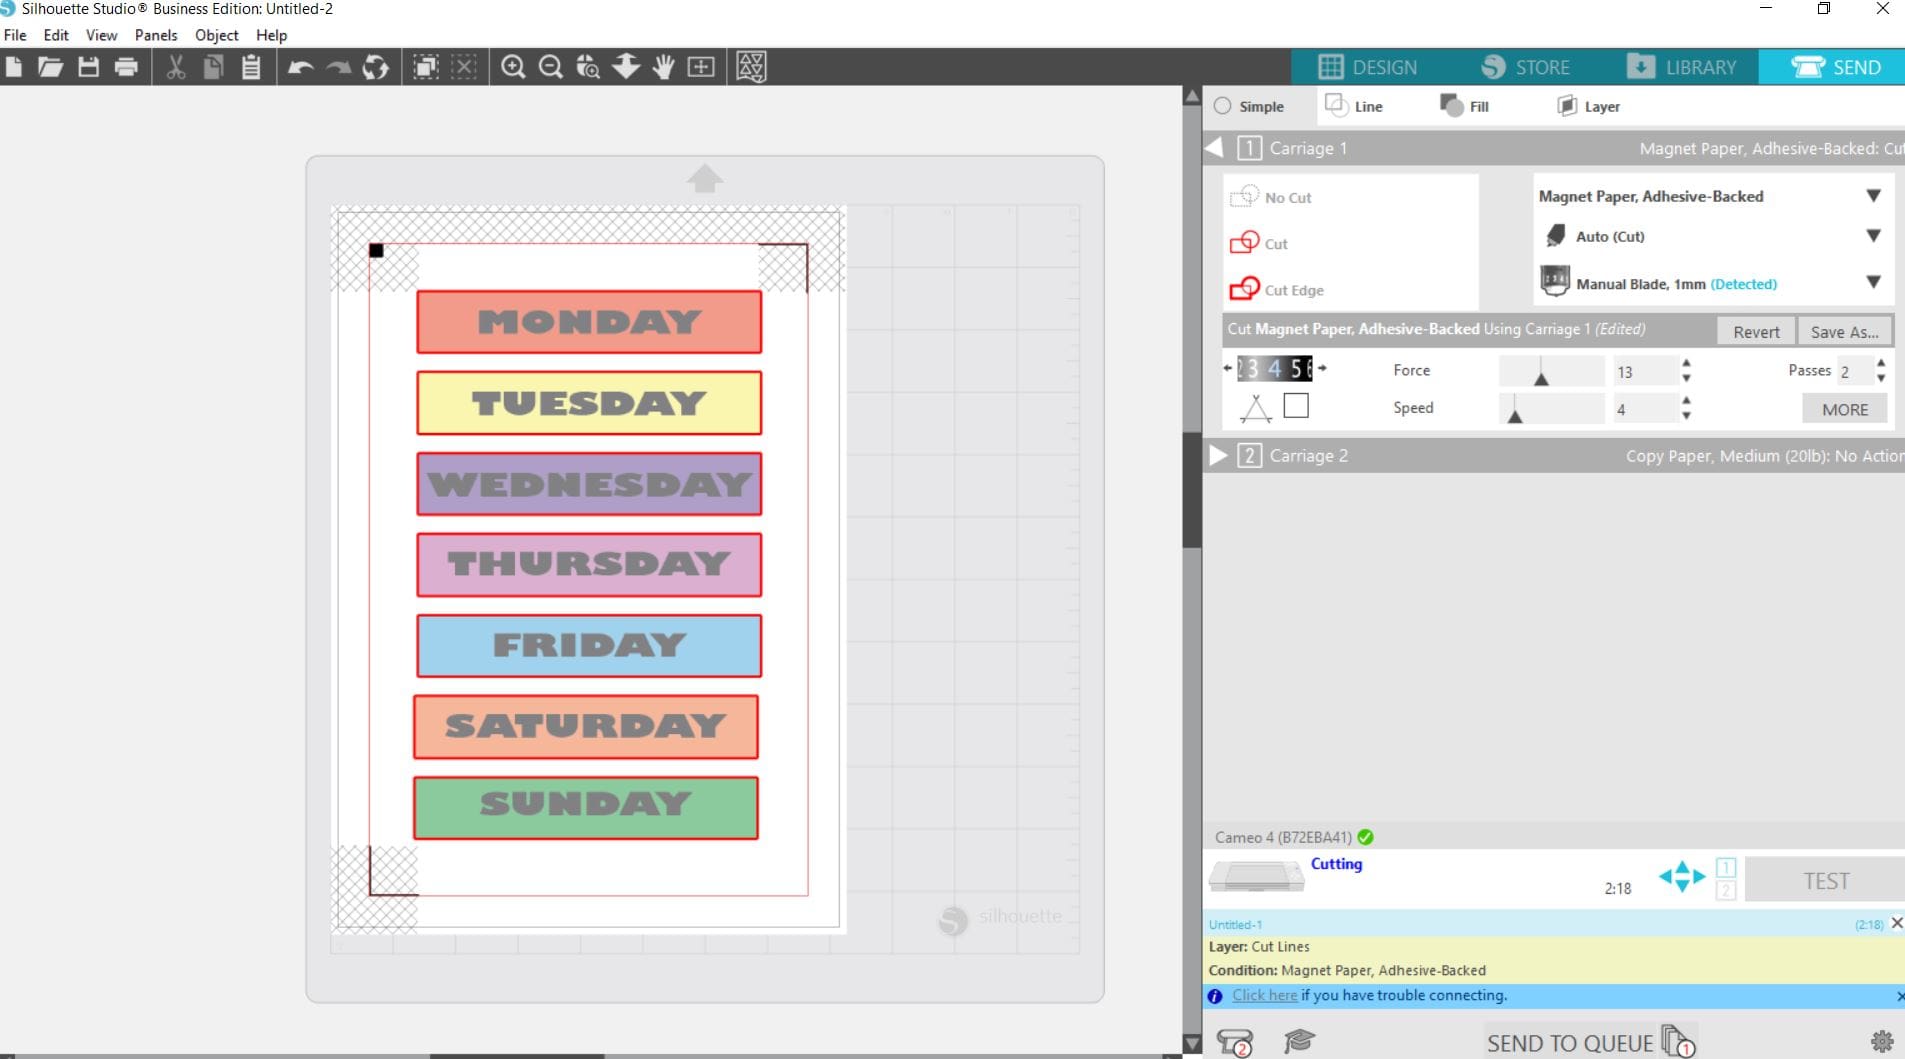
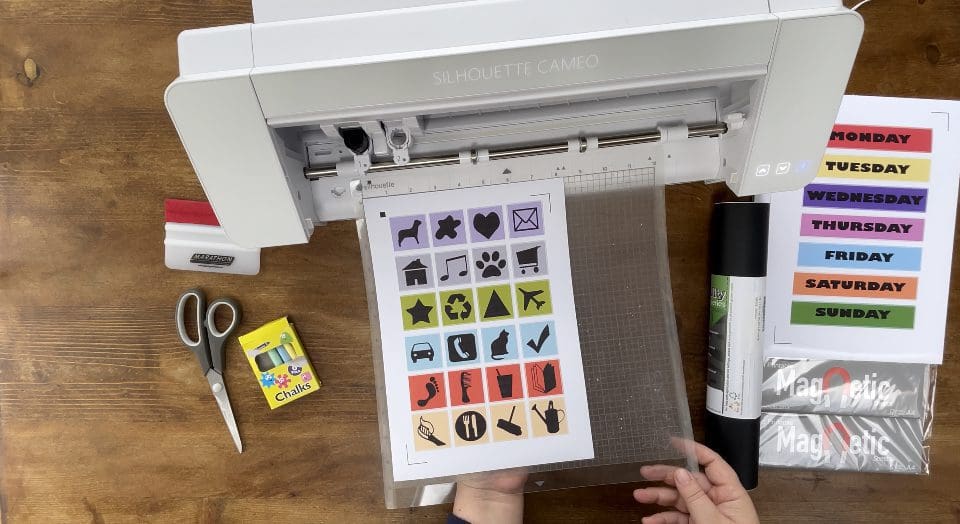
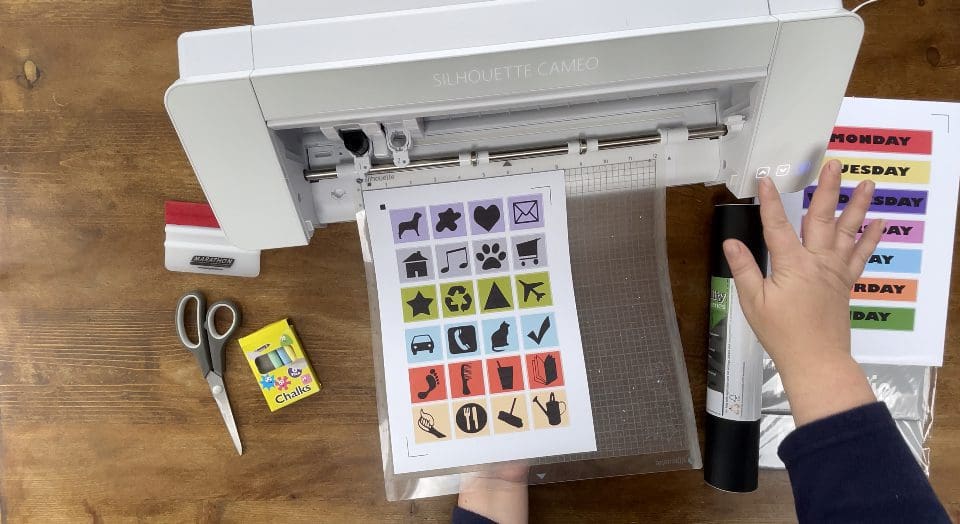
6. Once printed, you can then place the sheet on your mat and load it into your machine, then choose the send icon on the top right of the screen, . Make sure your settings are all set to the successful settings from your test cut and ensure your machine is linked before proceeding to cut. Cut settings: (**please test cut) Once the mat is loaded, click the bottom send button in the software which will be blue, before displaying the send to Queue message we have below as we get both cuts ready to go. Apply the settings needed for your chosen media, we made it with our GM Printable Magnet sheets on the Cameo 4, and used the Printable Magnetic sheet setting, adjusting the blade to 4, Force 13 and Speed to 4. We choose to print 1 sheet and cut it at a time, before proceeding to the next.
**A reminder that these settings, including the blade setting, are specific to the materials and machine we’re using, adjustments may be necessary if using different materials and machine**
We always recommend before proceeding, you test cut your materials when first using so if you have not recently used this product in your machine. Please test cut for your chosen machine found on our Application guide, and also Blog. Load the sheet chosen individually for each layer.
NOTE IF YOUR MACHINE FAILS TO READ THE REGISTRATION MARKS CHECK YOUR LIGHTING AND SWITCH THE MACHINE OFF AND ON AGAIN TO RESET
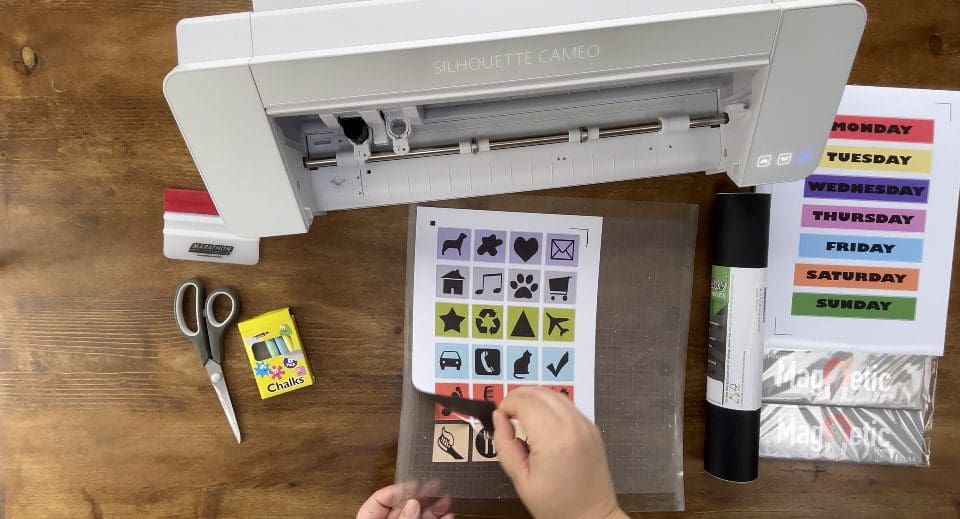
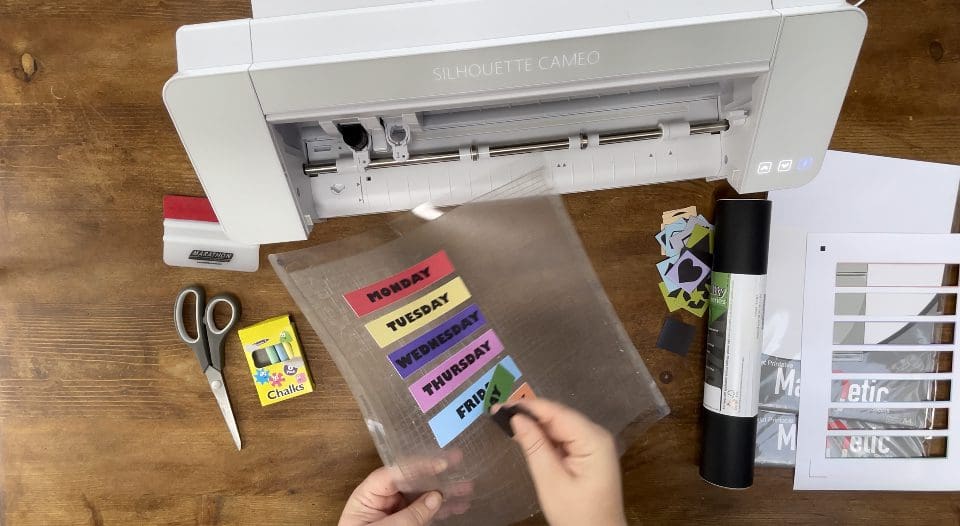
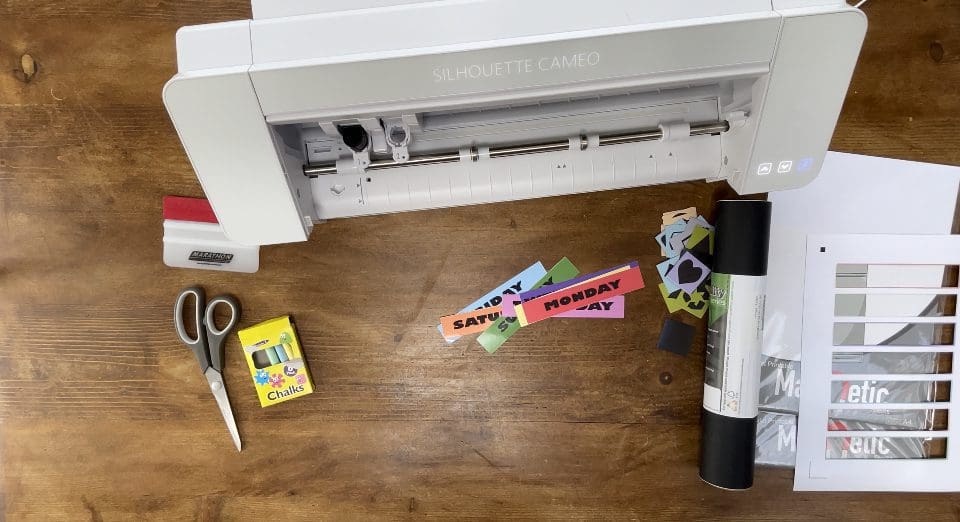
7. Once cut, remove from the machine by pressing the down arrow and lift the magnets from the matt bu gently flexing the mat backwards and the magnets ion the opposite direction, then repeat as above for the second sheet.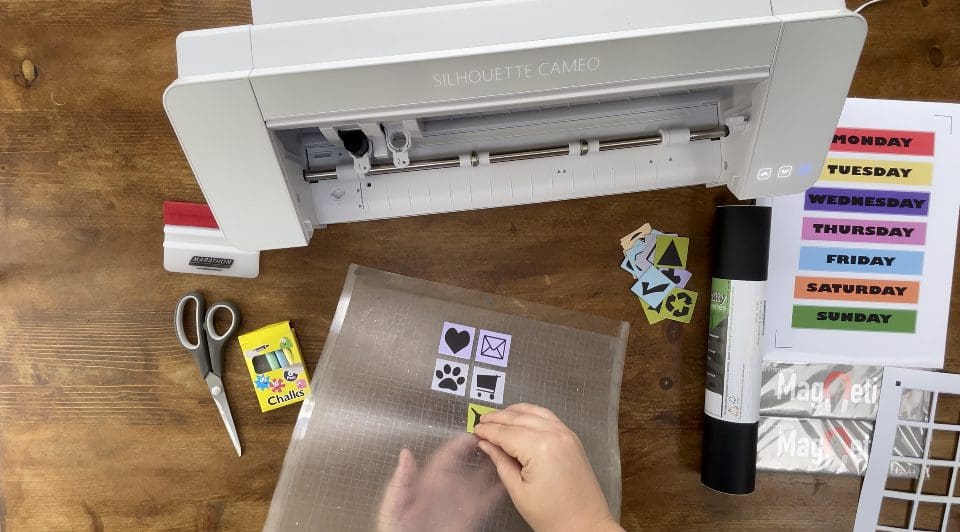
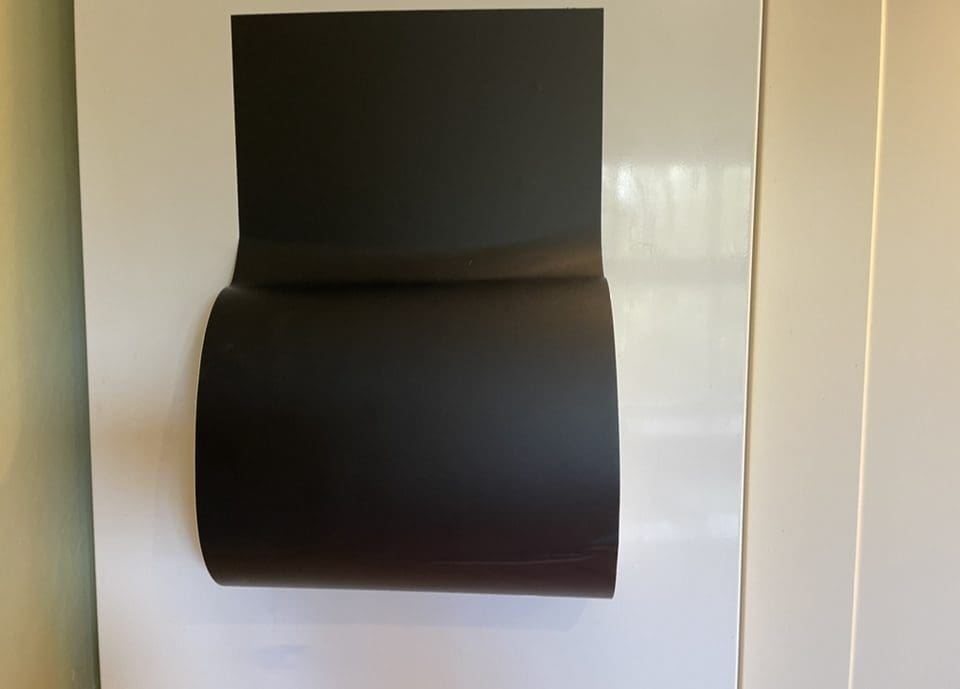
8. Take the Blackboard vinyl, and trim to the size of your chosen surface, using scissors, paper trimmer or cutting machine. Apply from the top down gently rolling the backing away from under, whilst using your squeegee, see below.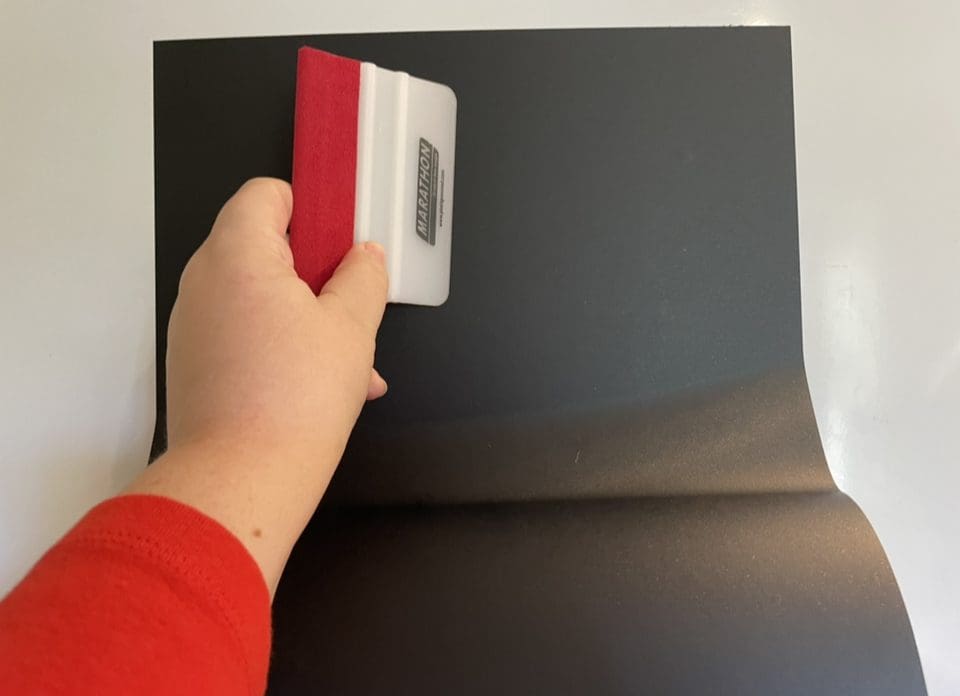
9. Once applied, you can now use the magnets of your choice, with chalk to personalise and change until your heart’s content! Don’t forget your finished design can be matched by using any material cut using a cutting file, card, self adhesive vinyl or even HTV. We’d love to see your makes on our social media pages! Or email them in!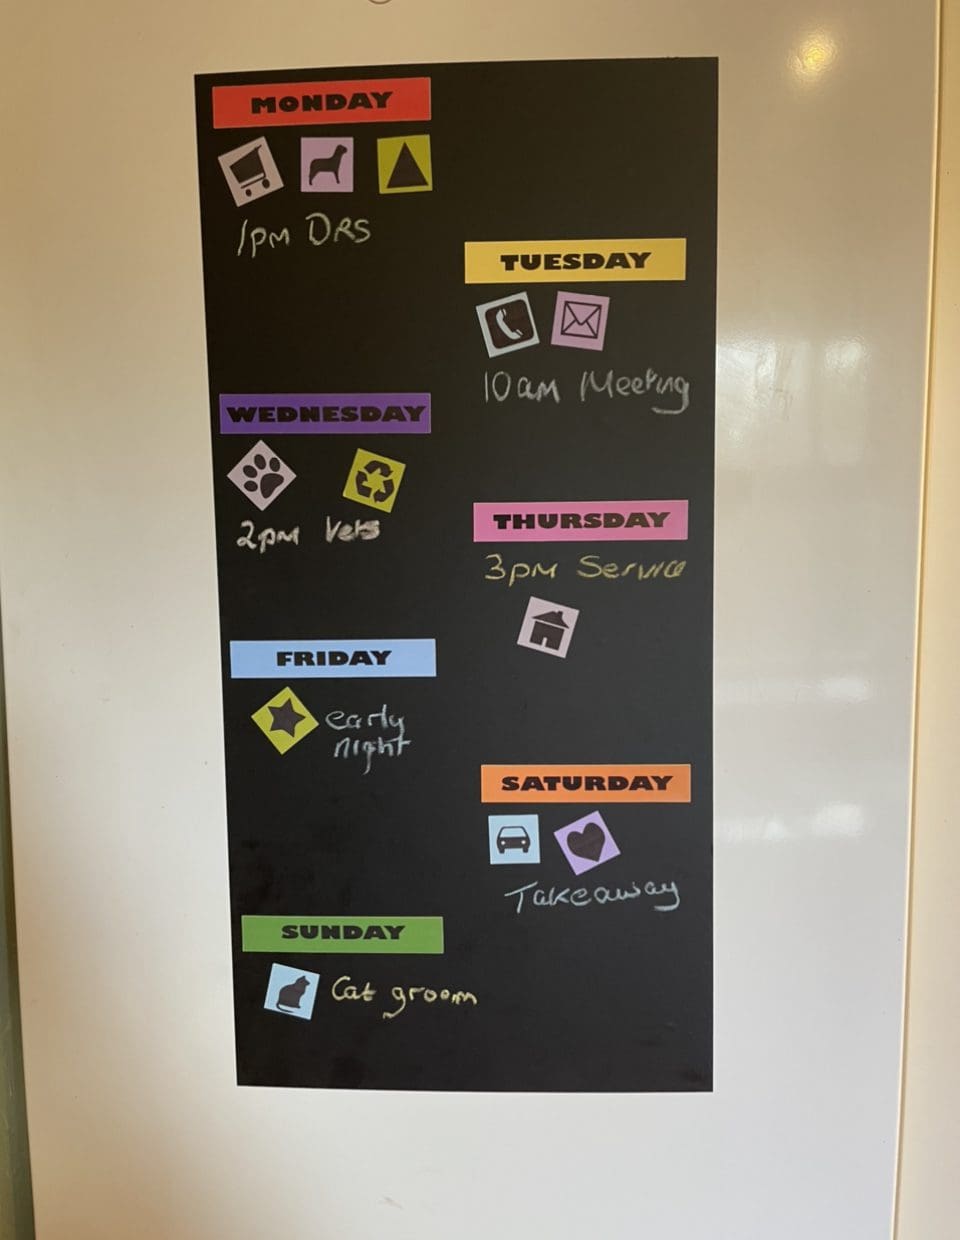
Cricut Cut File
Instructions: Please see individual Blog here
Brother Cut File
Download and then Print these sheets individually using your printer, and then use the direct scan to cut function with your scanning mat or on your cut mat accordingly.
Cut settings are found here
Just incase you need the link CanvasWorkspace (brother.com)