Tutorial/Free Cut File
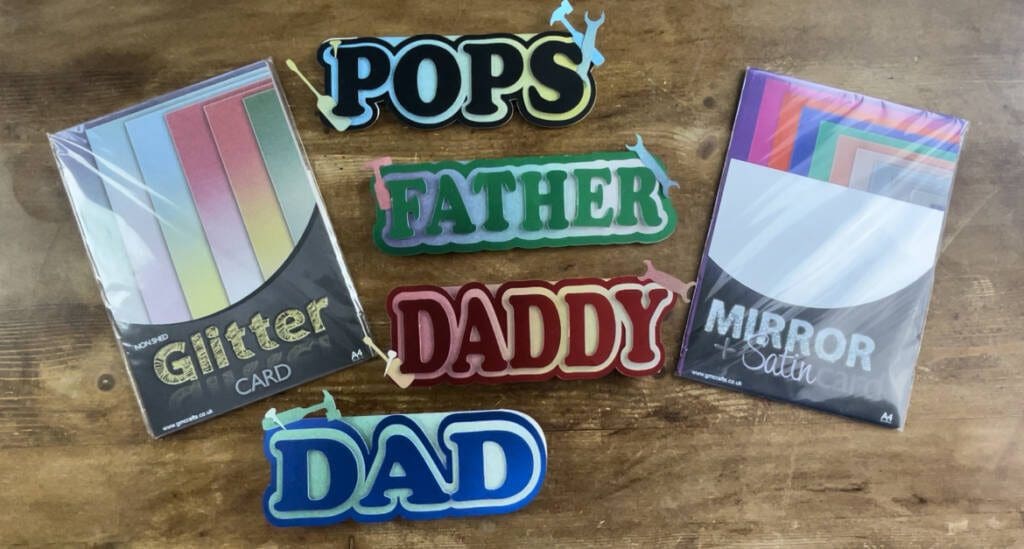
How to make a variety of Fathers day 3d Cards with free cut files for all machines
Hello there!
Here’s a quick and easy tutorial for a Fathers card. Of course, this design isn’t limited to cards, they would make great cake toppers too! and the top layers would work on any form of project, including using the back card layer with the word as a T-shirt knockout design cutting file with HTV, just adapt the process to the medium you plan to use it on and be sure to check our application guides as appropriate.
This Tutorial is also suited for the Brother Scan and cut as well as Silhouette Cameo and portrait range, Cricut Air 2 and if resized for the Joy. Please see further down for the instructions for Silhouette and Brother machines after the tutorial. Please bare in mind the cut and mat settings will need to be adjusted as appropriate for the machine – see our settings guide here
We would love to see what you make! Have you found our You Tube channel yet? The video showing this and all of our other tutorials are available on there, as well as exclusive demos, inspiration and more! Join us on Facebook , Instagram or Tiktok or send us an email to sales@gmcrafts.co.uk we would love to hear from you!
As always you are free to use our files to make, create, and even make items to sell, all we ask is you don’t pass the files on, instead if you wish to share them, please ask your friend or acquaintance, to download them from our website themselves from within this blog. No reselling or passing on, of any part of the cut file is permitted, and no using the cut files to create other files to sell or pass on is allowed. But do enjoy them, and we hope your makes earn you a little with them too.
What you’ll need:
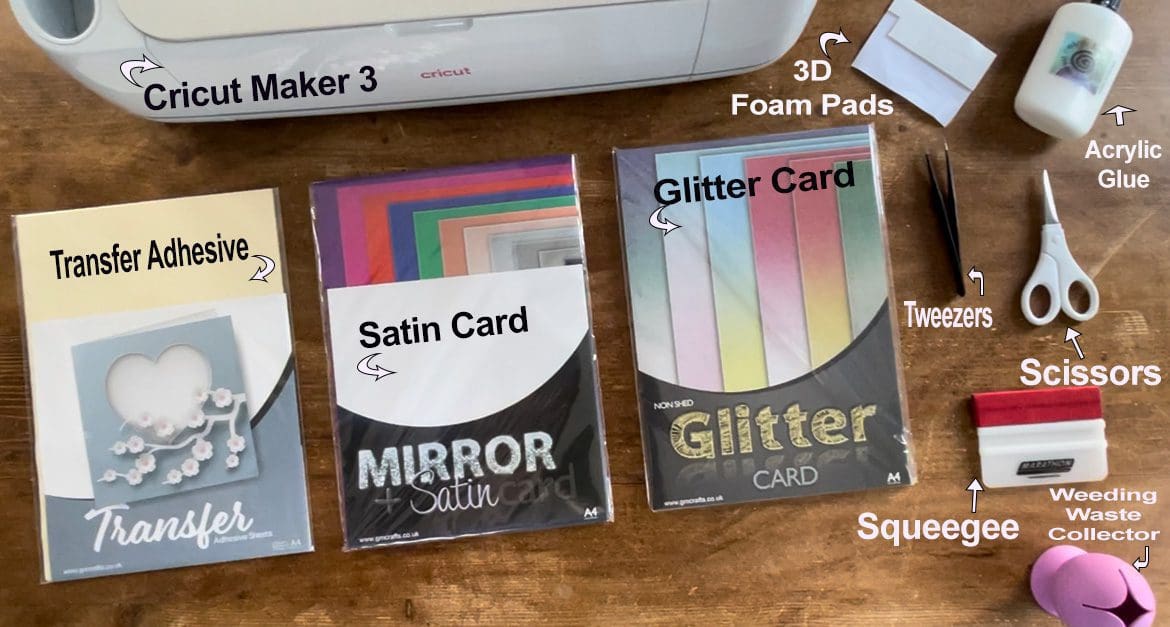
- Cricut machine Available here Or Silhouette Cameo 4. Available here Or Brother scan and cut available here
- A4 Card packs of your choice Available here
- A4 Pack of Transfer Adhesive Available here
- Squeegee. Available here
- Weeding tweezers . Available here
- Scissors from the tool kit. Available Here.
- Acrylic glue and 3D Pads from your own stash
- Cut files, which are free below! Including, Cricut, Silhouette and Brother cut files.
PLEASE CLICK HERE TO DOWNLOAD THE FREE FILES FOR ALL MACHINES
Instructions;
1. Before you start you will need to download the cut files for your chosen machine, link above. Unzip the file to use it by right clicking it in your downloads. There is now 1 File for Cricut- 1 for Silhouette and 1 for Brother. Please choose the file for your machine. There is 4 cut files- 1 each for DAD, DADDY, FATHER, AND POPS.
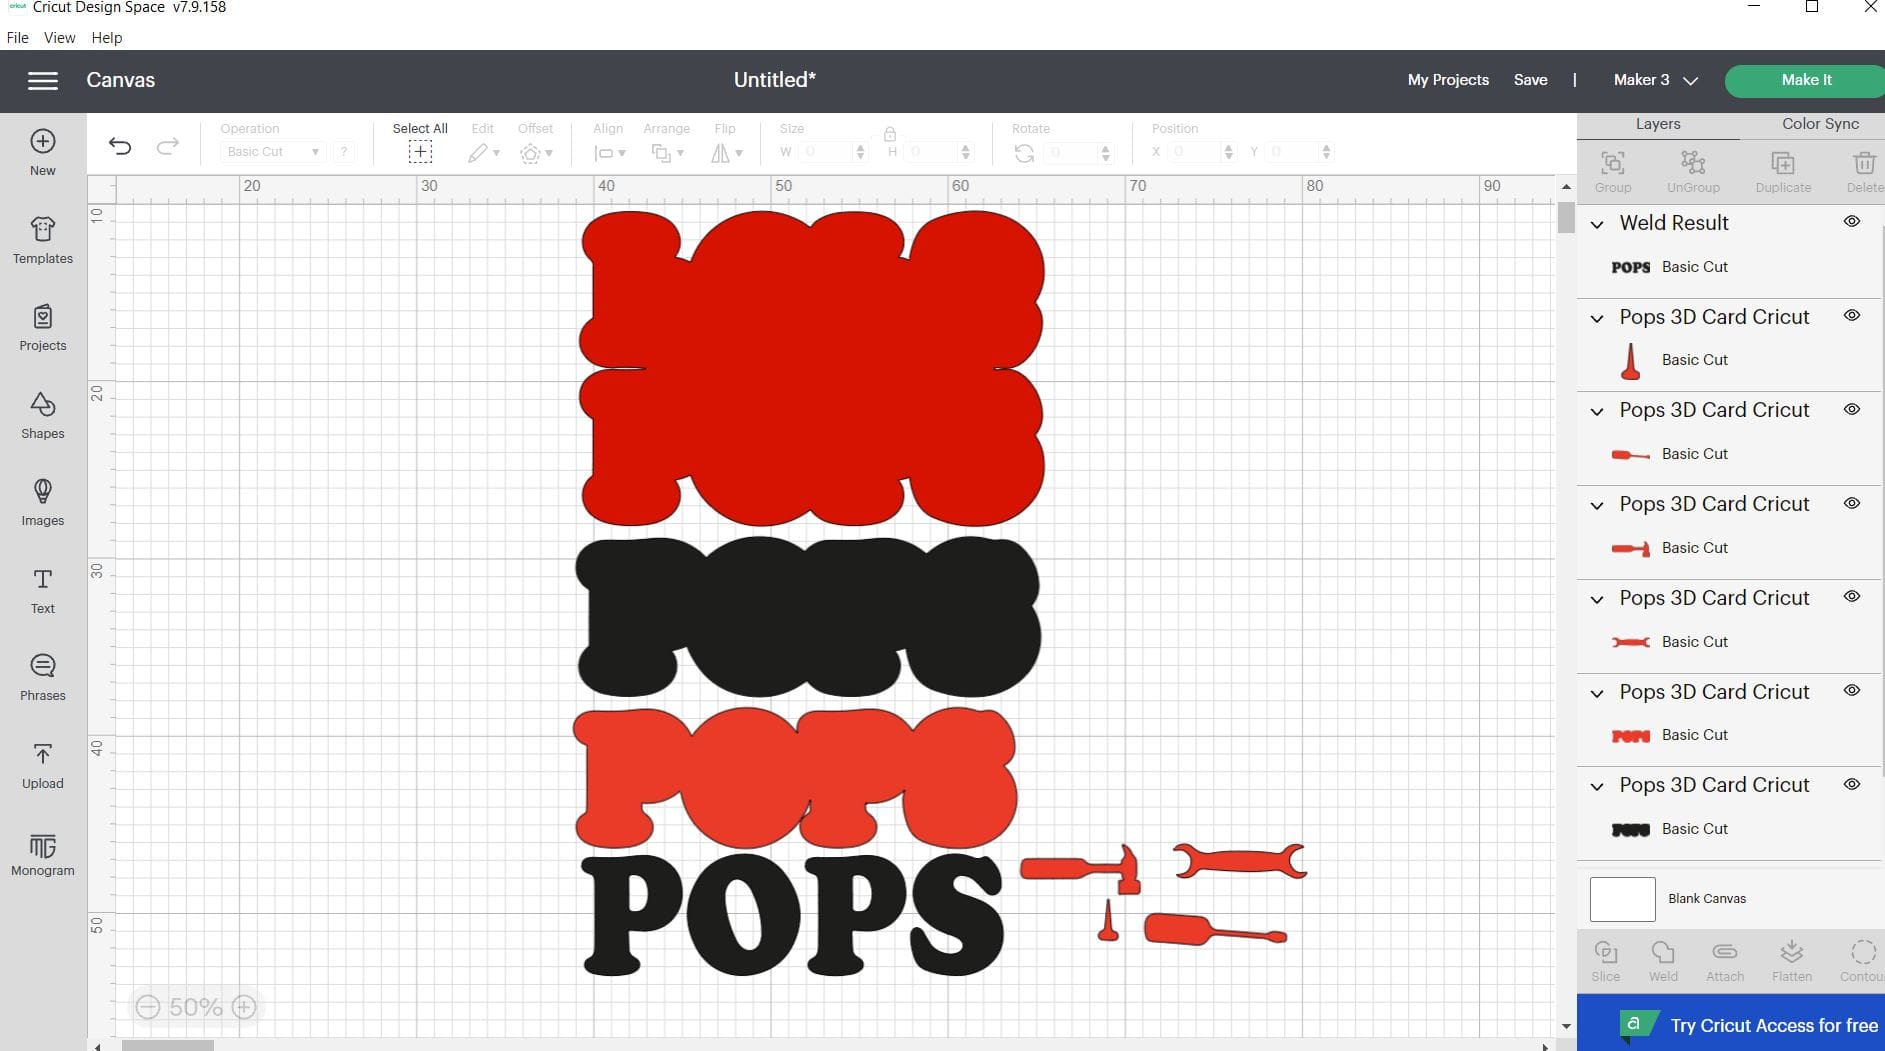
2. Upload the Cricut SVG into the design space. Click “Upload Image” on the left-hand Design Panel, and navigate to the files you want to open. Select ‘Insert image’ When asked, select cut images. Click save. When it has been uploaded, Insert the images onto the canvas and resize to suit your project, You need to right click them to ungroup to be able to move them and choose each one individually. I Recolour each part differently, to match the material I am using, as shown below, so I can cut the different Card or Vinyl for each layer, which means It creates a variety of cutting mats in one go, and I don’t have to keep returning to the design page, see below. Once you are happy with your images, click WELD for any areas you want cut exactly as they are laid out, so that when they go onto the next screen they don’t bunch up, ( I welded the front letters as words) then click make it to move on to the next screen. On the next screen, If using the Cricut Maker 3 then you will need to choose to cut on the mat (unless using smart media)
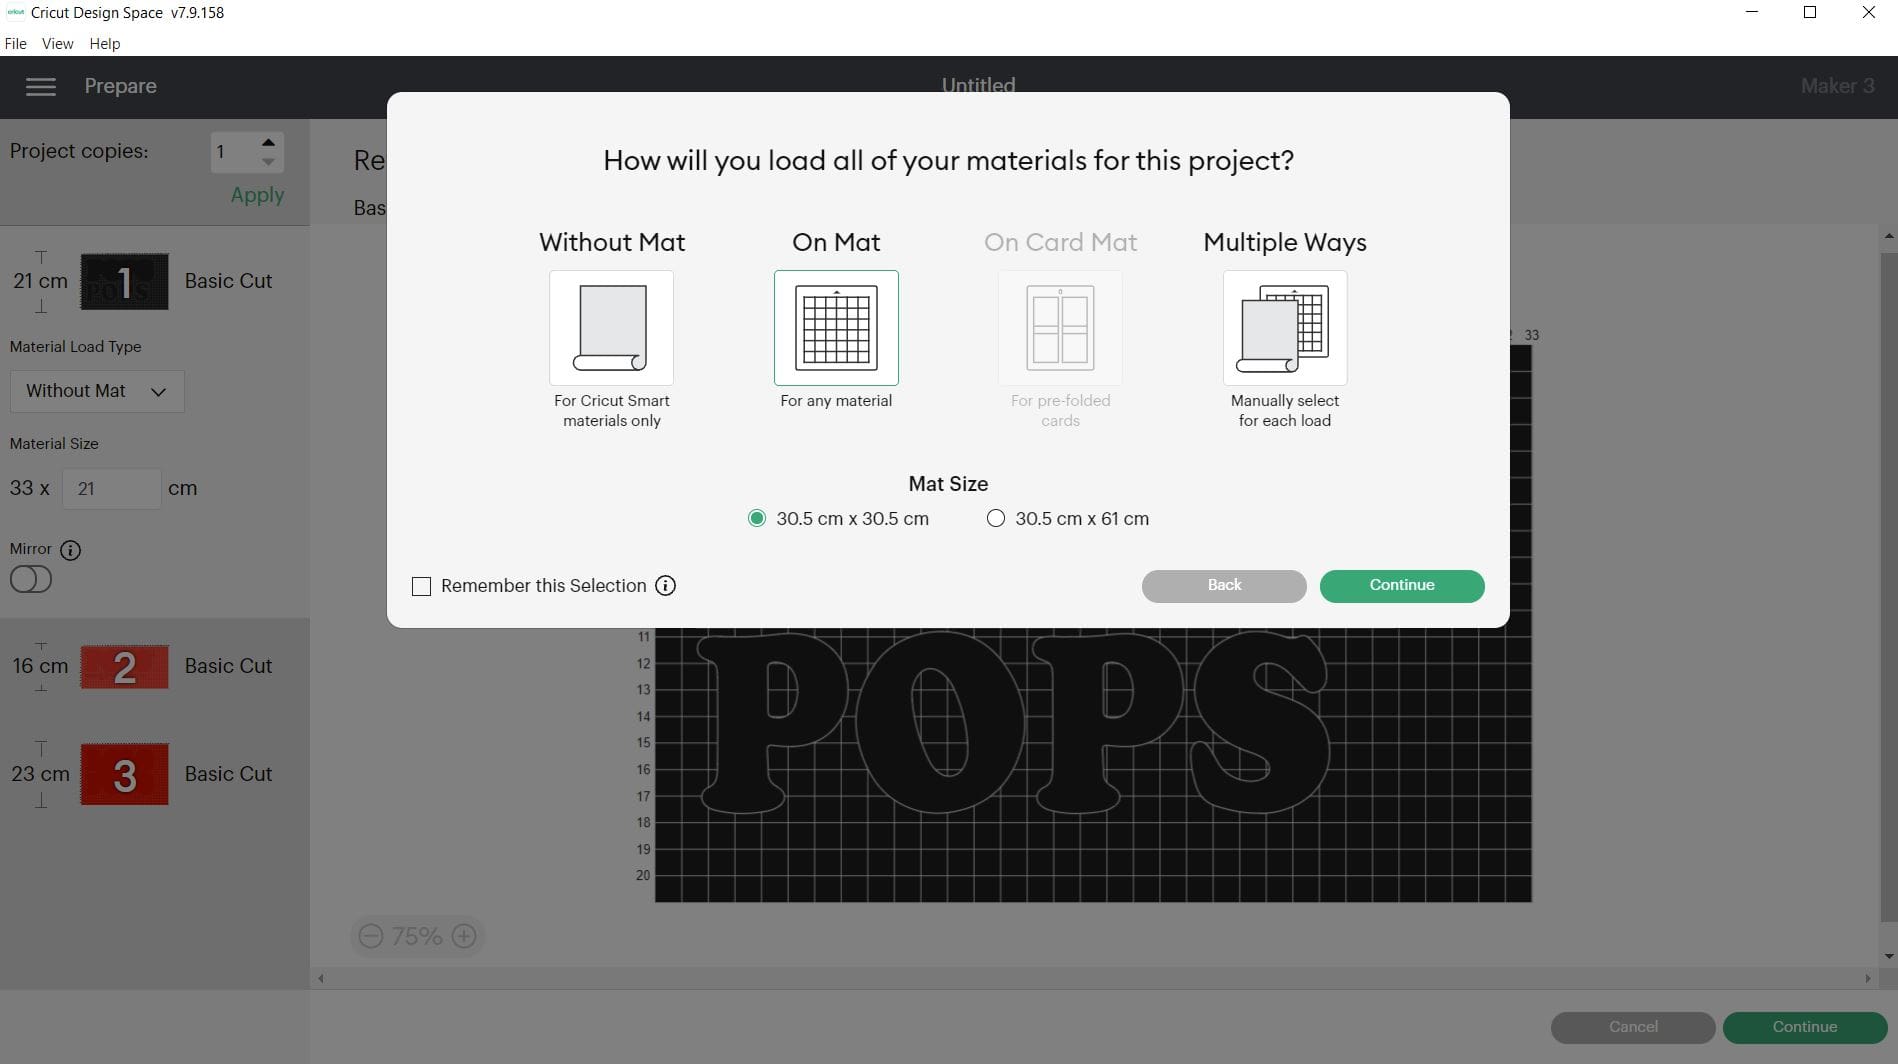
3. Click continue in the bottom right on the next screen. In the next window make sure your settings are all set to the successful settings from your test cut and ensure your machine is linked before proceeding to cut. Cut settings: (**please test cut) Press the flashing Cricut symbol on your maker to cut, after loading the sheet into the machine. Apply the settings needed for your chosen Card (or Vinyl), we made it with our GM Glitter and Satin card on the maker 3, and used the Heavy Card stock on setting on the Cricut maker 3 with Default pressure as we have just replaced our blade. If your blade is older- you may need to increase this to more. Do a test cut.
**A reminder that these settings, including the blade setting, are specific to the materials and machine we’re using, adjustments may be necessary if using different materials and machine**
We always recommend before proceeding, you test cut your materials when first using so if you have not recently used this product in your machine. Please test cut for your chosen machine found on our Application guide, and also Blog. Load the Card or Vinyl chosen individually for each layer.
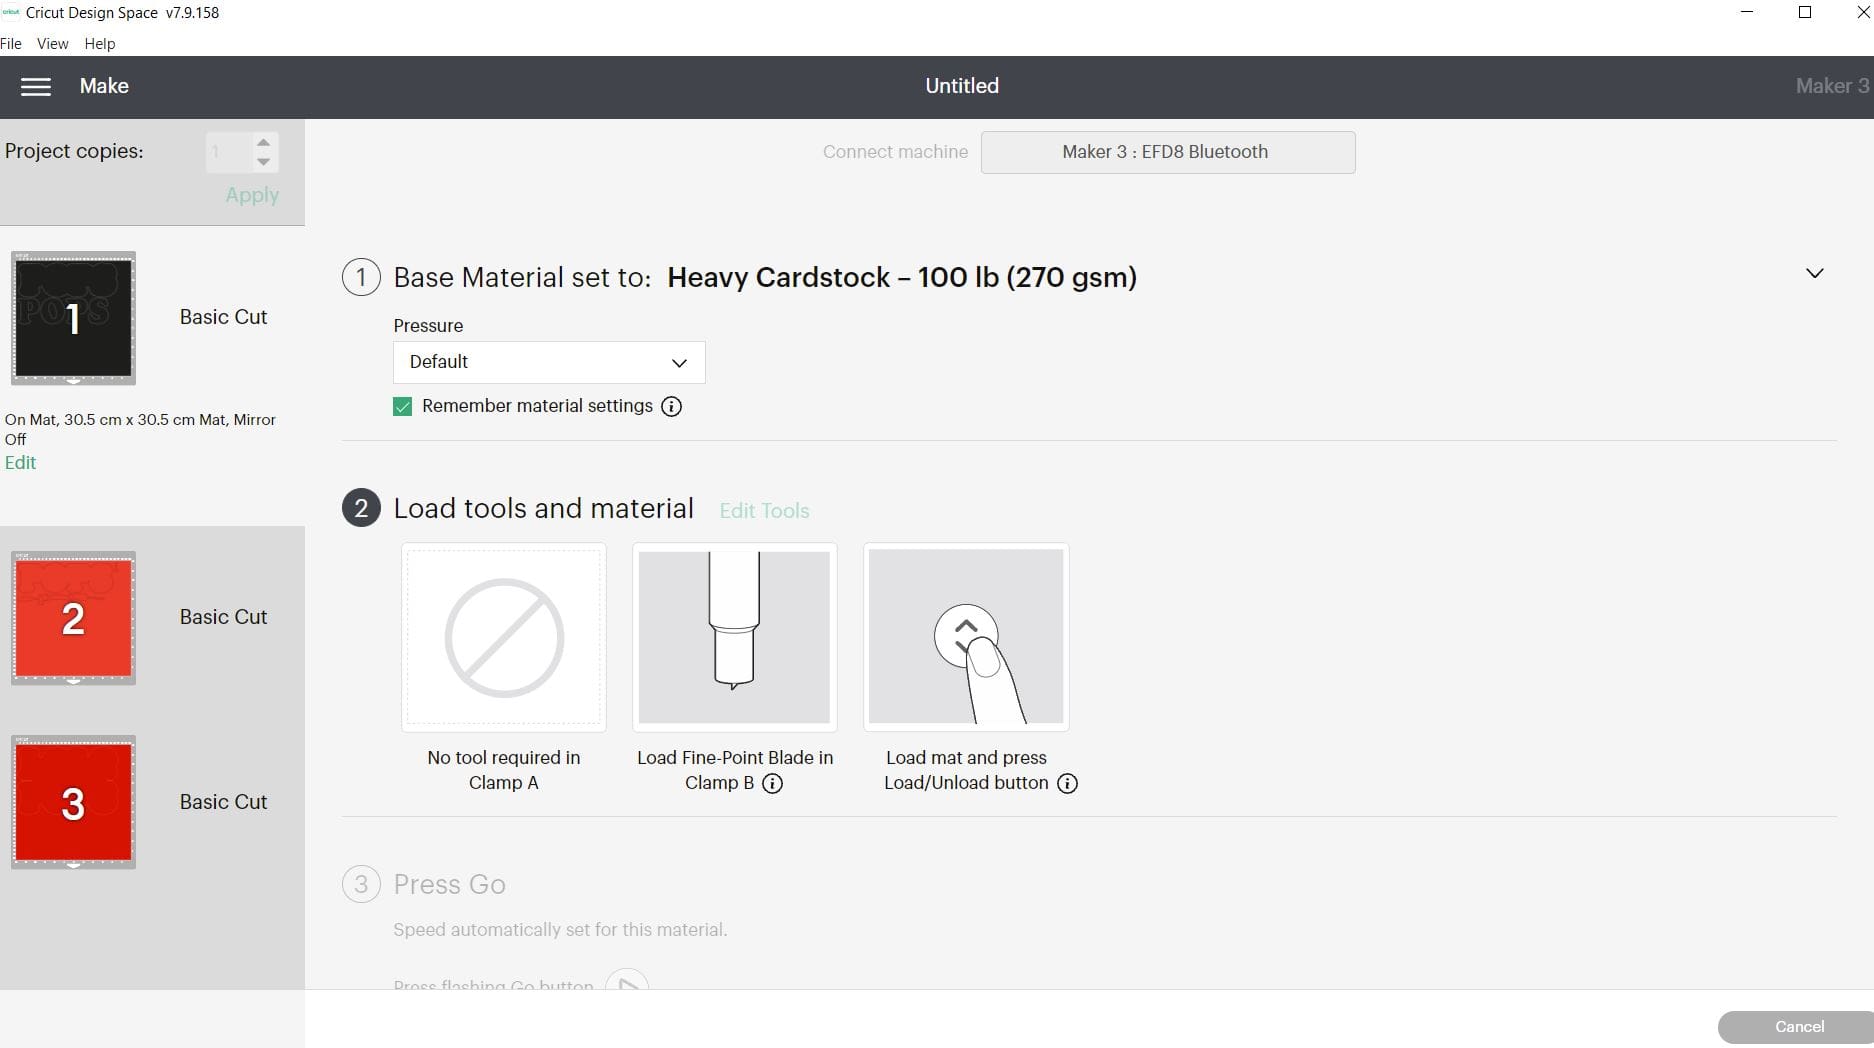
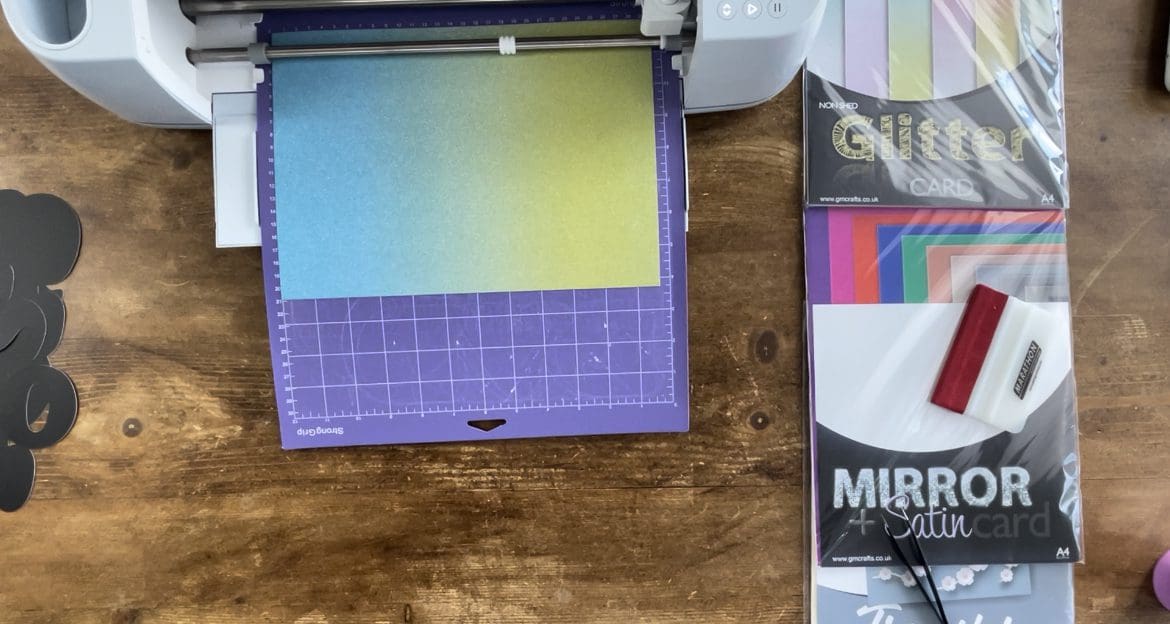
4. Place the Card for the First layer you are cutting on the mat. Press the up arrow to load the mat, and press the flashing light to proceed to cut on the machine. Repeat this step for all the different layers.
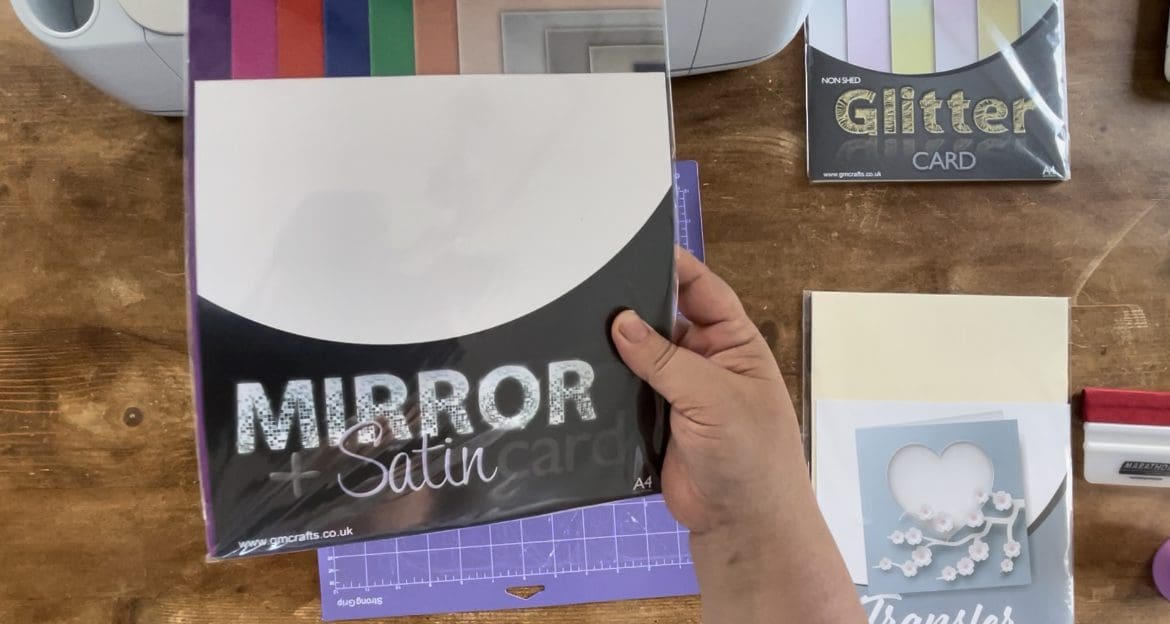
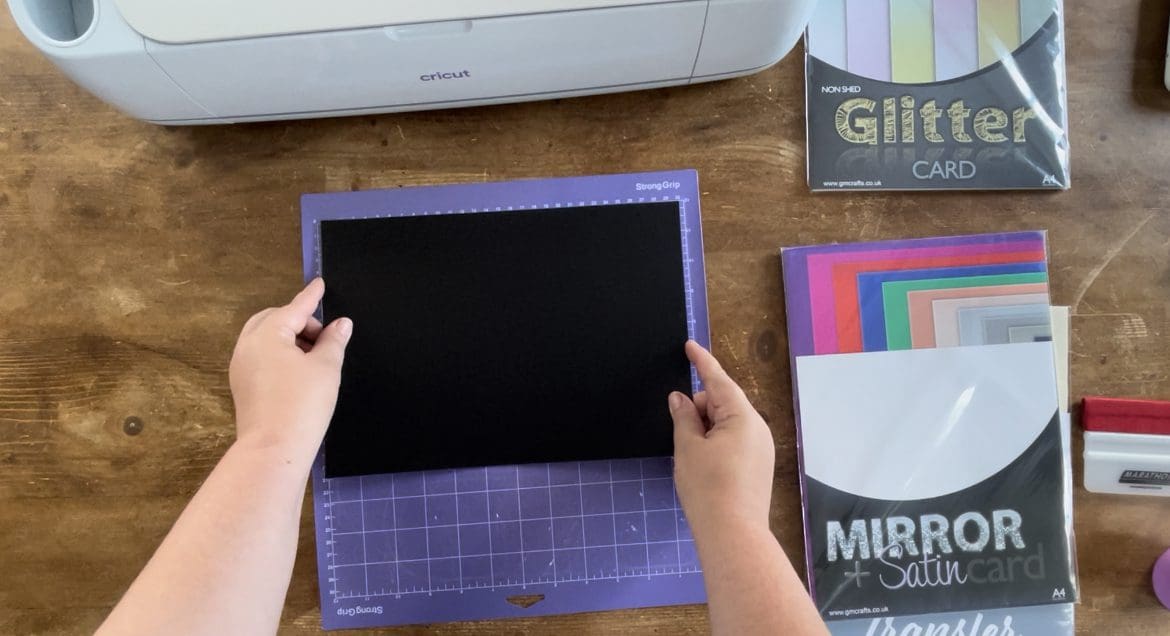
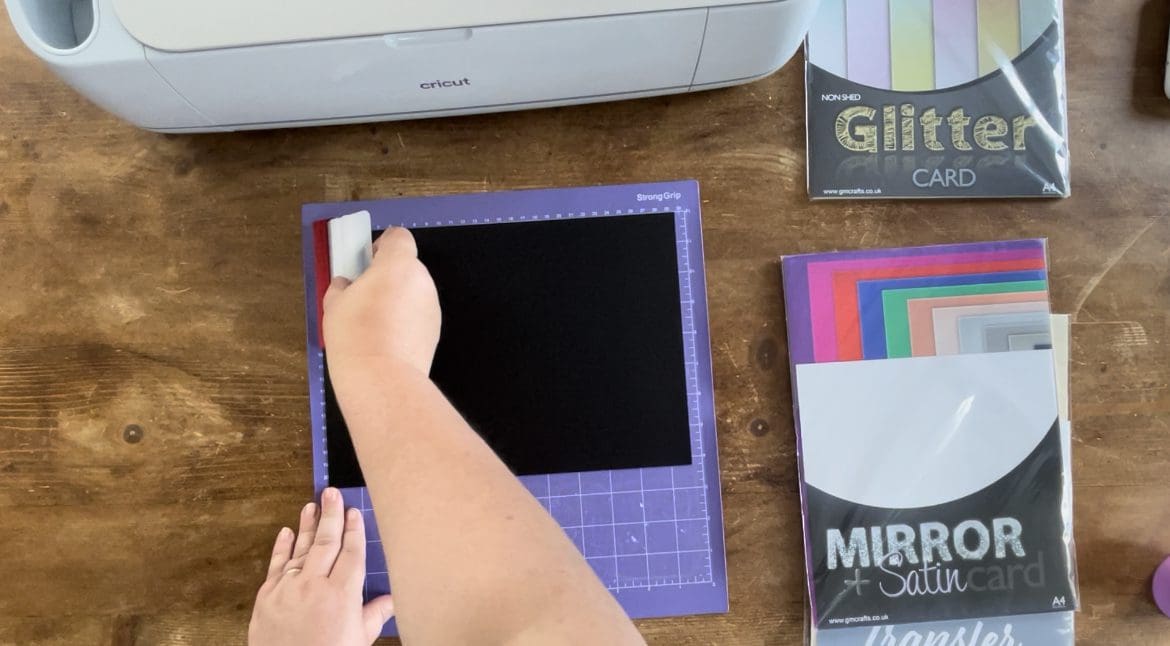
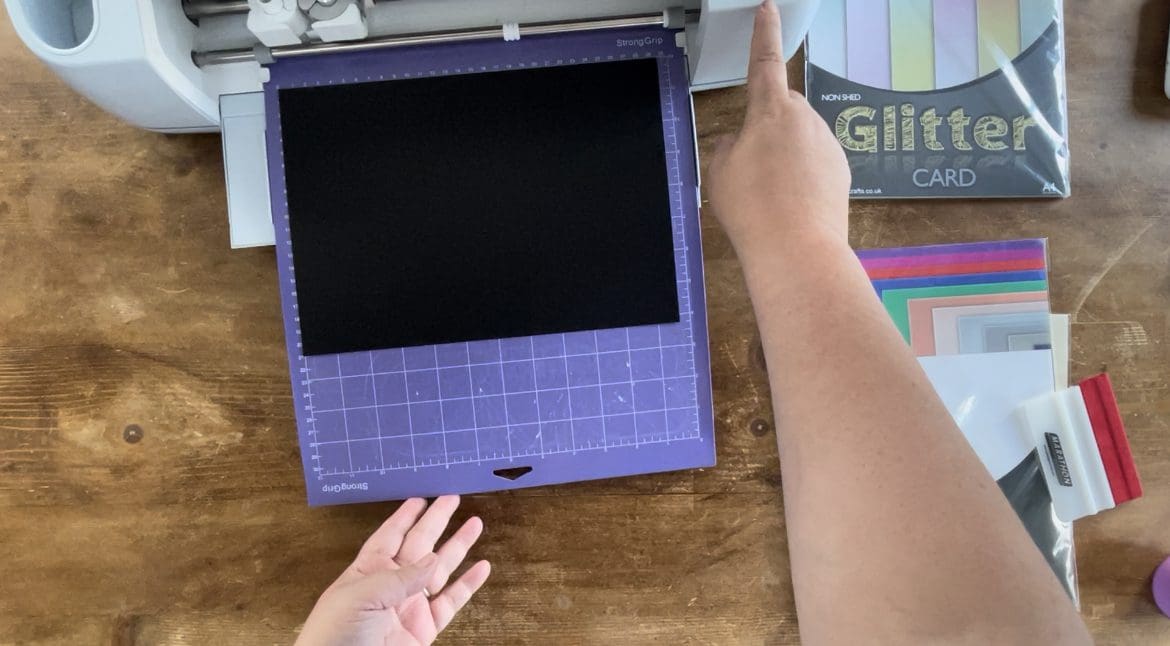
TOP TIP – if you flex the mat away from underneath it makes lifting the card easier and if you get small bits on your mat, scrape with your squeegee to clear it.
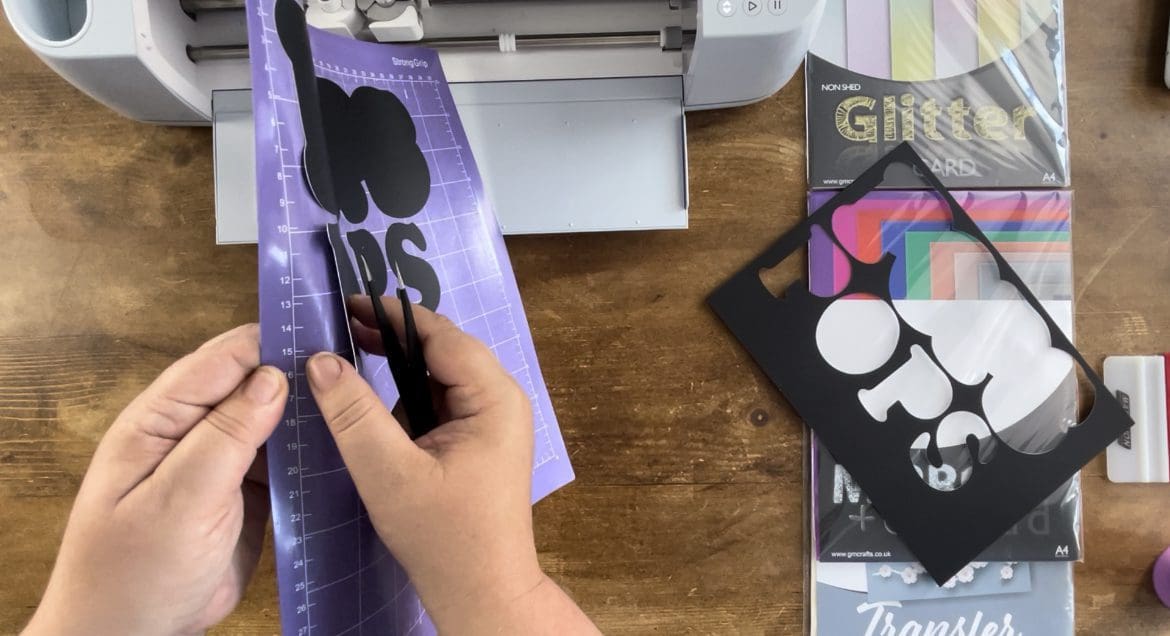
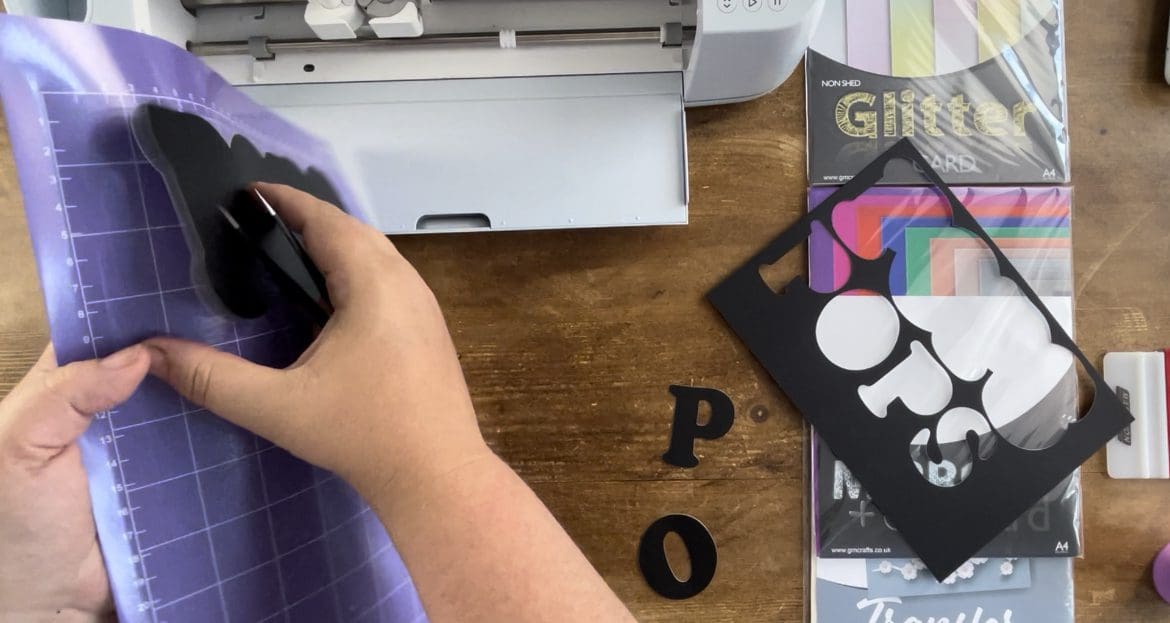
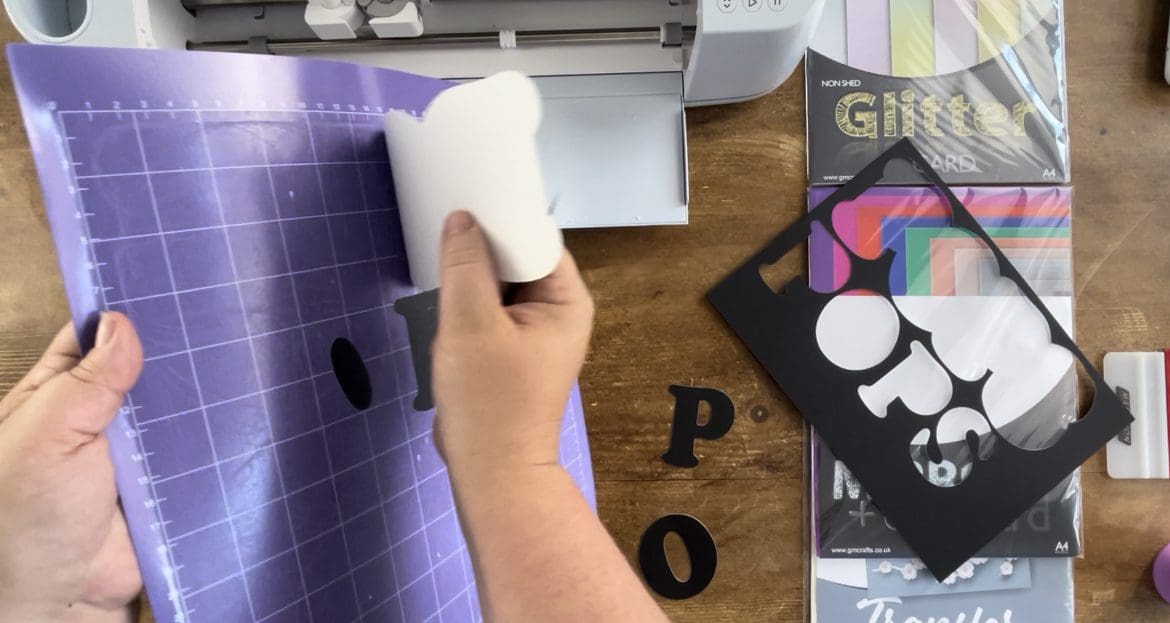
5. Once cut repeat with the remaining layers.
6. Fold the card base in half, and use your squeegee to burnish to folded crease to form the card.
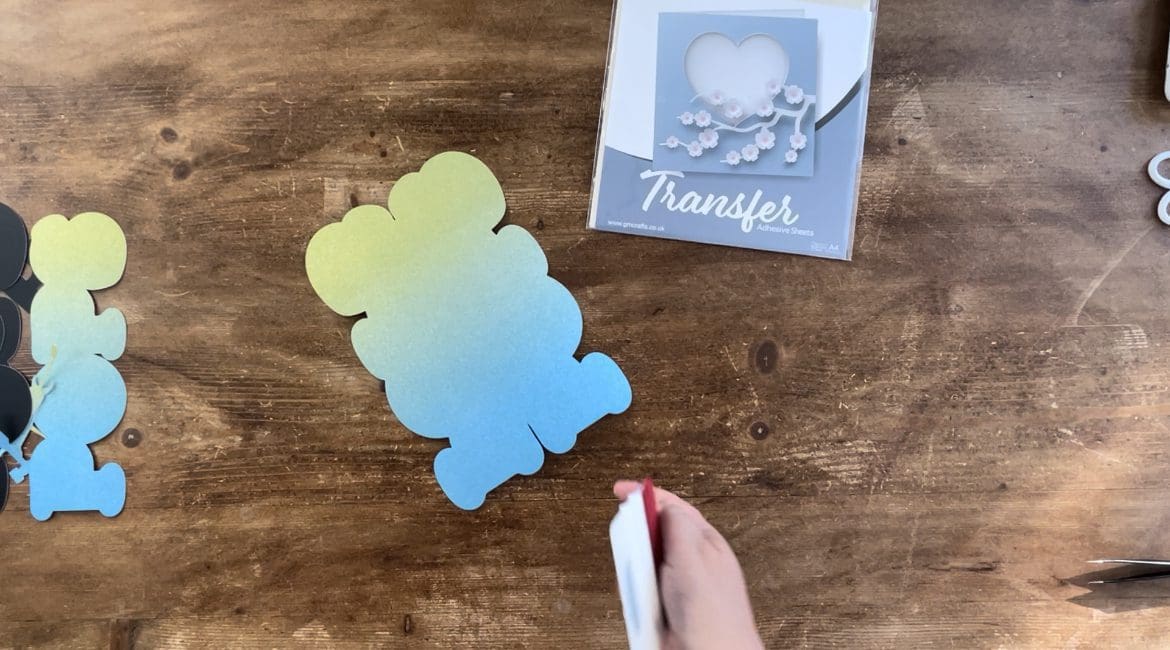
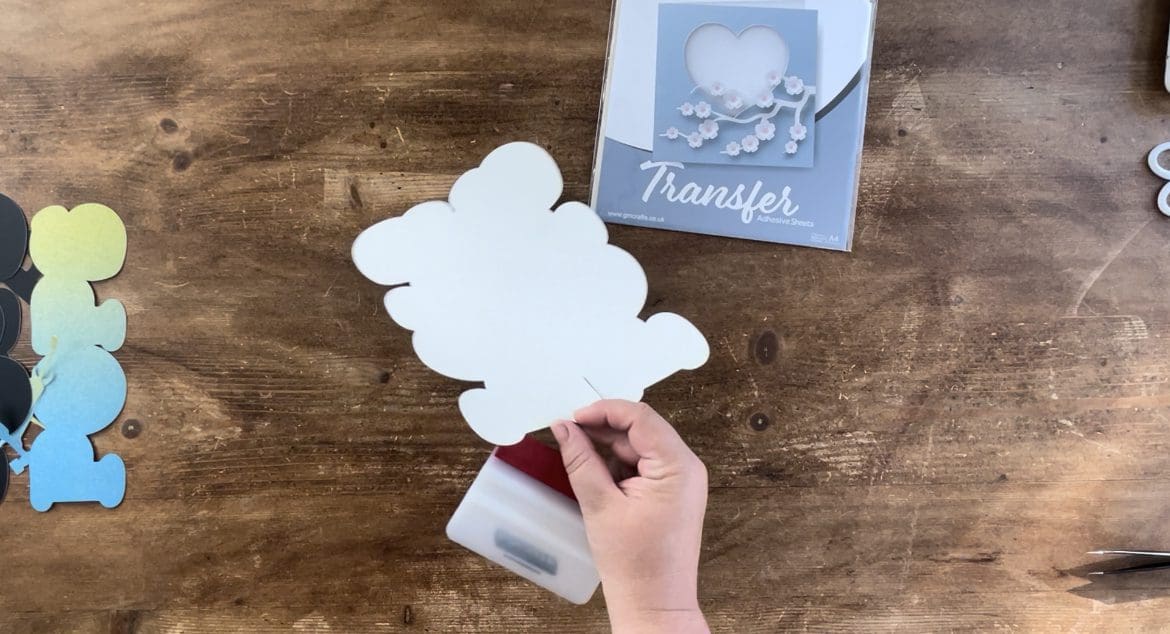
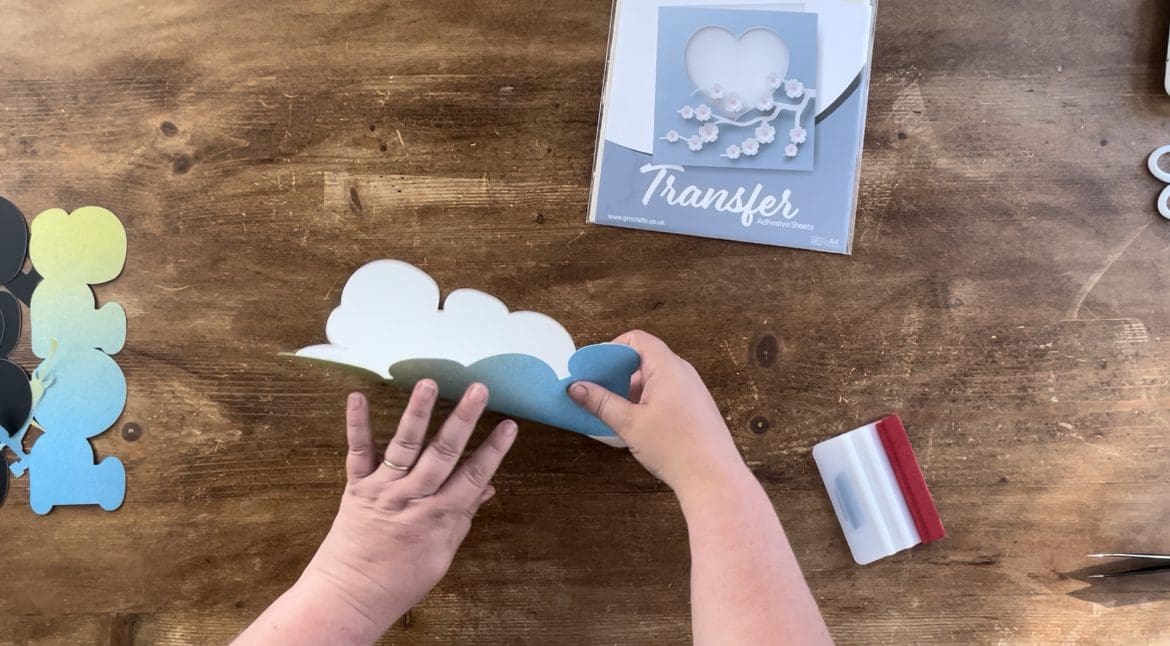
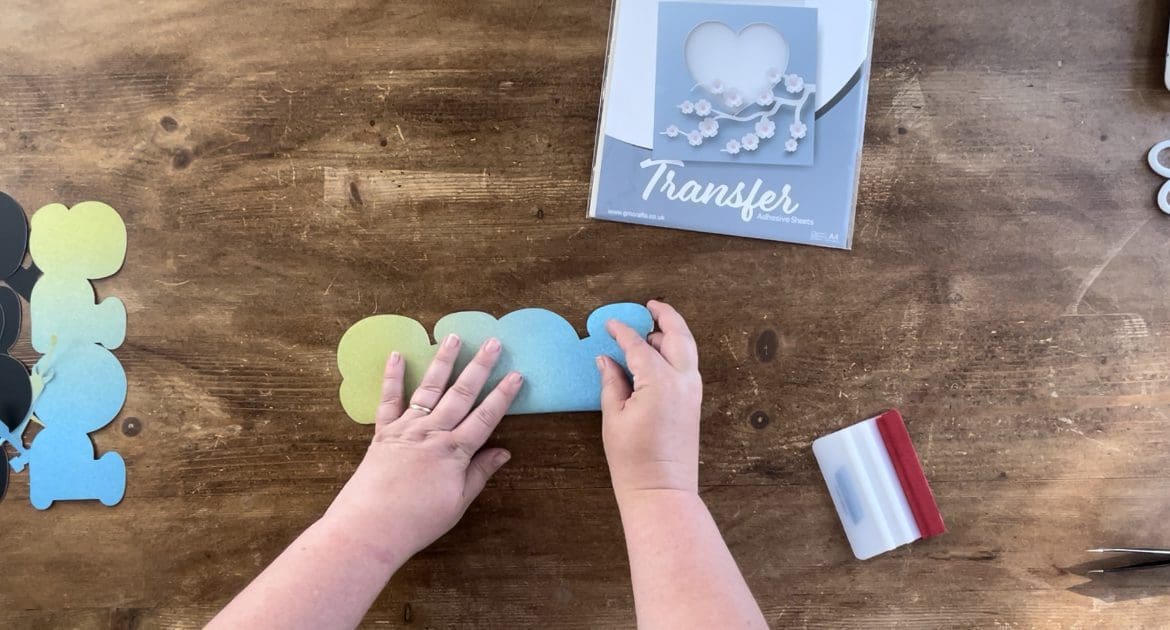
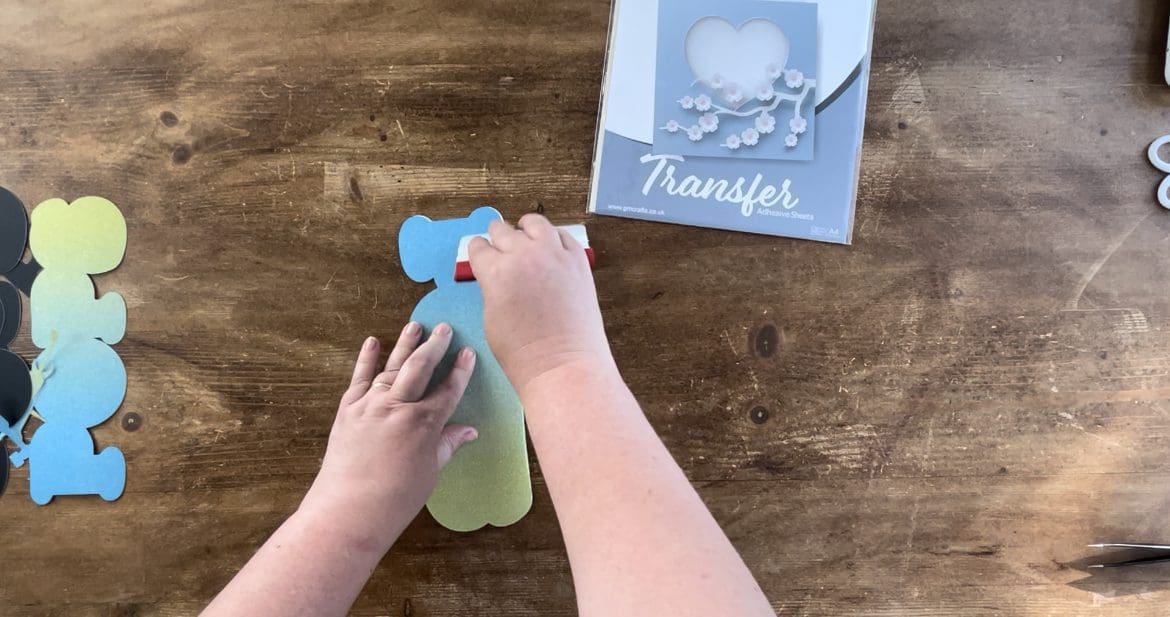
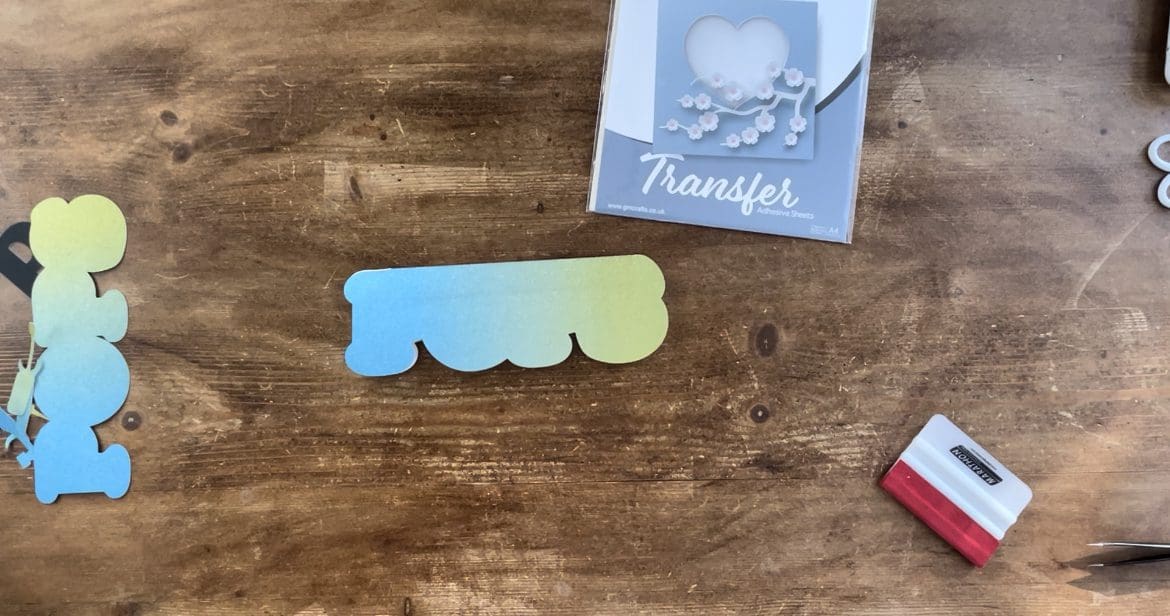
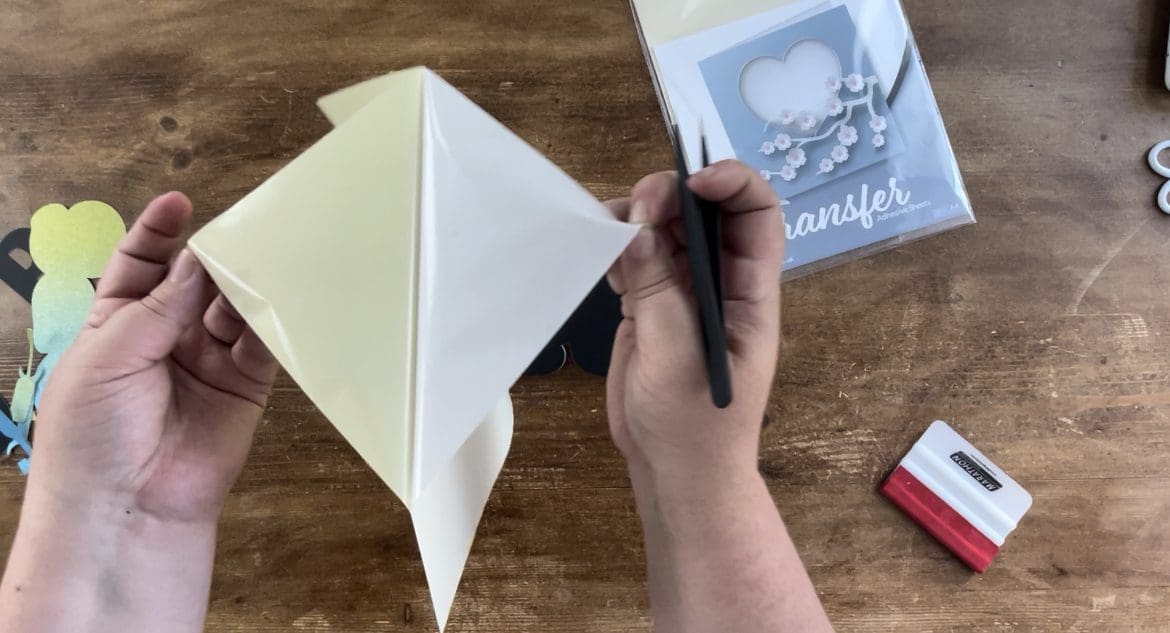
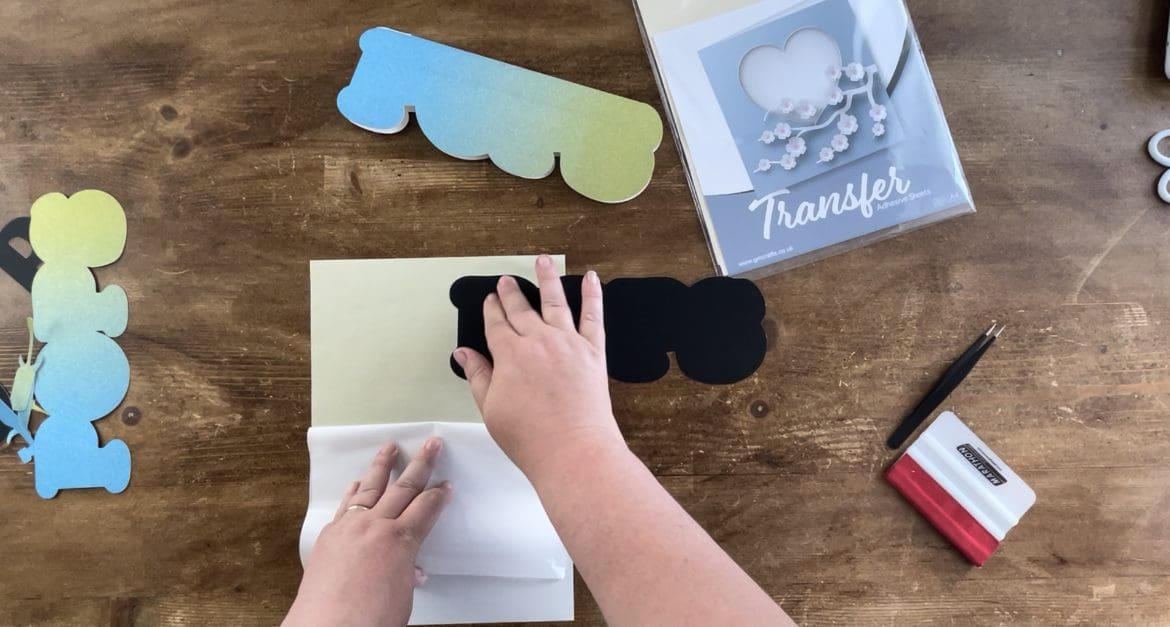
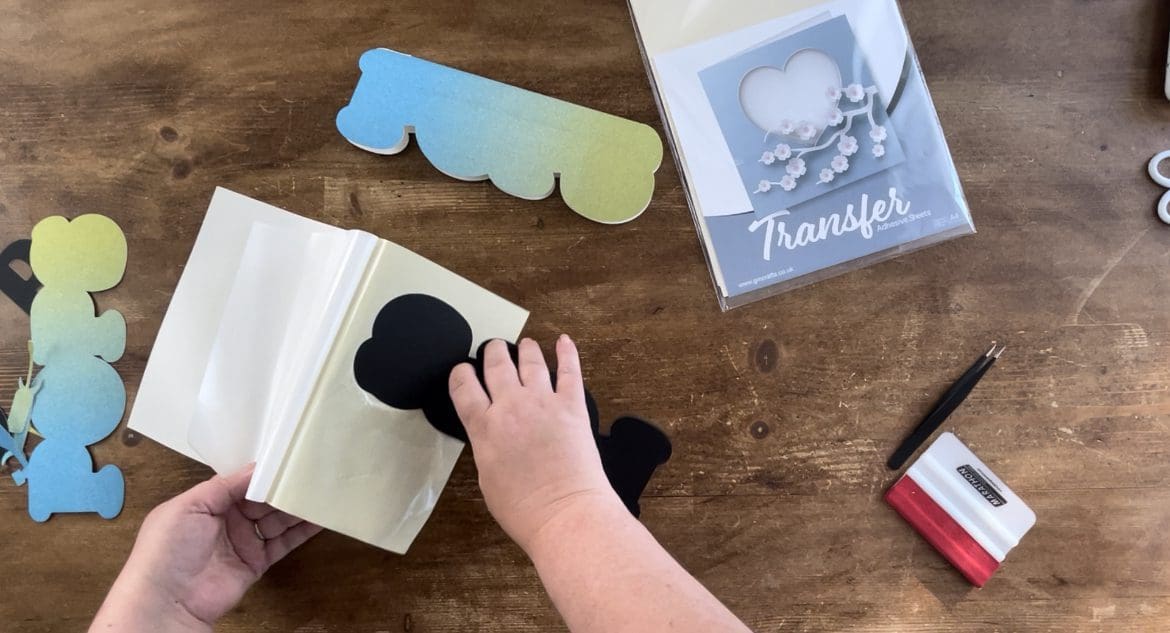
7. Take a sheet of the transfer adhesive as shown below, use it with the white sheet facing up, fold it back on its self to reveal the adhesive layer underneath as shown below and place the first layer onto it ready to apply to the next layer. See below. You can place the white sheet back over and rub should you wish. Be very careful not to tear your card when lifting off the adhesive sheet as it is very sticky.
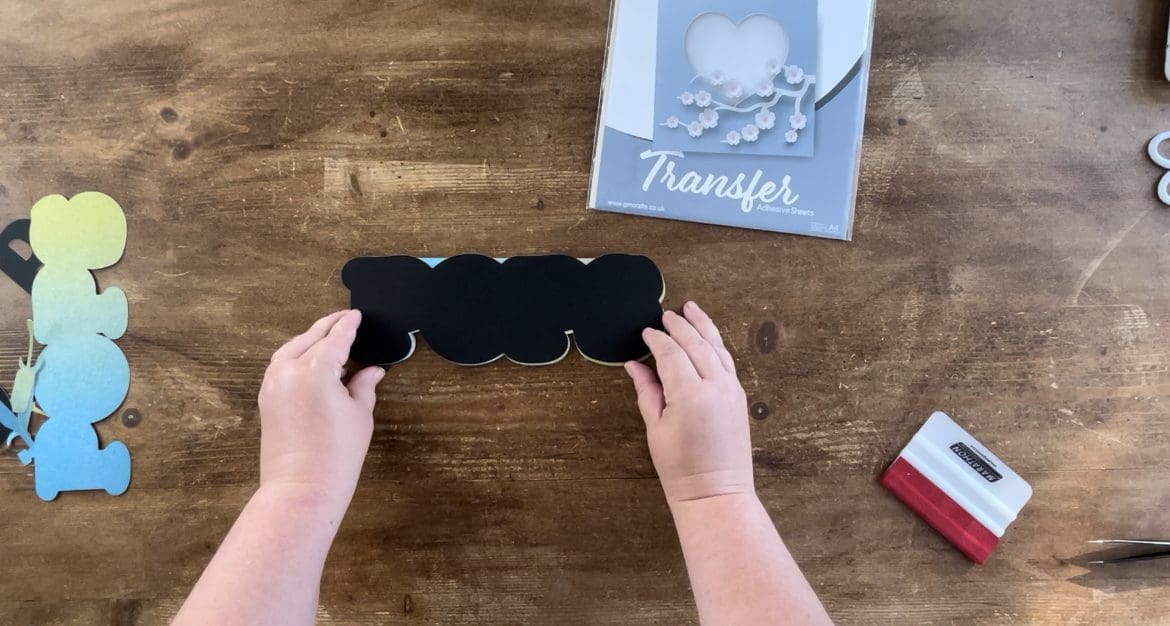
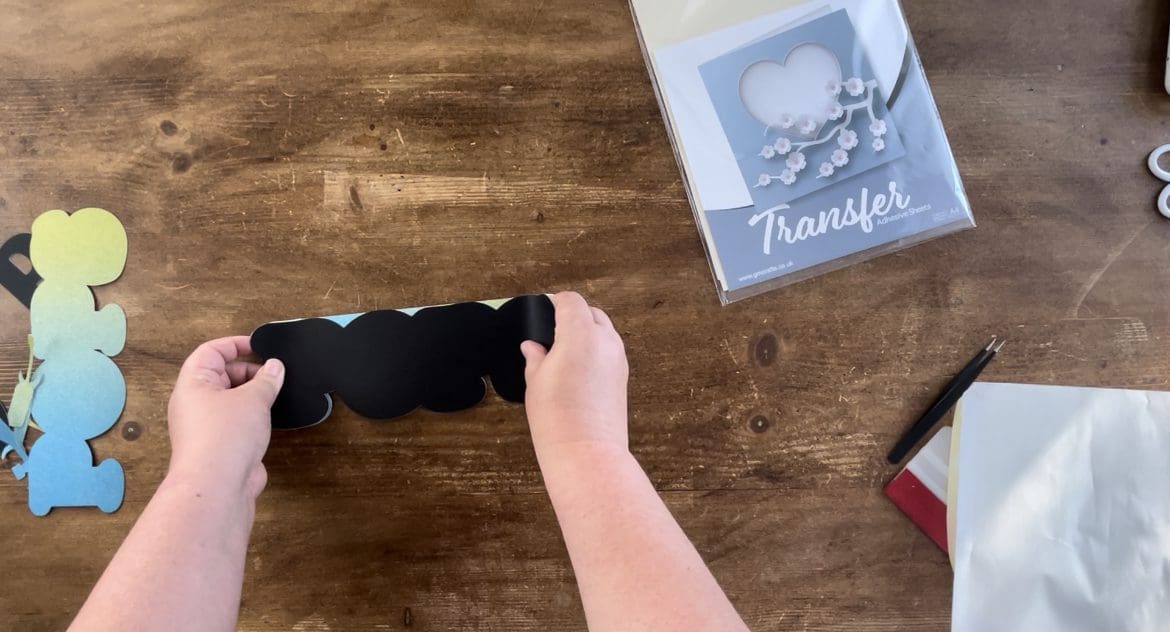
8. Apply the middle to the first layer, using either the transfer adhesive from above, or 3D foam pads, use a dab of glue on the pads to give you “wiggle” room so you can line up the designs perfectly. Then repeat with the letters. And finally the tools as required See below.
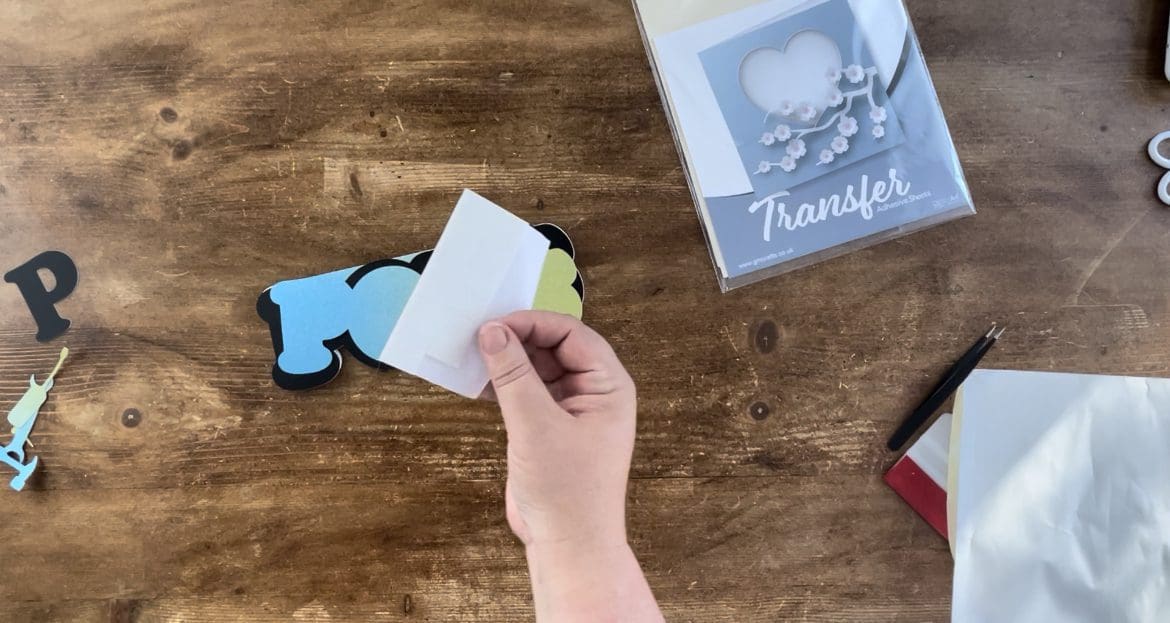
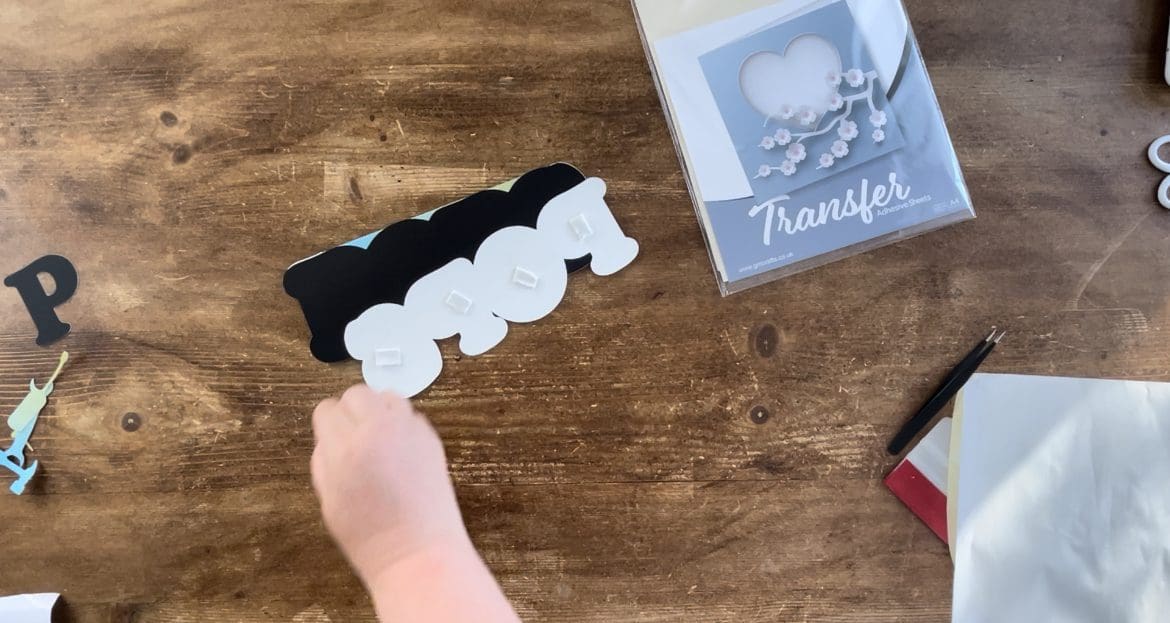
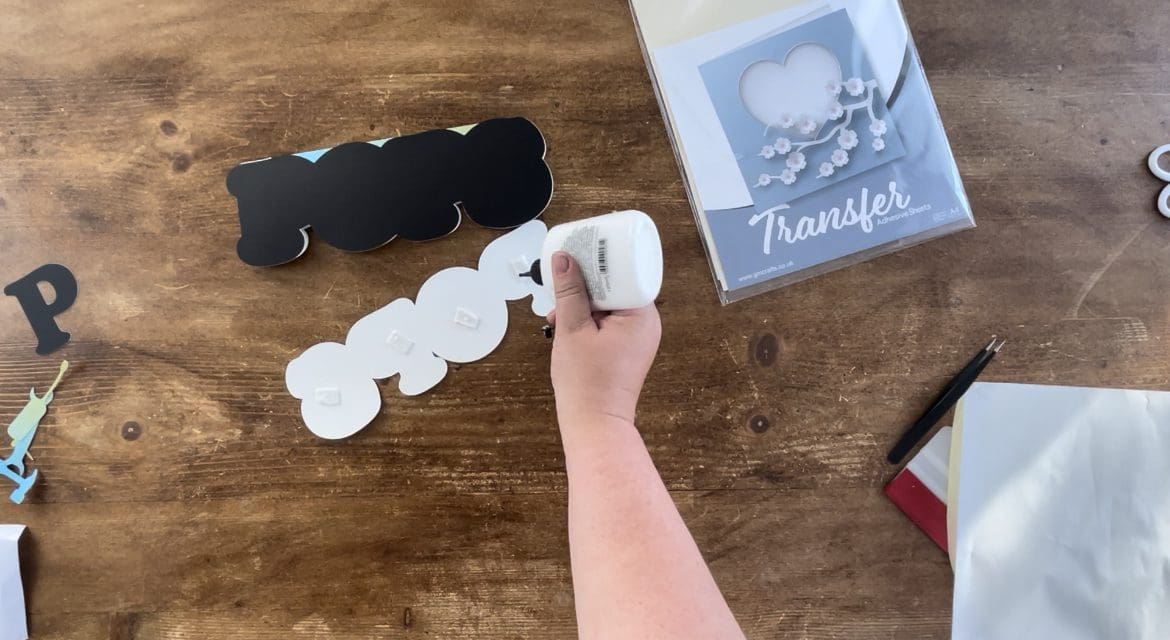
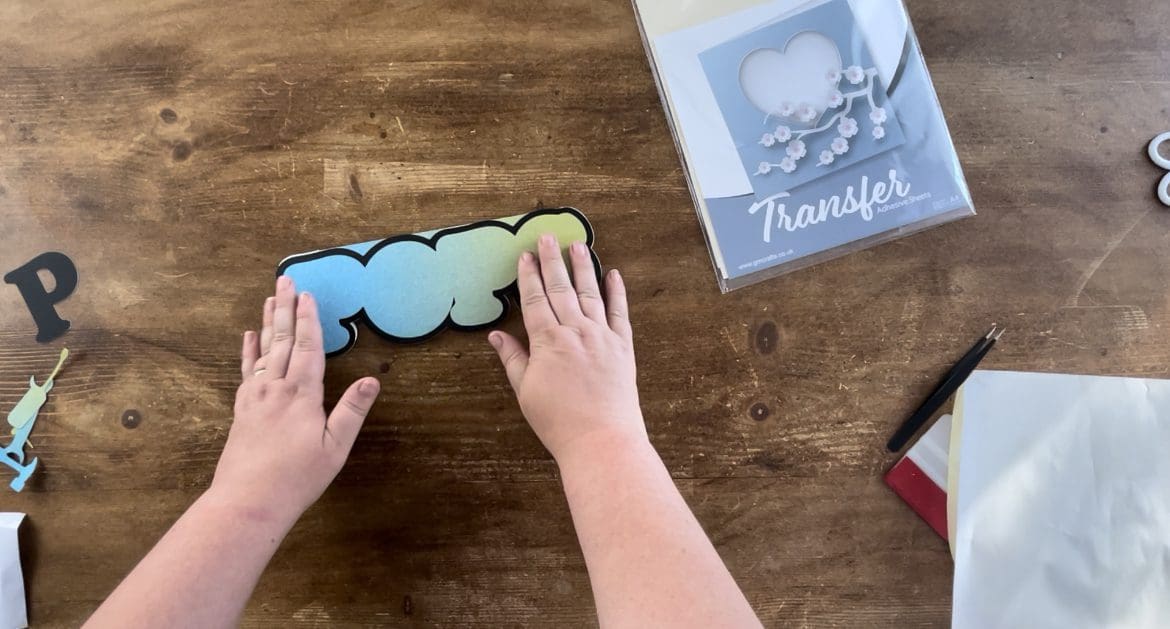
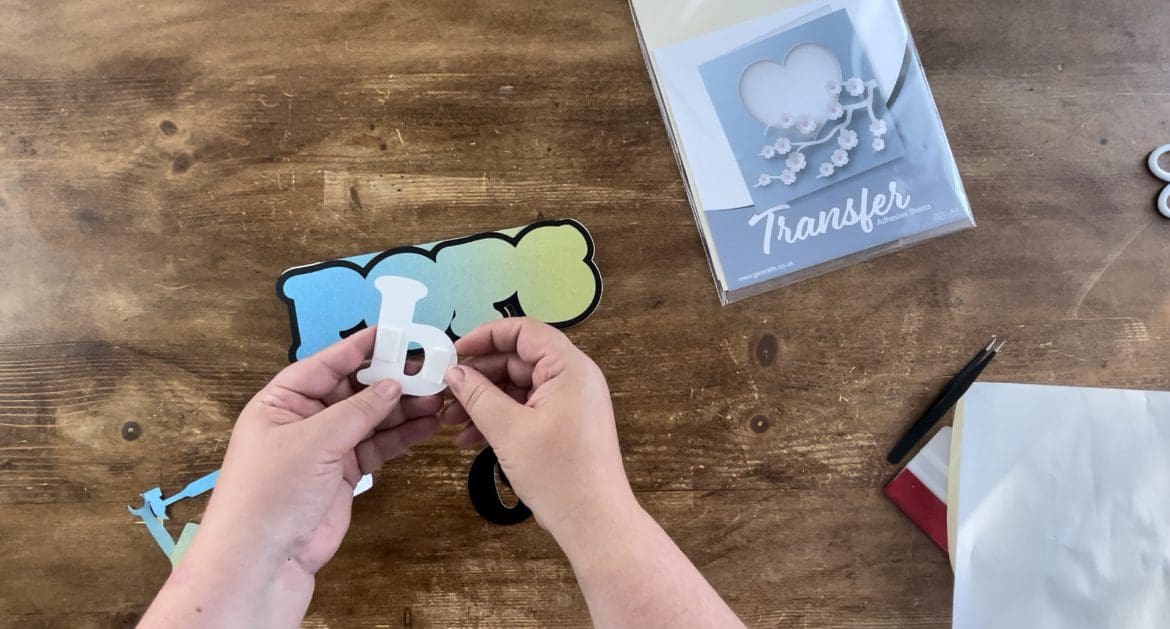
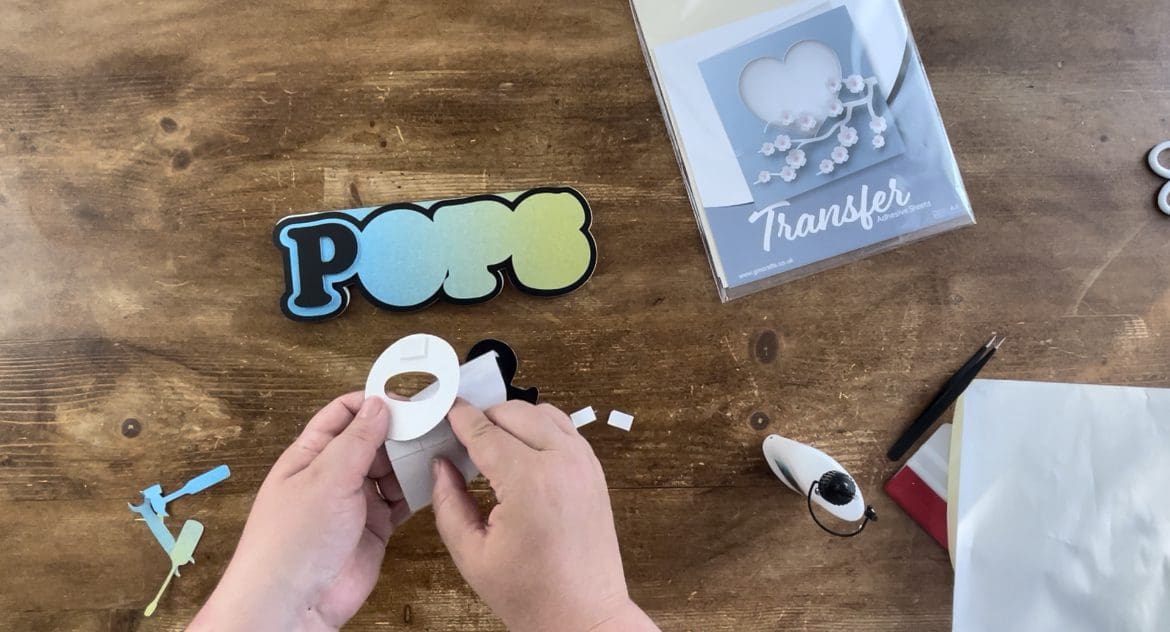
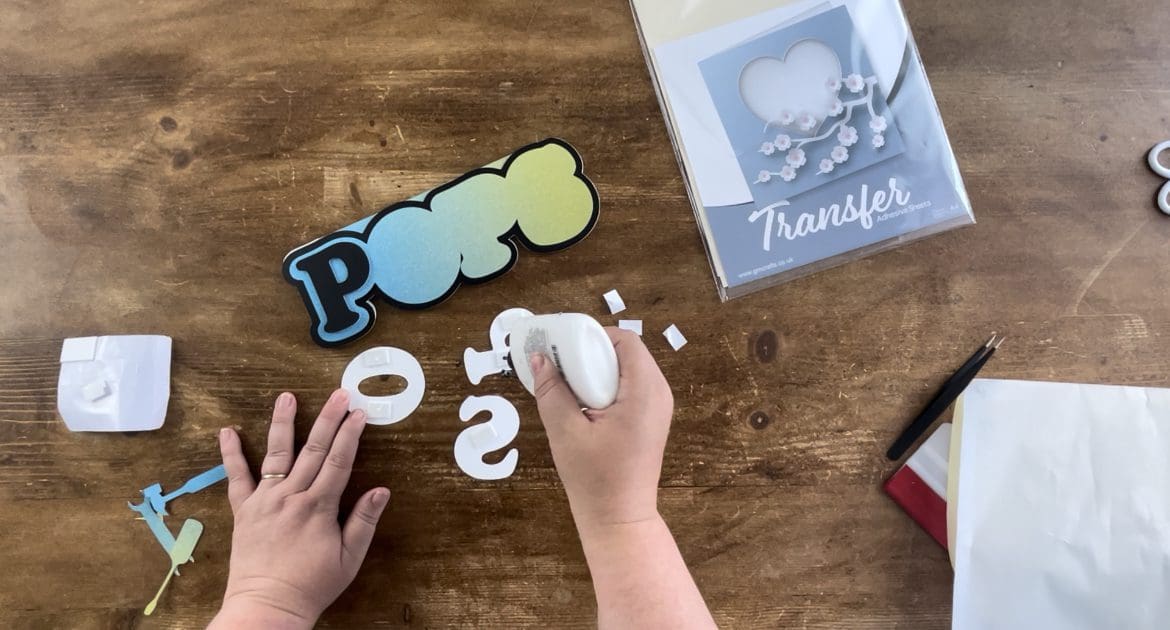
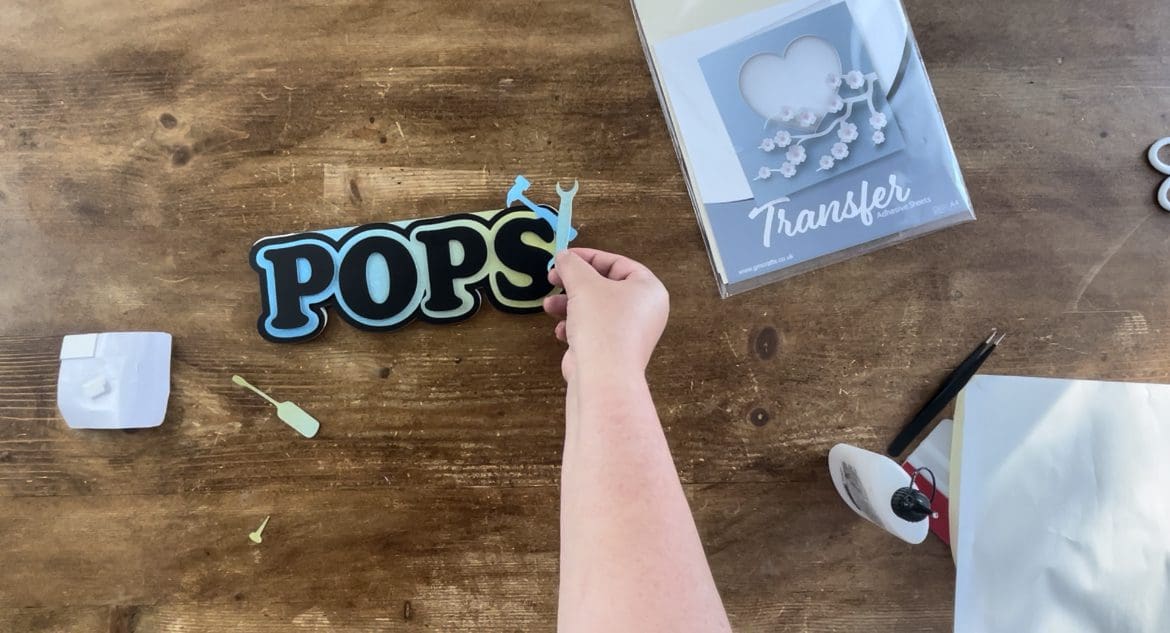
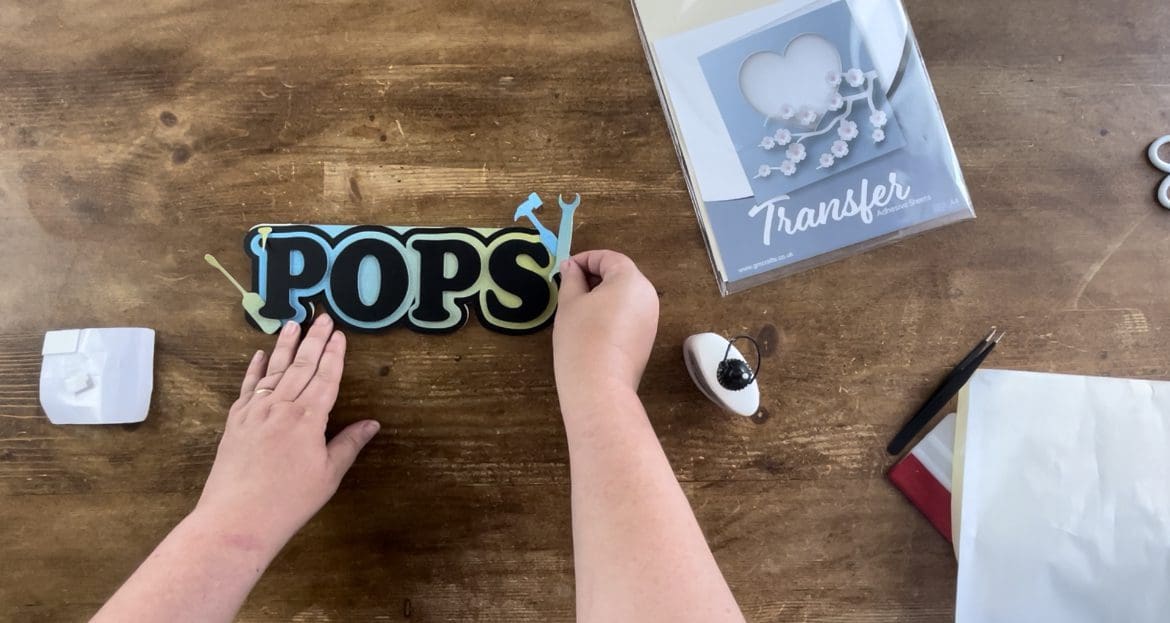
9. Repeat steps as above for the remaining different card designs (Daddy, Father and Dad) Don’t forget your finished design can be matched by using any material cut using a cutting file, card, self adhesive vinyl or even HTV. We’d love to see your makes on our social media pages! Or email them in!
Silhouette Cut File
Instructions:
Before you start, you need to download the cut file, Upload the cut file into Silhouette Studio, click the file and choose release compound path to separate each layer, and resize or regroup as necessary, (when resizing bring all layers into the design software and select all at once to get the correct offset layers and save the adjusted file, so you can cut layers individually at the correct scale you have chosen) Remember to test cut if necessary and cut settings are found here along with test cut guidelines for every machine.
Brother Cut File
To import these files into the Brother Canvas Workspace:
After downloading, please log in as usual to your design space account, open a new project mat, then left click on the SVG icon in the top left bar in canvas, this will then allow you to import your files. Once you left click this icon, a pop up box appears with you to choose where to import file from, choose to import the file from your downloads list or where you have chosen to save when unzipped.
Cut settings are found here
Just in case you need the link CanvasWorkspace (brother.com)


