
Tutorial/Free Cut File
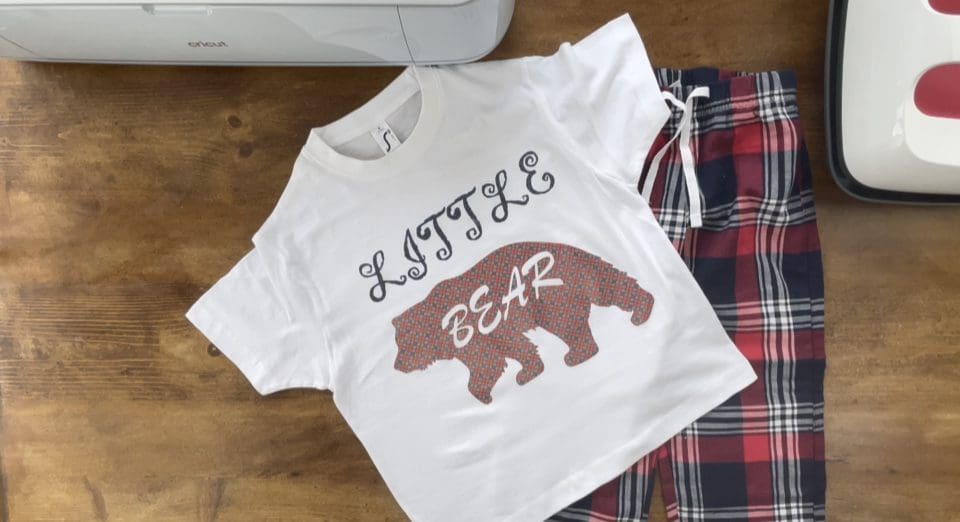
GM Crafts Pattern Pearl Sparkle Family Christmas Pyjamas Tutorial and Free Cut File For all Machines
Hello! Great to see you!
Well it’s surprisingly Autumn already! Time to start the Christmas build up, Where has the summer gone? You have been asking us to bring you some, family Pyjamas inspiration, so we hope you like this weeks tutorial and free files below, this time using our new Pearlsparkle Pattern HTV which have just launched, this vinyl is perfect for your intricate designs.
This file as always, is ideal for HTV and self adhesive applications and you could even use it in card making!
We would love to see what you make! Have you found our You Tube channel yet? The video showing this and all of our other tutorials are available on there, as well as exclusive demos, inspiration and more! Join us on Facebook , Instagram or Tiktok or send us an email to sales@gmcrafts.co.uk we would love to hear from you!
***CLICK HERE TO SEE THIS BEING MADE***
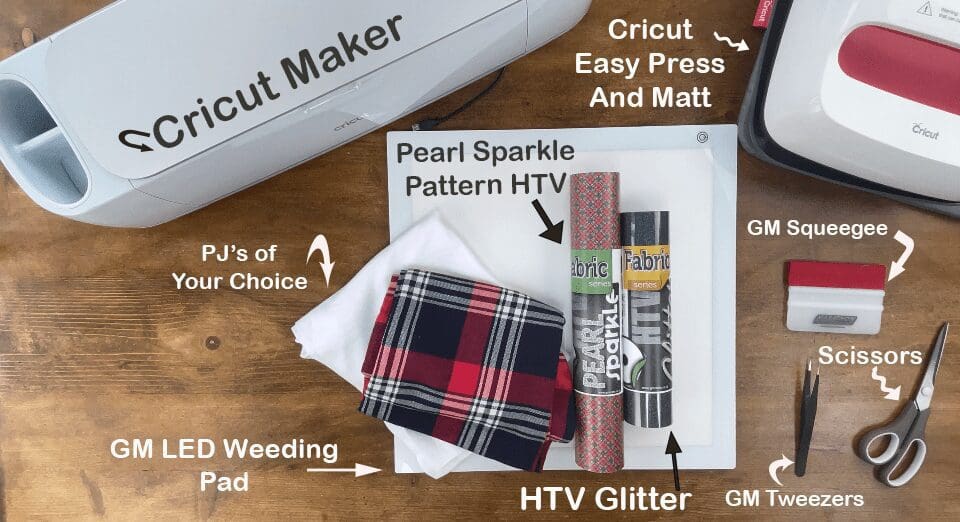
What you’ll need:
- Cricut machine Available Here Or Silhouette Cameo 4. Available Here
- Cricut Easypress and Easypress Mat Available Here
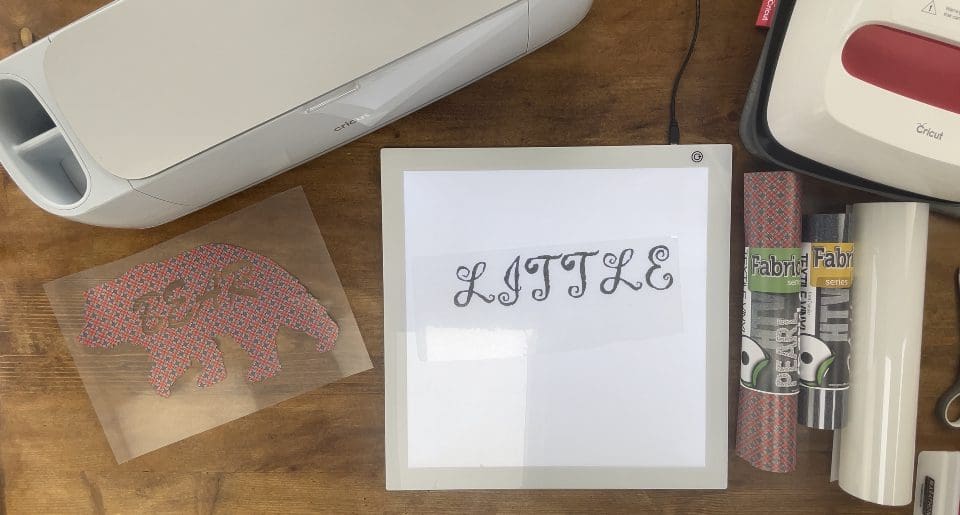
- GMCrafts LED light panel Available Here
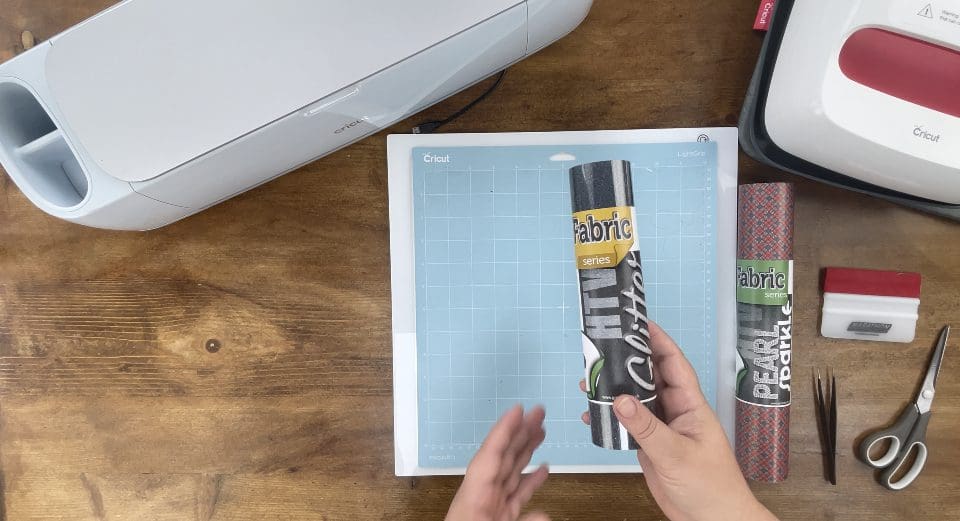
- New GM Pattern Pearsparkle HTV Available Here
- GM Glitter HTV Available Here.
- Squeegee. Available Here
- Weeding tweezers . Available Here
- Scissors from your own stash and a School or tote bag, pencil case, apron or plain t-shirt etc of your choice.
- PJ’s or T-shirt etc of your choice.
CHRISTMAS BEAR PJ’S CLICK FOR CUT FILES HERE
Instructions;
1. Before you start you will need to download the cut files for your chosen machine, link above. Unzip the file to use it by right clicking it in your downloads.
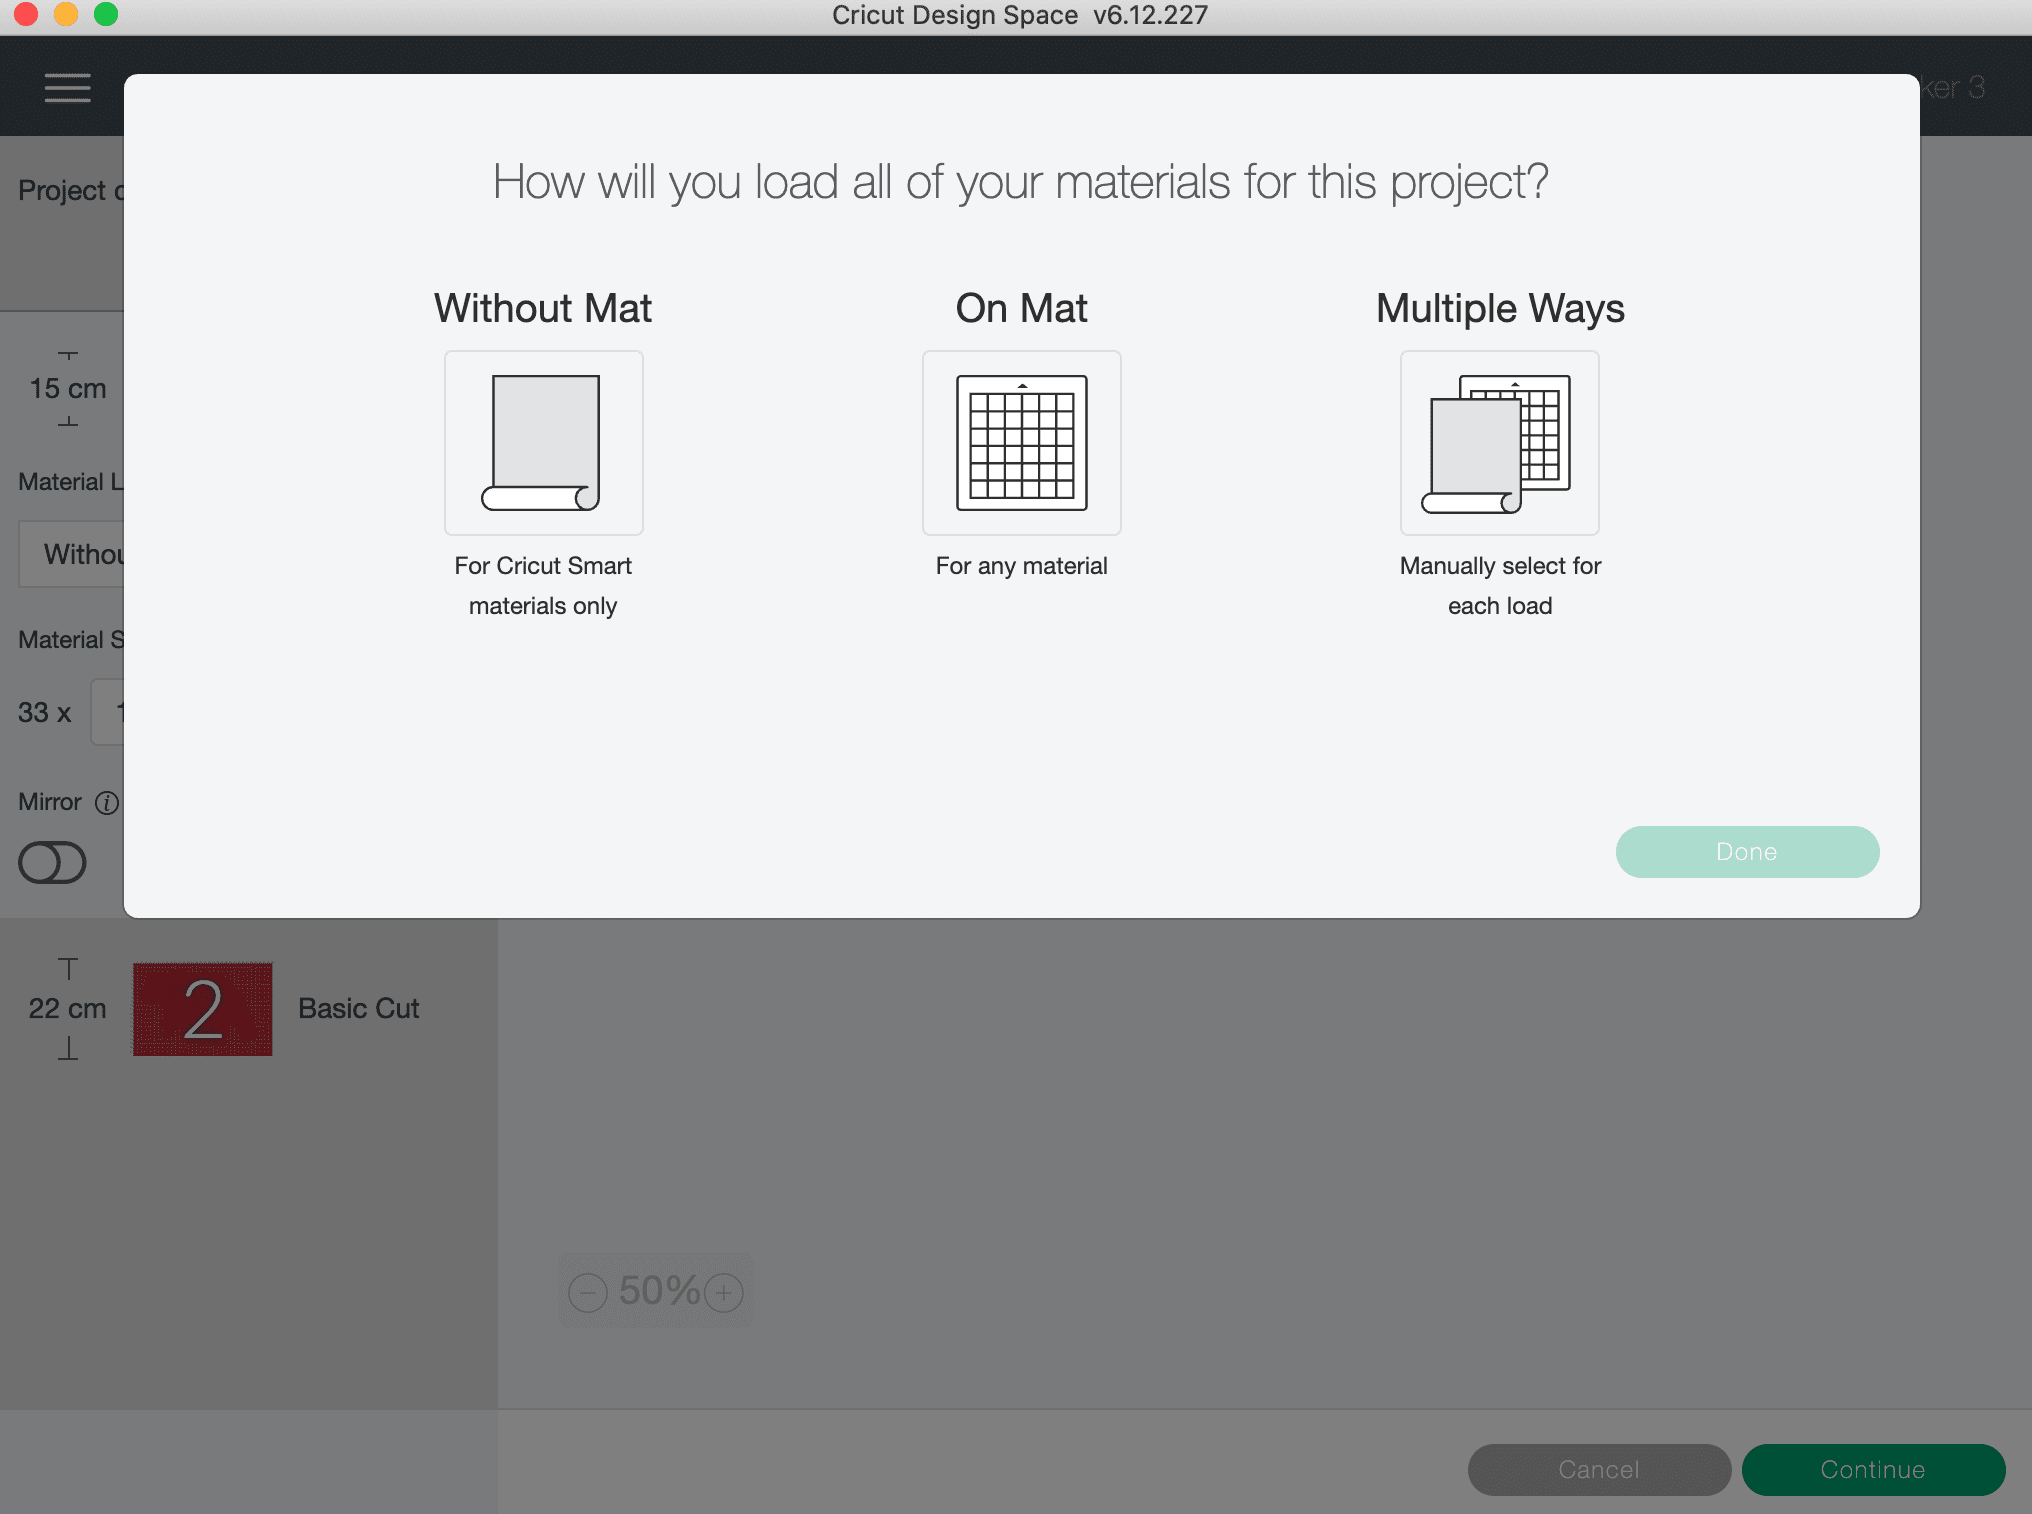
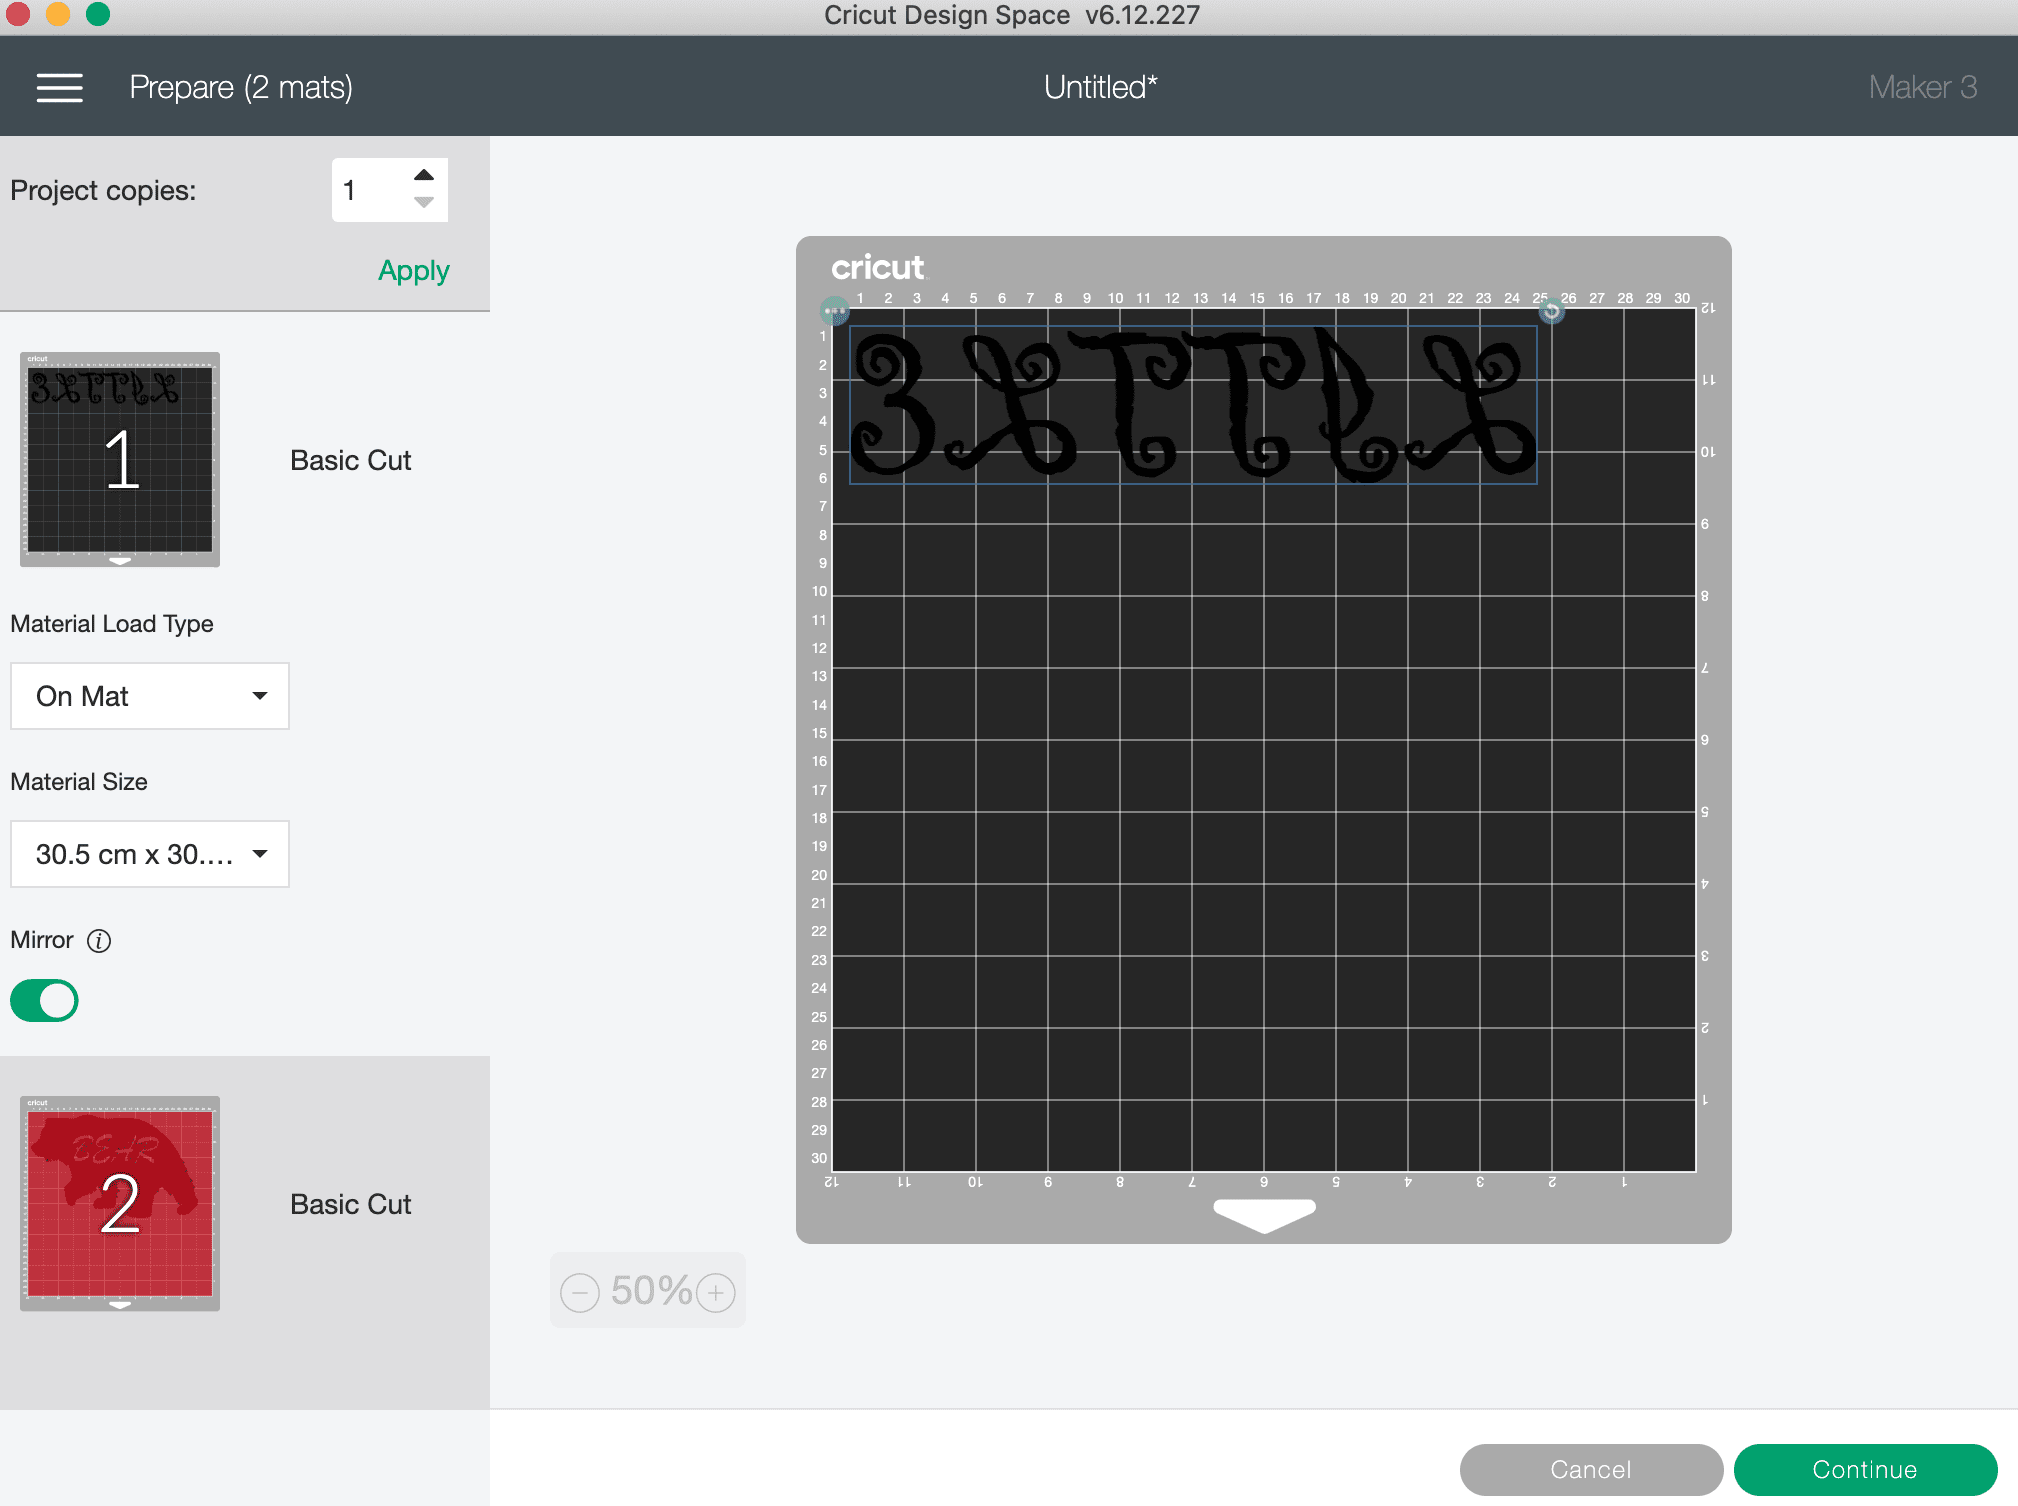
2. Upload each PNG into the design space. Click “Upload Image” on the left-hand Design Panel, and navigate to the files you want to open. Select ‘Insert image’ and select image type ‘simple’ when prompted. Next you’ll be asked to delete any space that does not get cut, you can skip this part by pressing ‘continue’. When asked if they’re print-then-cut images or just cut images, select cut images. Click save. When it has been uploaded, Insert the images onto the canvas and resize to suit your project, I Recolour each one differently, so I can cut the different Vinyl for each layer, which means I don’t have to keep returning to the design page, see below, then click make it to move on to the next screen. On the next screen, If using the Cricut Maker 3 then you will need to choose to cut on the mat (unless using smart media)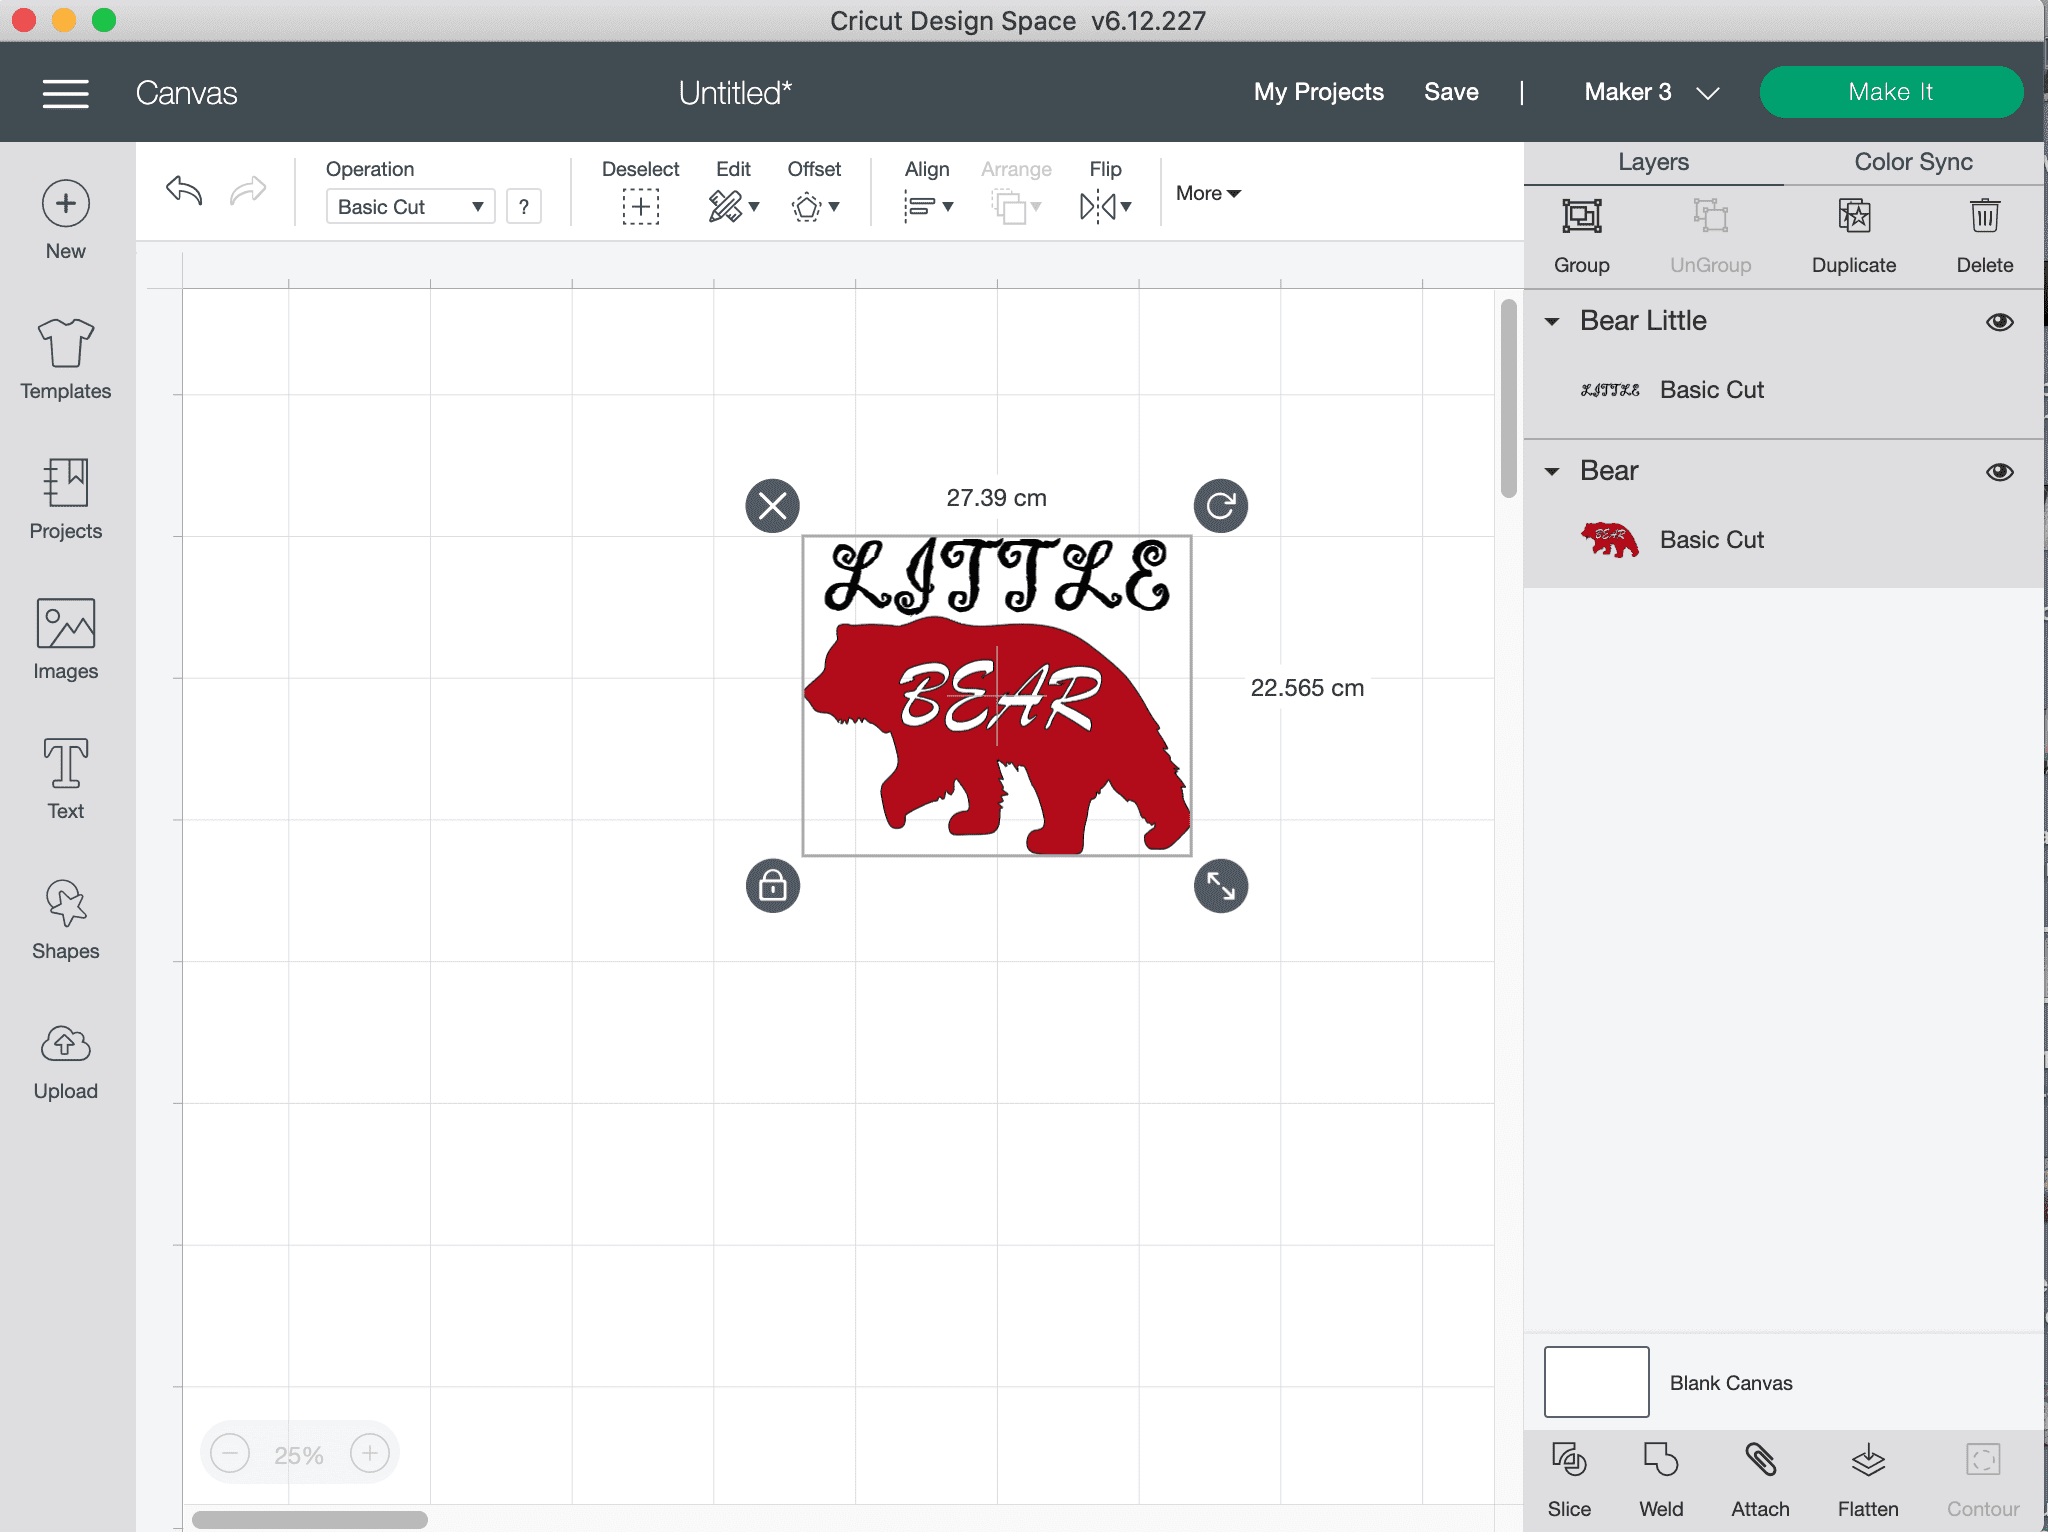
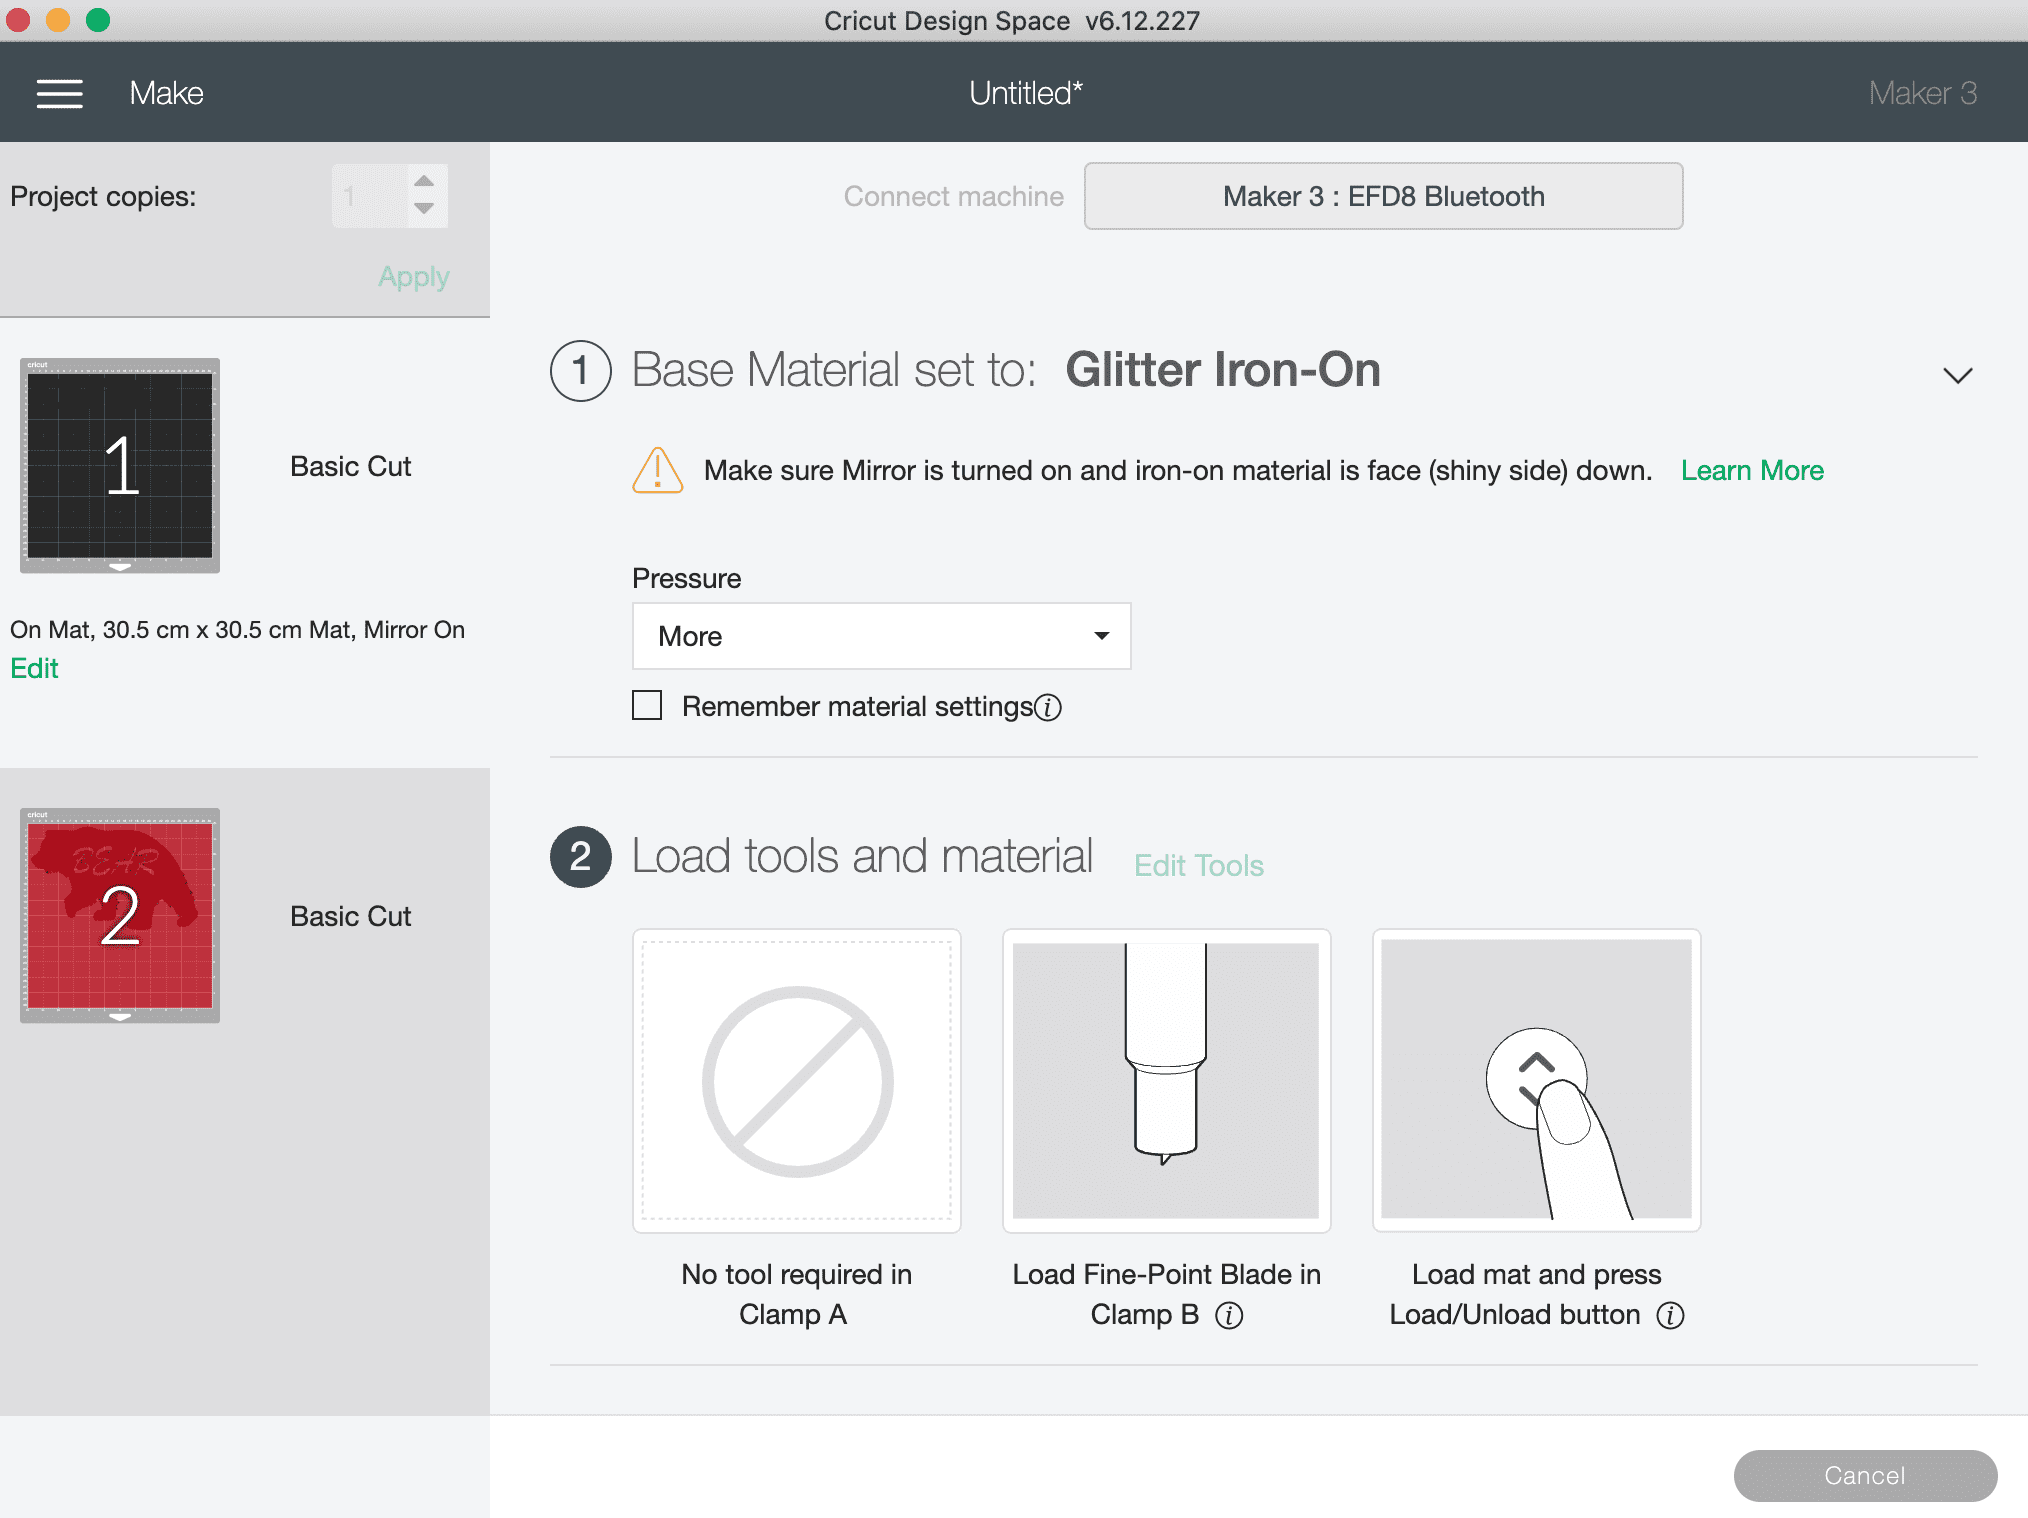
3. When on the next screen above, ensure you DO NOT MIRROR the wording when cutting this GM Pearl Sparkle. But make sure you do mirror when cutting Glitter HTV. Click continue in the bottom right on the next screen. In the next window make sure your settings are all set to the successful settings from your test cut and ensure your machine is linked before proceeding to cut. Cut settings: (**please test cut) Press the flashing Cricut symbol on your maker to cut, after loading the sheet into the machine. Apply the settings needed for your chosen Vinyl, we made it with our GM PEARL SPARKLE HTV on the maker 3, and used the Everyday Iron on setting on the Cricut maker 3 with Default pressure. When cutting the Glitter we used the Glitter Iron on with More pressure.
**A reminder that these settings, including the blade setting, are specific to the materials and machine we’re using, adjustments may be necessary if using different materials and machine**
We always recommend before proceeding, you test cut your materials when first using so if you have not recently used this product in your machine. Please test cut for your chosen machine found on our Application guide, and also Blog. Load the Vinyl chosen individually for each layer.
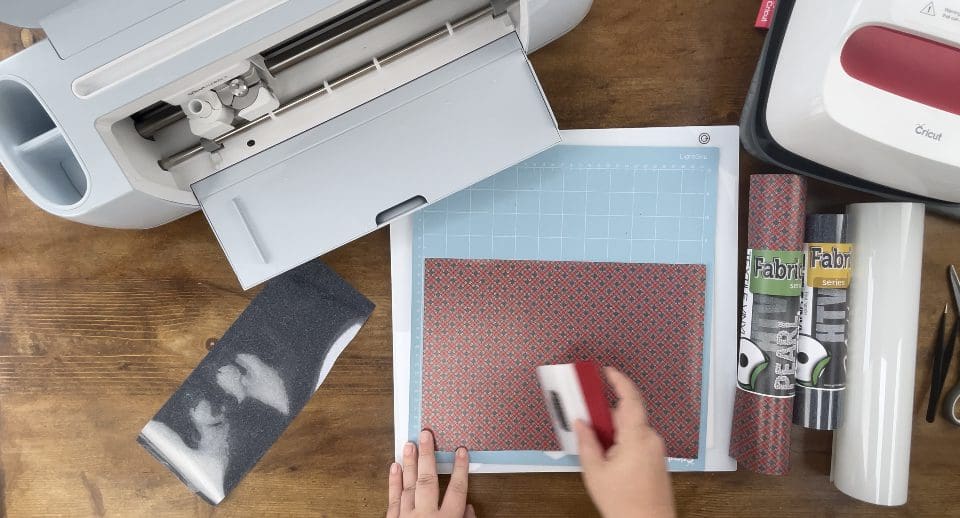
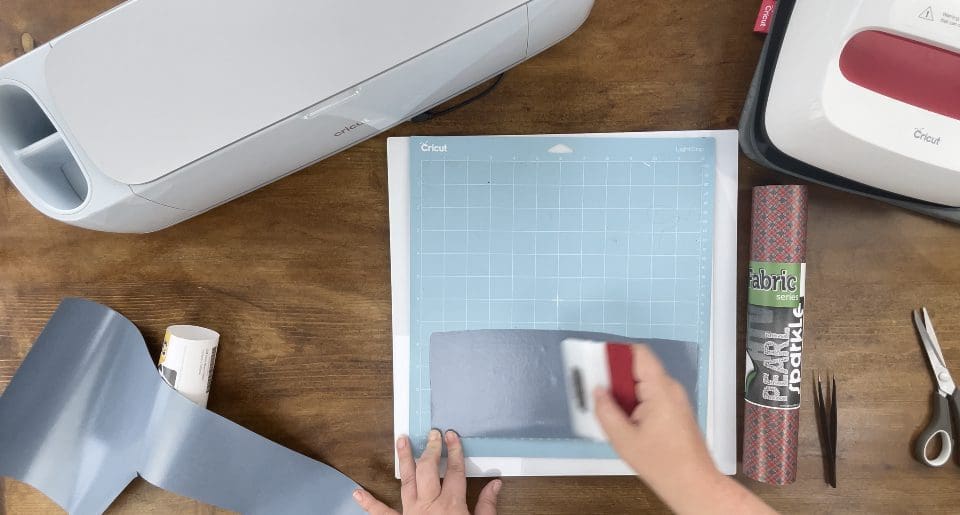
4. Place the Vinyl for the First layer you are cutting on the mat, remember NOT to mirror the wording if using GM Pearl Sparkle. Press the up arrow to load the mat, and press the flashing light to proceed to cut on the machine. Once cut repeat to cut with the remaining 2 different layers. Be sure to place the Paerlsparkle pattern side face up on the mat. Repeat this with the Glitter HTV.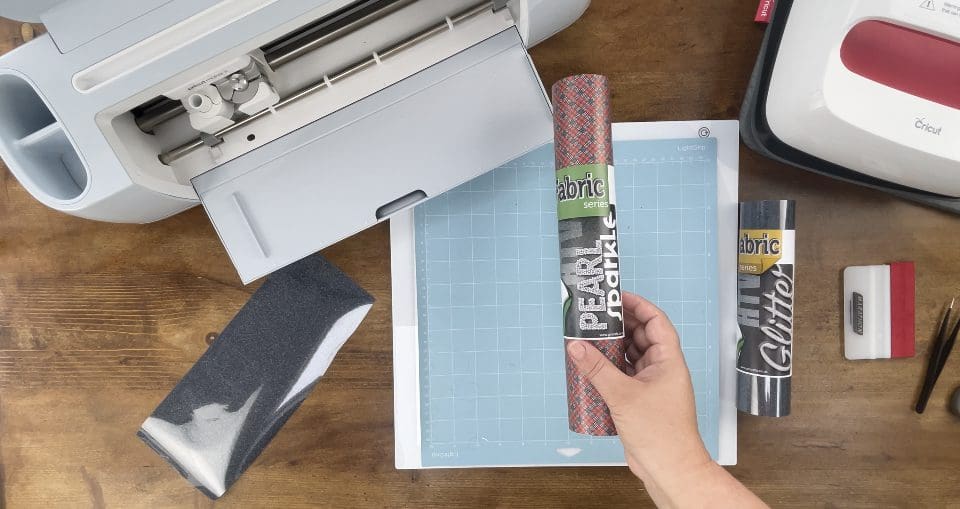


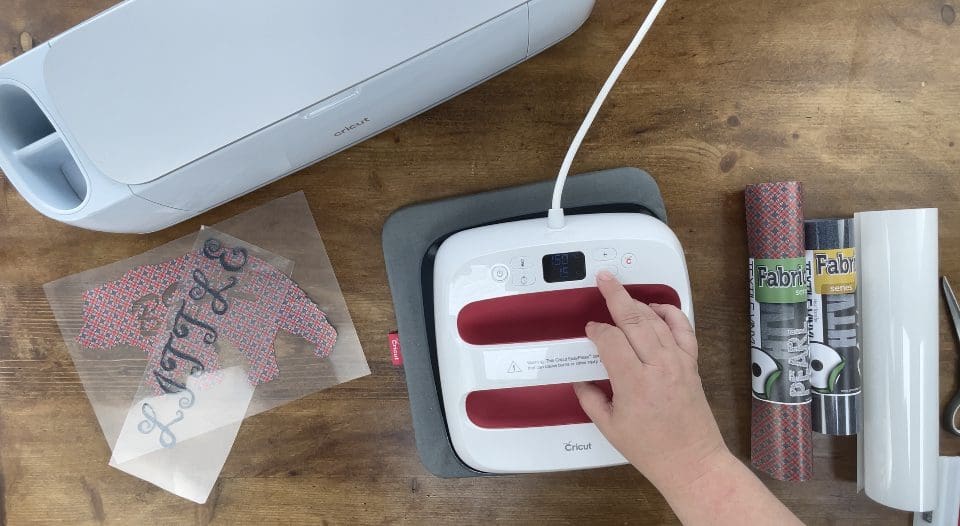
5. Once all Layers/ colours are cut, Switch your Easy press on, and set the temperature to 150’c and the timer to 15 seconds, (Please note settings for this when pressing a single layer only are Pressing Temperature: 140°C – 150°C Pressing Time: 15 seconds Warm/Cool Peel Suitable for cotton, polyester and blends.) Glitter HTV is 160’c for 15 seconds. For other Vinyl please refer to our Application guide, When Layering it is important to reduce the layering times so not to over heat the vinyl.
6. Whilst the Press is heating up, switch on your LED pad and remove the waste Vinyl surrounding the designs (weeding) I use a pair of weeding tweezers to do this as shown below. 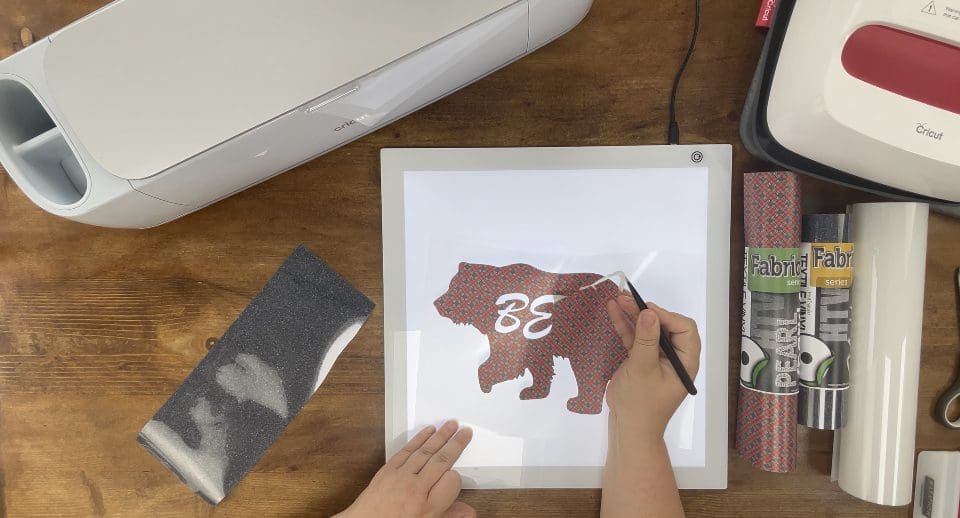
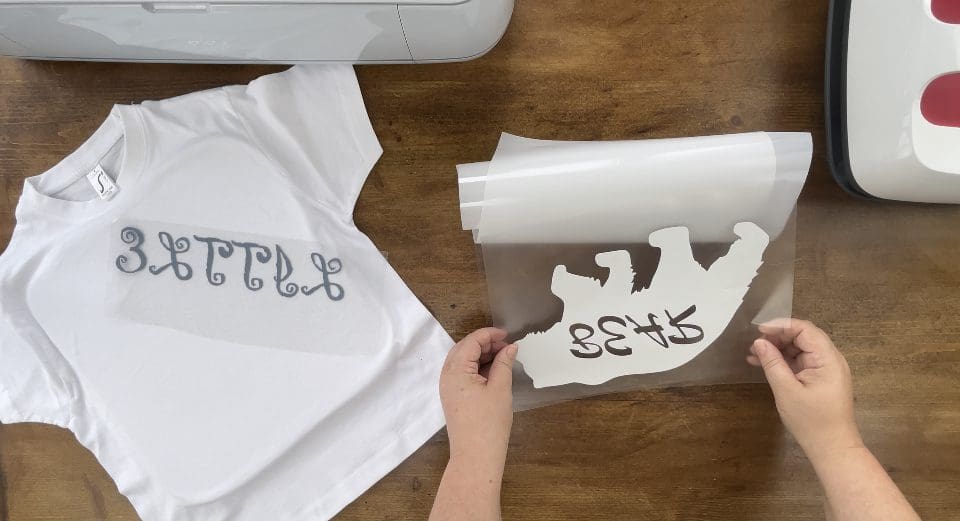
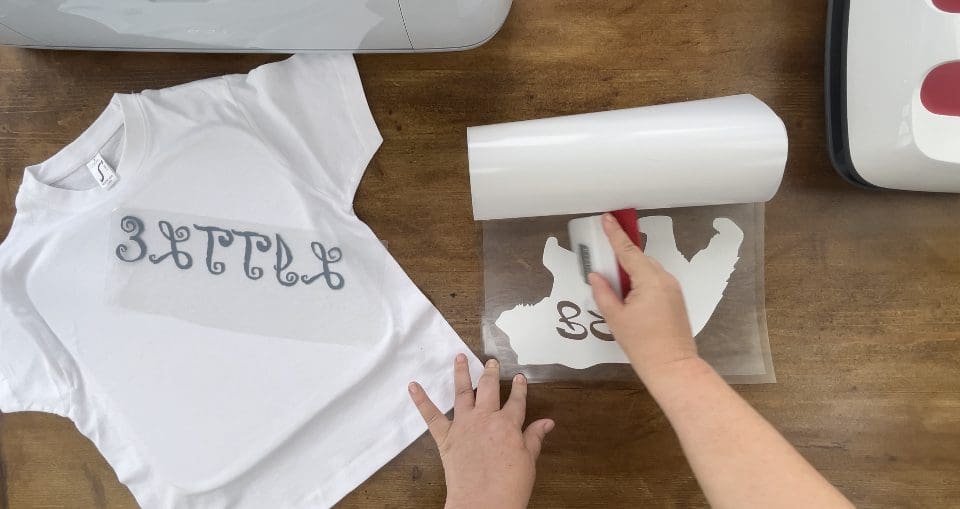
7. Once weeded take the Clear milky roll of transfer tape included with the GM Pearl Sparkle Vinyl, remove the milky protective sheet and place the sticky side facing up, before the placing the weeded side of your design onto the sticky sheet, this is stuck to the front of your design after weeding. Smooth out with your squeegee, rub with the squeegee on the reverse to ensure it transfers easily, then remove the carrier sheet that was originally on the back of the Vinyl, trim excess away as shown below.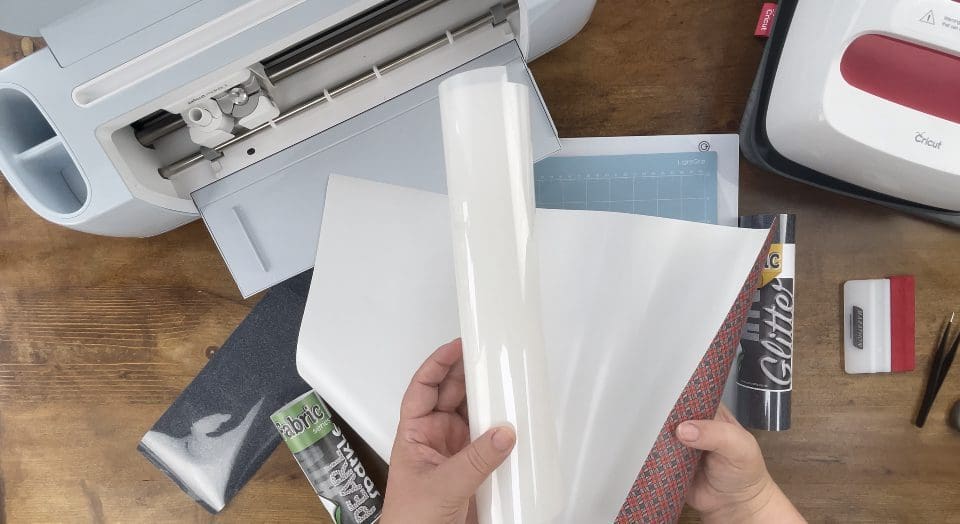
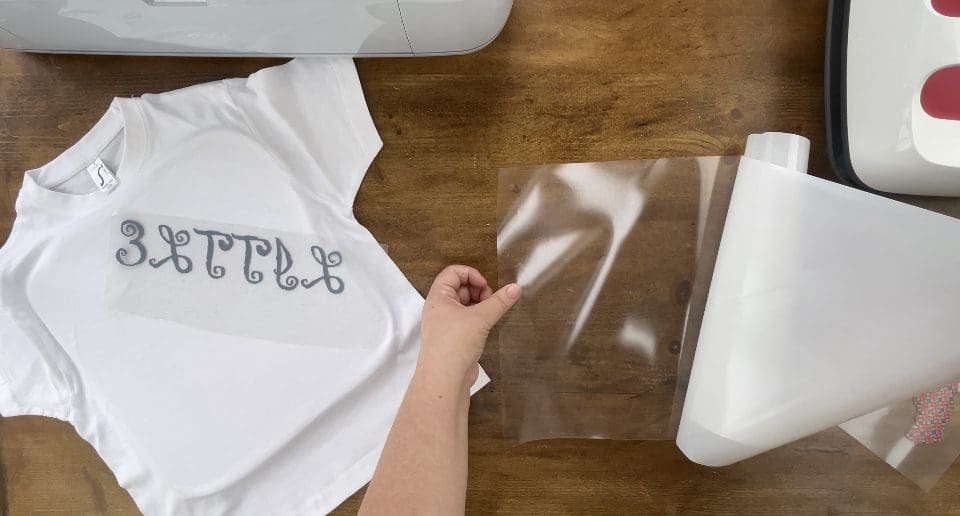
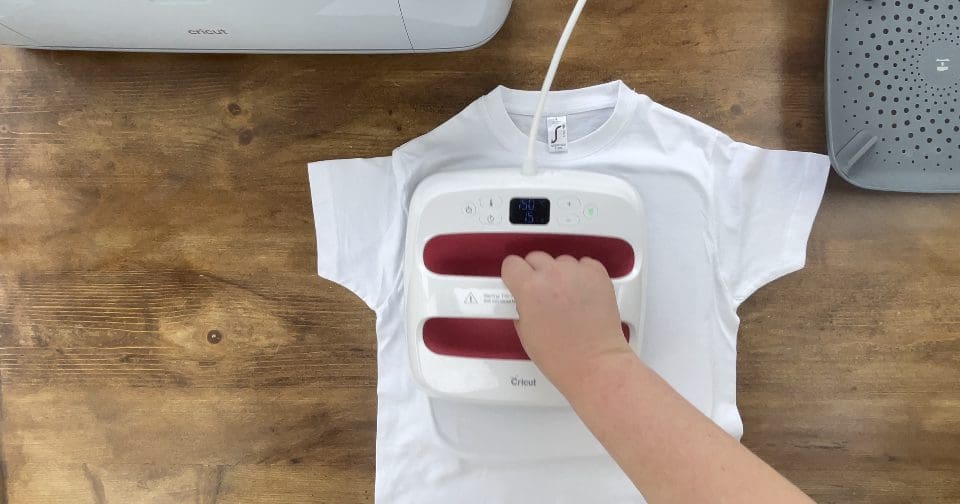
8. Place the easy press mat under the Bag, T-shirt or whatever you are applying it to, and preheat once the press is ready for 10 seconds to remove any moisture. Lay the design already on the transfer tape in the correct place facing up, and ensure it is on a hard surface, or Cricut Easy press matt and on a hard surface, check our guide here for more information on applying and using HTV successfully. Press the Pattern Pearlsparkle HTV, each area once only for 15 seconds firmly using your upper body weight over the press. Then up the temperature Glitter HTV needs 160 before pressing the Glitter. If any areas lift once doing this- repress for a few more seconds- please note ensure any collar or seams are off the pressing mat so not to interfere with the pressure needed. See Below.
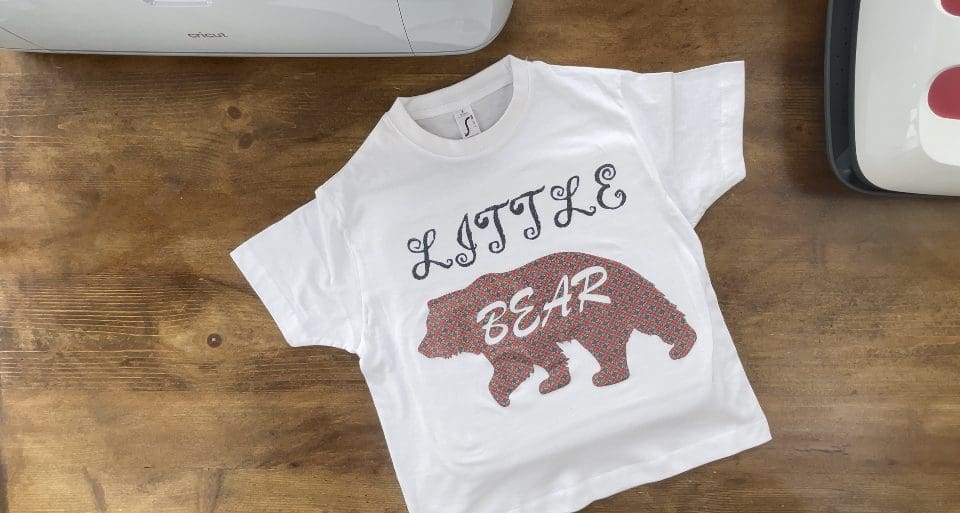
9. If after removing the sheet the bag or design is looking a bit untidy then recover with a sheet of Silicone Paper or baking parchment and quickly repress smoothing over it like an iron would, but quickly so not to over heat. Don’t forget your finished design can be matched by using any material cut using a cutting file, card, self adhesive vinyl or even HTV. We’d love to see your makes on our social media pages! Or email them in!
Silhouette Cut File
Instructions:
Before you start, you need to download the cut file, Upload the cut file into Silhouette Studio and resize as necessary, (when resizing bring all layers into the design software and select all at once to get the correct offset layers and save the adjusted file, so you can cut layers individually at that correct scale you have chosen) Remember to test cut if necessary and cut settings are found here along with test cut guidelines for every machine.
Brother Cut File
To import these files into the Brother Canvas Workspace:
After downloading, please log in as usual to your design space account, open a new project mat, then left click on the SVG icon in the top left bar in canvas, this will then allow you to import your files. Once you left click this icon, a pop up box appears with you to choose where to import file from, choose to import the file from your downloads list or where you have chosen to save when unzipped.
Cut settings are found here
Just incase you need the link CanvasWorkspace (brother.com)