Tutorial/Free Cut File
GM Crafts Love Isle Water Bottle Tutorial and Free Font Download Instructions.
Hello!
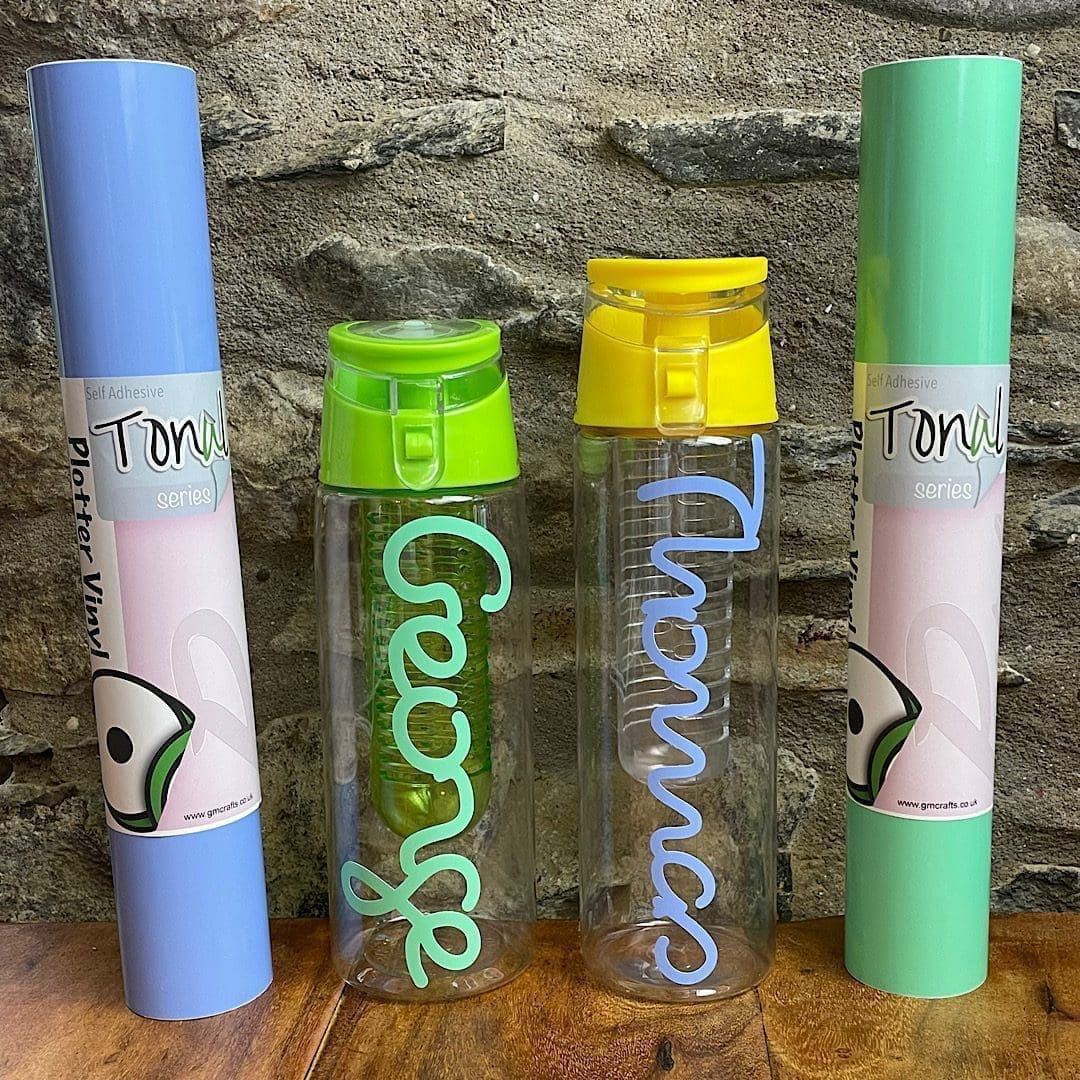
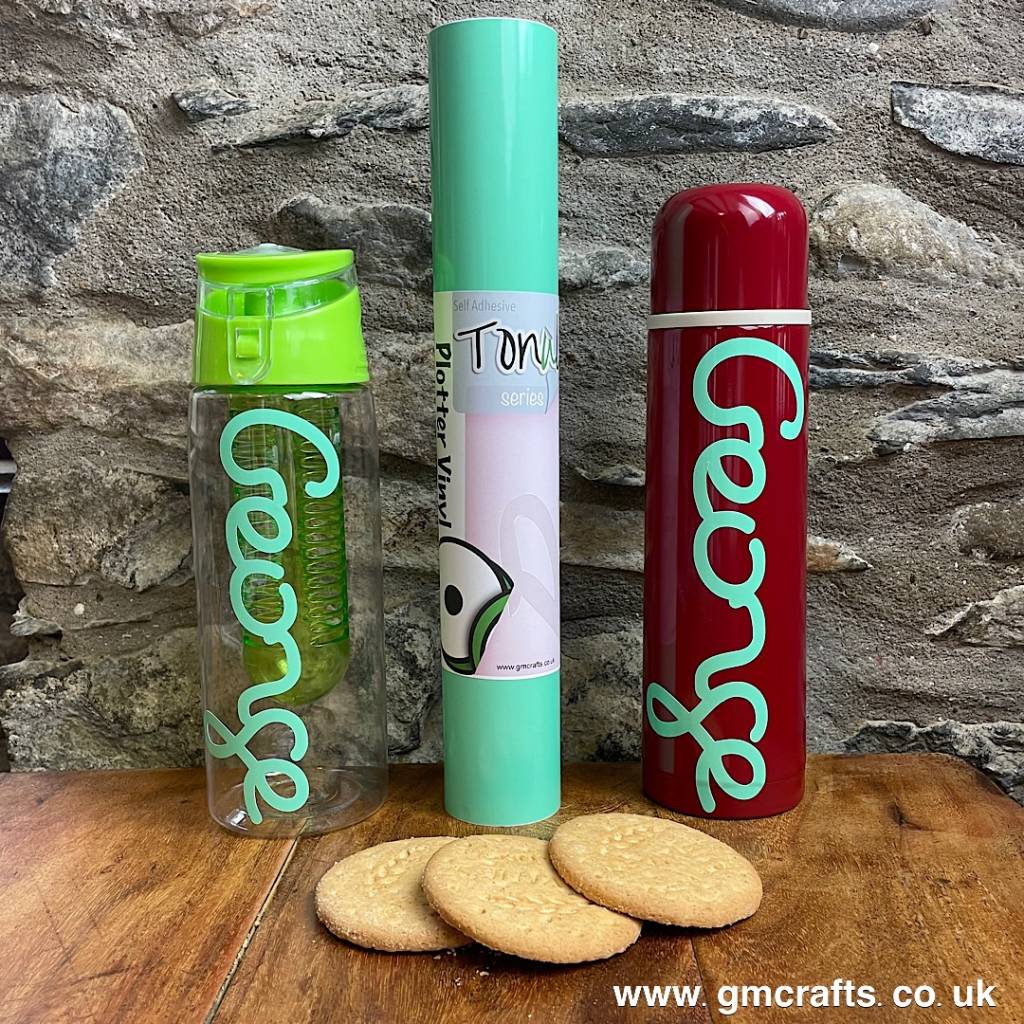
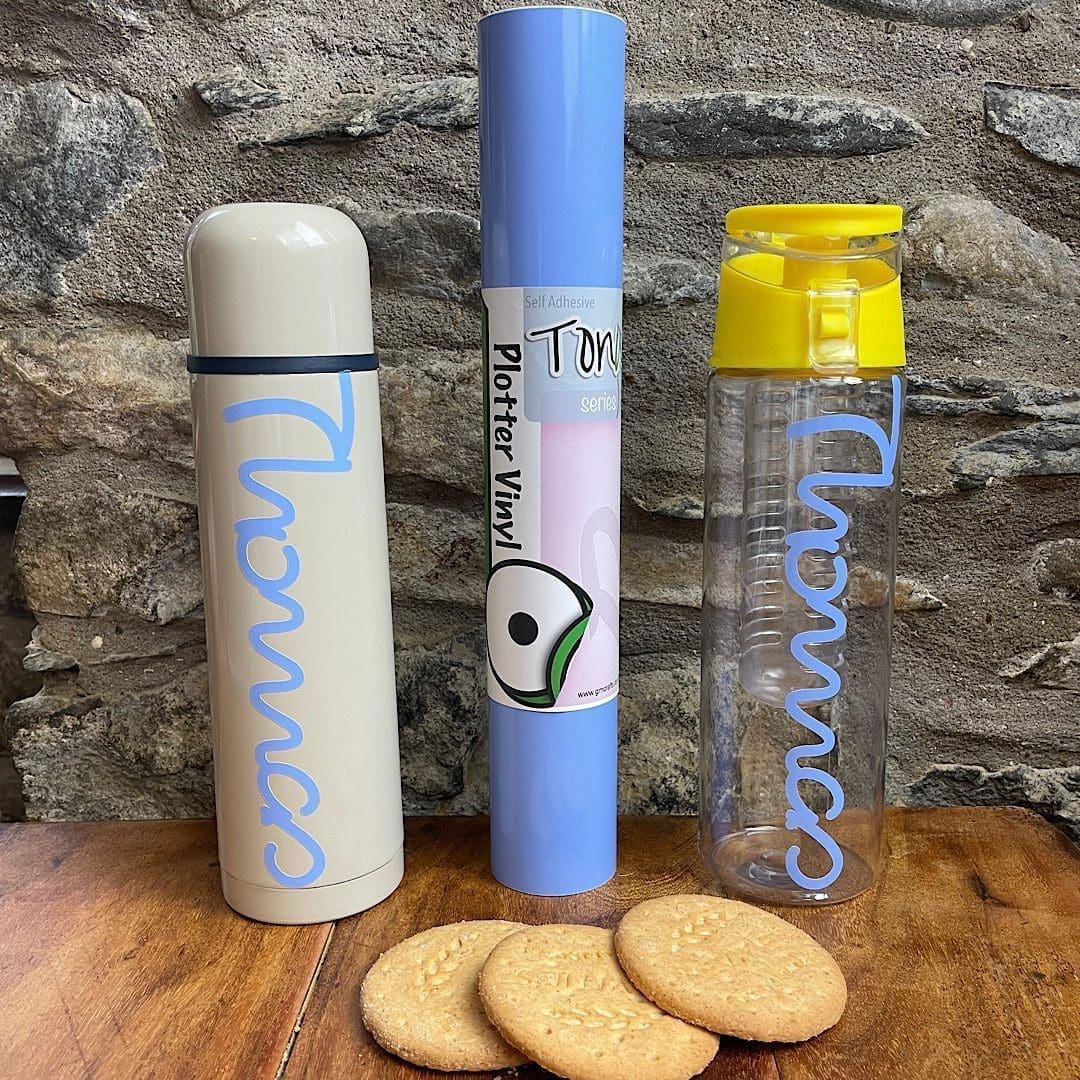
Good to see you! For this weeks blog, in the spirit of summer holidays, and we hope long warm days ahead, we thought we’d share some crafting love with you and show you how to create your own personalised water bottles!
There is a particular font that is incredibly popular at present, so we thought this time we would provide you with the ability to recreate this on your own machine at home below.
This design can of course be used on t-shirts, and almost anything that you wish to personalise.
We would love to see what you make! Have you found our You Tube channel yet? The video showing this and all of our other tutorials are available on there, as well as exclusive demos, inspiration and more! Join us on Facebook , Instagram or Tiktok or send us an email to sales@gmcrafts.co.uk we would love to hear from you!
***Click here for full video Tutorial to make this***
What you’ll need:
- Cricut maker . Available here
- Or Silhouette Cameo 4. Available here (Instructions for the cameo and Brother machines at the bottom!)
- Pastel Self adhesive Vinyl Available here
- Transfer tape. Available here
- LED weeding pad. Available here
- Squeegee. Available here
- Weeding tweezers . Or Weeding hook. Available here
- Scissors.
- Water bottles or Flasks Available here
- Rubbing alcohol and lint free cloth here
- link to create with your own image, is free below! Including Silhouette. Cricut and Brother instructions to follow at the end.

Instructions;
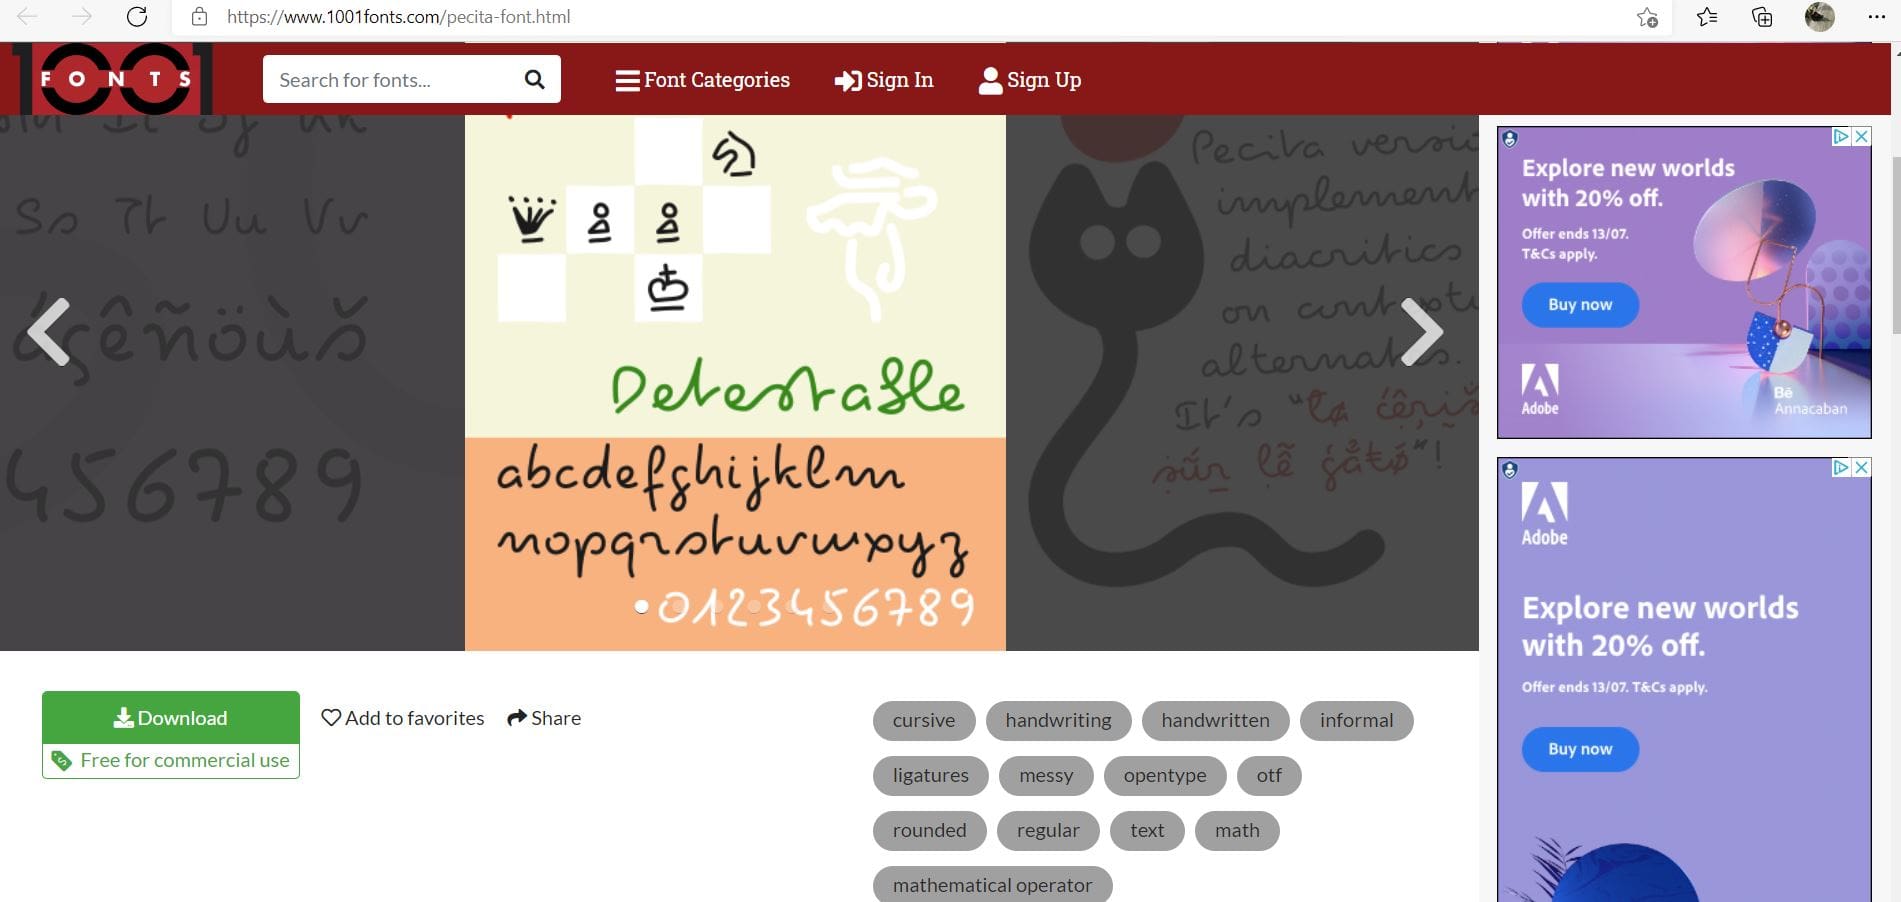
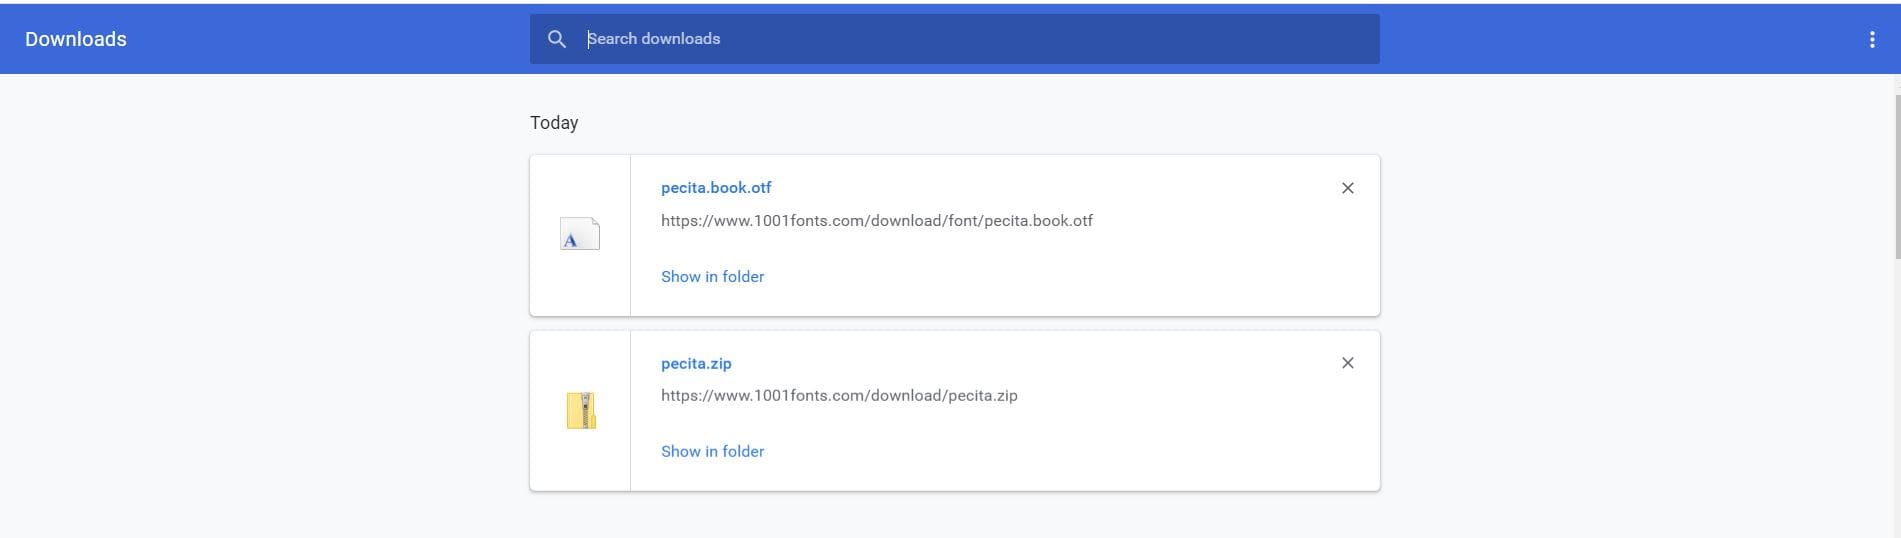
1. Before you start you will need to visit this webpage and download the font to your machine; https://www.1001fonts.com/pecita-font.html click on the green download button and wait for it to download, you will find it in your download files on your computer, See below.
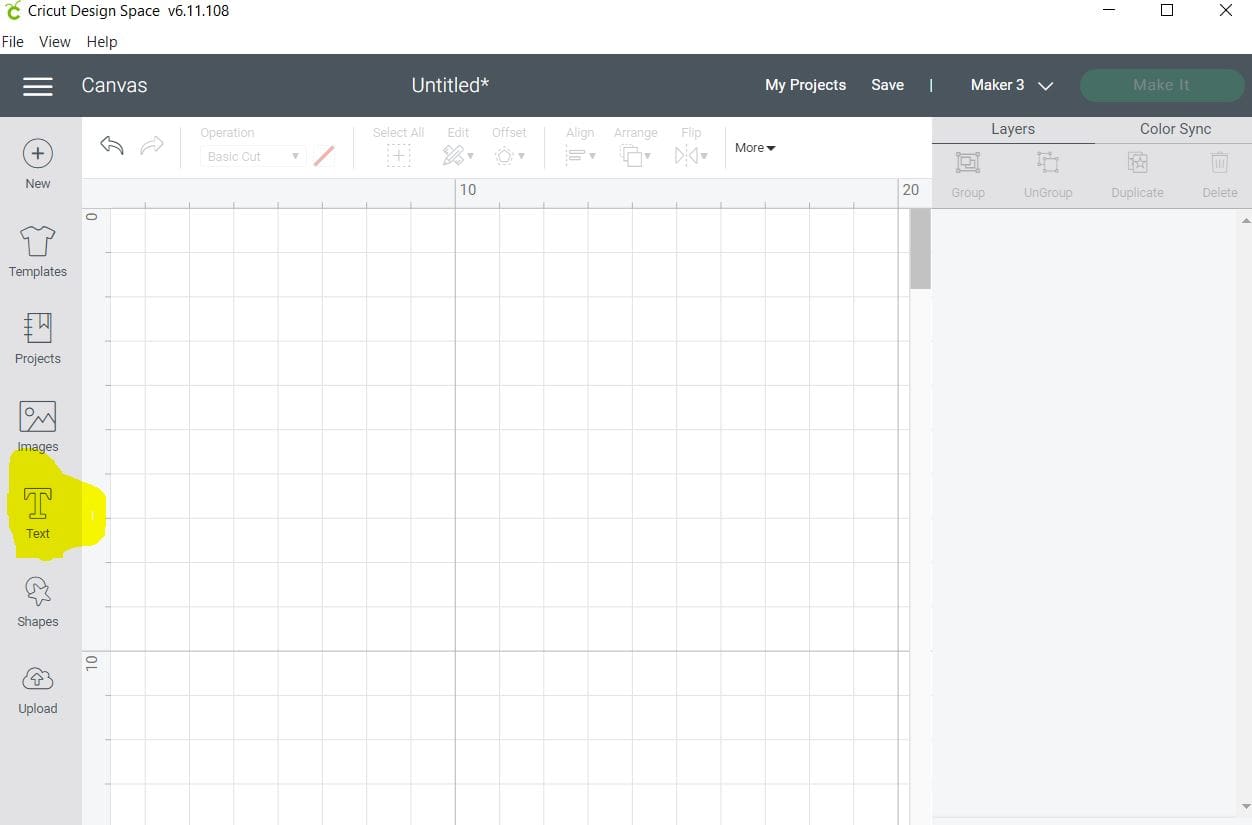
2. Right click on the Zip folder to unzip it, then right click on the font file itself and choose install. Once it has installed, please fully close your design space app (if open) then restart your computer, re open Cricut design space, and click the text tool on the left hand bar, see below.
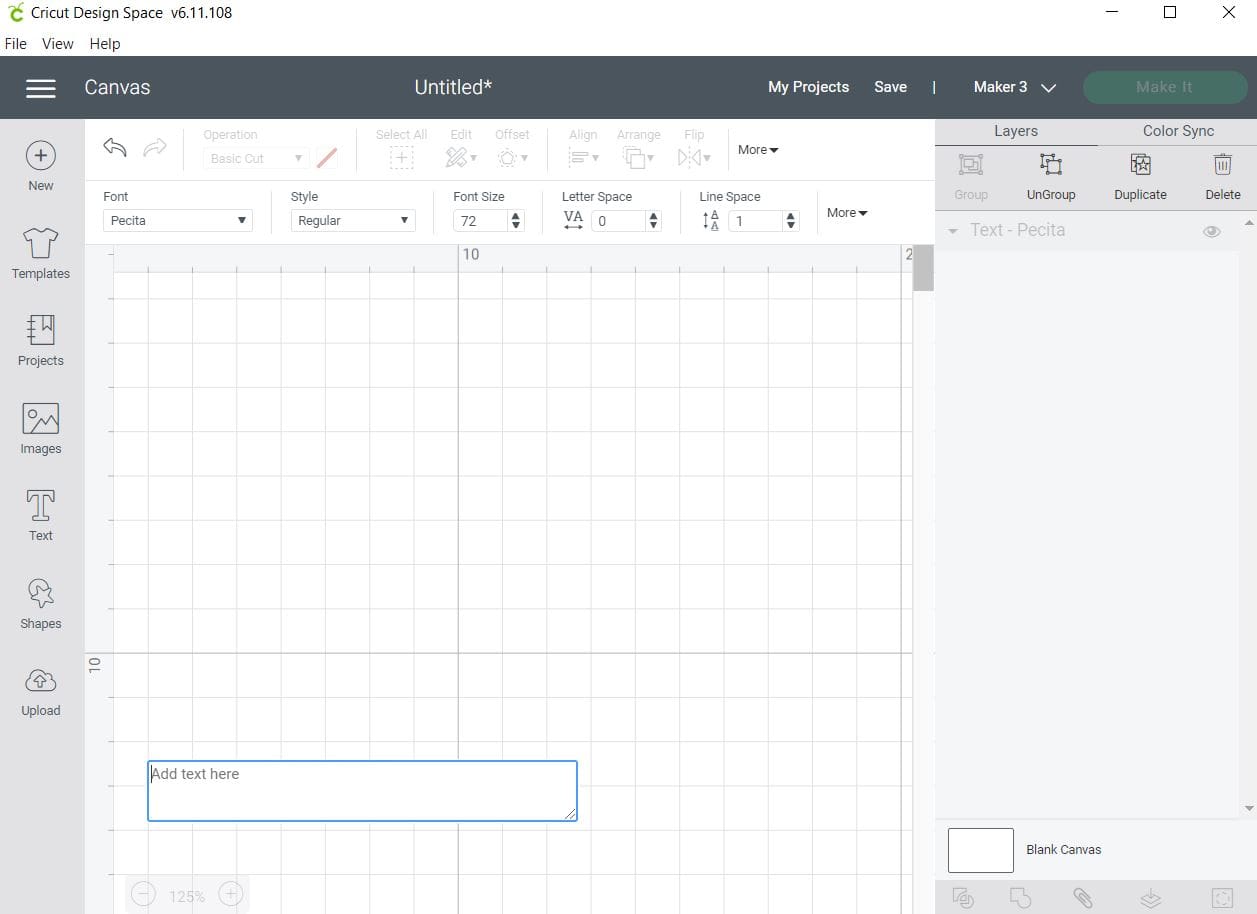
3. Now when you click the text button you can choose Pecita in the font box, see below.
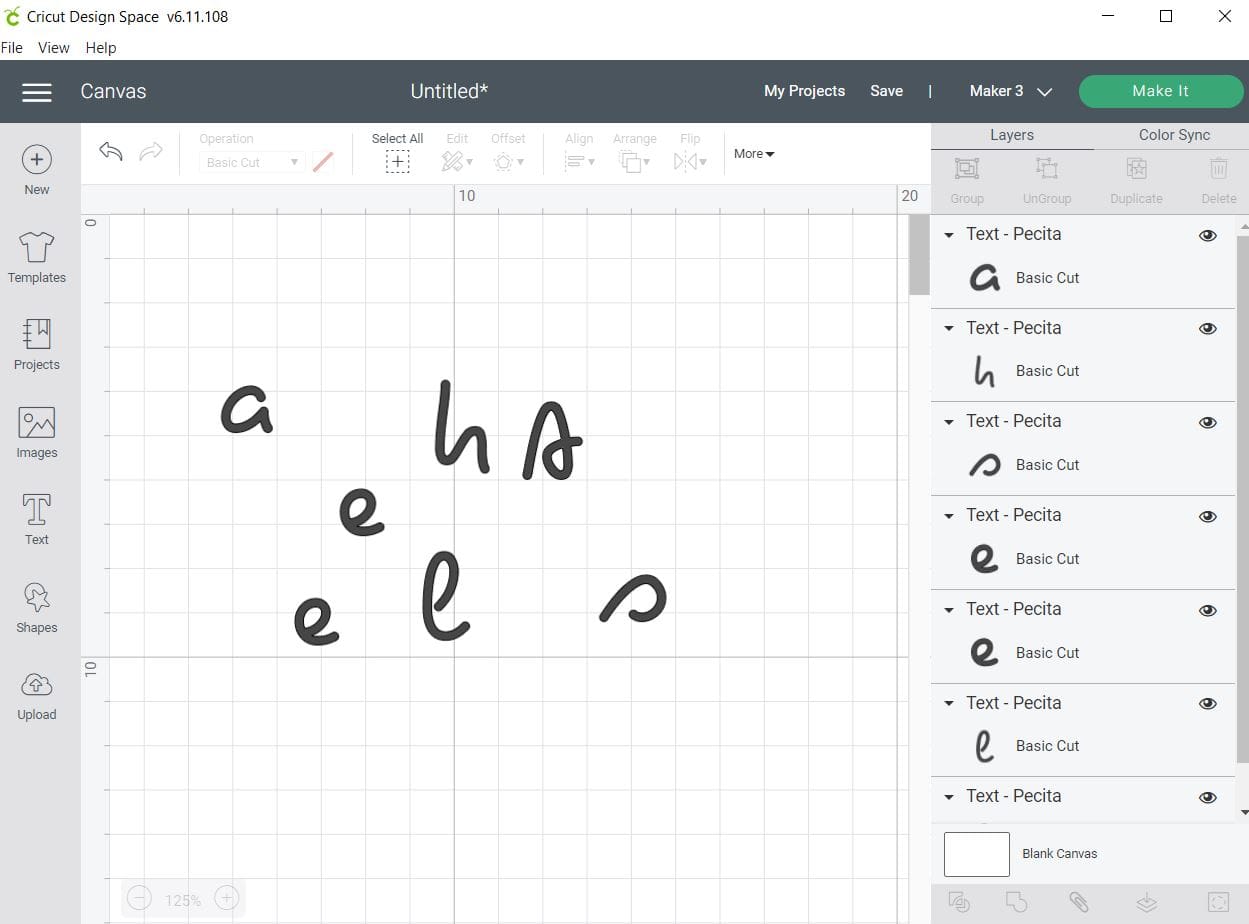
4. I type each individual letter as a single character, then re click text to type the next one, so that you can then bring the font together and weld it to get it to look as close to those fashionable styles as possible. See steps below. Be sure to move each letter as you type it otherwise the software will lay them all on top of each other.
5. Line up the letters as required, I have chosen not to line up the first letter, you can use the Align tool circled in blue to help you. To use highlight the letters you want and choose to align to the bottom. Once you are happy with their placement, choose the weld function circled in red below.
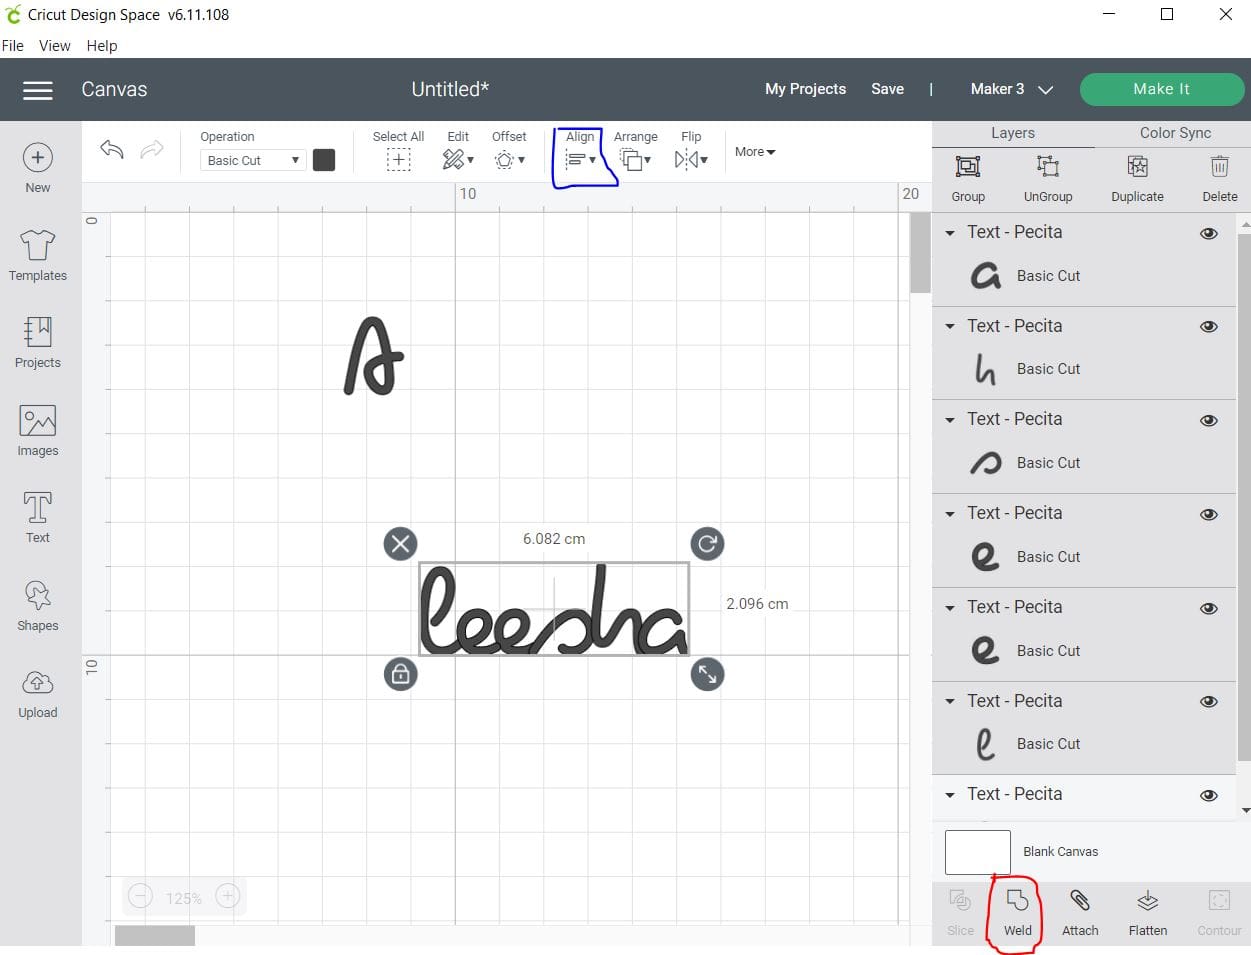
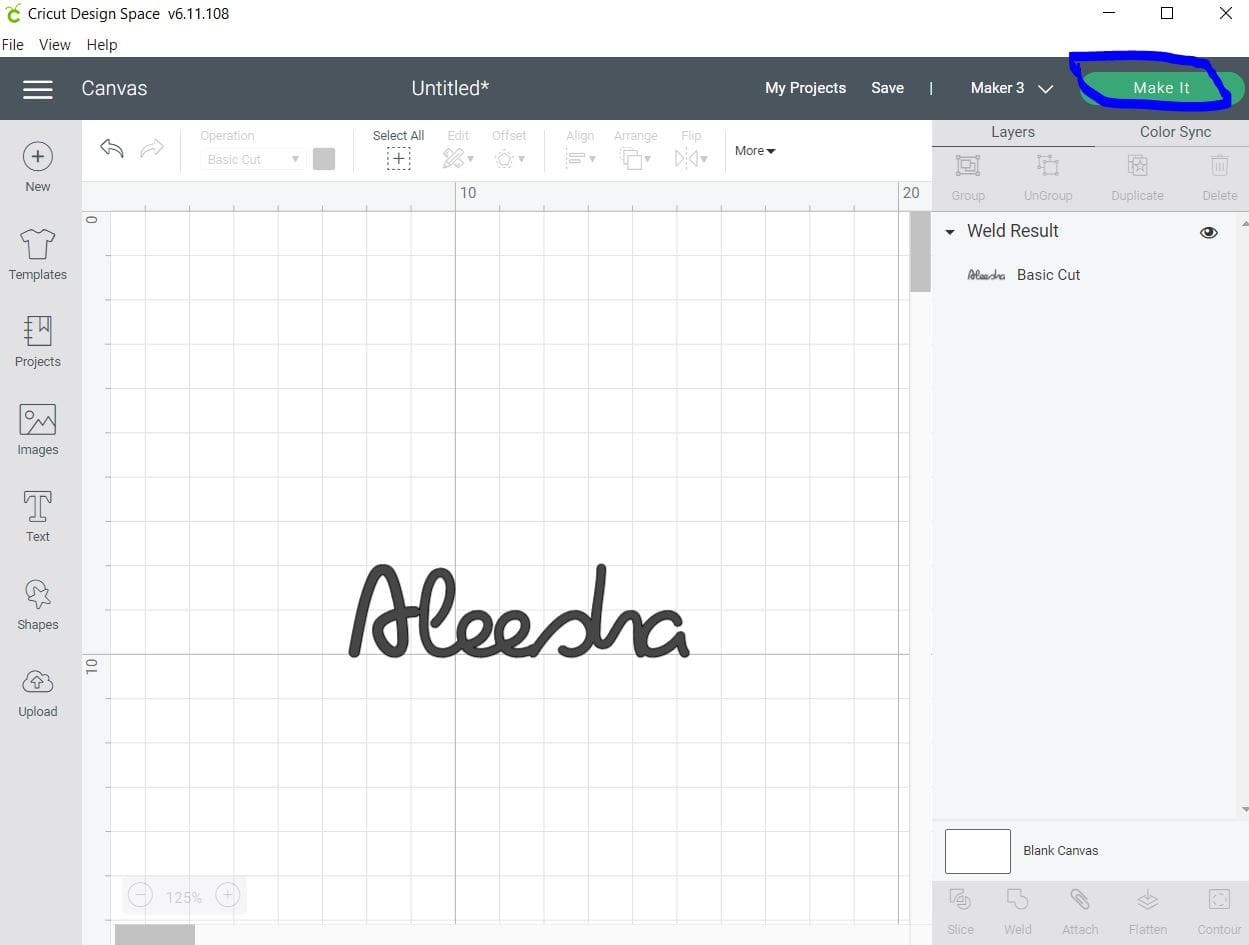
6. Once welded, then align the First letter should you have chosen to keep them separate, using the align function again in Blue, you can ensure they are straight, I slightly increased the size of the A before doing this, and then to make sure it cuts perfectly, choose to group them again highlighted in red. And then lastly Weld again. This will make sure it cuts as one file.

7. Resize the word to fit your chosen item, then click make it to move on to the next screen.
8. On the next screen, If using the Cricut Maker 3 then you will need to choose to cut on the mat (unless using smart media)

9. Cricut Maker 3 settings set as below for the GM crafts Pastel self adhesive, using the cutting matt.
**A reminder that these settings, including the blade setting, are specific to the materials and machine we’re using, adjustments may be necessary if using different materials and machine**
We always recommend before proceeding, you test cut your materials when first using so if you have not recently cut our Vinyl please test cut for your chosen machine found on our Application guide, and also Blog. Load the Vinyl chosen individually for each layer.
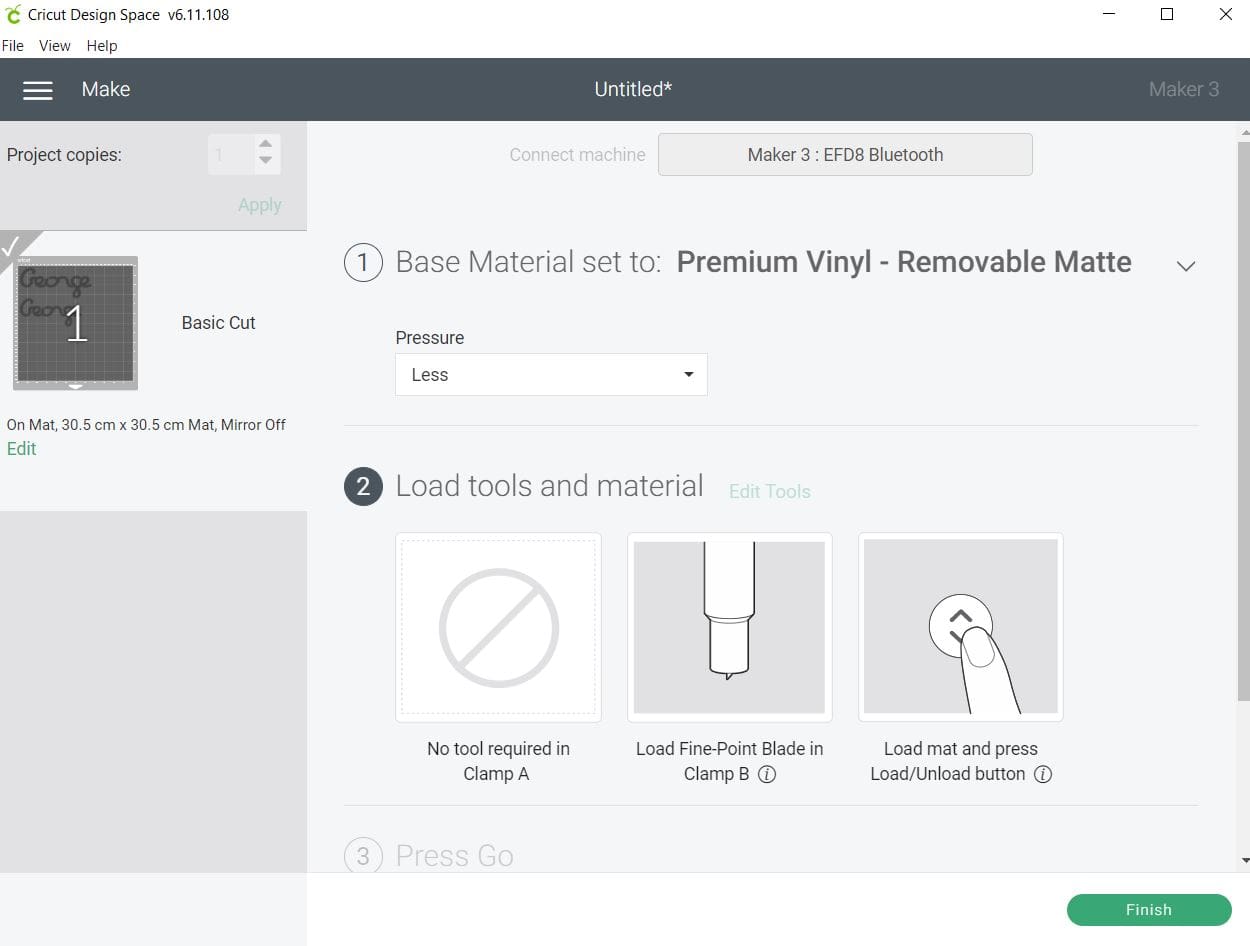
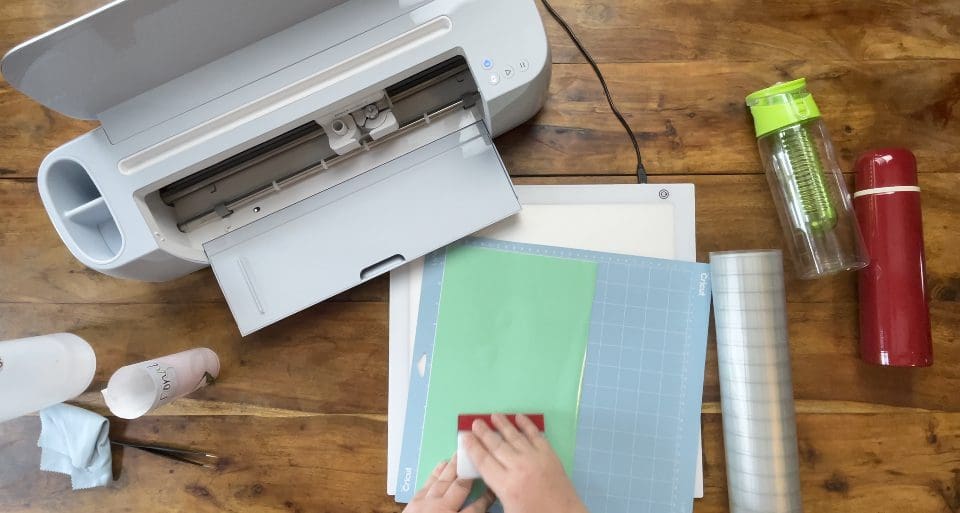
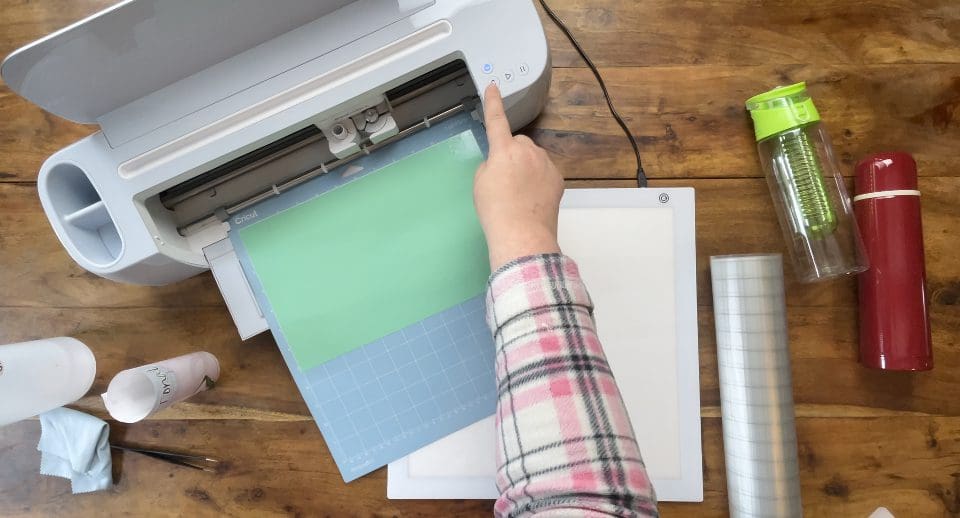
10. Take the chosen Vinyl (we use our pastel) cut it to fit the mat, use your squeegee to rub it flat, press the bottom left button on the machine with the arrows on to load your mat, see below. Then press the middle “play” button to cut (with a triangle on it)
11. Remove the Vinyl from the mat by gently flexing the mat away from the vinyl and pull to one side to release the sheet.
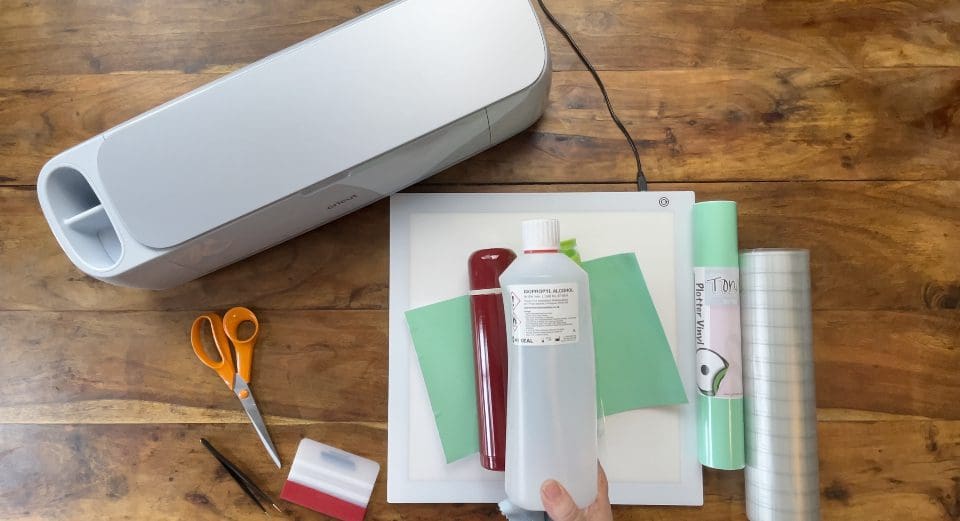
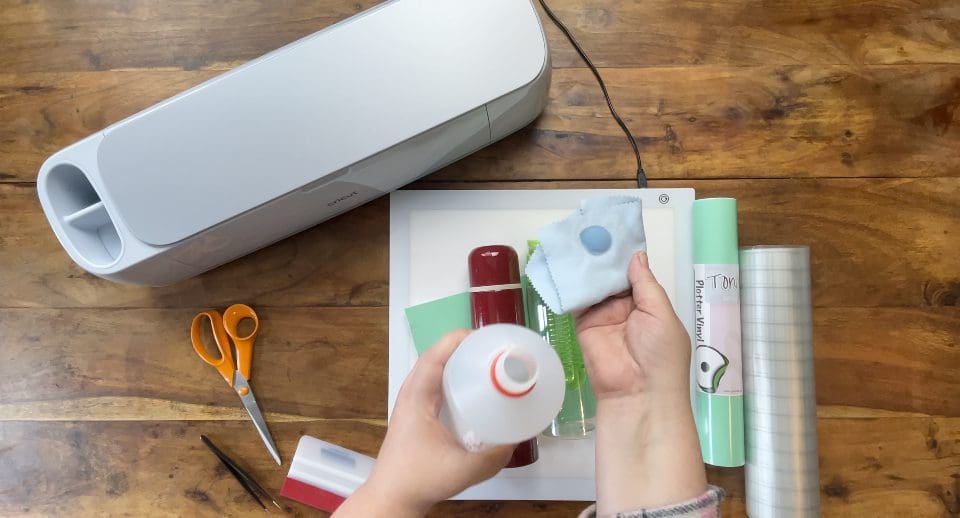
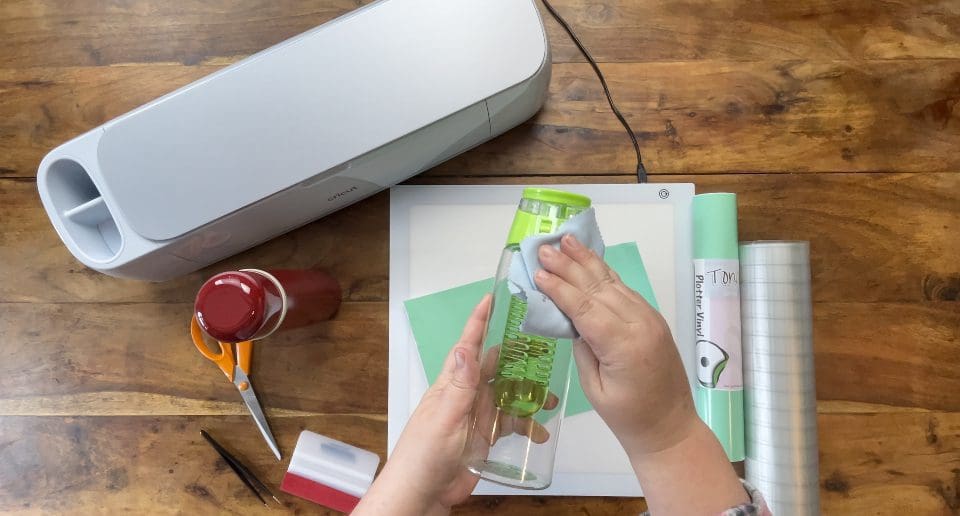
12. Take the rubbing alcohol and tip some onto the lint free cloth, before rubbing over the surface area it will be applied to, and your own fingers so that you do not transfer any natural skin oils onto the freshly prepared surface.
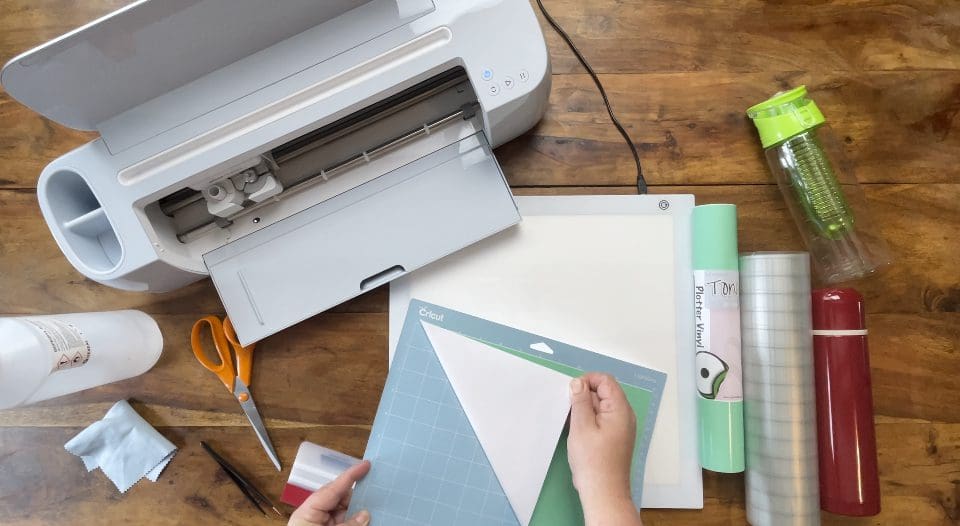
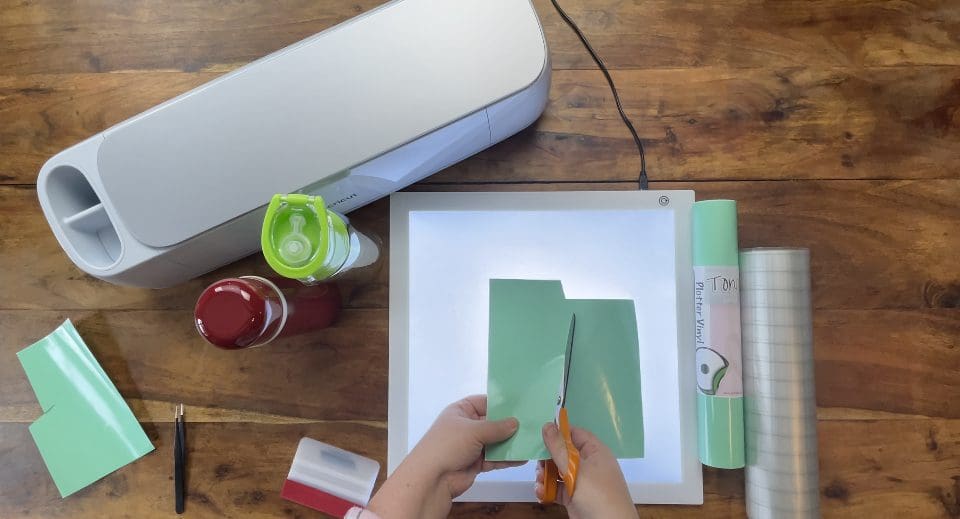
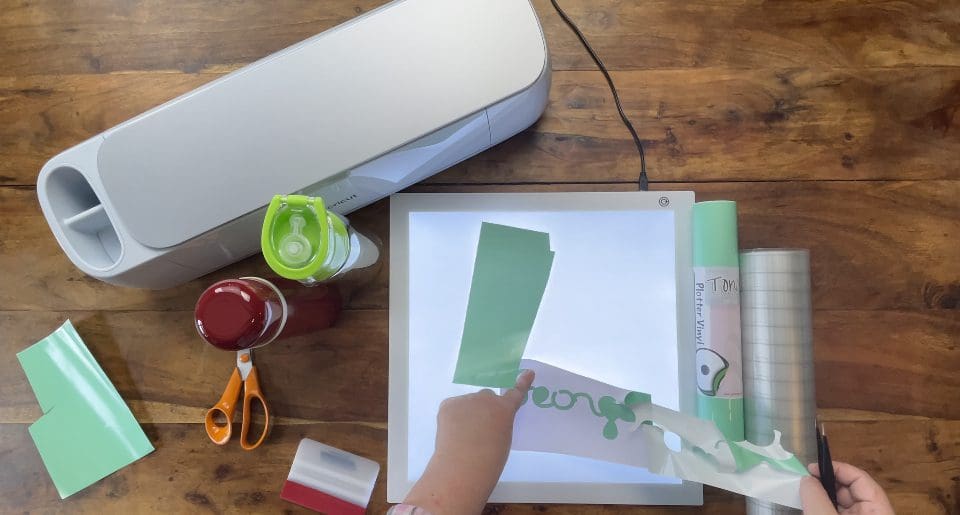
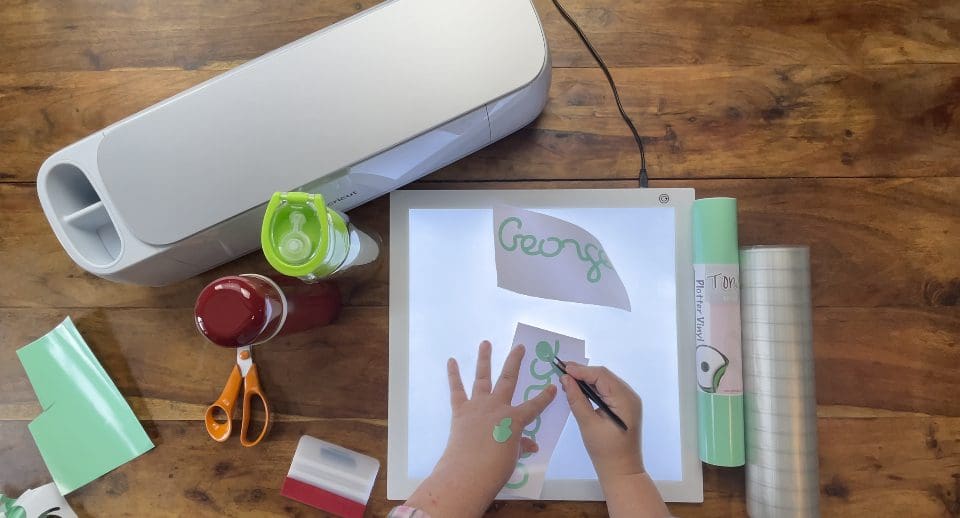
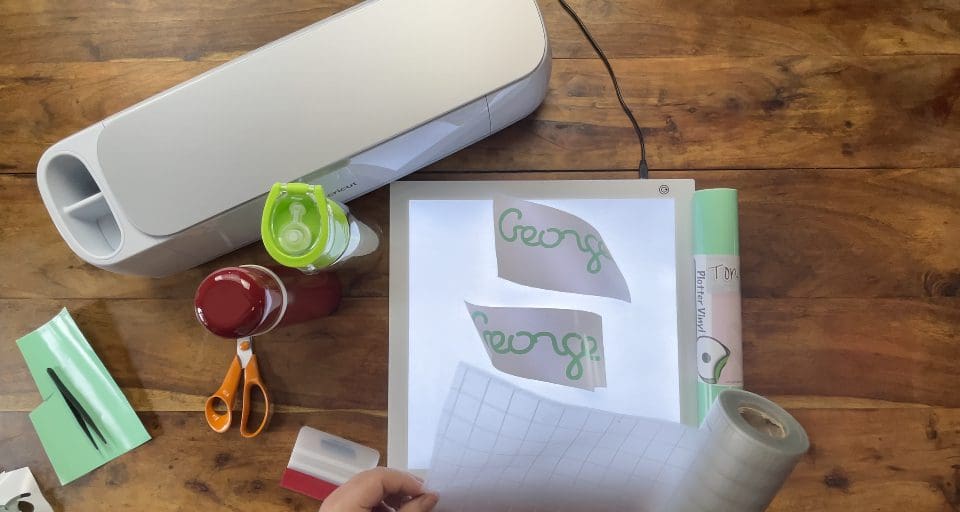
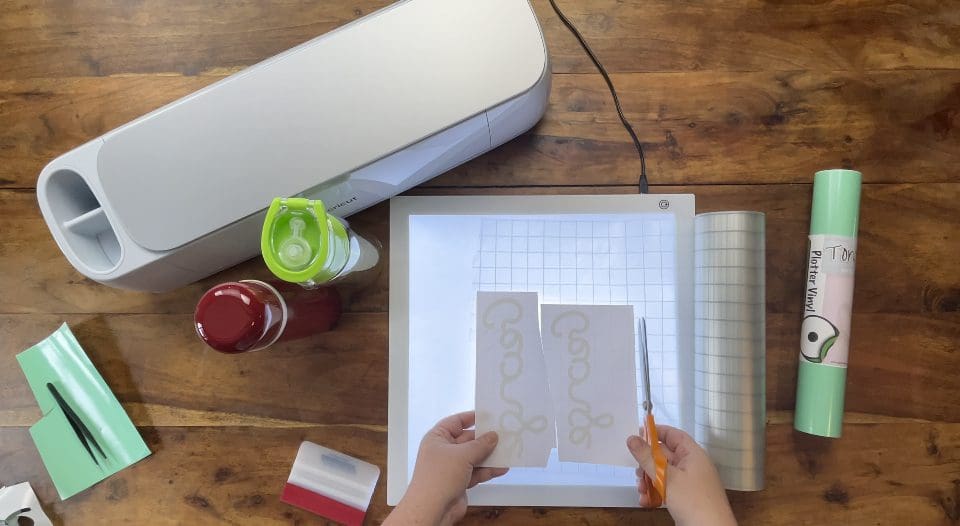
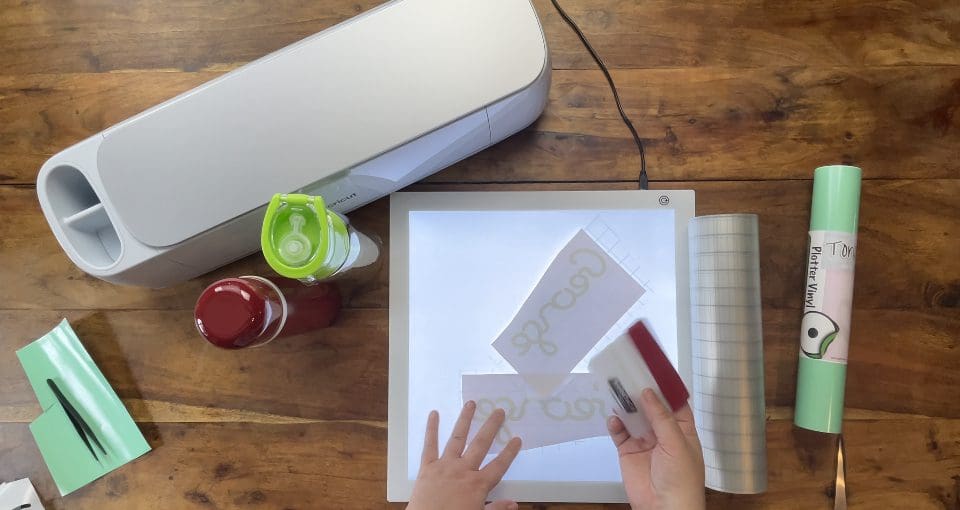
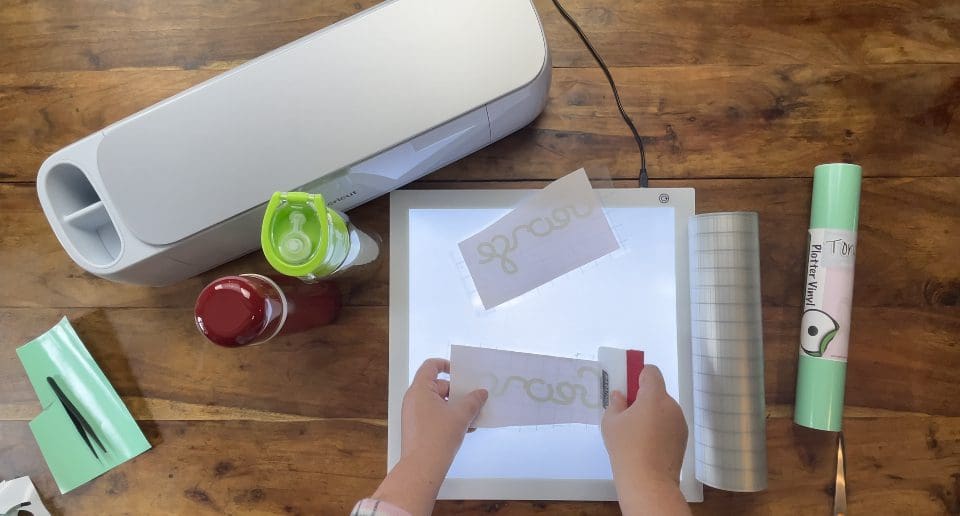
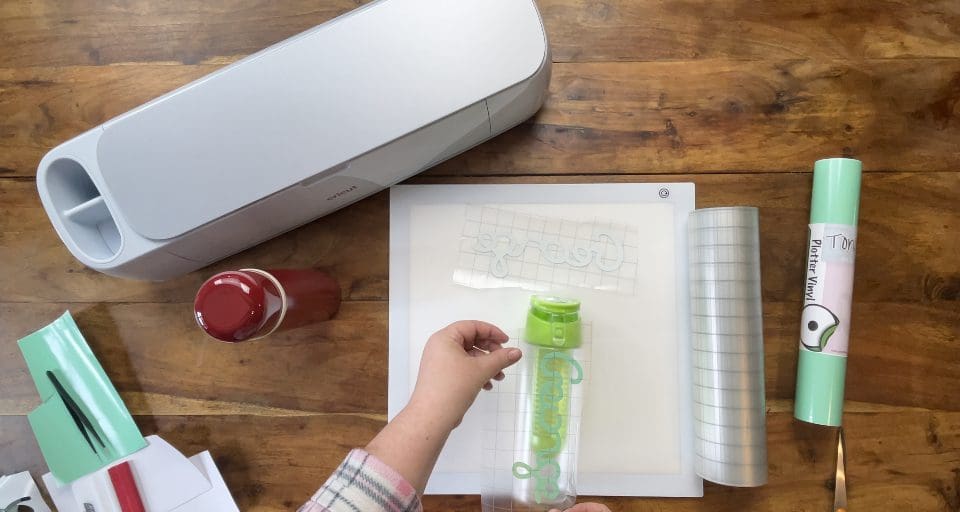
13. Whilst that air dries, cut away excess vinyl and if cutting 2 designs at once, cut them into 2 individual pieces as below, then proceed to weed (remove the unwanted Vinyl)
14. Take your application (transfer tape) and lay it with the sticky side facing up on the table.
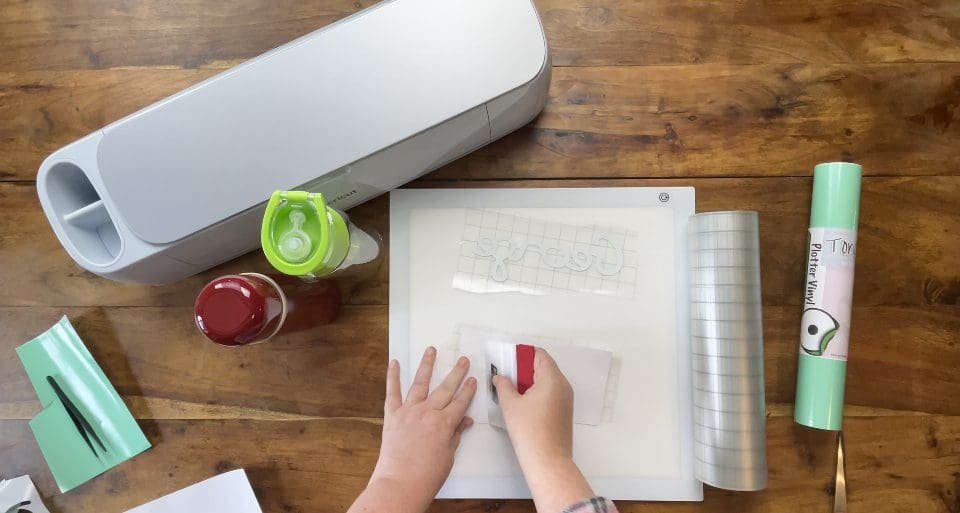
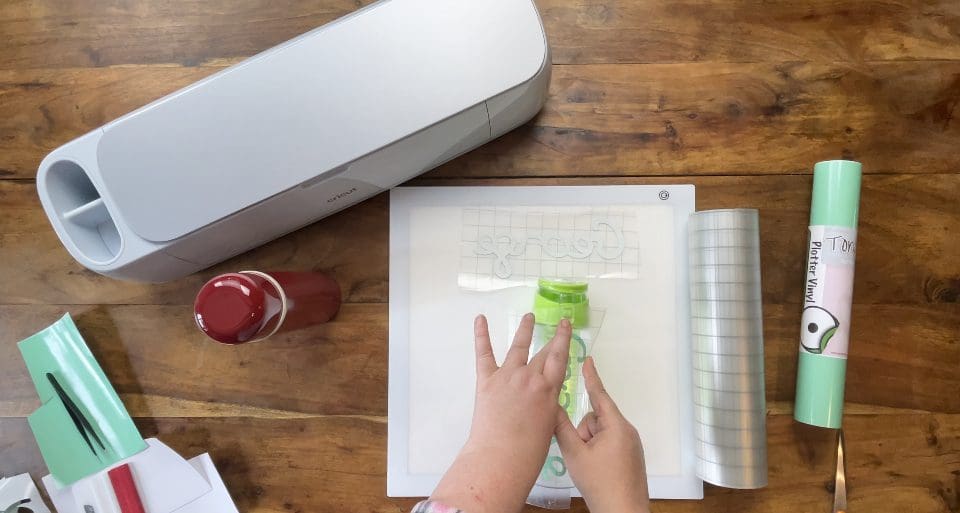
15. Place your words onto the sticky side face down, before trimming the application tape from the roll to fit.
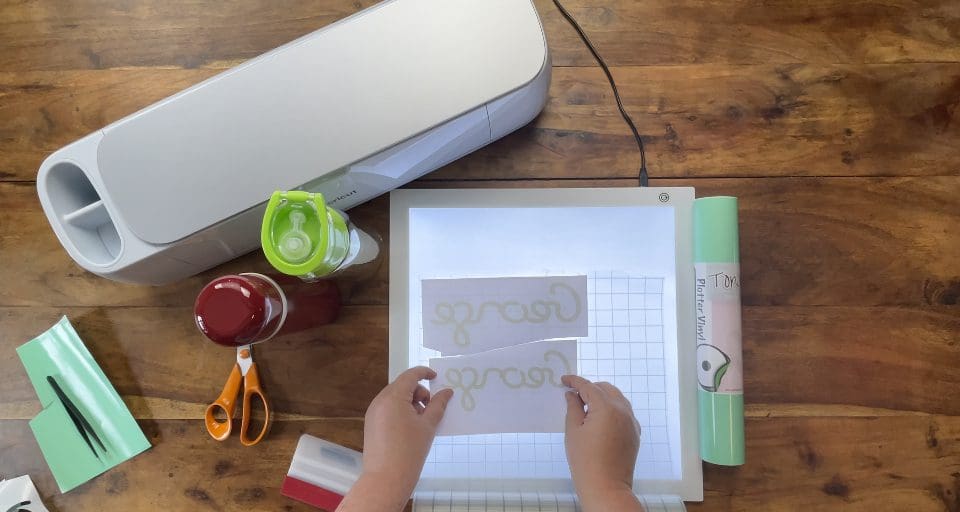
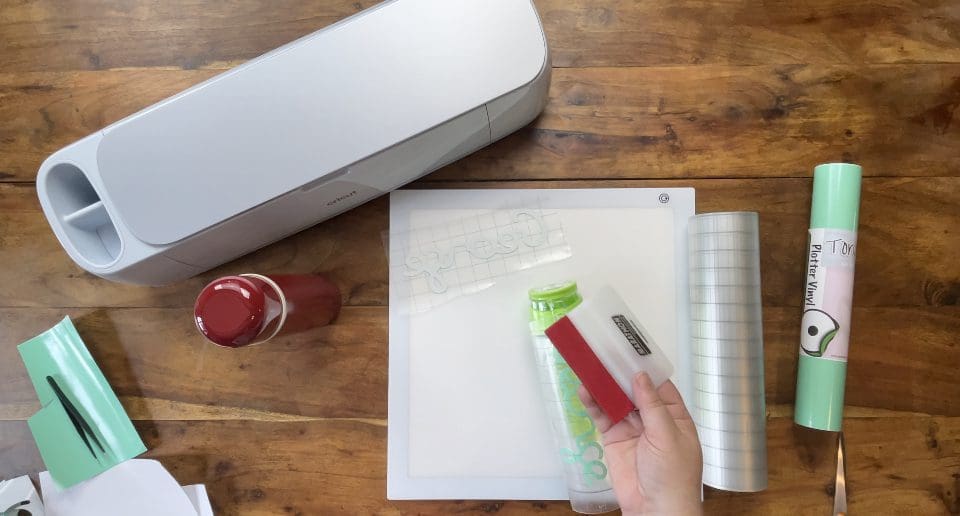
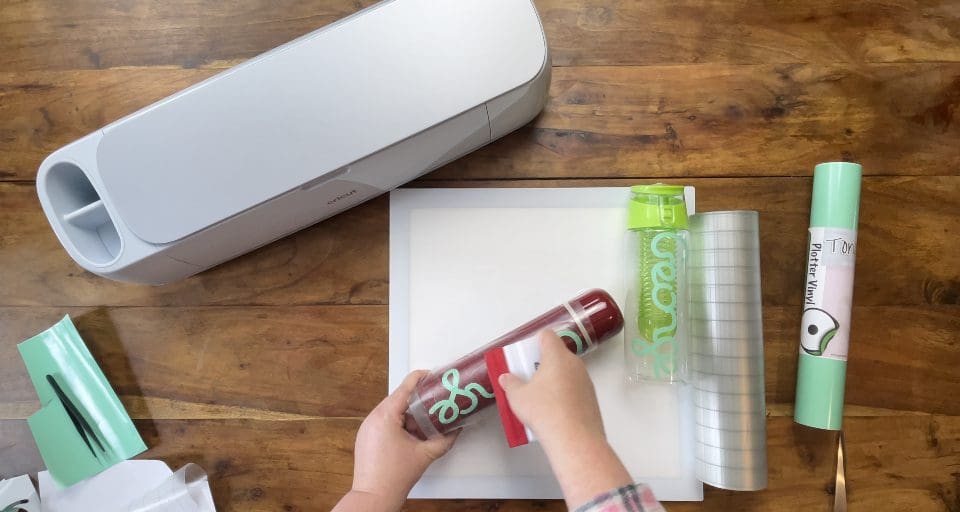
16. Take your squeegee and rub the back of the vinyl hard to transfer it onto the application tape.
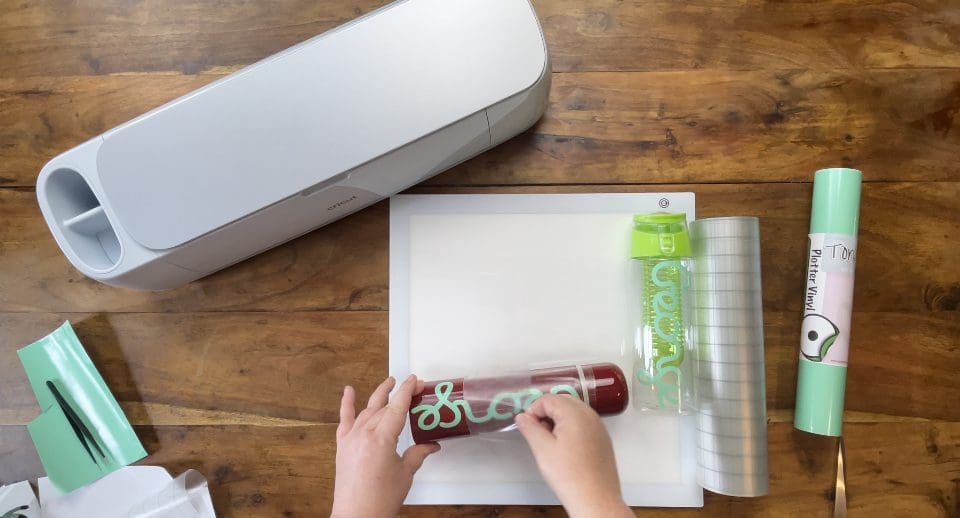
17. Lift the backing paper back upon itself to removed from the back of the words, ready to apply.
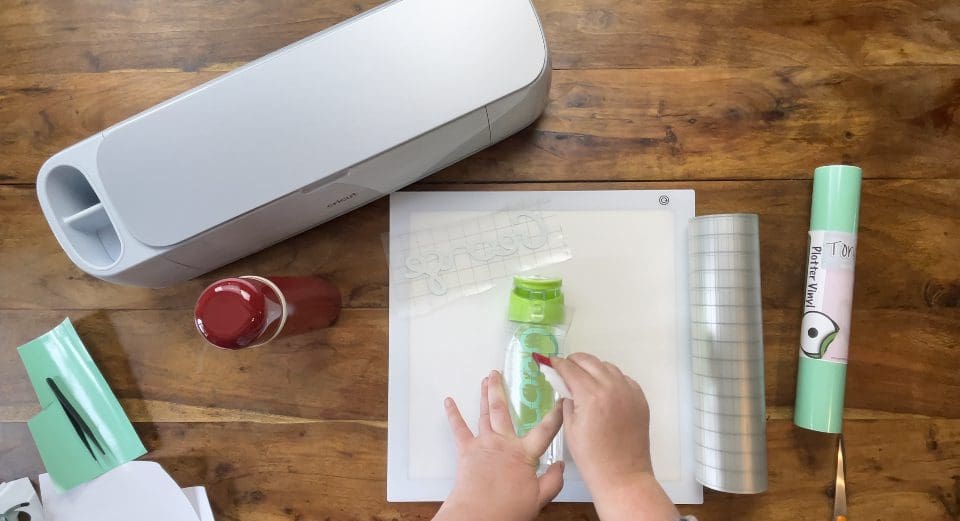
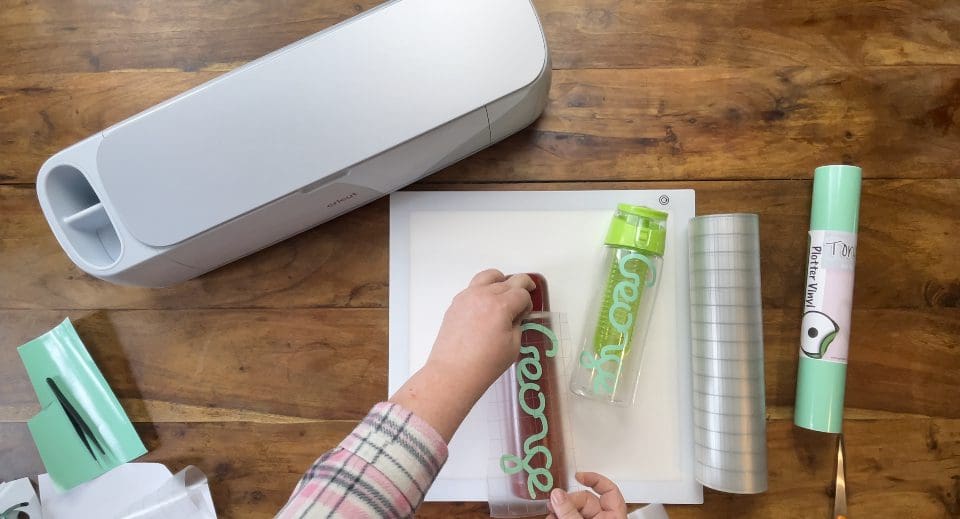
18. Carefully line up your design on your bottle, and rub down the middle of the design first before moving outwards to prevent creasing or bubbles.
19. Take the leather side of the squeegee to add pressure to the design to activate the adhesive once you are happy with it’s placement. Allow 48 hours to reach full adhesion before use, and Hand wash only.
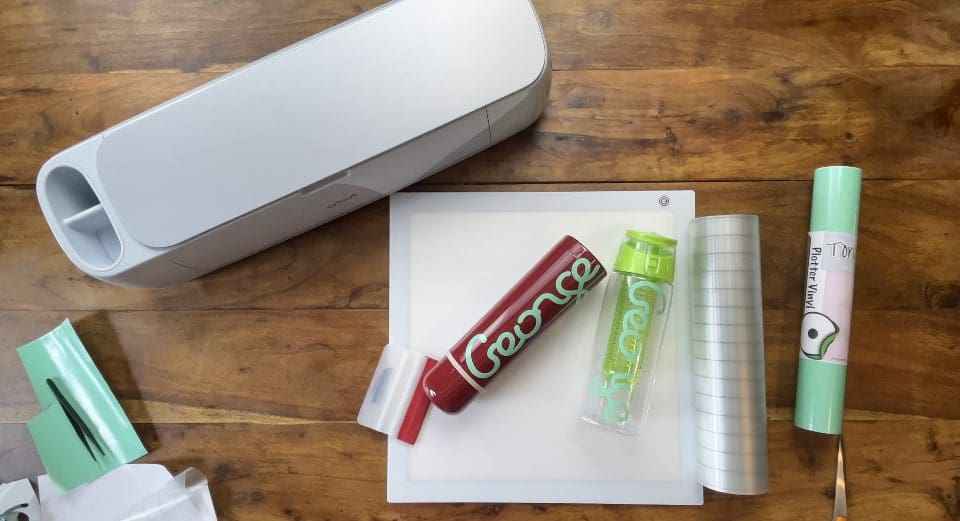
20. Repeat steps 17 and 18 should you wish to add another decal.
21. Remember to peel the transfer application tape back upon itself so you are not pulling the decal transfer straight off.
22. Don’t forget your finished design can be matched by using any material cut using a cutting file, card, self adhesive vinyl or even HTV. We’d love to see your makes on our social media pages! Or email them in!
Silhouette Cut File
Instructions:
Before you start, you need to download the font file, follow steps above 1 & 2 to do this, Open Silhouette Studio. Click the font icon and your new font will now appear in the font menu! follow the steps above to create the deign including welding. Remember to test cut if necessary and cut settings are found here along with test cut guidelines for every machine.
Brother Cut File
To install the font if you don’t know how to use a different font in Brother’s converter software see here
Cut settings are found here
Just incase you need the link CanvasWorkspace (brother.com)