Tutorial/Free Cut File
Easter Basket Tutorial and Free Cutting Files.
Hi! Good to see you!
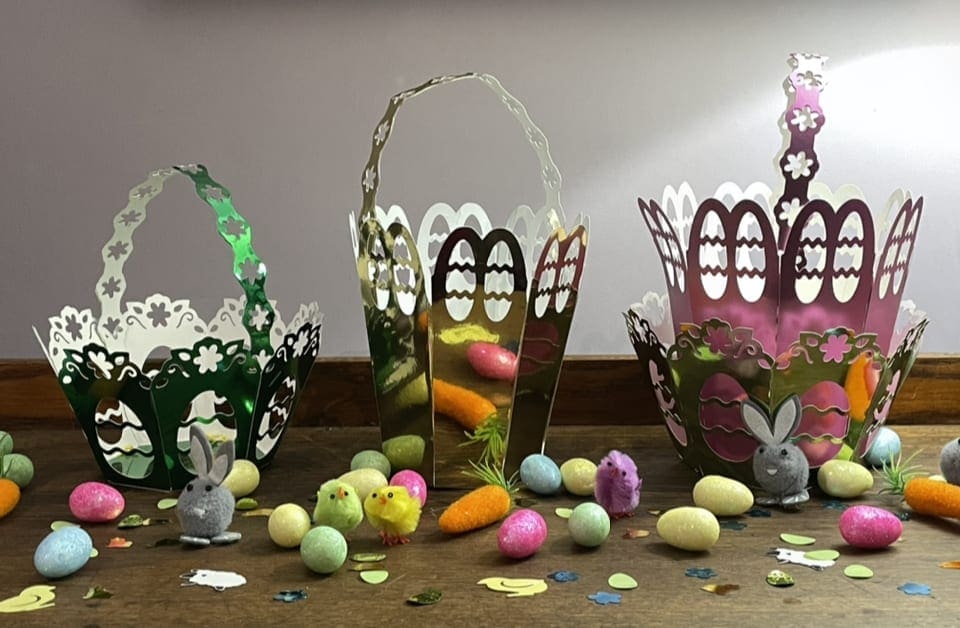
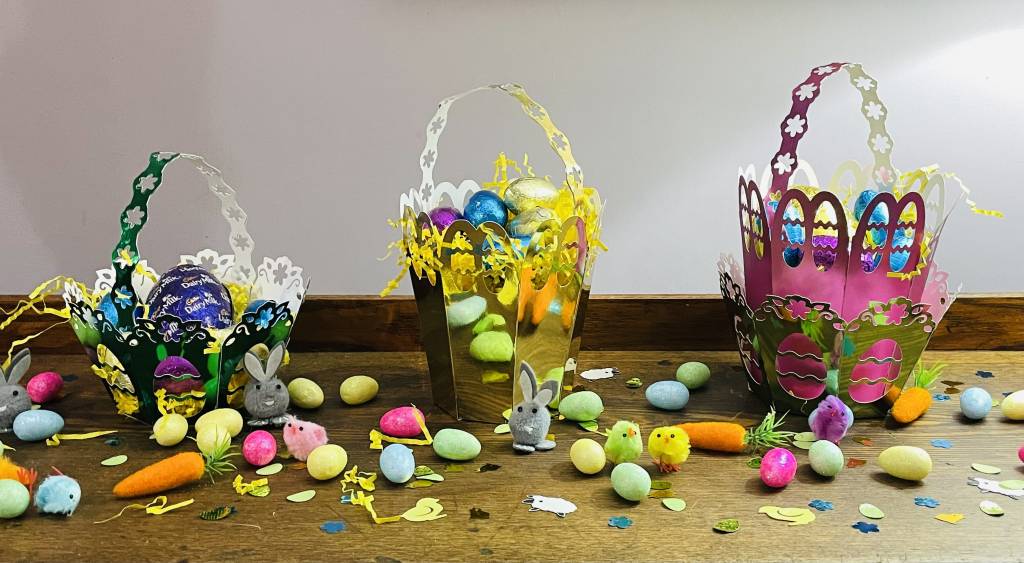
Well Easter is almost upon us, and the Easter holidays not only mean some lovely food, and of course chocolate, but time off with the children, so we thought you may like a fun project to do with them, or even create an Easter egg hunt with. These baskets can be made as a single basket, or layered to create a double basket too. We have deliberately made this so you can make 3 different types with these files, and fill them with any treats of your choice, maybe for older relatives or friends , pop a bath bomb in instead? Play with the sizing to create even more possibilities.
We would love to see what you make! Have you found our You Tube channel yet? The video showing this and all of our other tutorials are available on there, as well as exclusive demos, inspiration and more! Join us on Facebook , Instagram or Tiktok or send us an email to sales@gmcrafts.co.uk we would love to hear from you!
***watch this being made here in full screen on YouTube***
Below is a video showing you how to make a 1 layer basket
Below is how to make the 2 layer basket.
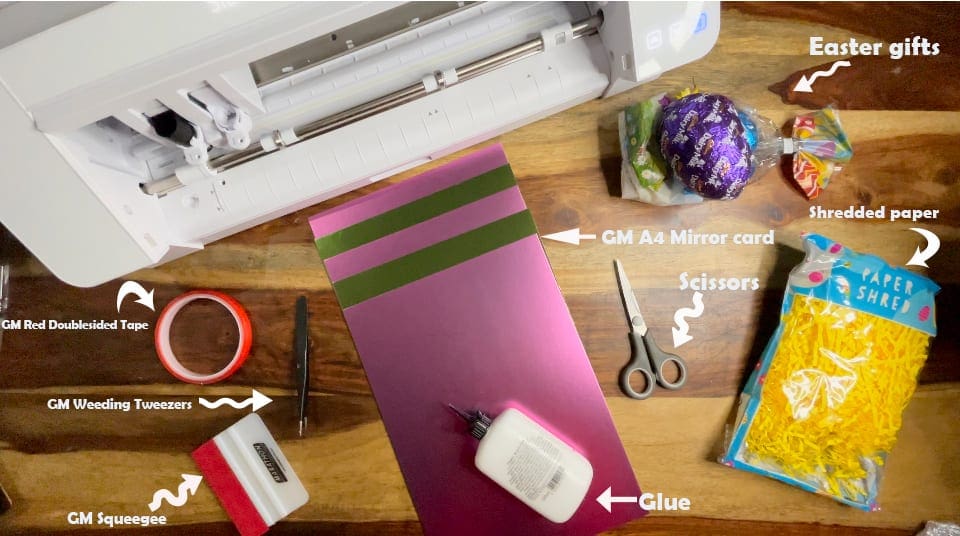
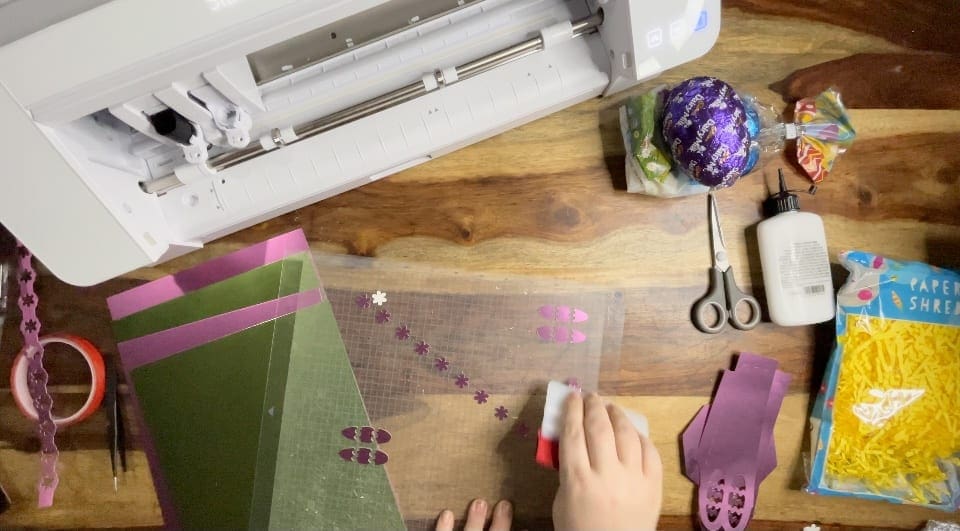
What you’ll need:
- Silhouette Cameo 4 with included blade and cutting mat. Available here
- Or a Cricut Maker with included blade and cutting mat. Available here (see separate instructions below)
- A4 Mirror card. Available here
- Self adhesive red Application tape here
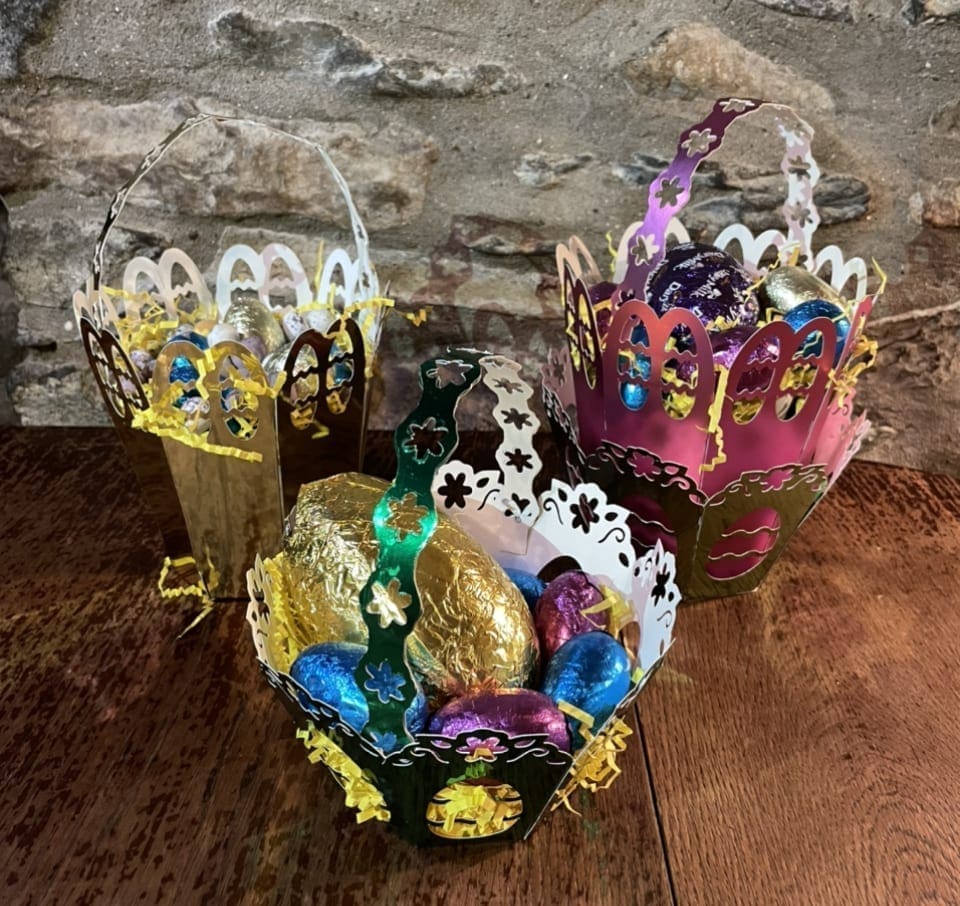
- Squeegee. Available here
- Weeding tweezers . Available here
- Scissors, glue from your own stash (I use a dries clear acrylic glue )
- Cut files, which are free below! Including, Cricut, Silhouette and Brother cut files. (Cricut is after the Silhouette tutorial, and Brother after that below)
- Chocolate eggs or gifts of your choice
- Shredded paper – either make your own or buy from any craft shop, even shops like B&M or Poundland etc have them in the craft aisle.
Instructions:
Before you start, you need to download the cut file below. You may need to increase your force or pressure more when cutting the side panel layers due to its detail to get a clean cut, and it will not suit all card or material types, or too small resizing.
Silhouette Easter basket files
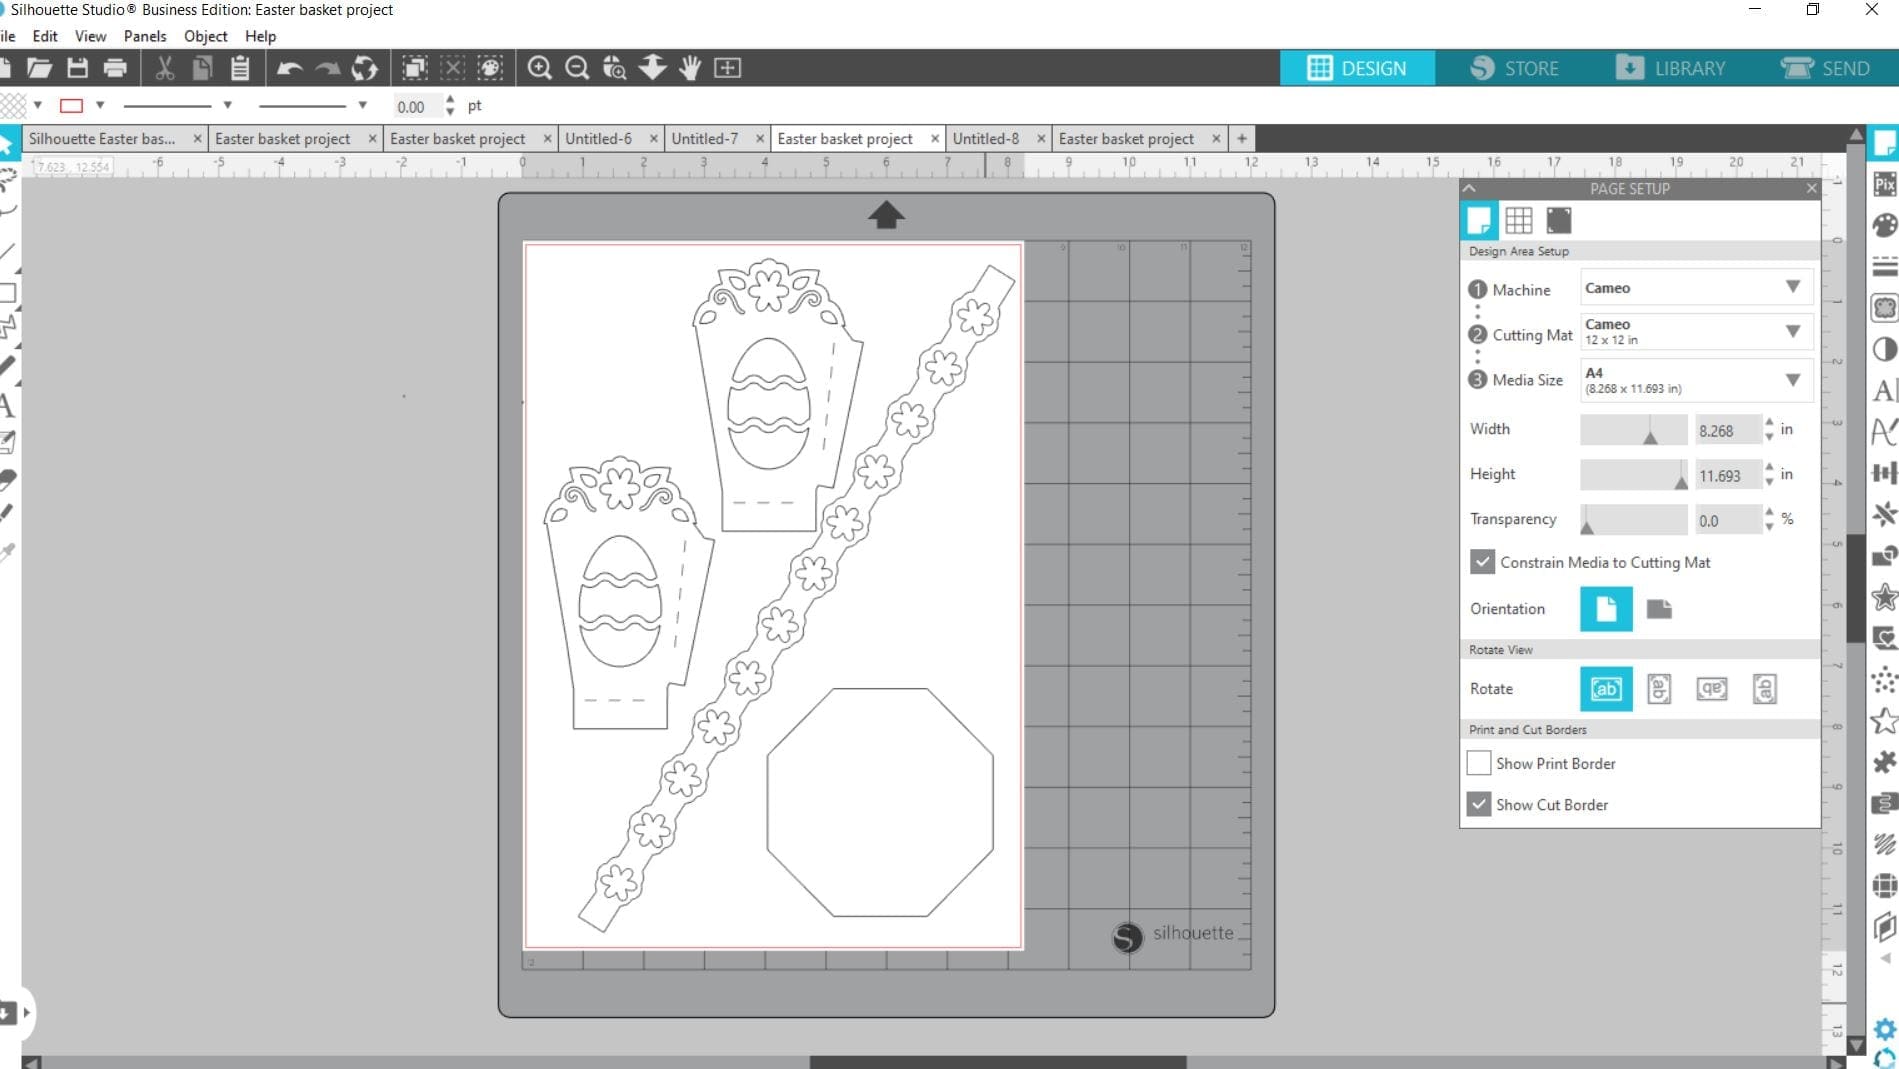
1. Upload the cut file into Silhouette Studio and resize as necessary, (when resizing bring all layers into the design software and select all at once to get the correct offset layers and save the adjusted file, so you can cut layers individually at that correct scale you have chosen).
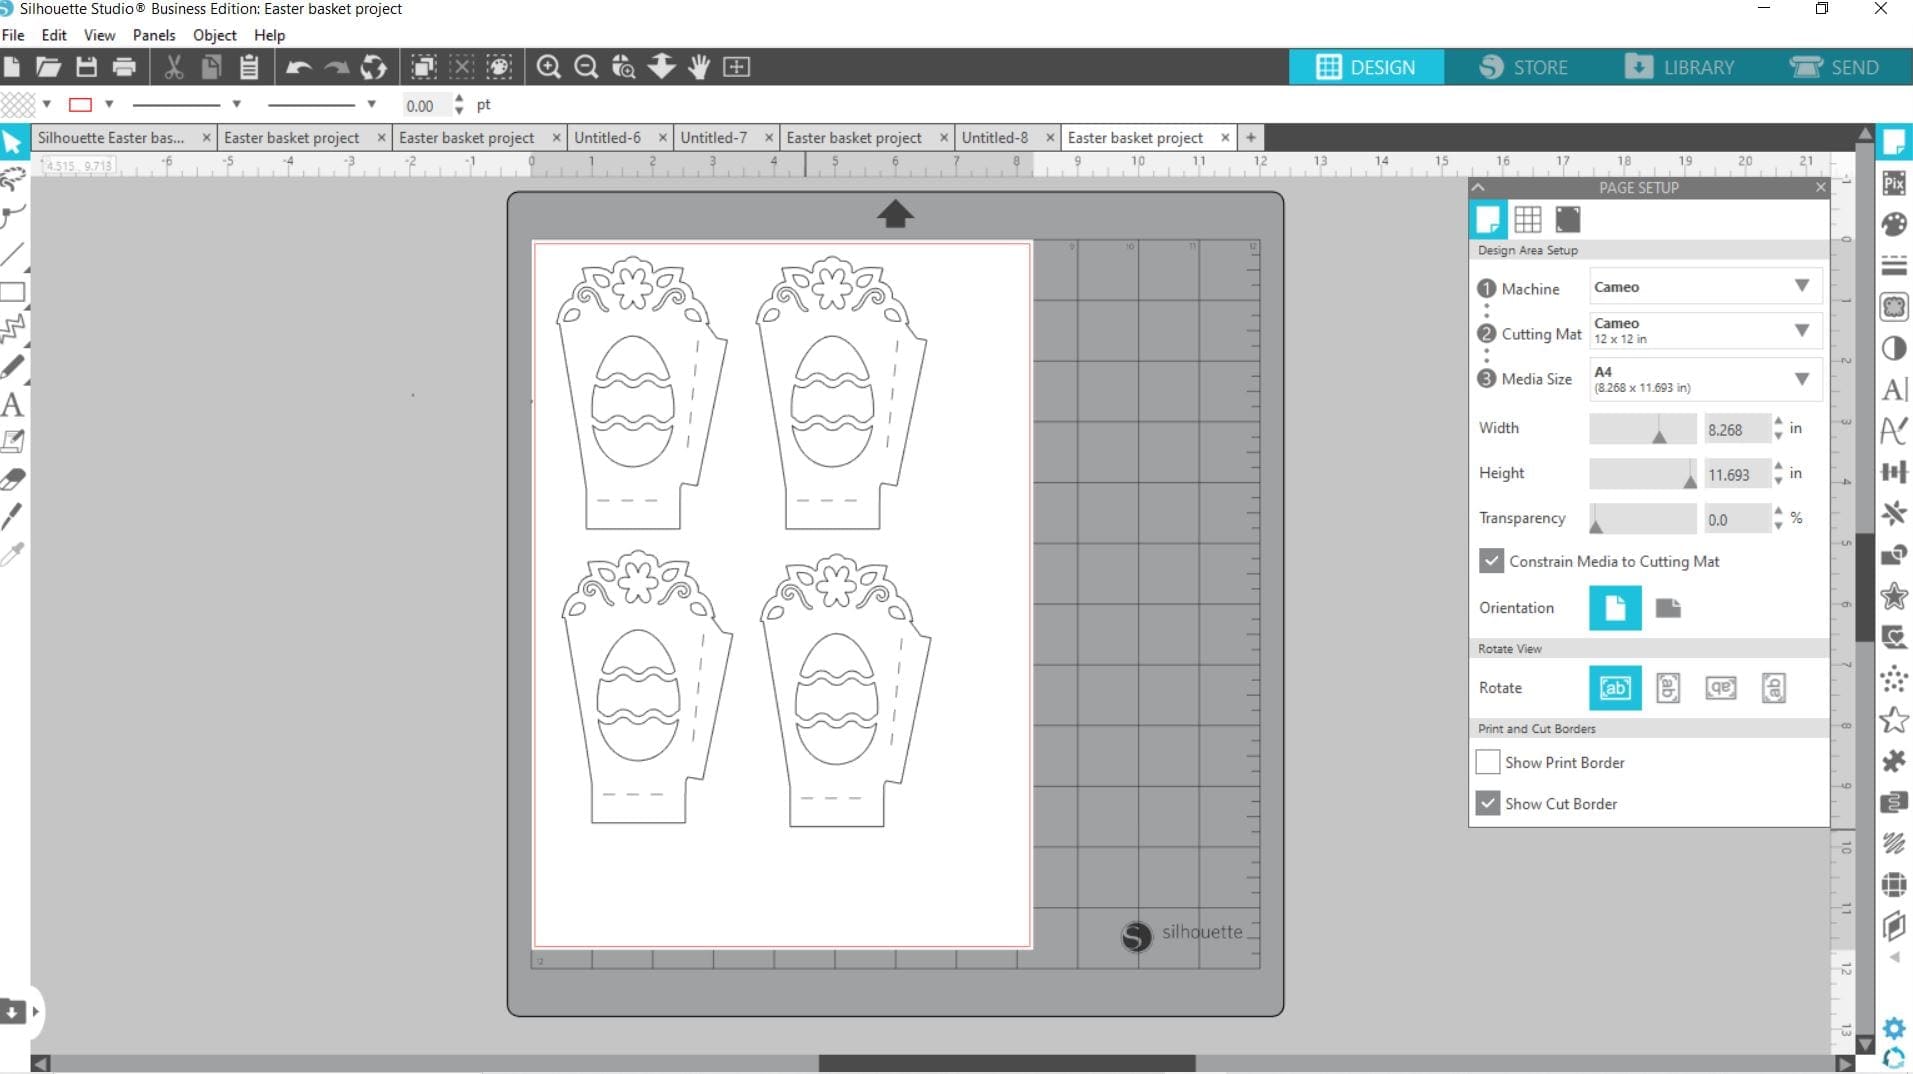
We resized ours so that 2 of the (inside basket) Side layers, base and handle fit on 1 A4 sheet, which we will cut two of these sheets.
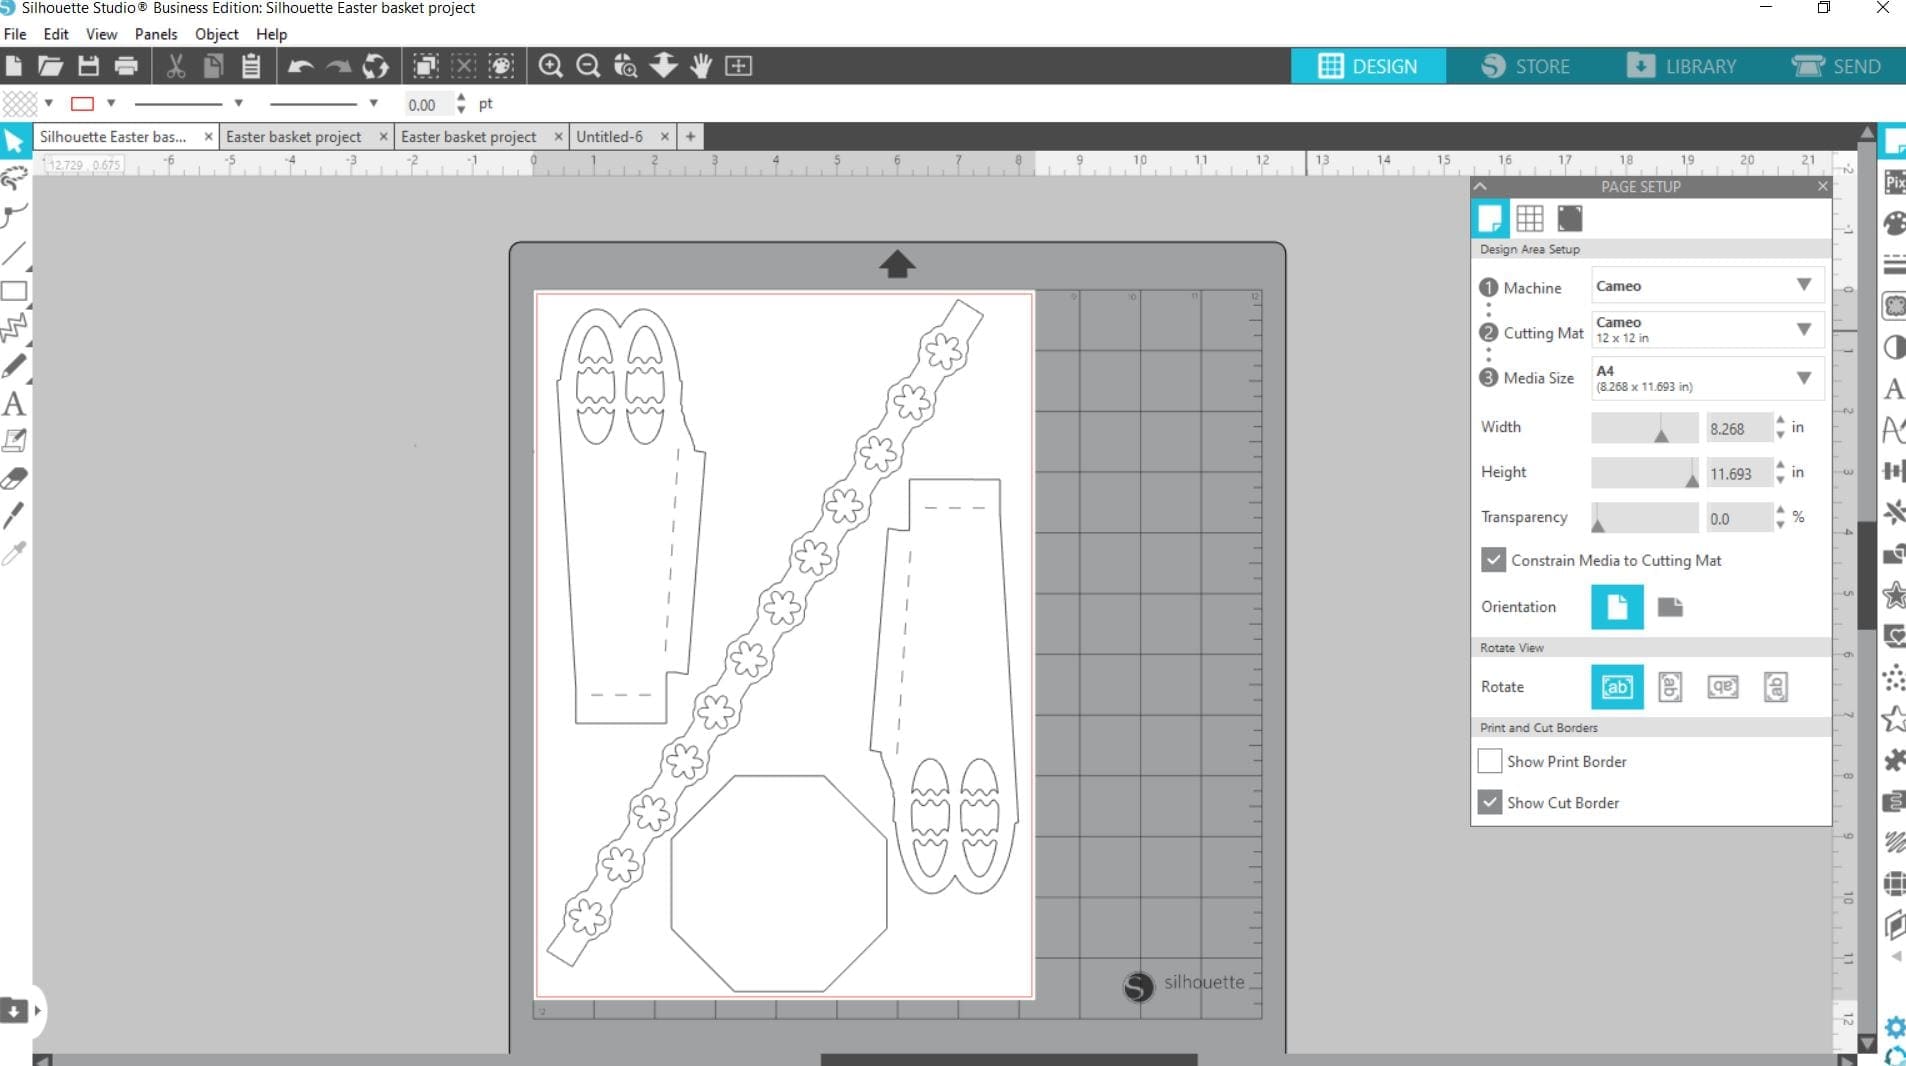
Then the remaining 4 inside layers fit on one A4 sheet (so 3 sheets for the inside basket are used in total.)
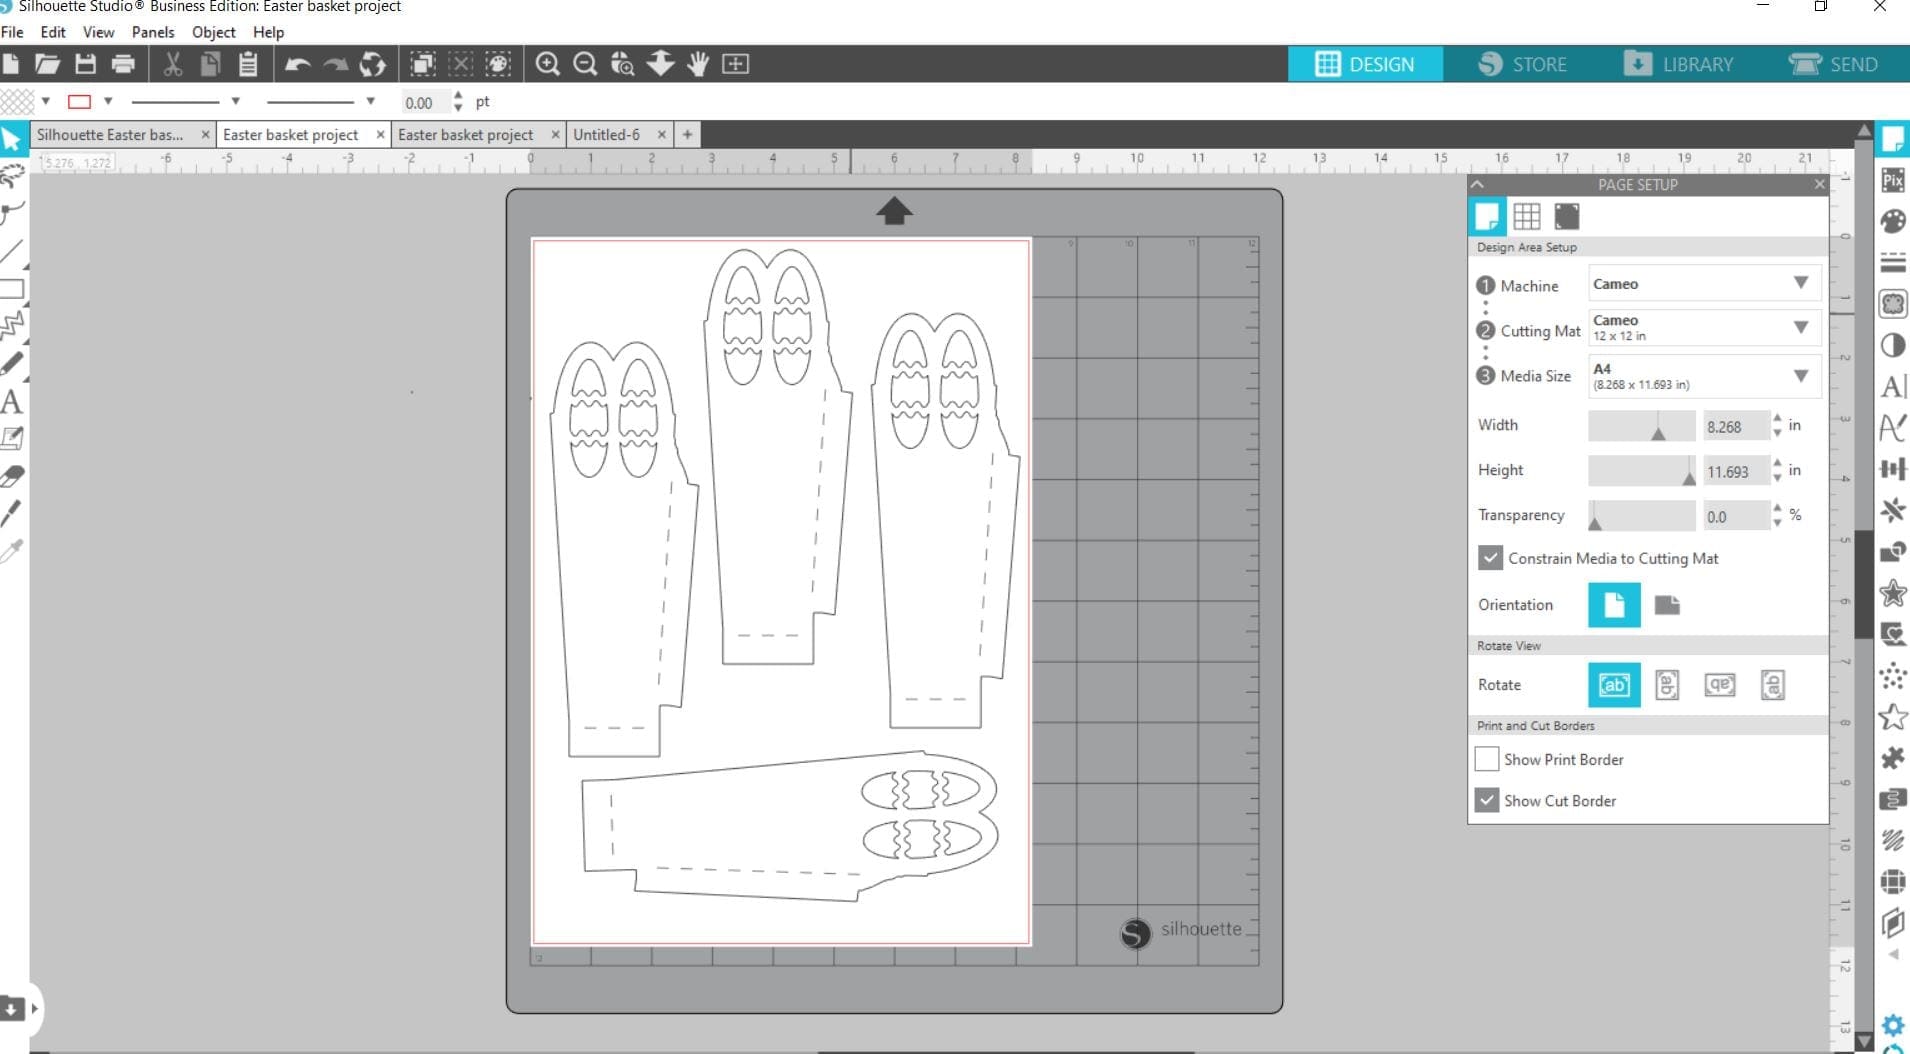
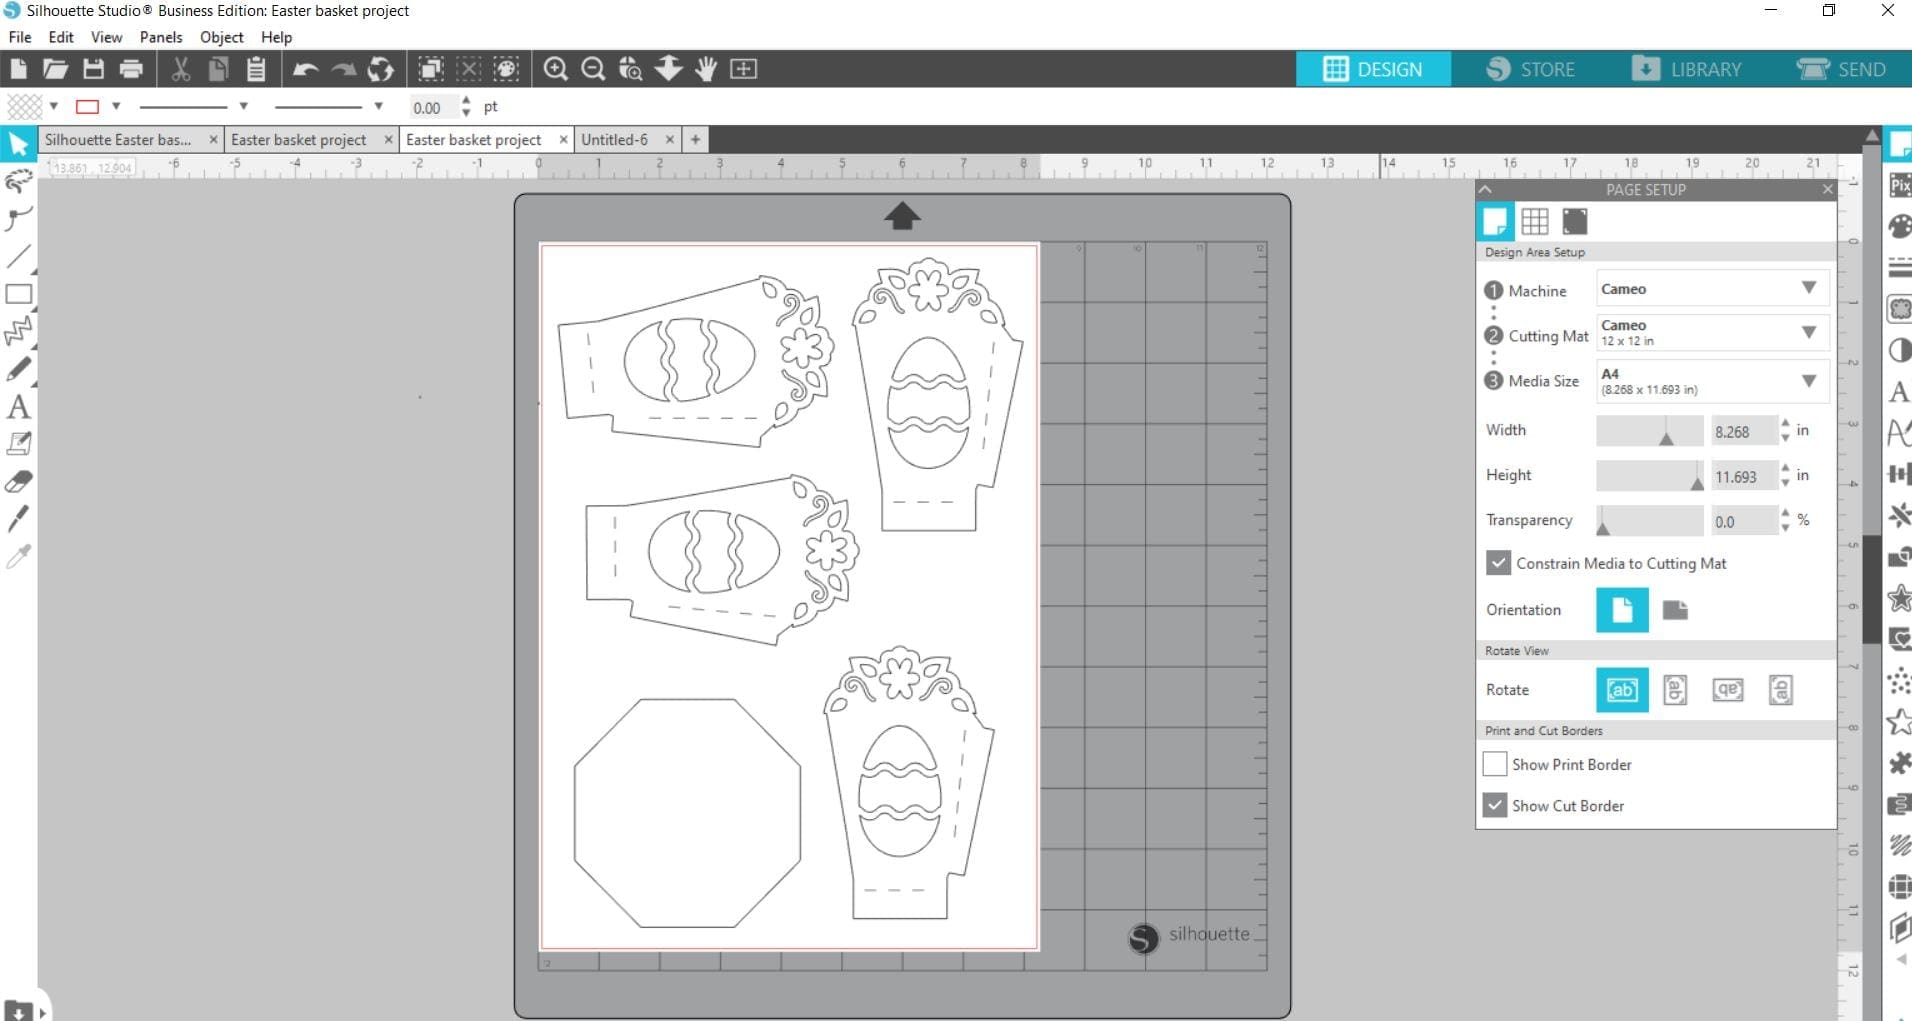
And the outside basket has 4 layers and a base on it so again we will only have to cut this twice. If you are using the outer basket on it’s own you would also need to double cut the handle too.
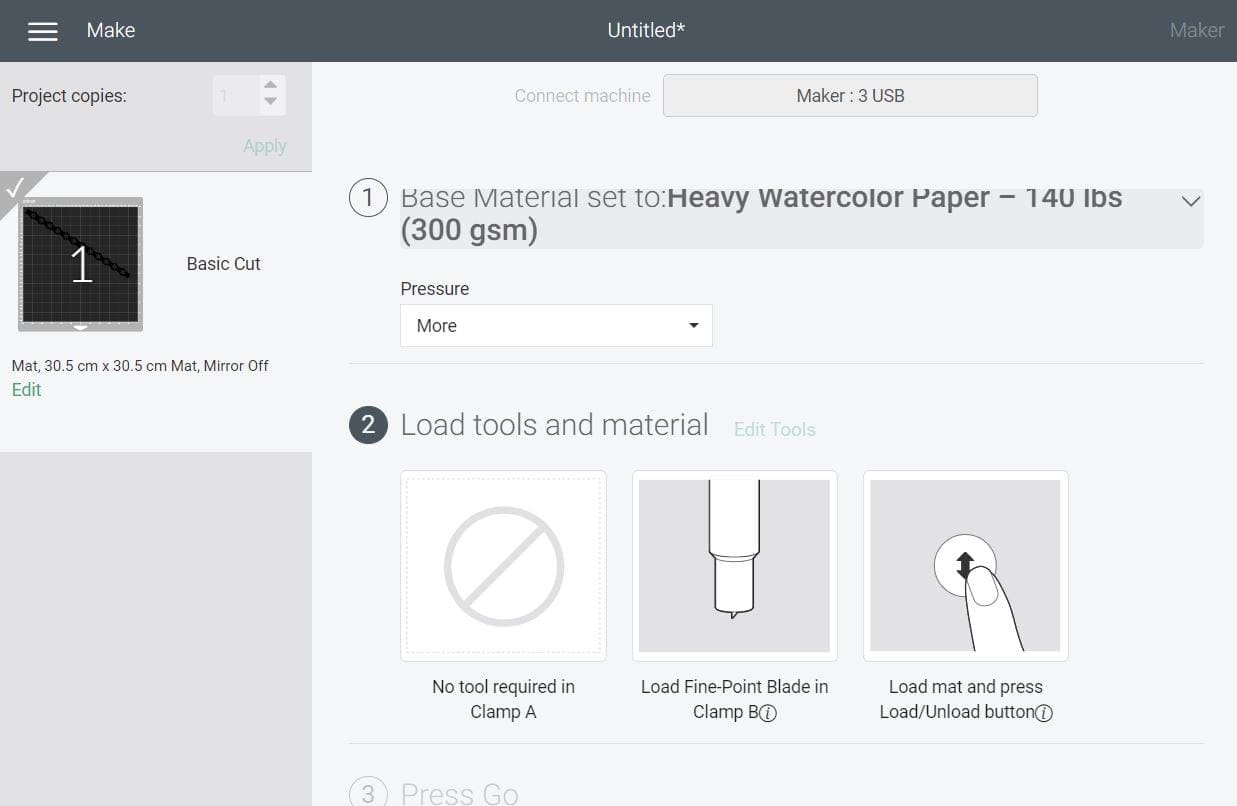
Cut settings: (**please test cut if not used material before)
Auto blade: 3 (you can also use a ratchet)
Speed: 5
Force: 10
Passes: 2
**A reminder that these settings, including the blade setting, are specific to the materials and machine we’re using, adjustments may be necessary if using different materials and machine**
We always recommend before proceeding, you test cut your materials when first using so if you have not recently cut our Mirror A4 cardstock please test cut for your chosen machine found on our Application guide, and also Blog, Silhouette Cameo is here and portrait is here.
2. When happy with the size of the design, select ‘SEND’ in the top right corner of your screen. In the next window make sure your settings are all set to the successful settings from your test cut and ensure your machine is linked before proceeding to cut. Position the A4 card on the cutting mat and apply pressure with the Squeegee to it to make sure it is secure. The Mirror side should be face up on the mat Load your Mat using the up arrow on the machine , select ‘SEND’ in the bottom right of the screen after making sure your machine is connected.
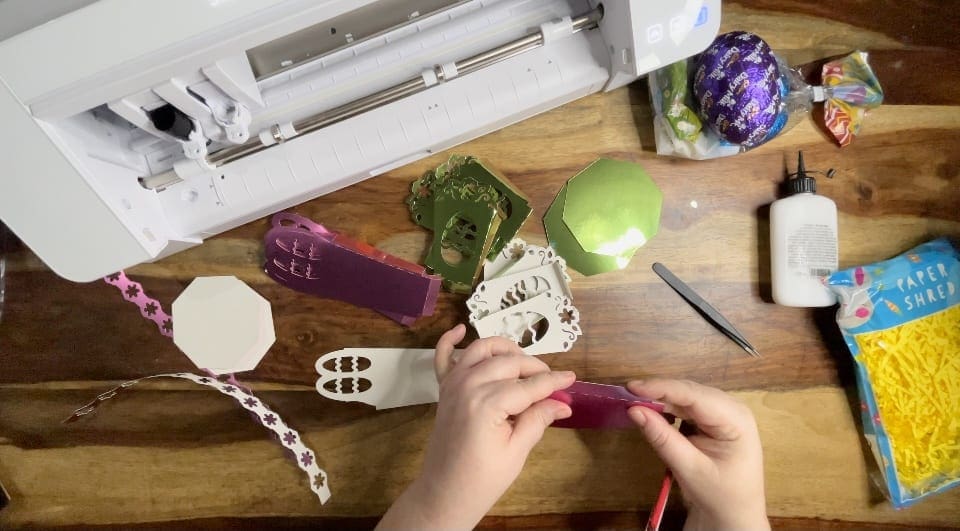
3. When cut, unload the mat by pressing the machine’s down arrow, peel the card off the mat, flex the mat away from underneath at the same time to reduce the risk of damaging the delicate cuts in the A4 card. Then, remove any excess material and scrape the mat clean with your squeegee.
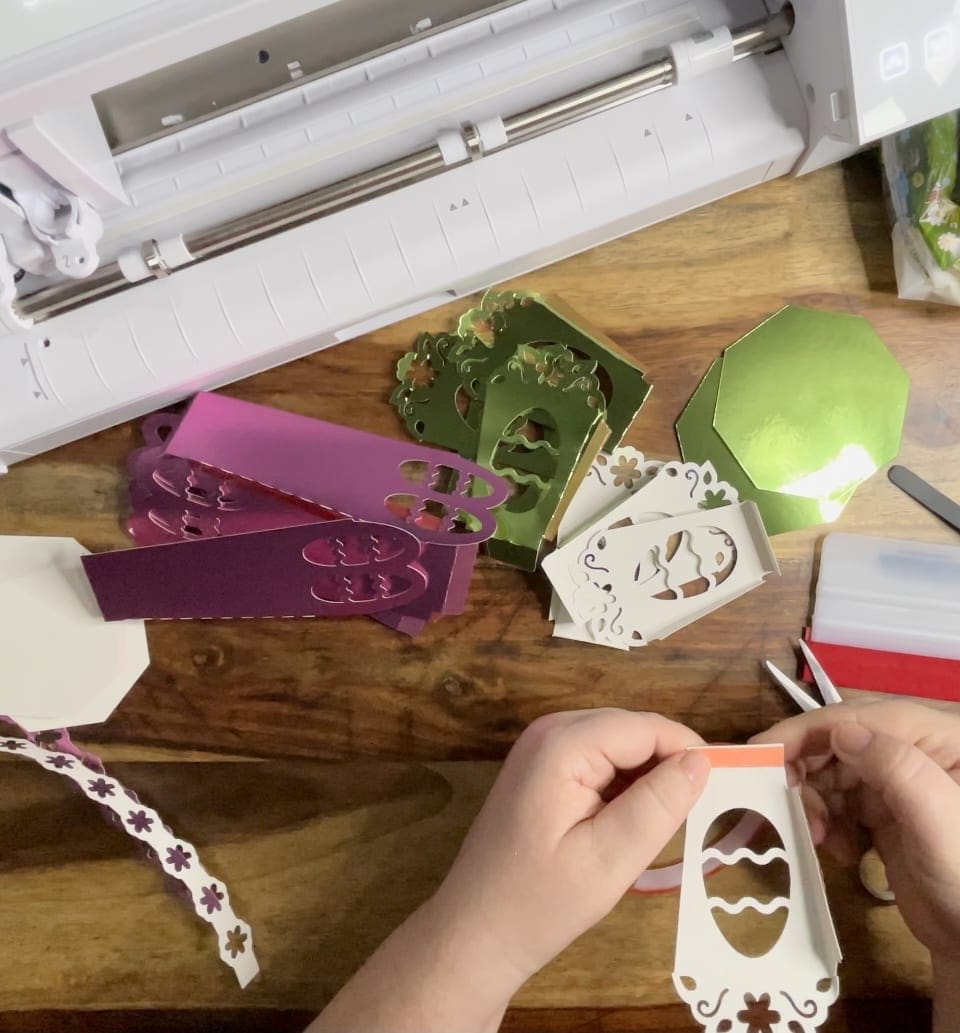
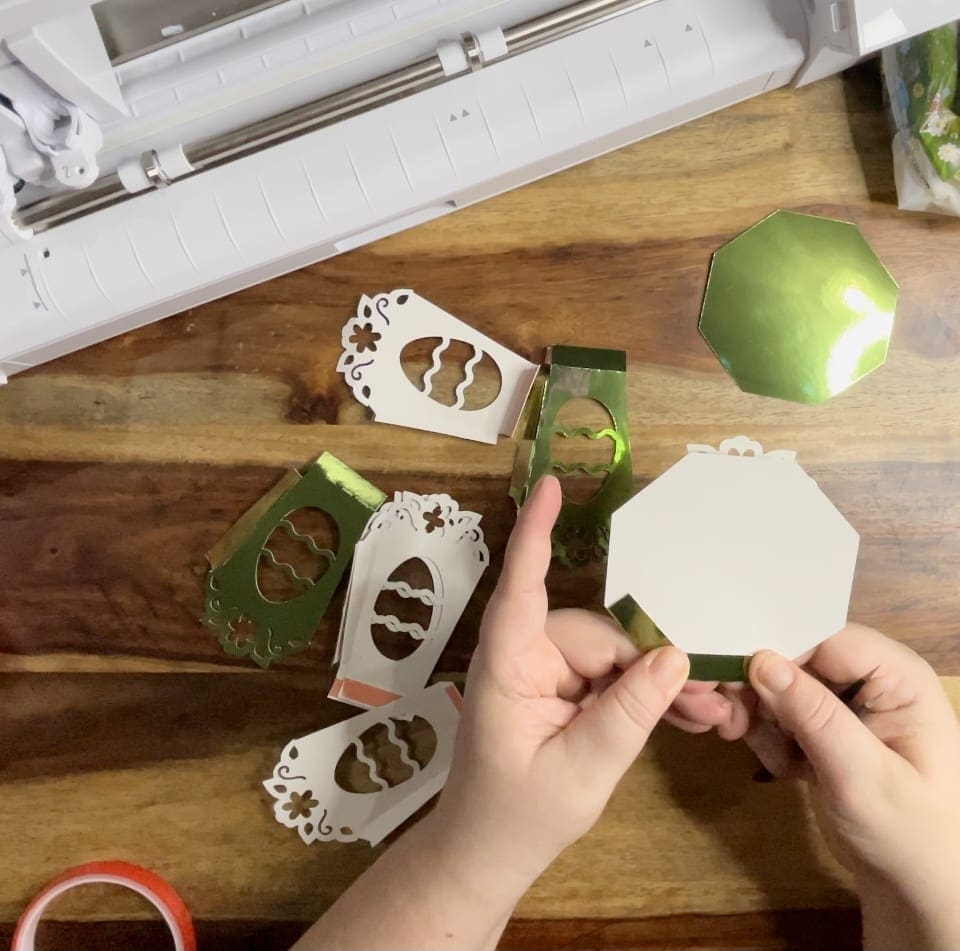
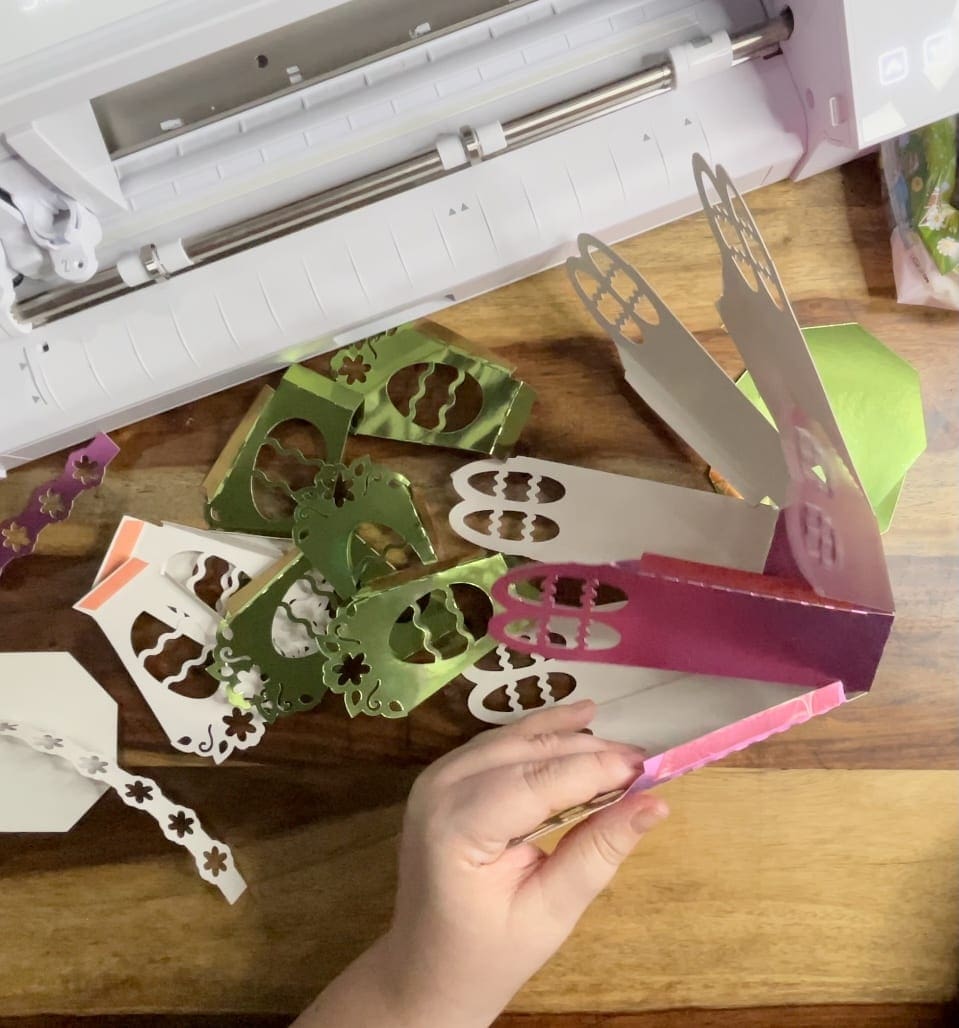
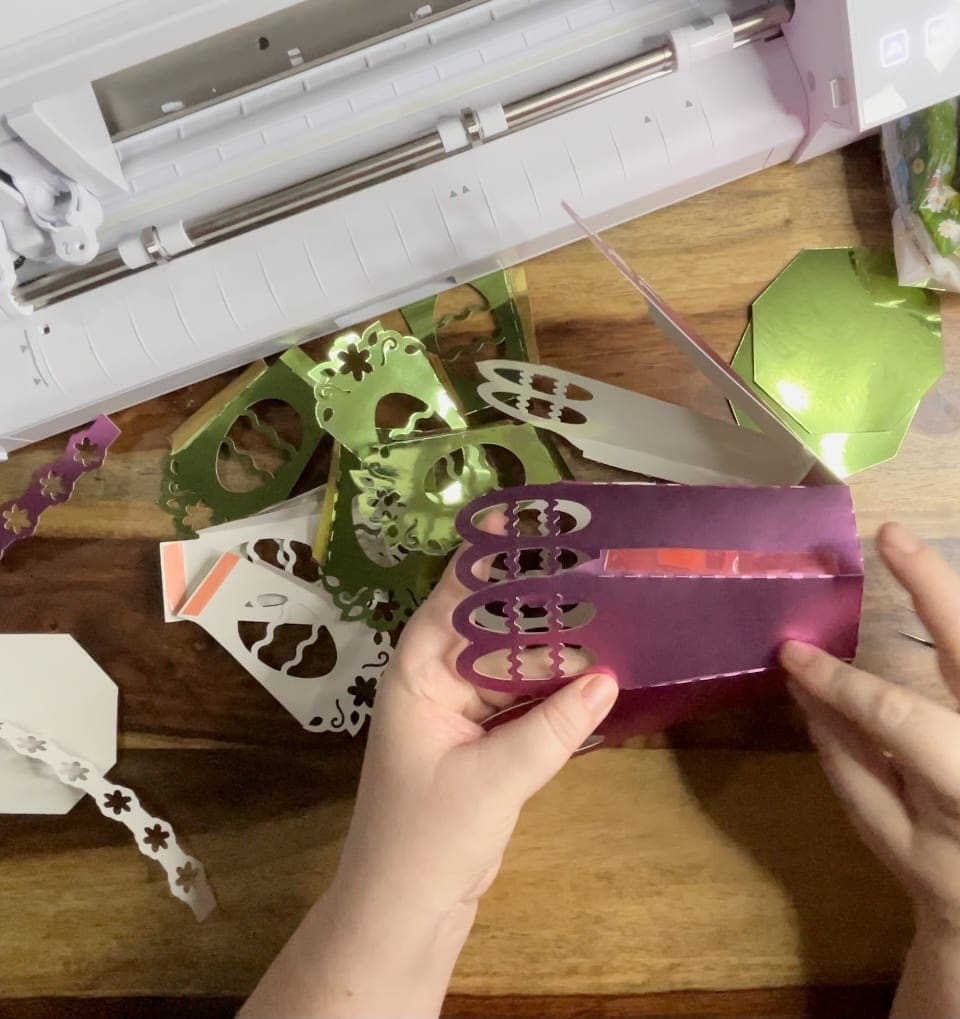
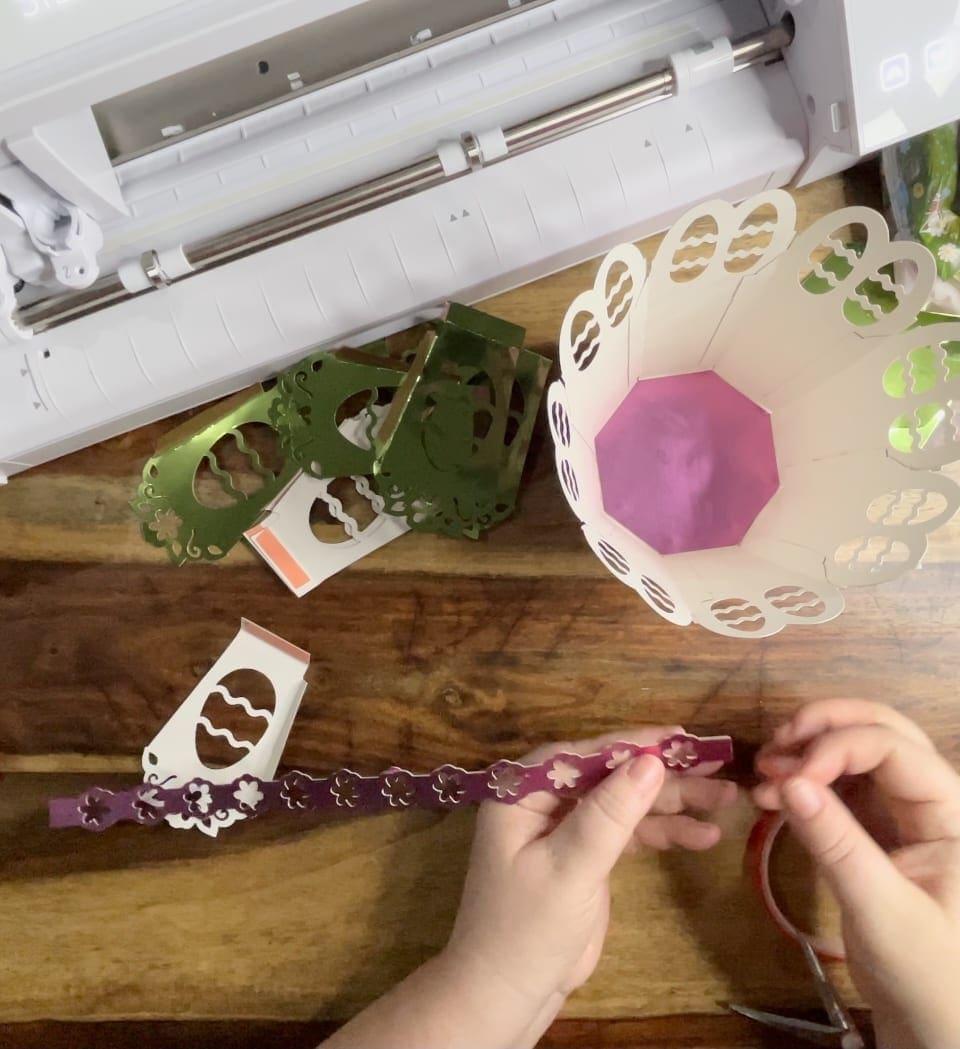
4. Repeat the process as above (1-3) for the 2 sheets of the first inner layer, and then final inner layer sheet, so you have 8 side parts , 2 base and 2 handles. And then for the outer basket repeat to cut 2 of the A4 sheets as shown, remembering to add a handle if the basket is being used on it’s own. (I cut 2 handles and layer them together to give them more rigidity and strength. I personally prefer to layer it so the white back is still white,)
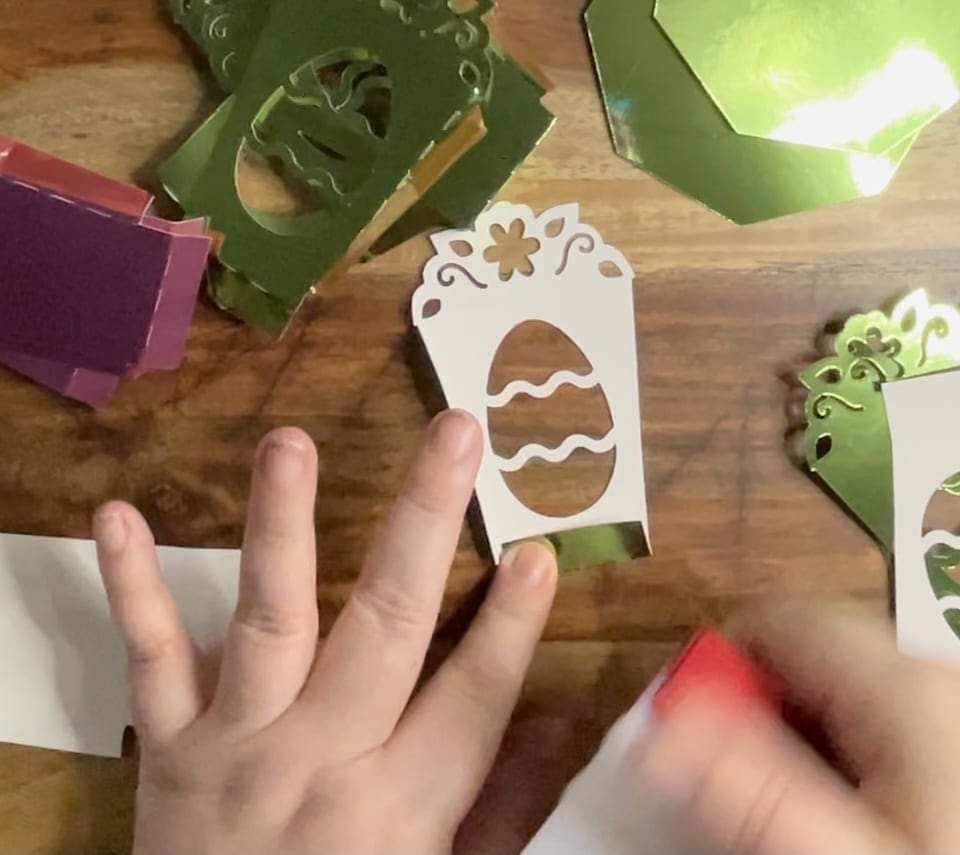
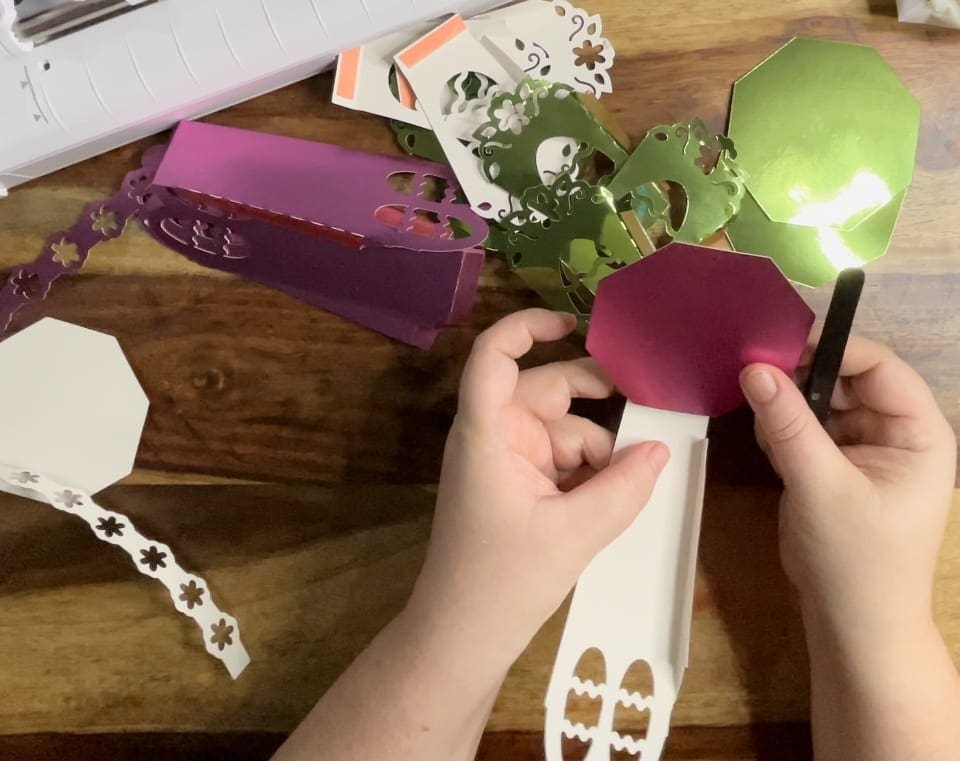
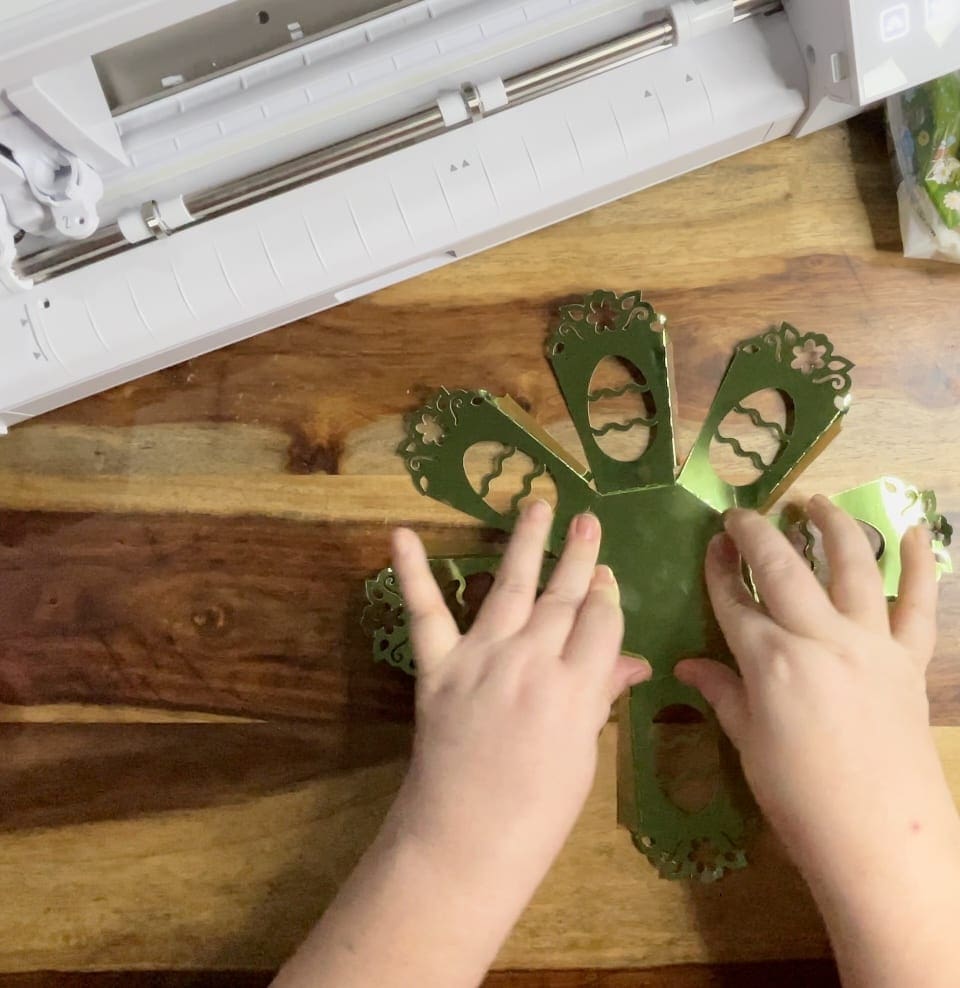
5. Once you have cut and removed the waste bring them together, turn over the side panels and fold the edges as below burnishing the creases, (using your squeegee to burnish the folded edge)
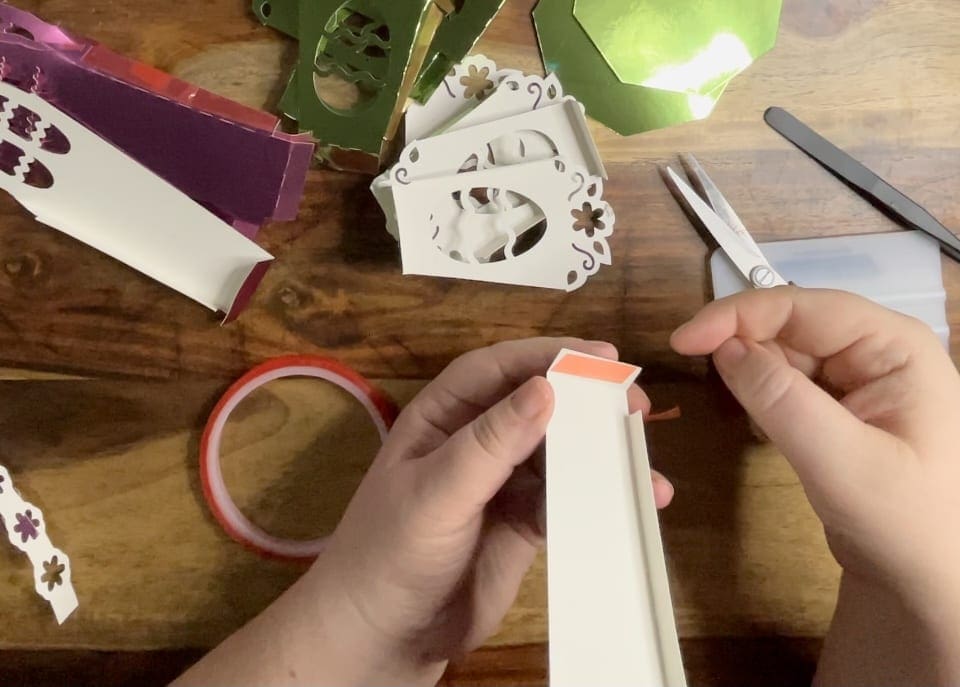
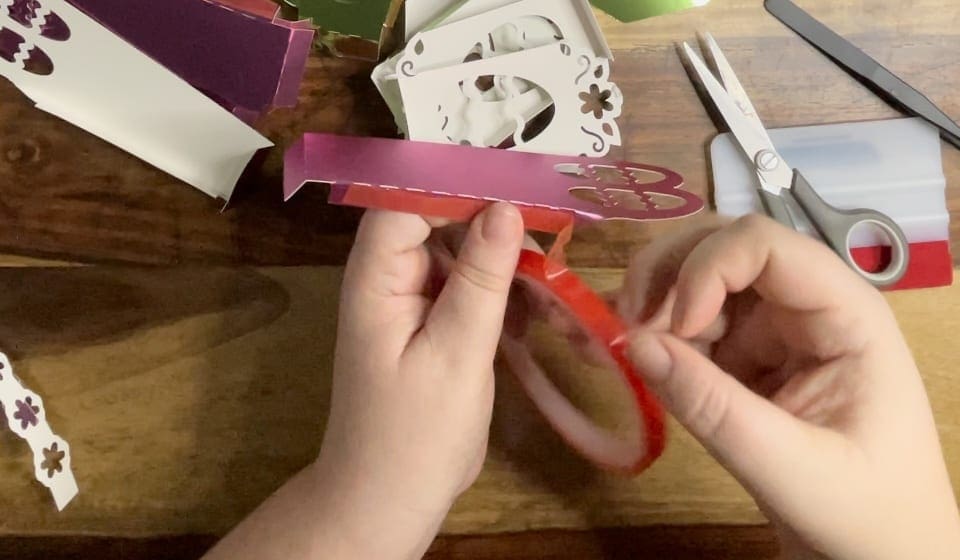
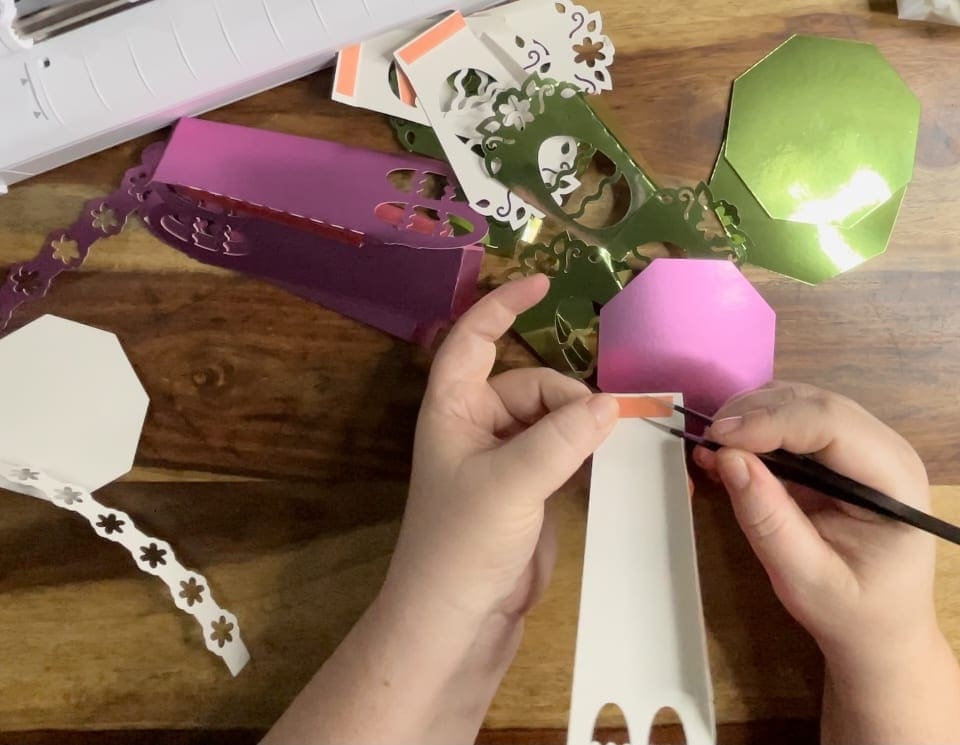
6. Apply double sided application tape to the inside of the bottom flaps , and the outside of the side edges, ready to layer.
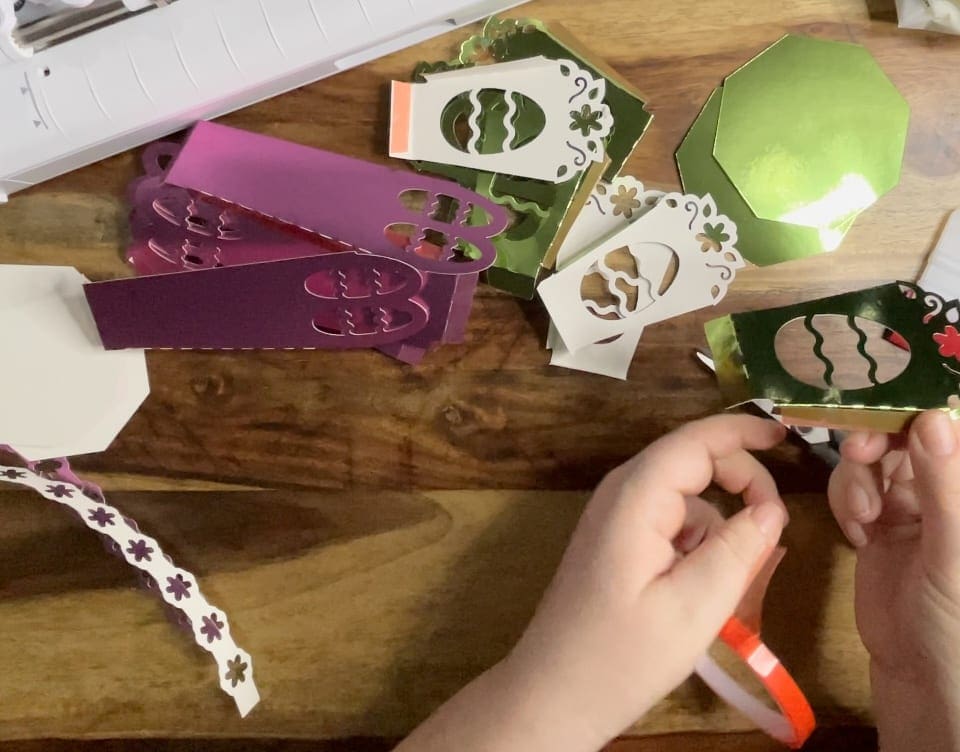
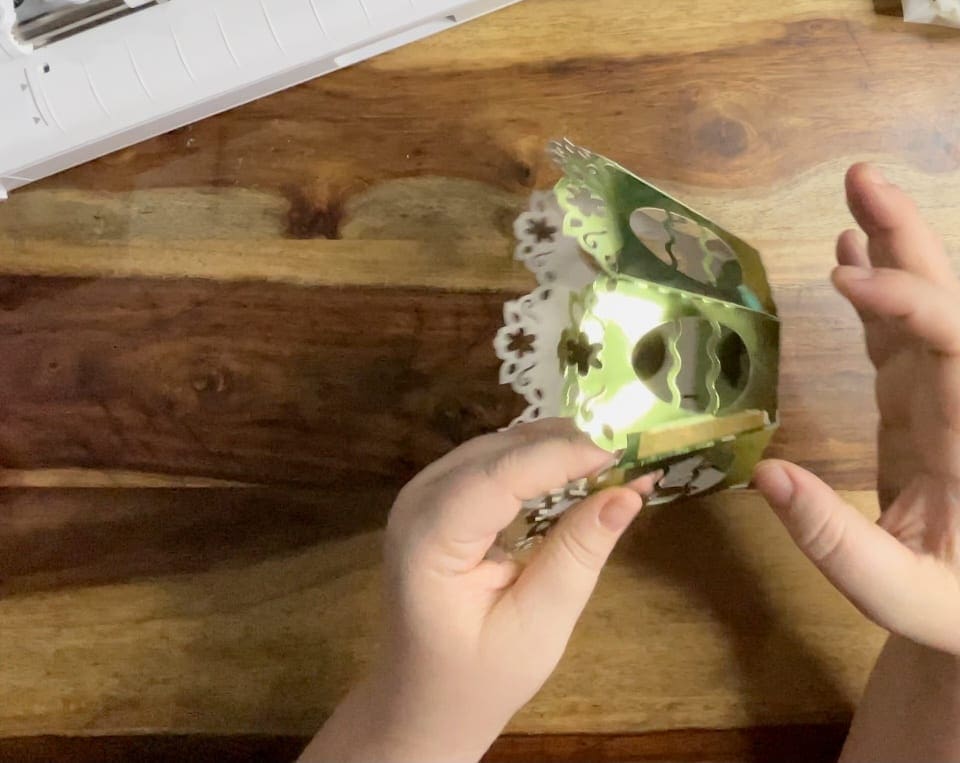
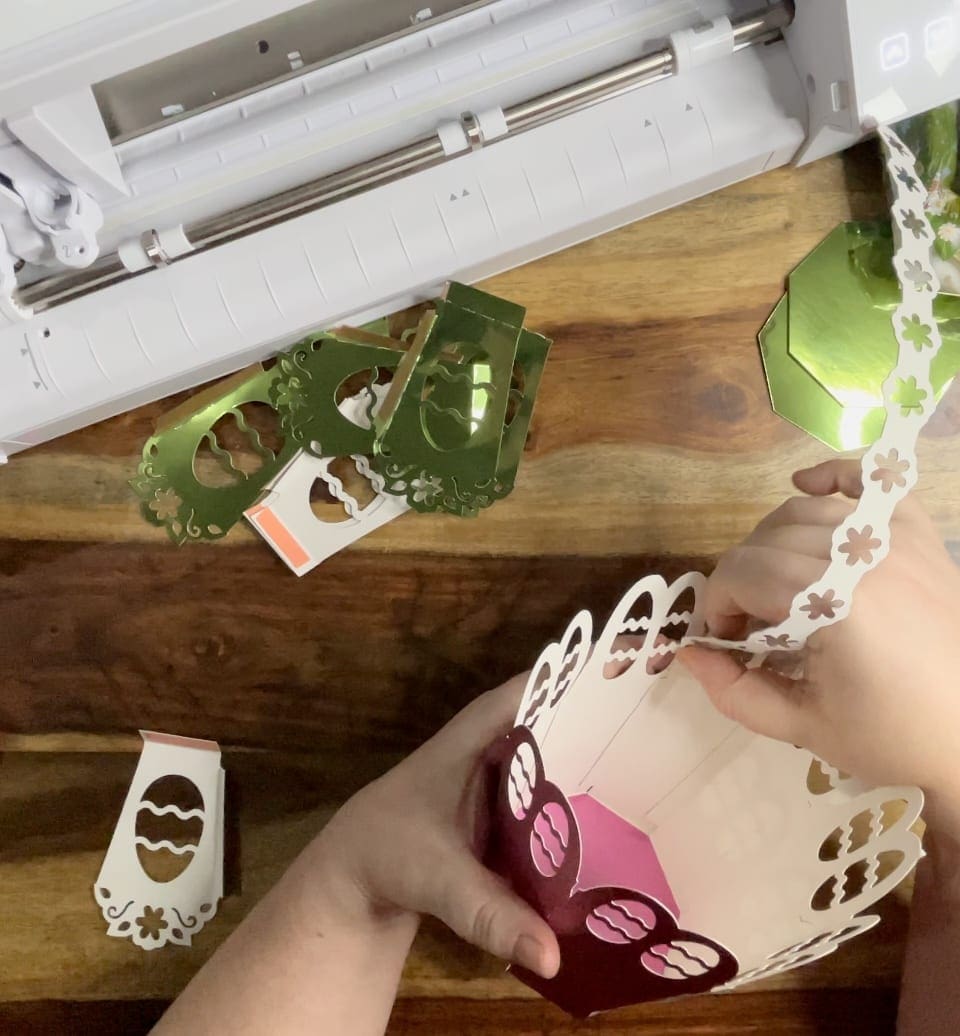
7. Take the inside basket first, holding the hexagon, with the mirror side facing up pop it over the flap of each side layer as shown to create a flawless finish, only attach the bottom flaps first to get them aligned.
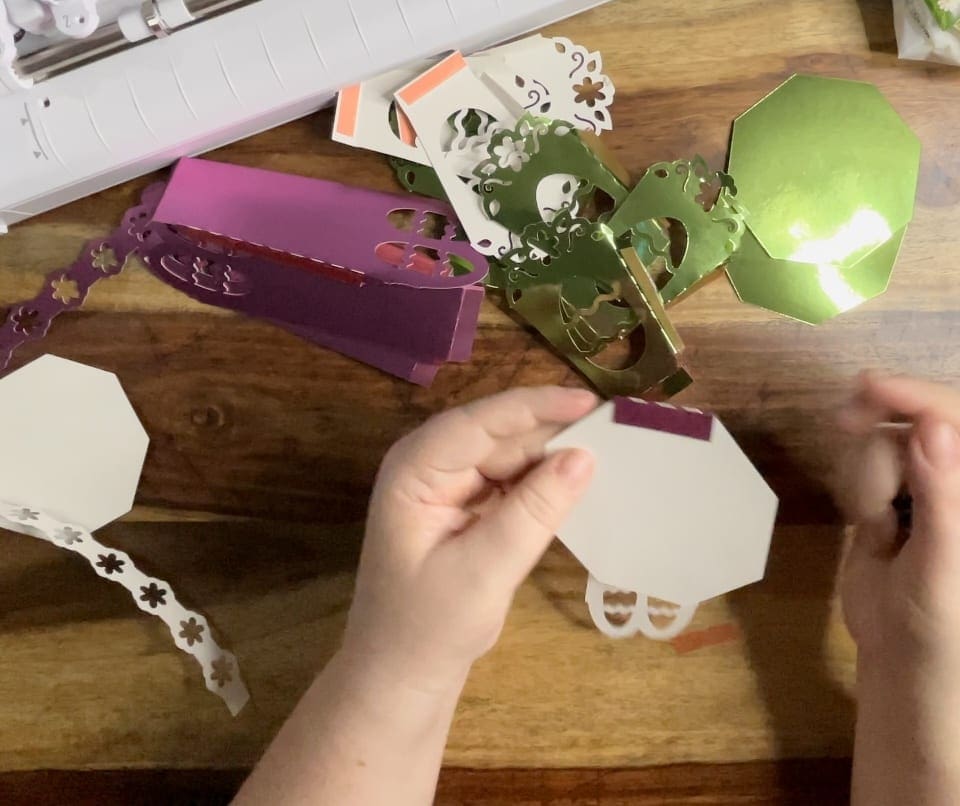

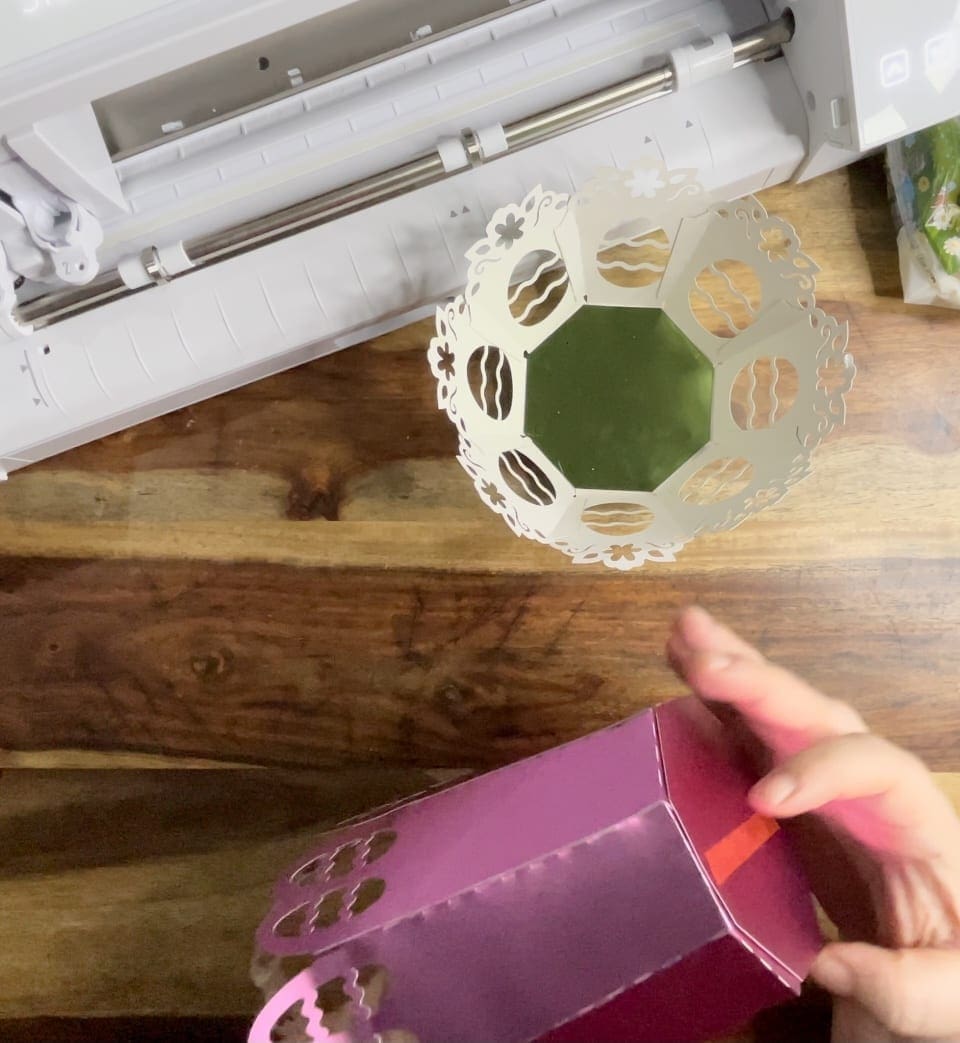
8. Turn the basket over and apply the other hexagon with the mirror side facing out to hide the joins, repeat with the outer basket. **(don’t panic if you forget this step you can apply the bottom after step 9 too and I have included pictures on how to do this.)
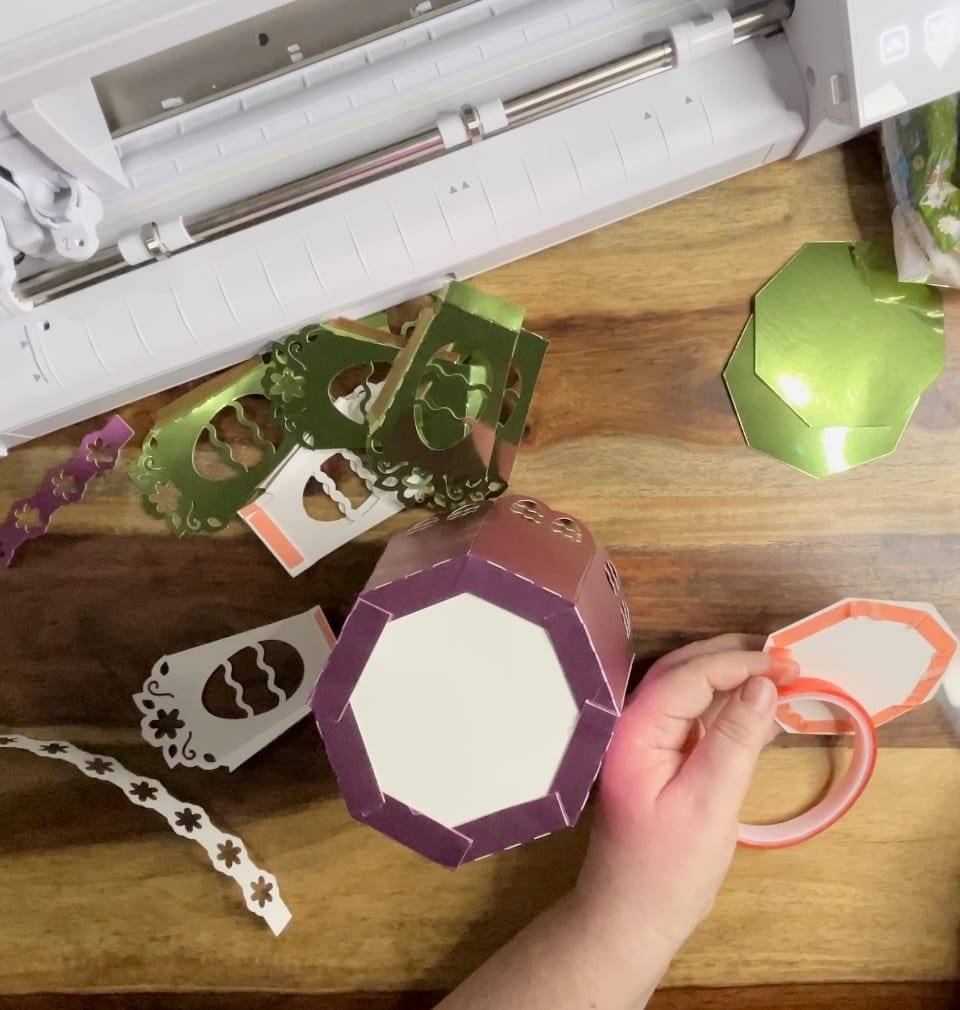
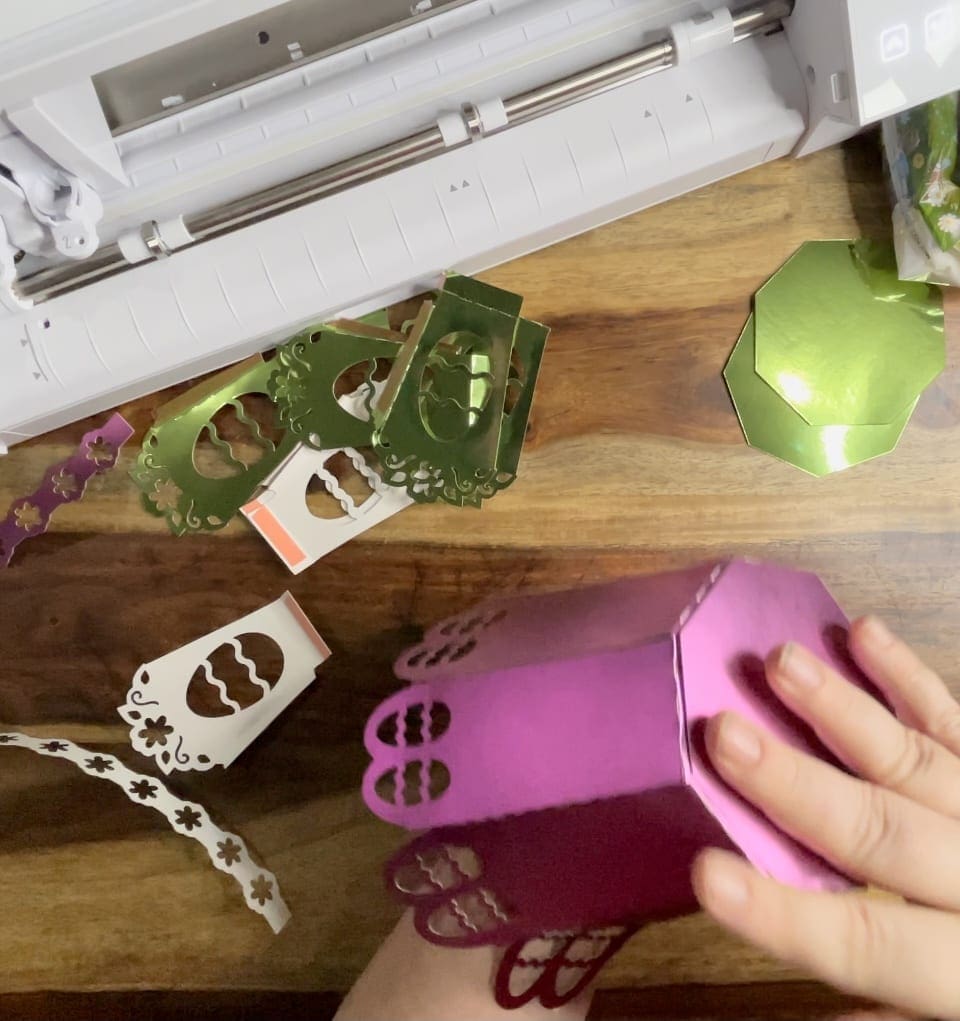
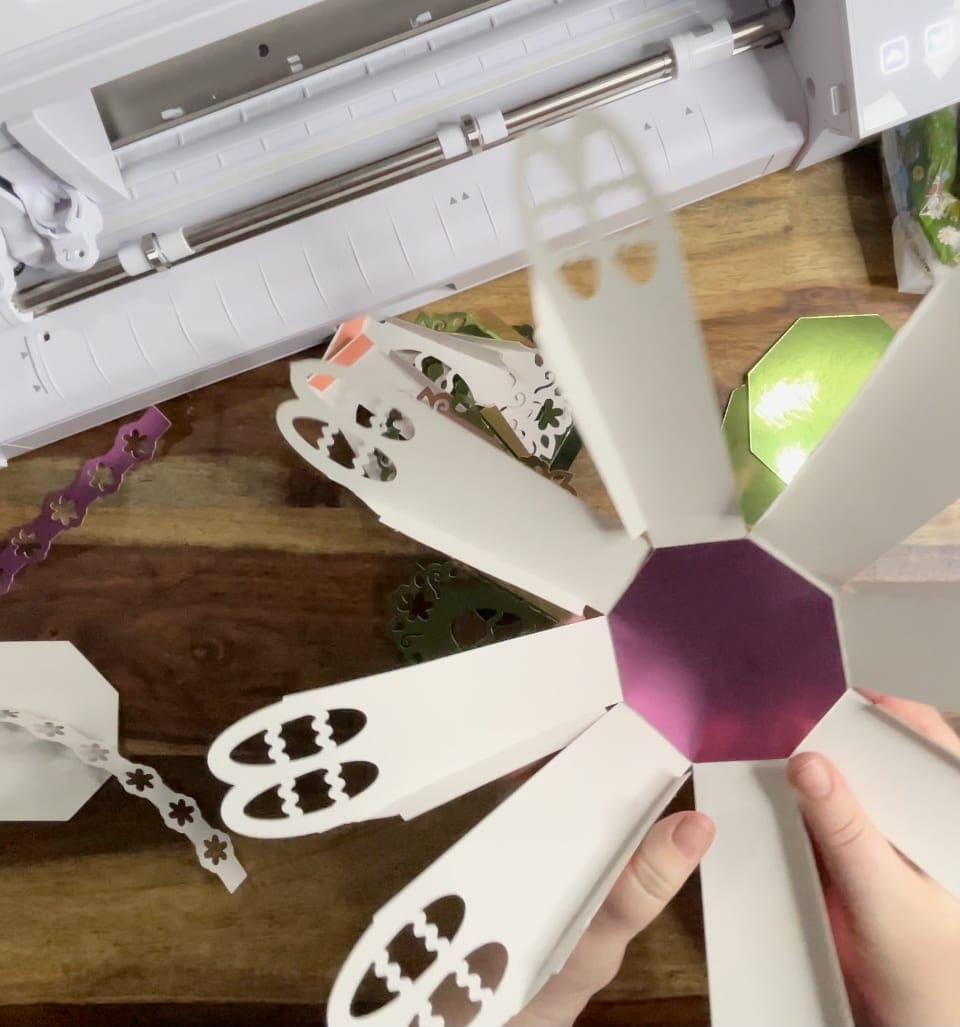
9. Next move onto attaching the sides of the basket to each other, to create the basket, taking one basket at a time, peel the red tape off one flap at a time, and carefully match to the side next to it smoothing to create a neat finished. See below.
10. Taking the 2 basket handles you’ve cut, putting glue on one, layer the other one over it.
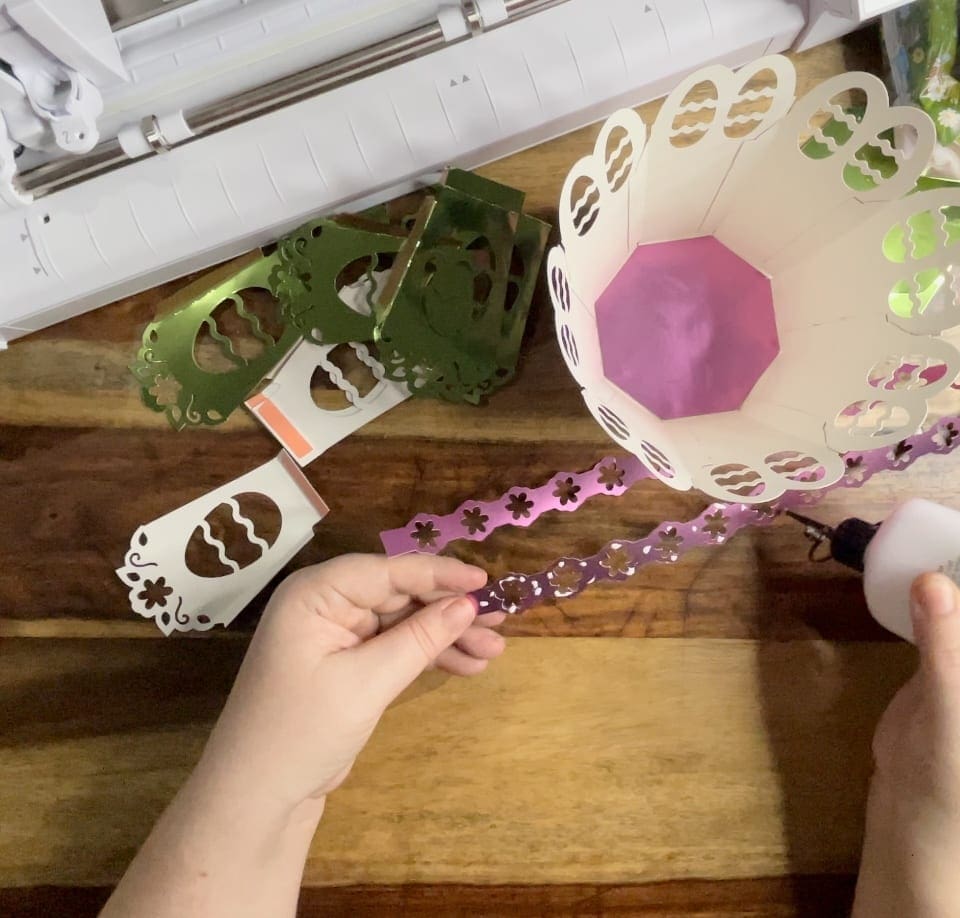
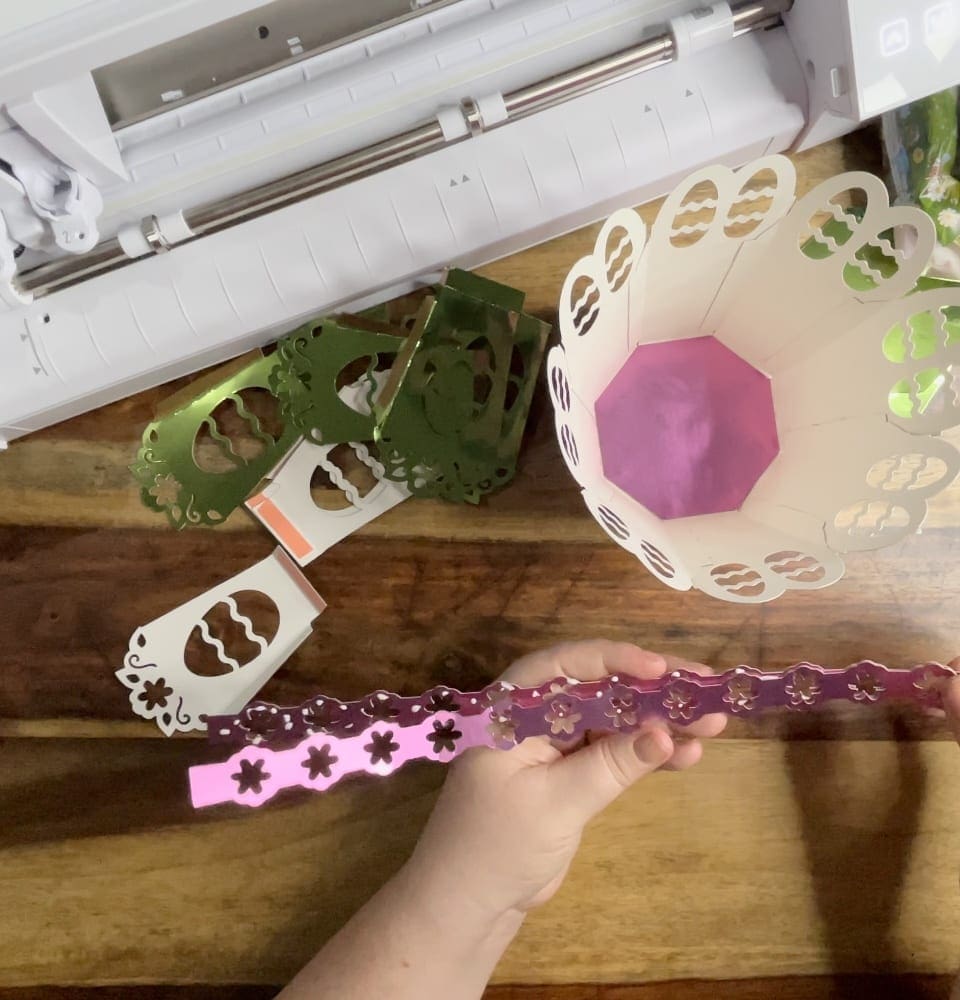
11. Attach red tape on either end to fix it inside the basket as shown.

12. Should you choose, put red tape under the bottom of the inside basket, and stick to the inside of the outer basket.
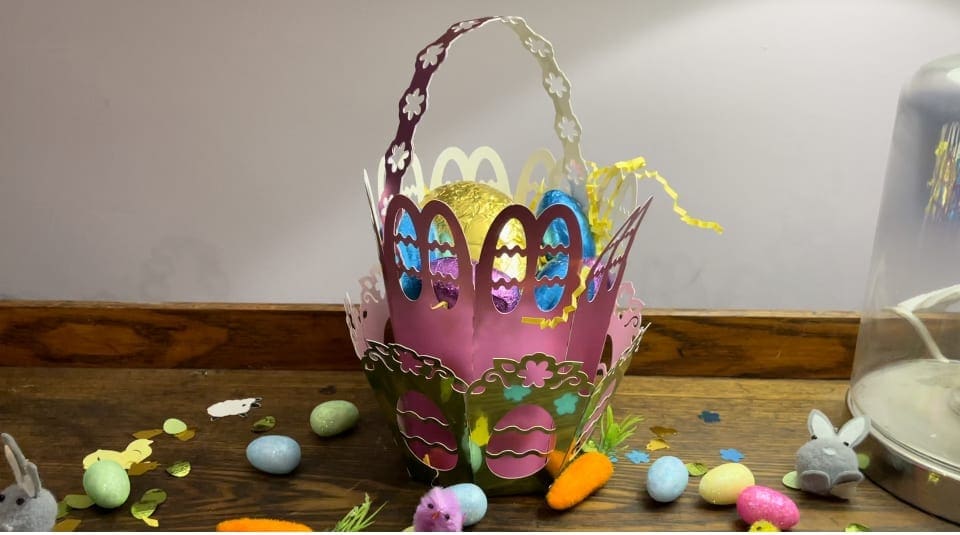
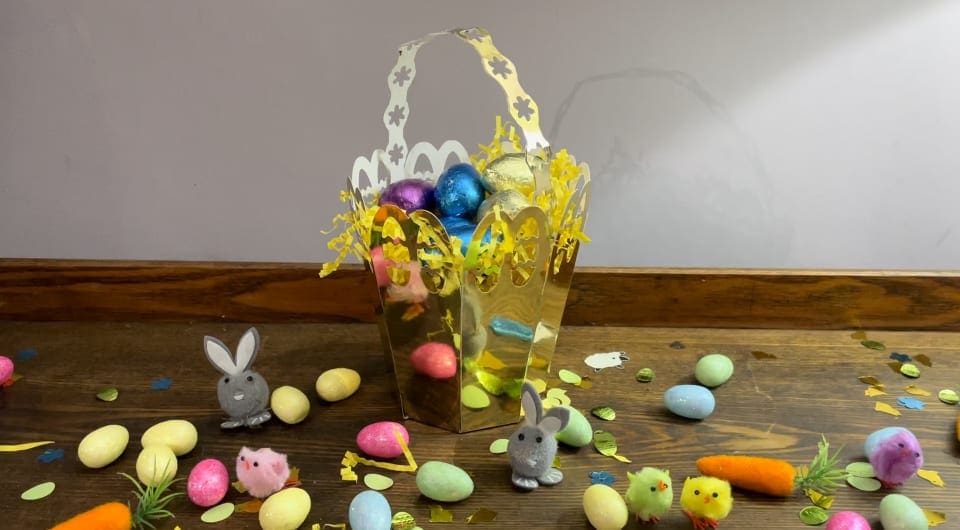
13. Decorate and fill with whatever you choose.
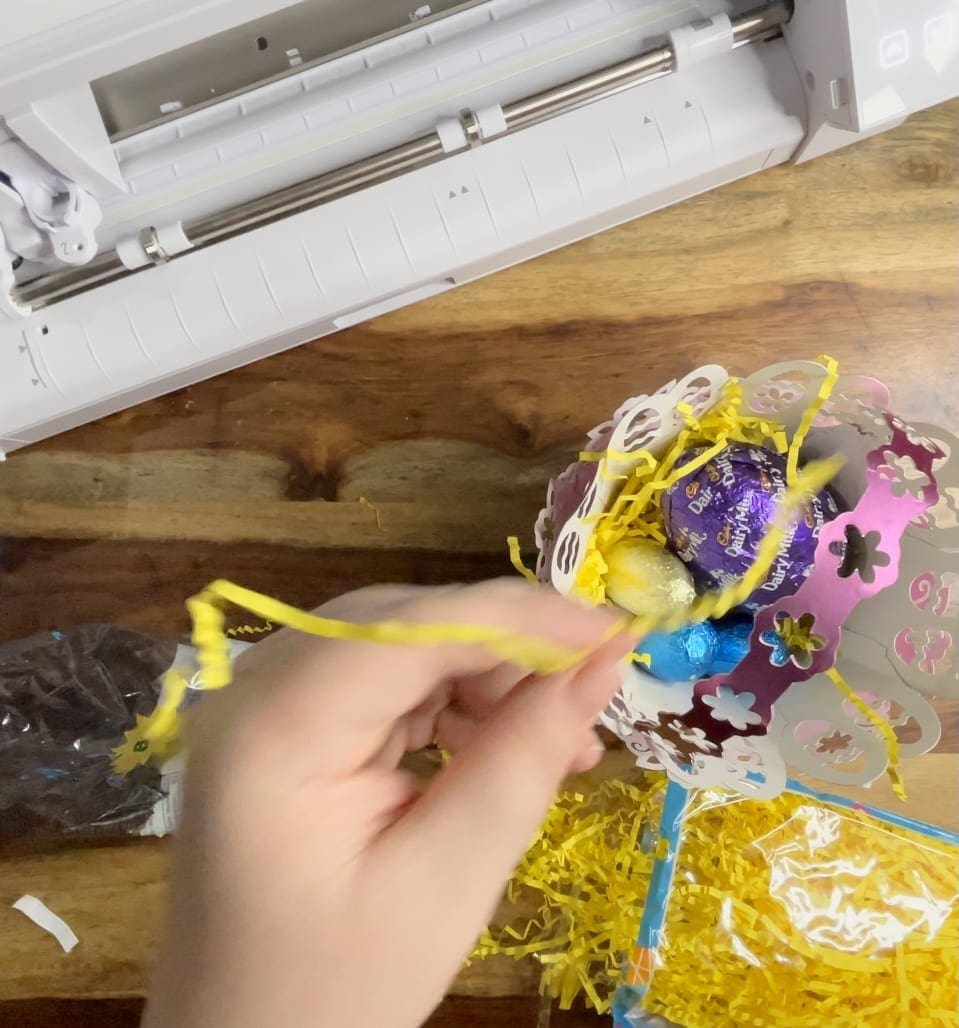
14. Display with each other and some cheap fake eggs, chicks and Easter confetti, all found in the local Pound shops or craft aisles.
15. If you choose then you can use the files as separate baskets. To create the outer basket as a separate file I used 2 sheets of A4 cut with this formation
And then 1 sheet cut as below to create the correct amount for a single layer outer basket.

Cricut
To import these files into the Cricut Design Space:
Click “Upload Image” on the left-hand Design Panel, and navigate to the cut files you want to open. Select ‘Insert image’ and select image type ‘simple’ when prompted. Next you’ll be asked to delete any space that does not get cut, you can skip this part by pressing ‘continue’. When asked if they’re print-then-cut images or just cut images, select cut images. Click save and do this for all cut files. When all have been uploaded, Insert all the images onto the canvas and resize to suit your project. Save the resized file back to the design space so you can choose each layer in the proportion you have chosen for that project. Due to the detail in the project please try using setting below.
Reminder – if you’d like to add score lines instead of scoring by hand, these will need to be added in the design space. To do so, select ‘Images’ from the design panel on the left, search ‘score line’, select the free downloadable score line and insert the image. Place where appropriate or add dashed cutting lines if you would prefer as this too will act as a neat fold line..
Cut settings are found here for JOY, AIR2, MAKER
Brother
To import these files into the Brother Canvas Workspace:
After downloading, please log in as usual to your design space account, open a new project mat, then left click on the SVG icon in the top left bar in canvas, this will then allow you to import your files. Once you left click this icon, a pop up box appears with you to choose where to import file from, choose to import the file from your downloads list or where you have chosen to save when unzipped.
Reminder – if you’d like to add score lines instead of scoring by hand, these will need to be added in the Canvas Workspace. To do so add dashed cutting lines as this will act as a neat fold line.
Cut settings are found here
Just incase you need the link CanvasWorkspace (brother.com)

Are you wondering yet what tutorial do we have in store next week? Have you seen the preview posts on Facebook, Instagram and TIKTOK?