Tutorial/Free Cut File
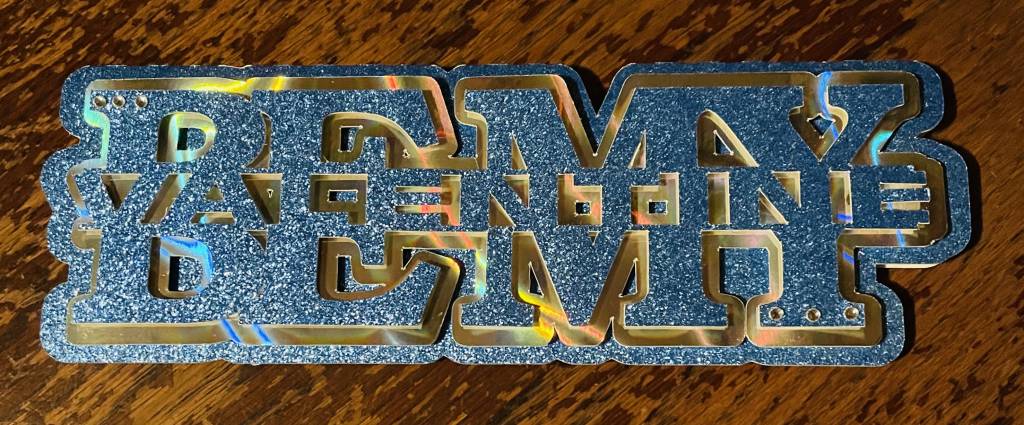
“Be my Valentine” 3D card tutorial- Silhouette Portrait 3
Hello again!
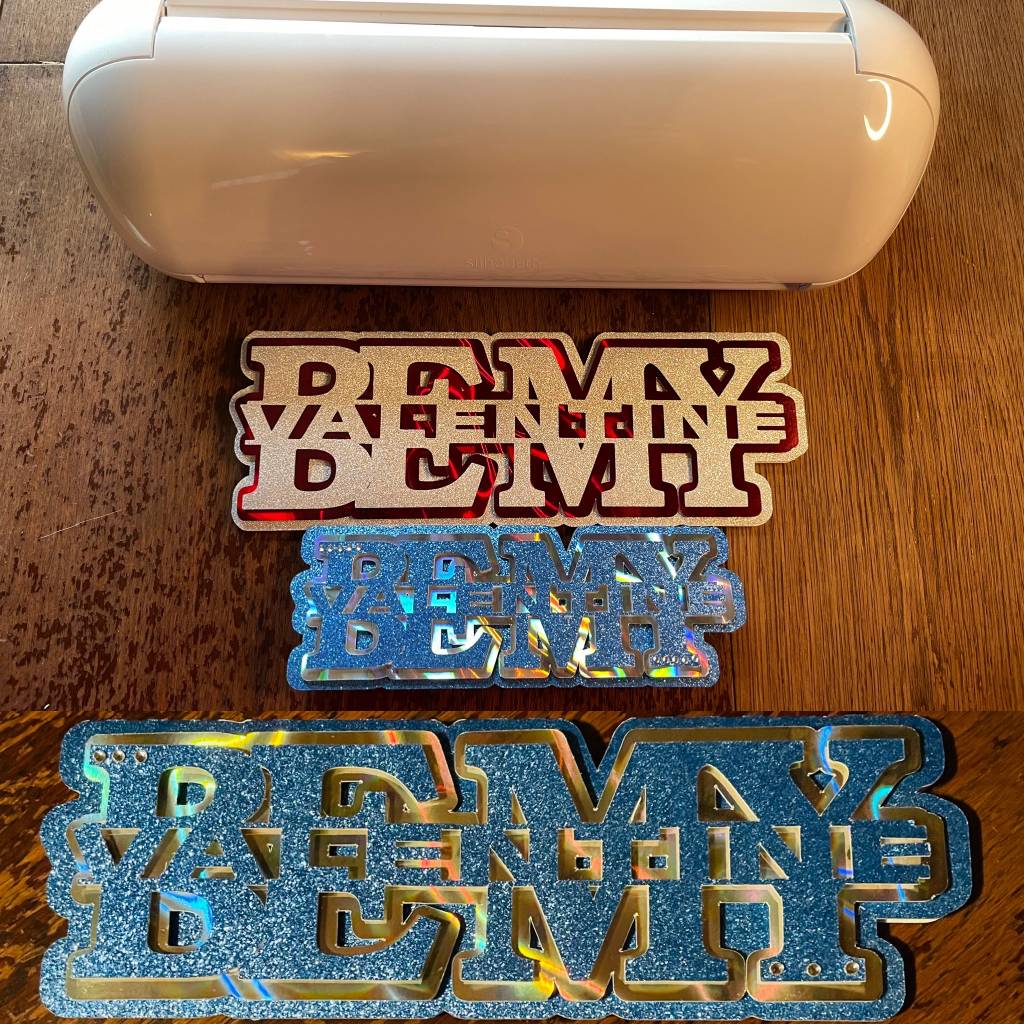
Here’s a quick and easy Silhouette Portrait 3 tutorial for the “Be my Valentine” 3D card. Of course, this design isn’t limited to cards and the topper would work on any form of project, including using the front card layer as a T-shirt cutting file with HTV, just adapt the process to the medium you plan to use it on and be sure to check our application guides as appropriate. Get crafting this fun design for loved ones, friends, or family. You could even do a matching Card, T-shirt and Gift bag with the design to really win someone over, or what about a secret Valentine gift? This Tutorial is also suited for the Cameo 4, but the cut and mat settings will need to be adjusted as appropriate for the machine – see our settings guide here
We would love to see what you make! Have you found our You Tube channel yet? The video showing this and all of our other tutorials are available on there, as well as exclusive demos, inspiration and more! Join us on Facebook , Instagram or Tiktok or send us an email to sales@gmcrafts.co.uk we would love to hear from you!
***watch this being made here***
What you’ll need:
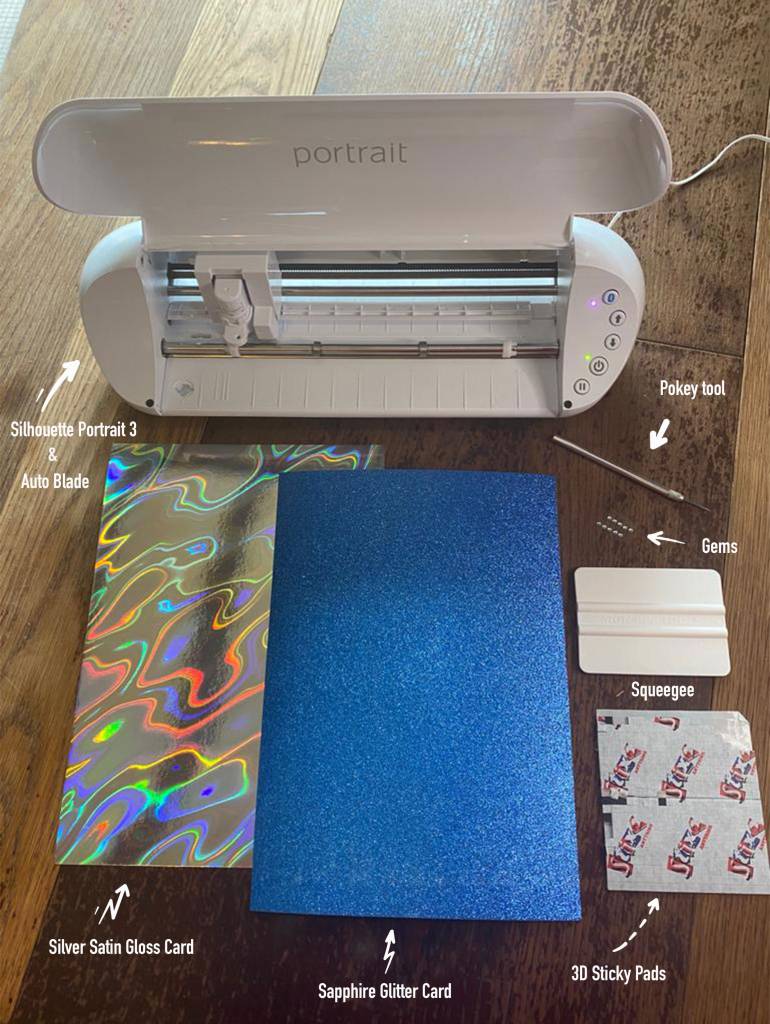
- Silhouette Portrait 3 . Available here
- A4 Silver Satin Gloss card. Available here
- A4 Glitter Blue shades mixed pack . Available here
- Squeegee. Available here
- Weeding tool (or pokey tool) . Available here
- 3d foam pads from your own stash or application tape. Available here
- Your choice of Self adhesive Gems should you wish from your stash.
- Cut files, which are free below! Including, Cricut, Silhouette and Brother cut files.
Instructions:
Before you start, you need to download the cut file below.
******Download Silhouette File suitable for Portrait 3 or Cameo4*****
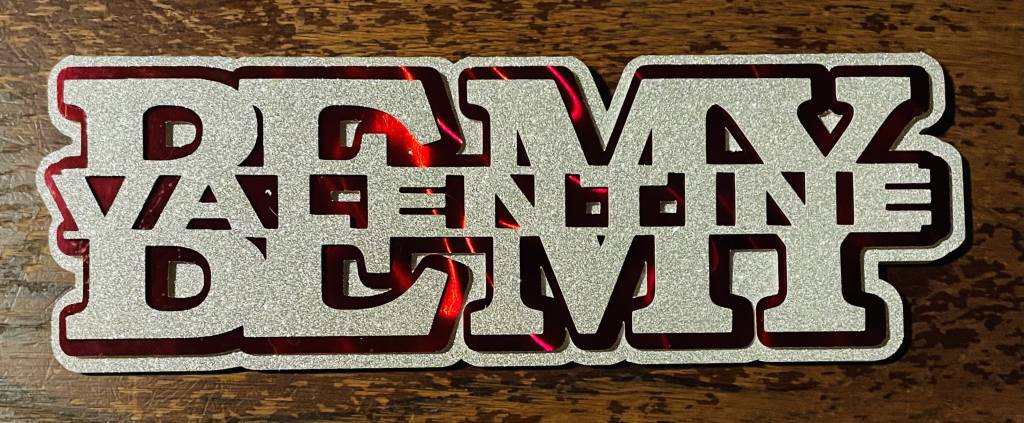
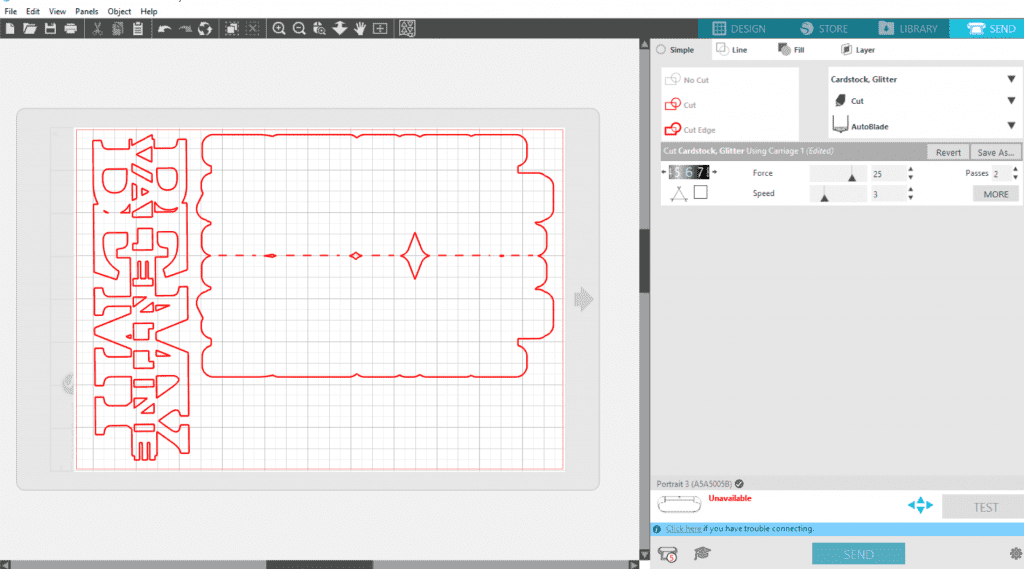
1. Upload the cut file into Silhouette Studio and resize as necessary, (when resizing bring all 3 layers into the design software and select all 3 at once to get the correct offset layers and save the adjusted file, so you can cut layers individually at that correct scale you have chosen). We resized ours so that the card layer and the top greeting layer fitted onto one sheet, but as shown below you can also resize it to take up 1 A4 sheet as the base to create a much bigger card too, and then use a second sheet for the top layer.
Cut settings: (**please test cut)
Auto blade: 6 (you can also use a ratchet)
Speed: 3
Force: 25
Passes: 2
**A reminder that these settings, including the blade setting, are specific to the materials and machine we’re using, adjustments may be necessary if using different materials and machine**
We always recommend before proceeding, you test cut your materials when first using so if you have not recently cut our Glitter or Satin Gloss A4 cardstock please test cut for your chosen machine found on our Application guide, and also Blog, Silhouette portrait is here.
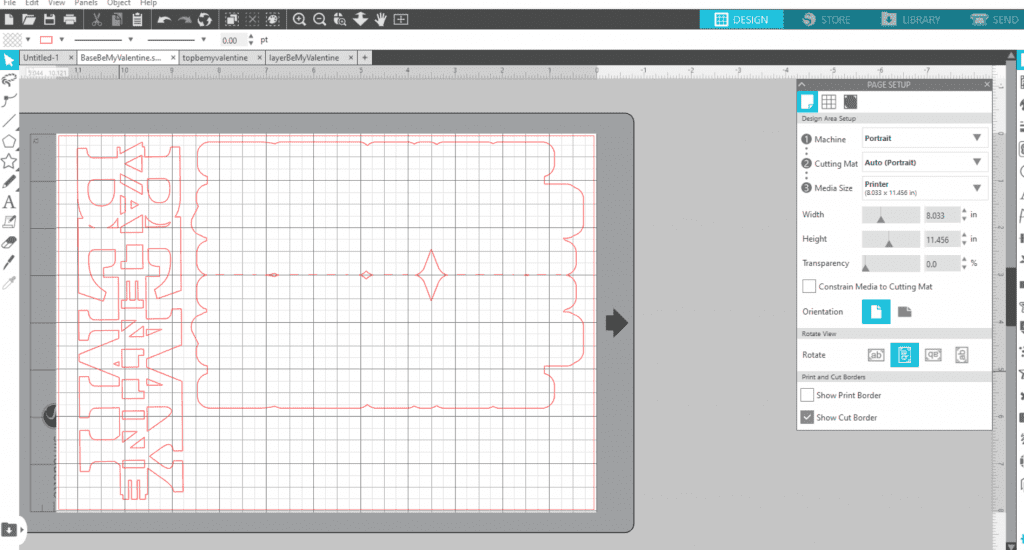
2. When happy with the size of the design, select ‘SEND’ in the top right corner of your screen. In the next window make sure your settings are all set to the successful settings from your test cut and ensure your machine is linked before proceeding to cut.
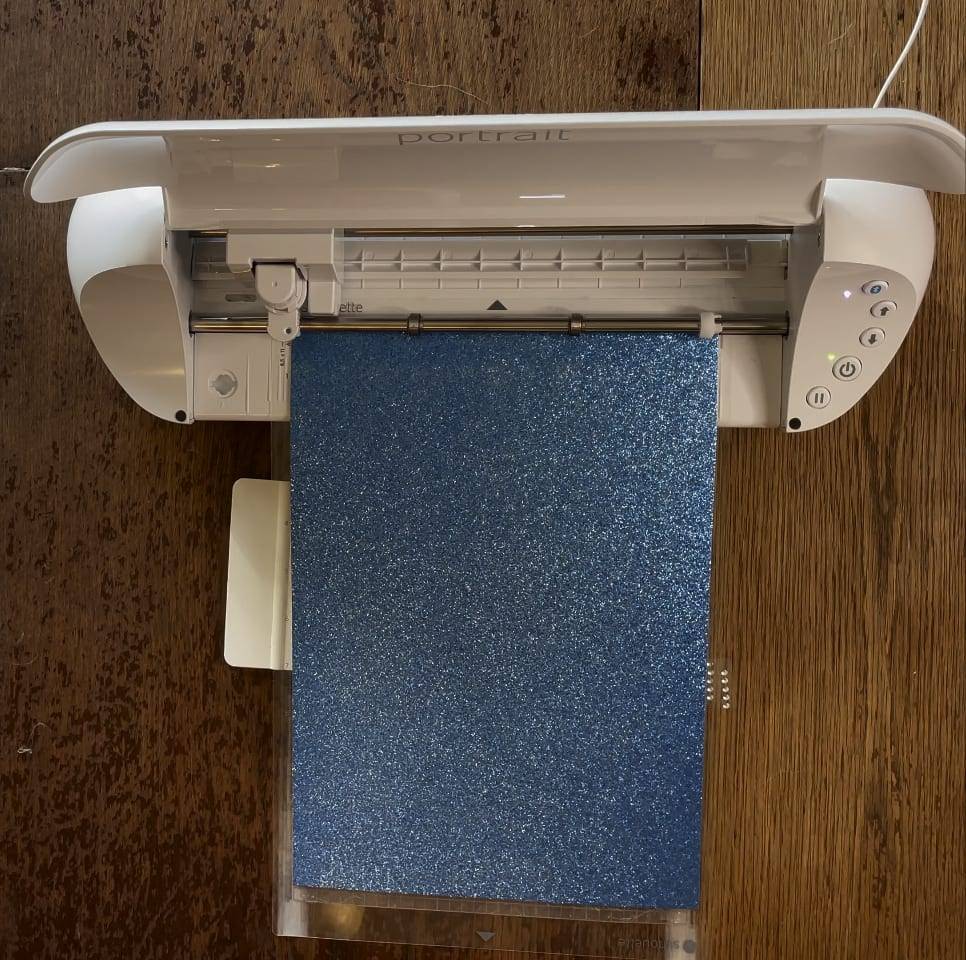
3. Position the A4 card on the cutting mat and apply pressure with the Squeegee to it to make sure it is secure. The Glitter or Holographic side should be face up on the mat
4. Load your Mat using the up arrow on the machine , select ‘SEND’ in the bottom right of the screen after making sure your machine is connected.
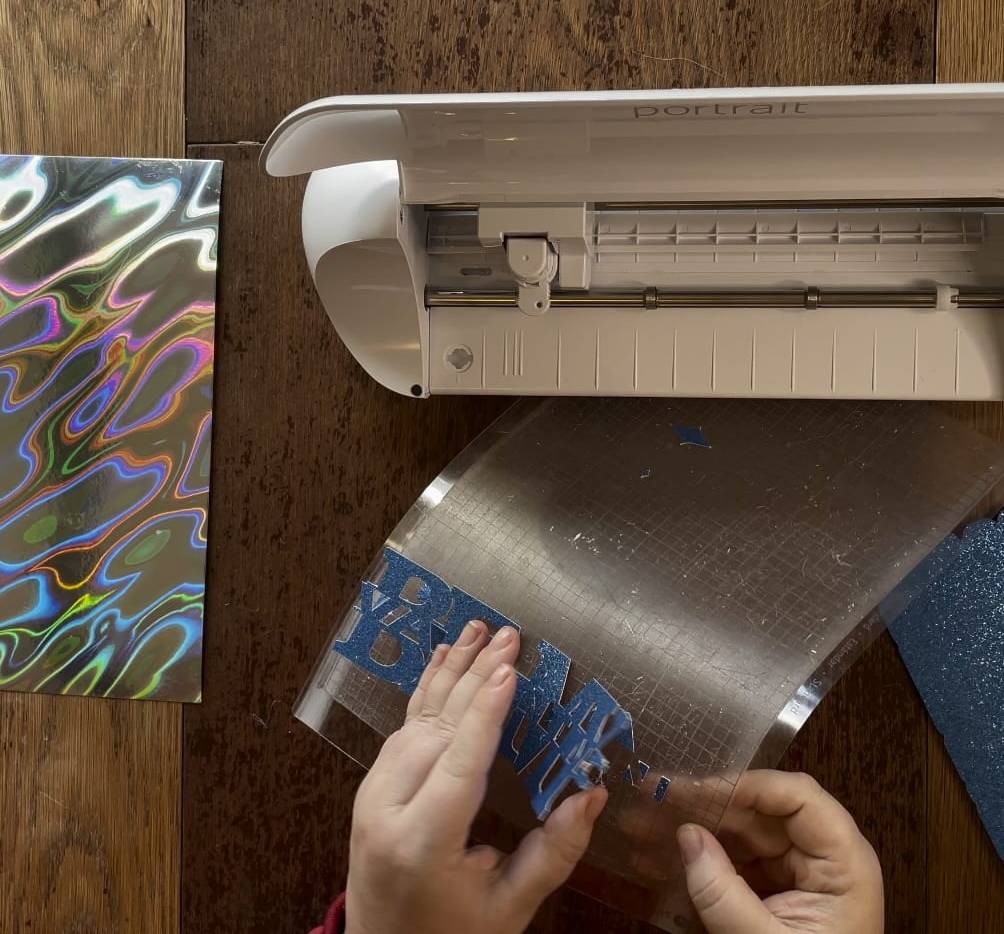
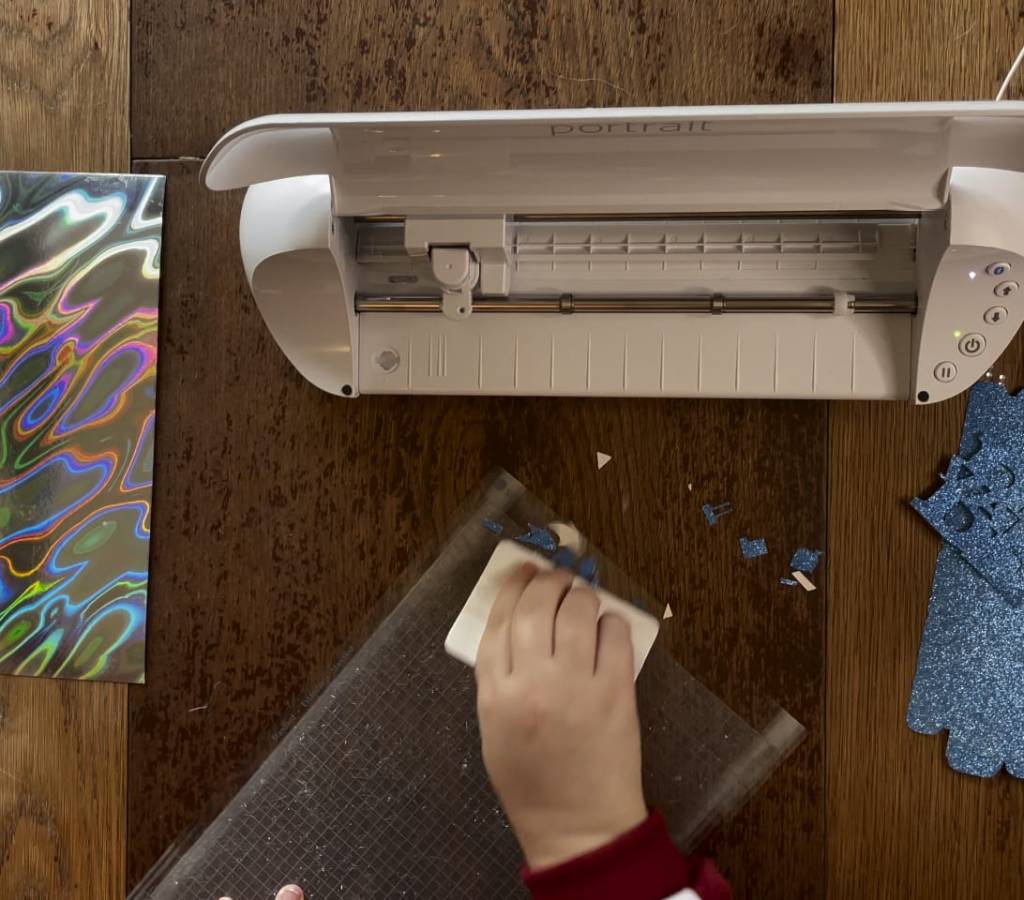
5. When cut, unload the mat by pressing the machine’s down arrow, peel the card off the mat, flex the mat away from underneath at the same time to reduce the risk of damaging the delicate cuts in the A4 card. Then, remove any excess material and scrape the mat clean with your squeegee.
6.Repeat the process as above (1-6) for the A4 Silver gloss middle layer, changing the cutting file layer and adjusting the settings as per the guide and test cut as advised above if you have not previously used this card.
Cut settings: (please test cut)
Auto blade: 6 (you can use a ratchet)
Speed: 3
Force: 18
Passes: 2
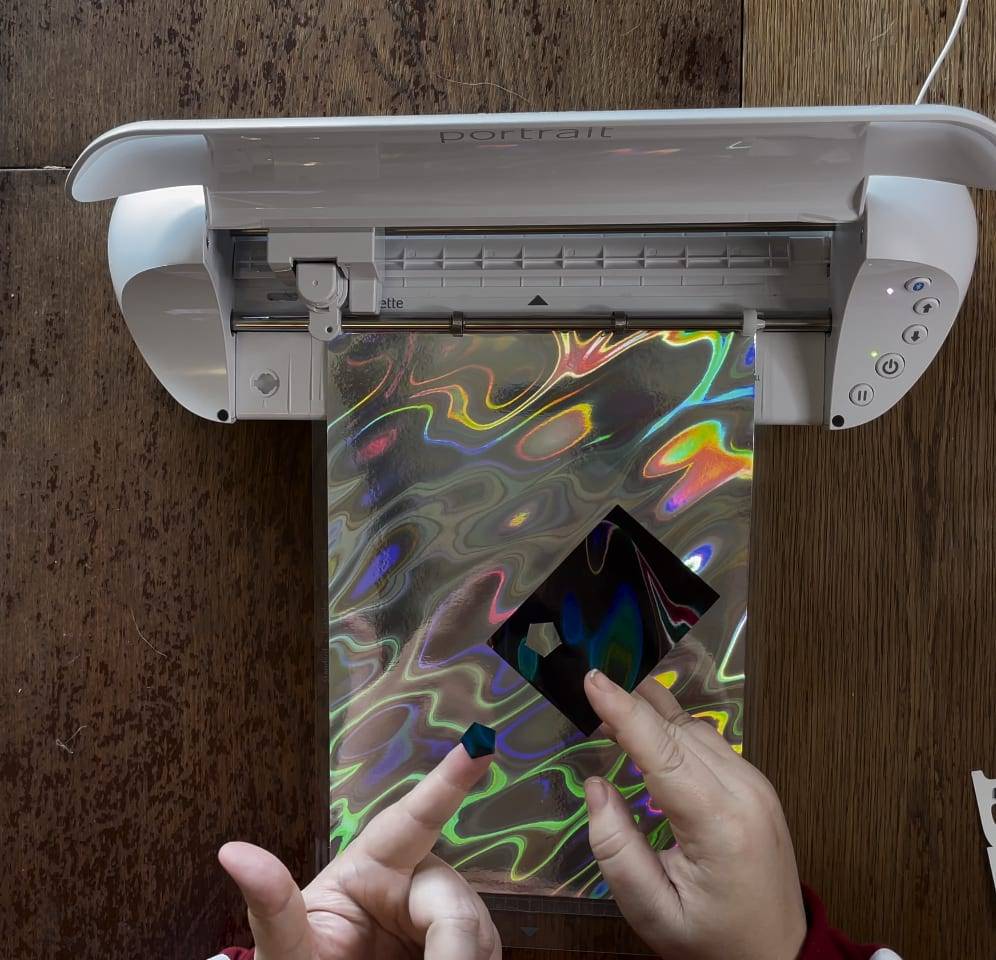
7. Once you have cut and removed the waste on both the Blue and Silver layers bring them together, turn the top and middle layers over and apply either 3D foam pads or double sided application tape to the reverse side, ready to layer, using your squeegee to burnish, fold the card base in half.
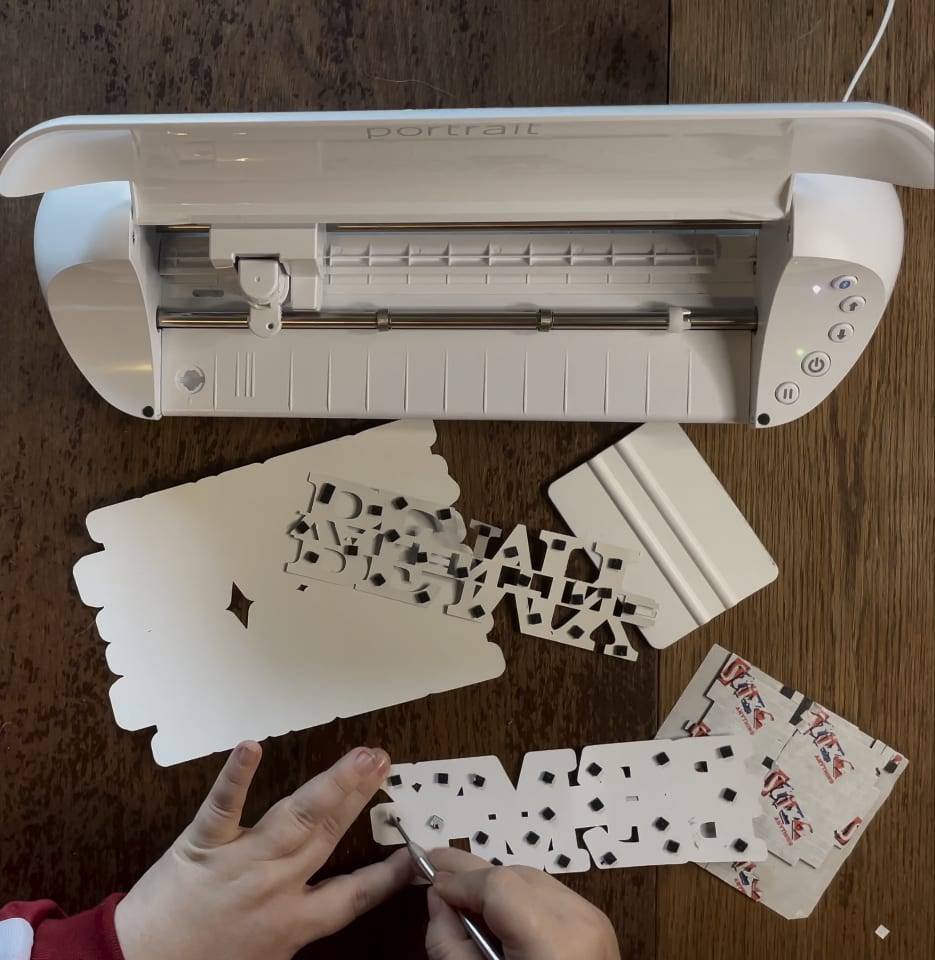
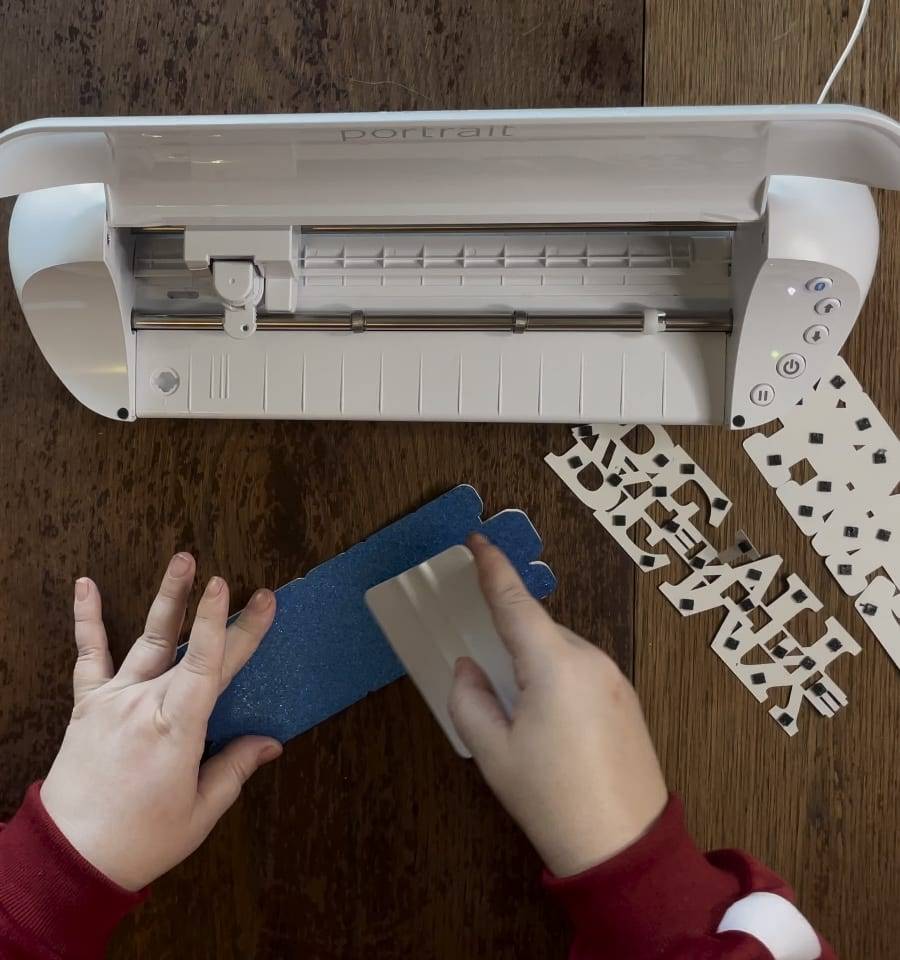
8. Place your 2 layers on top of each other on the card base, making sure they are aligned correctly, before finishing with self adhesive gems from your stash should you wish.
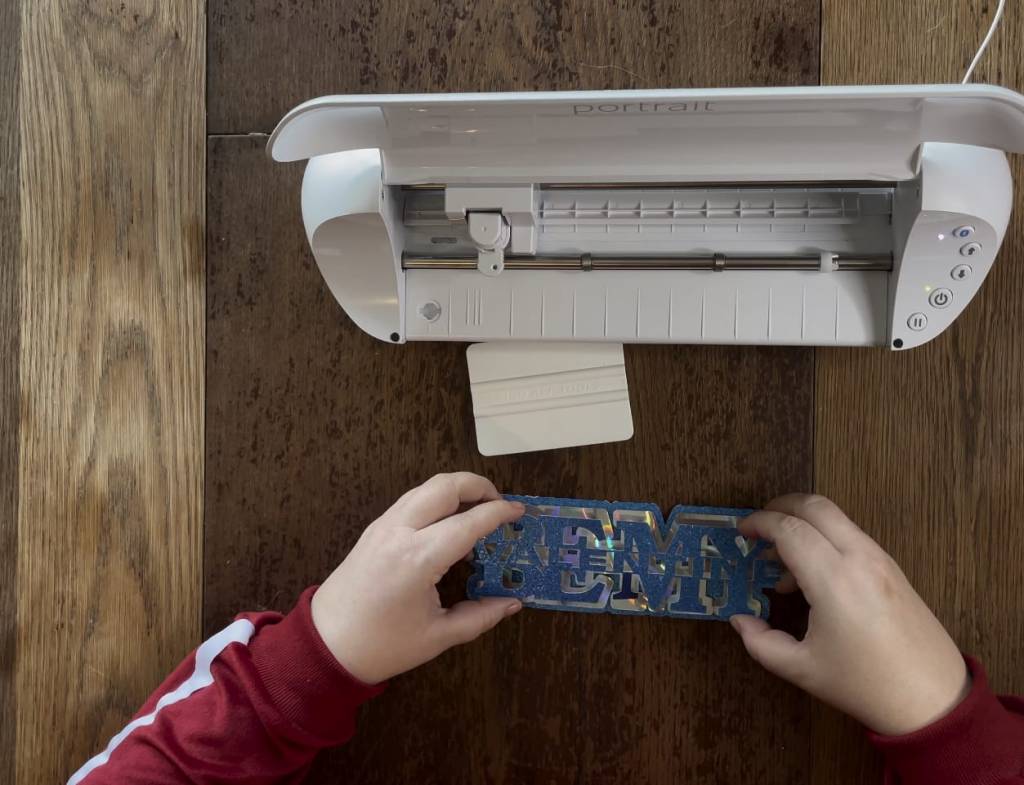
9. Don’t forget your finished design can be matched by using the front layer for any material cut using a cutting file, card, self adhesive vinyl or even HTV. We’d love to see your makes on our social media pages! Or email them in!
Cricut Cut Files
*****Download Cricut files here******
To import these files into the Cricut Design Space:
Click “Upload Image” on the left-hand Design Panel, and navigate to the cut files you want to open. Select ‘Insert image’ and select image type ‘simple’ when prompted. Next you’ll be asked to delete any space that does not get cut, you can skip this part by pressing ‘continue’. When asked if they’re print-then-cut images or just cut images, select cut images. Click save and do this for all 3 cut files. When all 3 have been uploaded insert them onto your canvas. Resize them as necessary. When cutting the files make sure each design is on a different mat on the design screen. You may need to choose “no fill” on the top left of the menu bar when you open them on the mat, depending on the design space software version you are running.
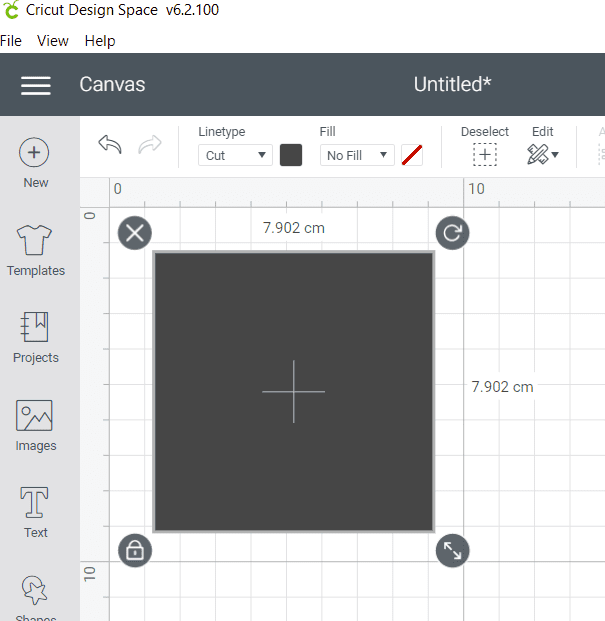
Reminder – if you’d like to add score lines instead of scoring by hand, these will need to be added in the design space. To do so, select ‘Images’ from the design panel on the left, search ‘score line’, select the free downloadable score line and insert the image. Place where appropriate or add dashed cutting lines if you would prefer as this too will act as a neat fold line..
Cut settings are found here for JOY, AIR2, MAKER
Brother Cut File
******Download Brother cut file******
To import these files into the Brother Canvas Workspace:
After downloading, please log in as usual to your design space account, open a new project mat, then left click on the SVG icon in the top left bar in canvas, this will then allow you to import your files. Once you left click this icon, a pop up box appears with you to choose where to import file from, choose to import the file from your downloads list or where you have chosen to save when unzipped.
Cut settings are found here
Just incase you need the link CanvasWorkspace (brother.com)
Hope you’ve enjoyed this week’s blog post, are you wondering yet what tutorial will we bring you next week? 🙂

