
Tutorial/Free Cut File
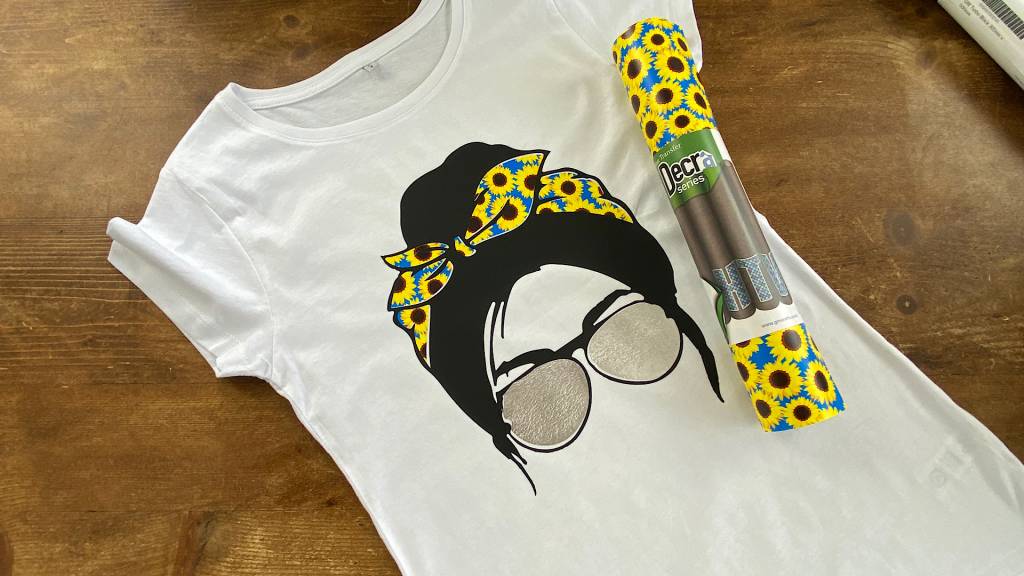
Layering with our Pattern, Turbo and Metallic HTV. Free cut file and tutorial.
Hi!
Welcome to another week’s blog, and free cut file. This week we thought we would monopolise on the bank holiday vibe – and channel a warm summers day feeling with this design! Just looking at this made us long for those warm summer days! As always with our cut files and tutorials you can use these in a huge variety of ways and with HTV, Self adhesive, papercrafts, even embroidery should you wish. Whatever you decide we would love to see!
Have you found our You Tube channel yet? The video showing this and all of our other tutorials are available on there, as well as exclusive demos, inspiration and more! Join us on Facebook , Instagram or Tiktok or send us an email to sales@gmcrafts.co.uk we would love to hear from you!
You are free to use our files to make, create, and even make items to sell, all we ask is you don’t pass the files on. Instead, if you wish to share them, please ask your friend or acquaintance to download them from our website themselves from within this blog. No reselling or passing on, of any part of the cut file is permitted, and no using the cut files to create other files to sell or pass on is allowed. But we do hope you enjoy them, and we hope your makes earn you a little extra with them too.
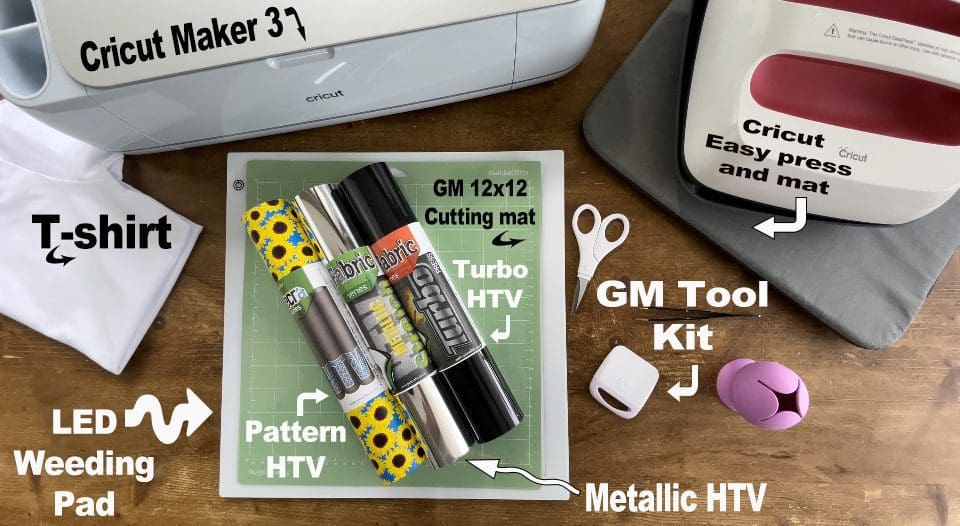
What you’ll need:
- Cricut maker . Available Here
- Cutting Mat. Available Here
- Or Silhouette Cameo 4. Available Here (Instructions for the cameo and Brother machines at the bottom!)
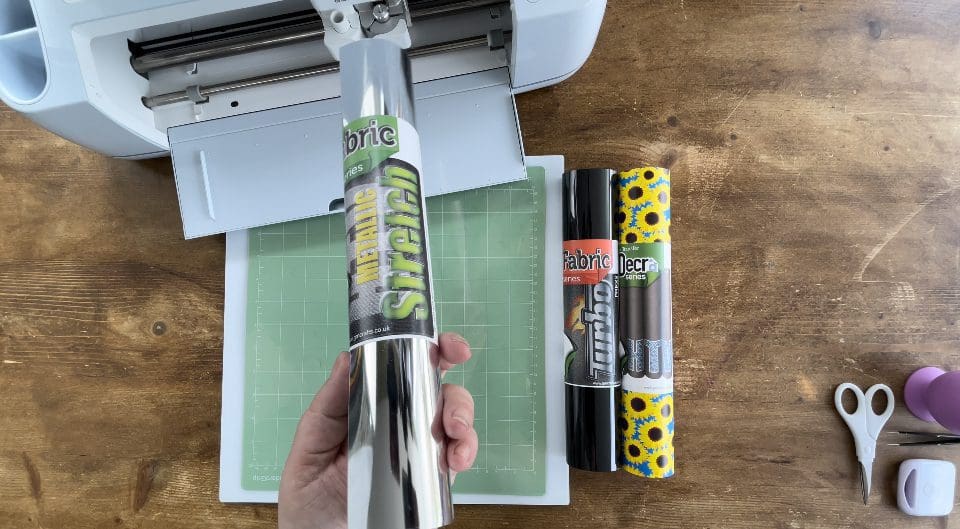
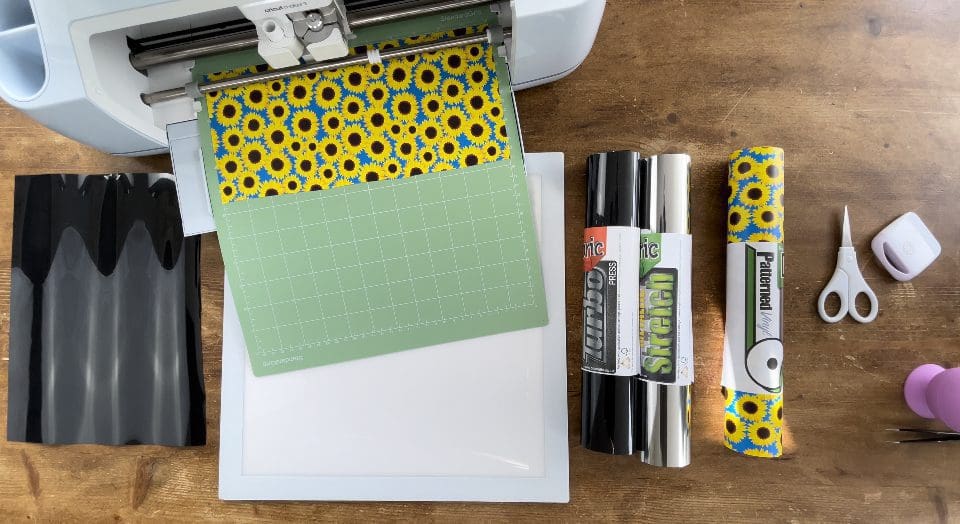
- Pattern HTV. We used the Blue Sunflowers found by clicking here
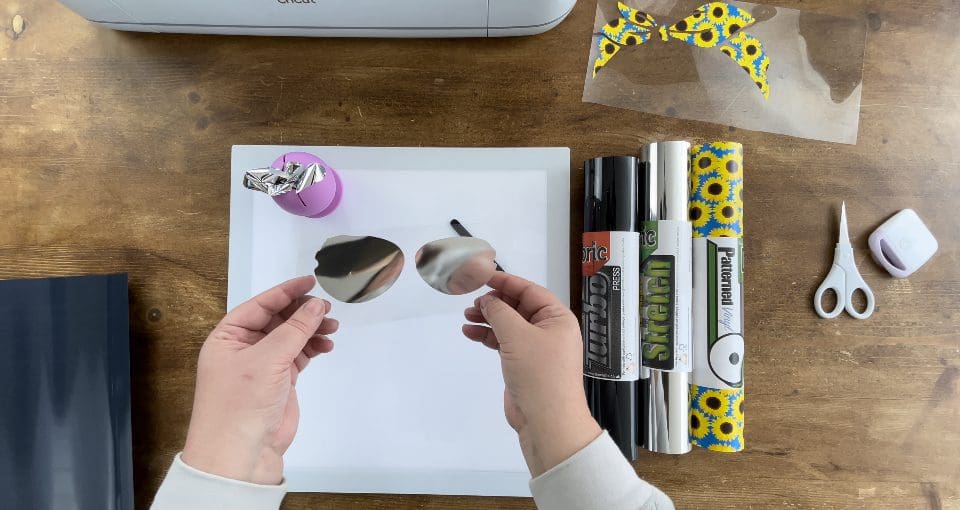
- Metallic HTV found Here
- Turbo Black Vinyl found Here
- Cricut Easypress and Easypress Mat Here
- LED weeding pad. Available Here
- Squeegee. Available Here
- GM Vinyl Scrap Collector. Available Here
- Weeding tweezers . Or Weeding hook. Available Here
- Scissors from the tool kit. Available Here.
- Tote bag, T-shirt or bag etc of your choice.
- Silicone Paper, this is like the baking paper you can buy in the supermarket on a roll for the kitchen- DO NOT USE TEFLON
- Cut files Download link below, for all machines, Silhouette and Brother instructions are at the bottom of the page
CLICK HERE TO DOWNLOAD THE LADY AND SCARF CUT FILES FOR ALL MACHINES
Instructions;
1. Before you start you will need to download the cut files for your chosen machine, link above. Unzip the file to use it by right clicking it in your downloads.
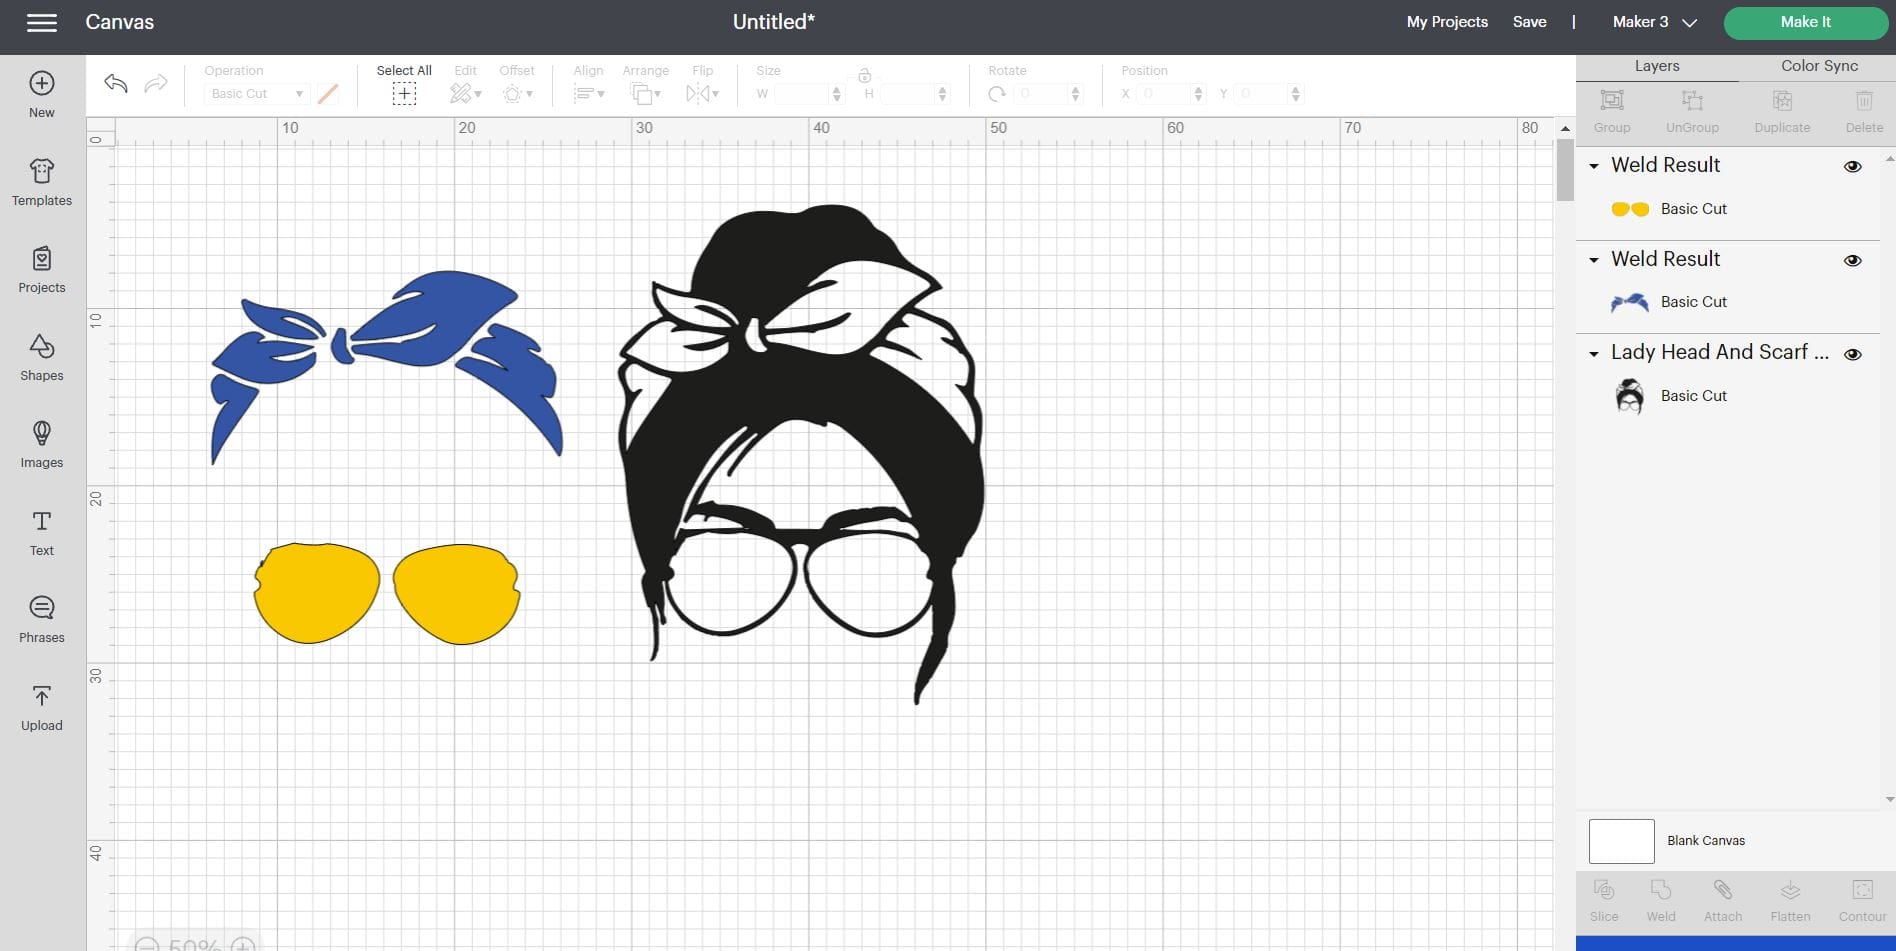
2. Upload the SVG into the design space. Click “Upload Image” on the left-hand Design Panel, and navigate to the files you want to open. Select ‘Insert image’ and select cut images. Click save. When it has been uploaded, Insert the images onto the canvas and resize to suit your project, I then right click and ungroup, before I delete any parts I don’t want if appropriate, Recolour each part you wish to cut from a different vinyl differently, so I can cut the different Card, Vinyl etc for each layer, which means I don’t have to keep returning to the design page, see below.
Weld any parts that you wish to keep in place – I welded the Yellow and then Blue as they needed to be cut together. See below.
When you are ready click make it to move on to the next screen. On the next screen, If using the Cricut Maker 3 then you will need to choose to cut on the mat (unless using smart media) Click done, and then continue on the next screen.
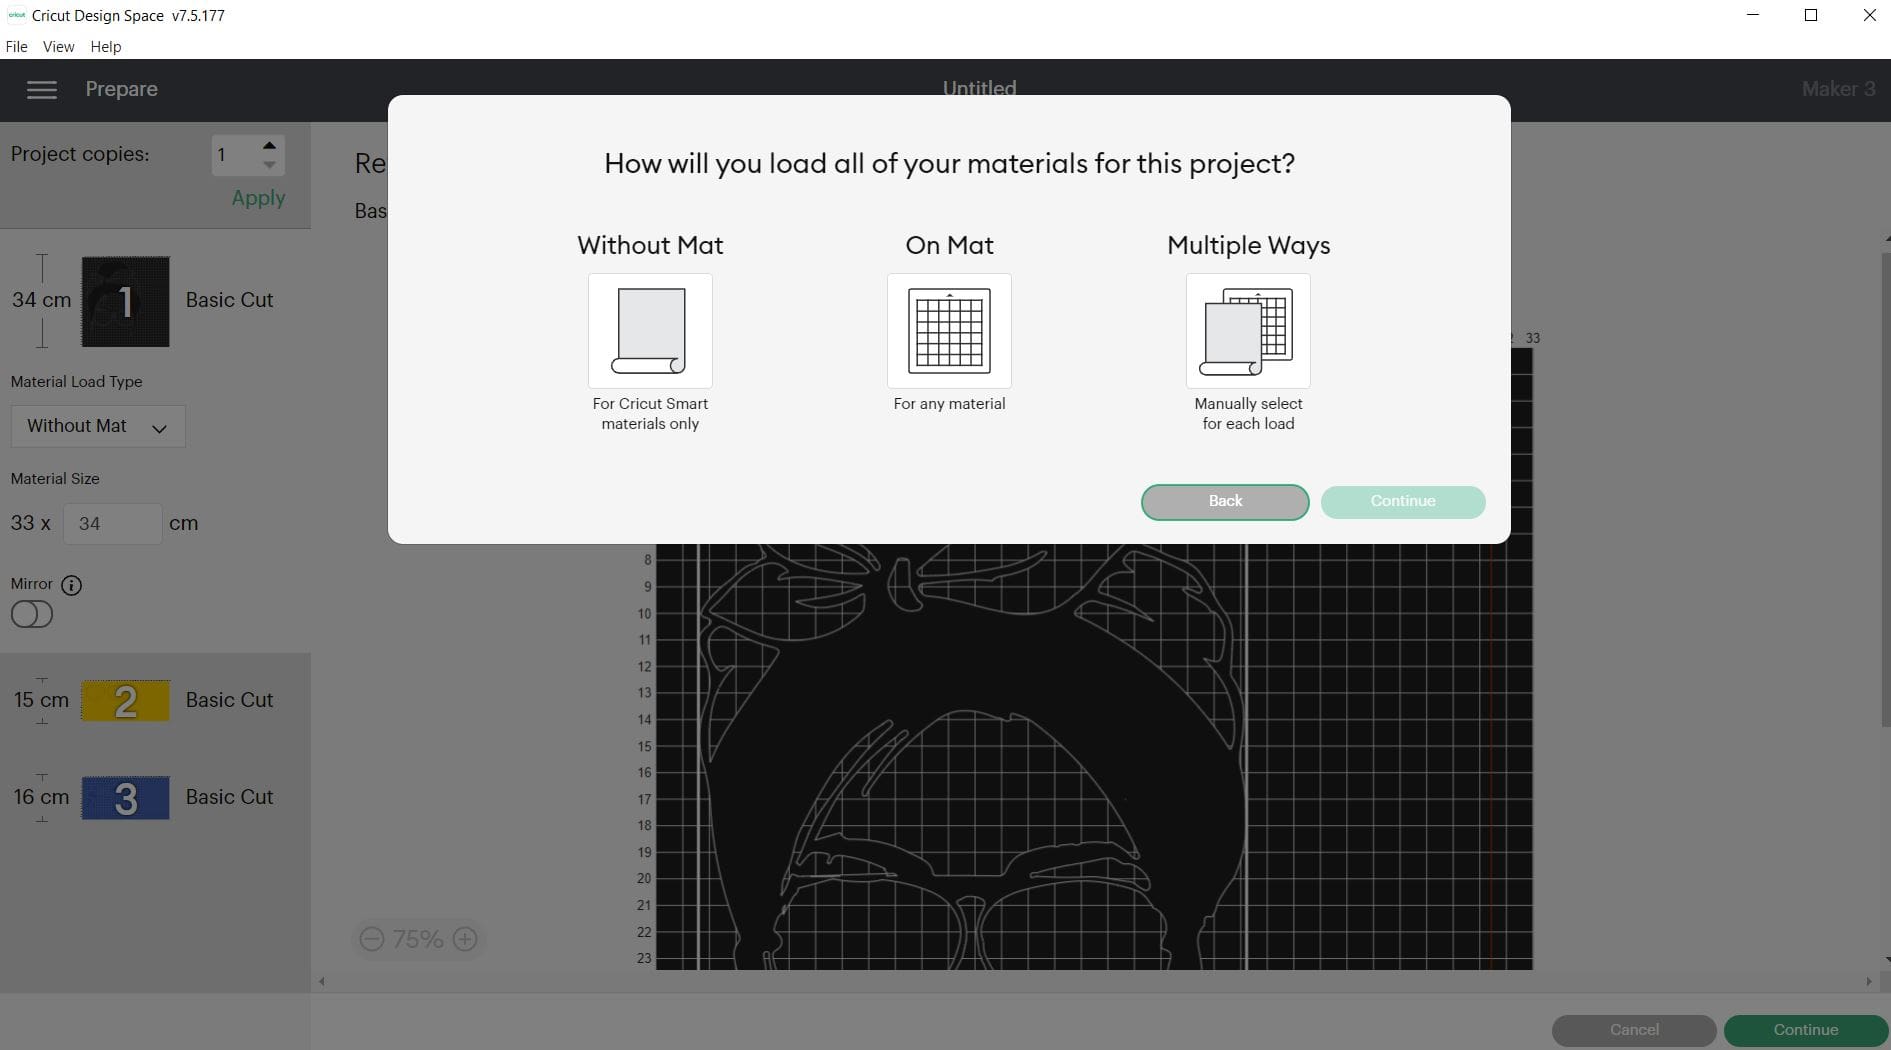
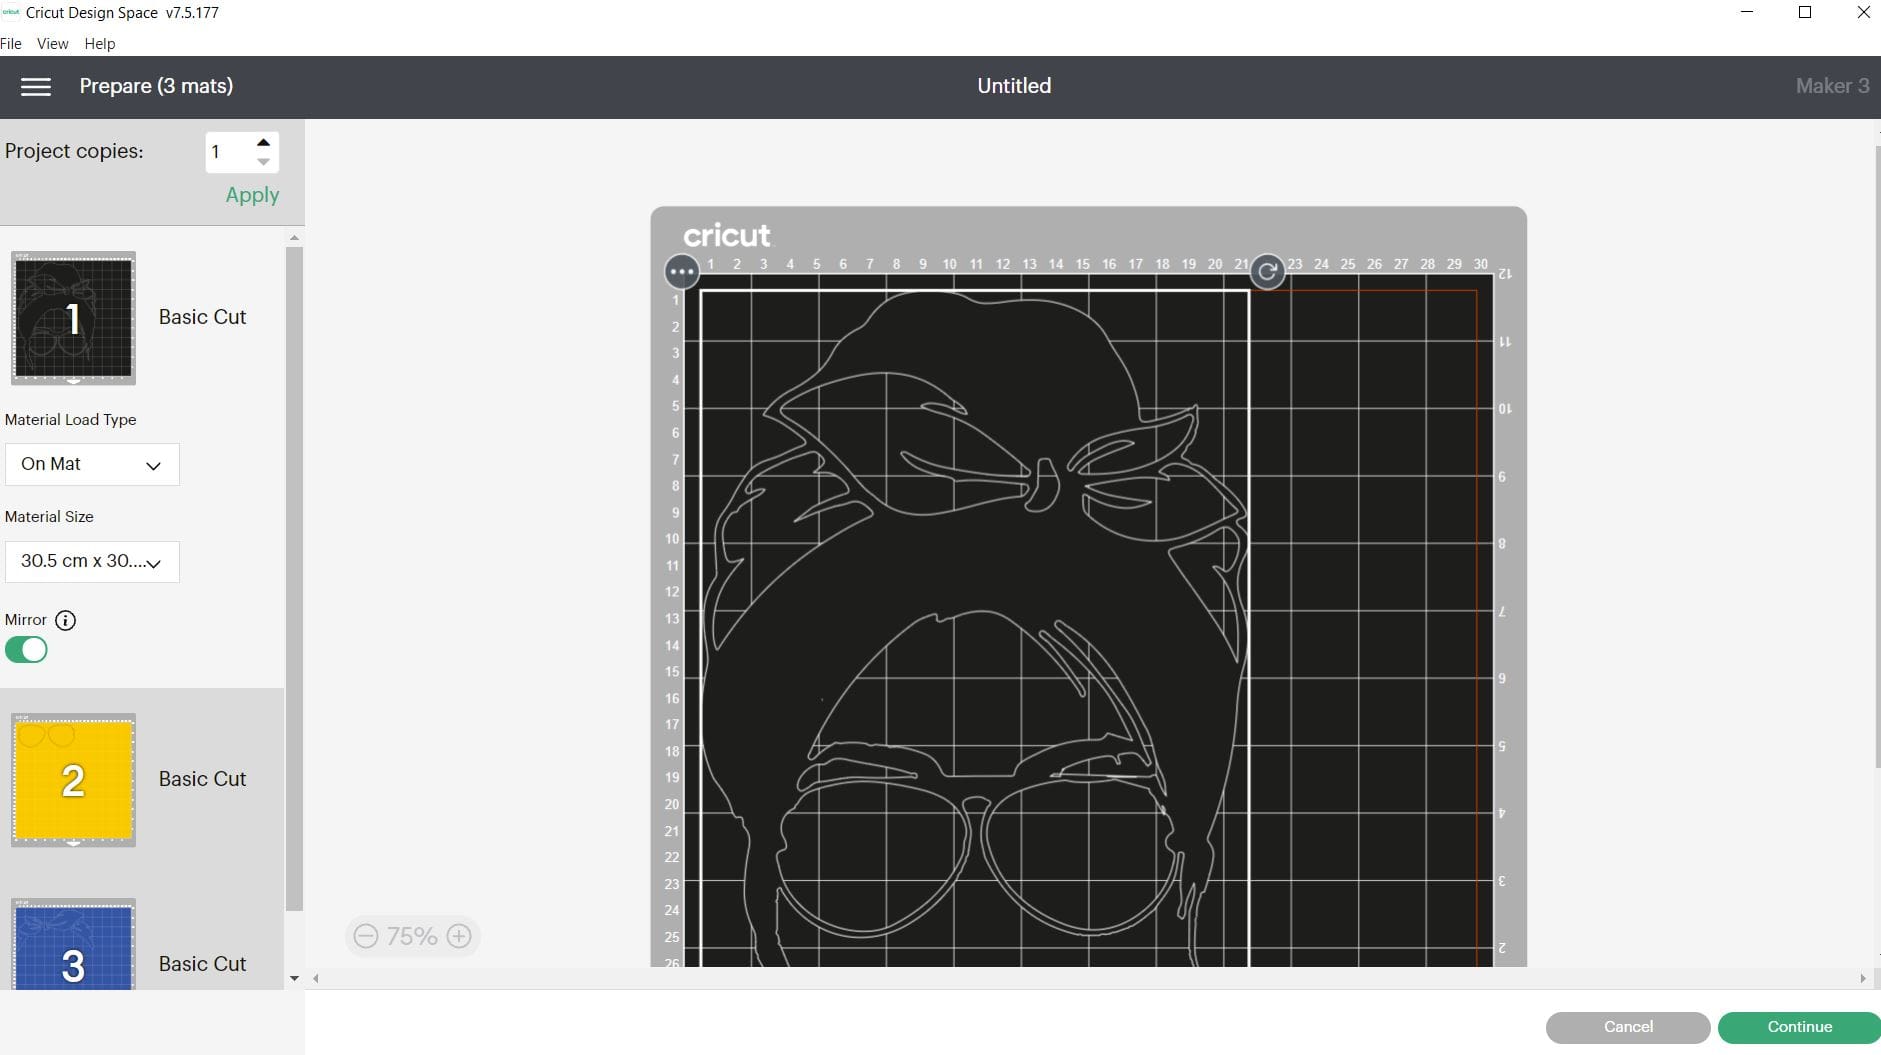
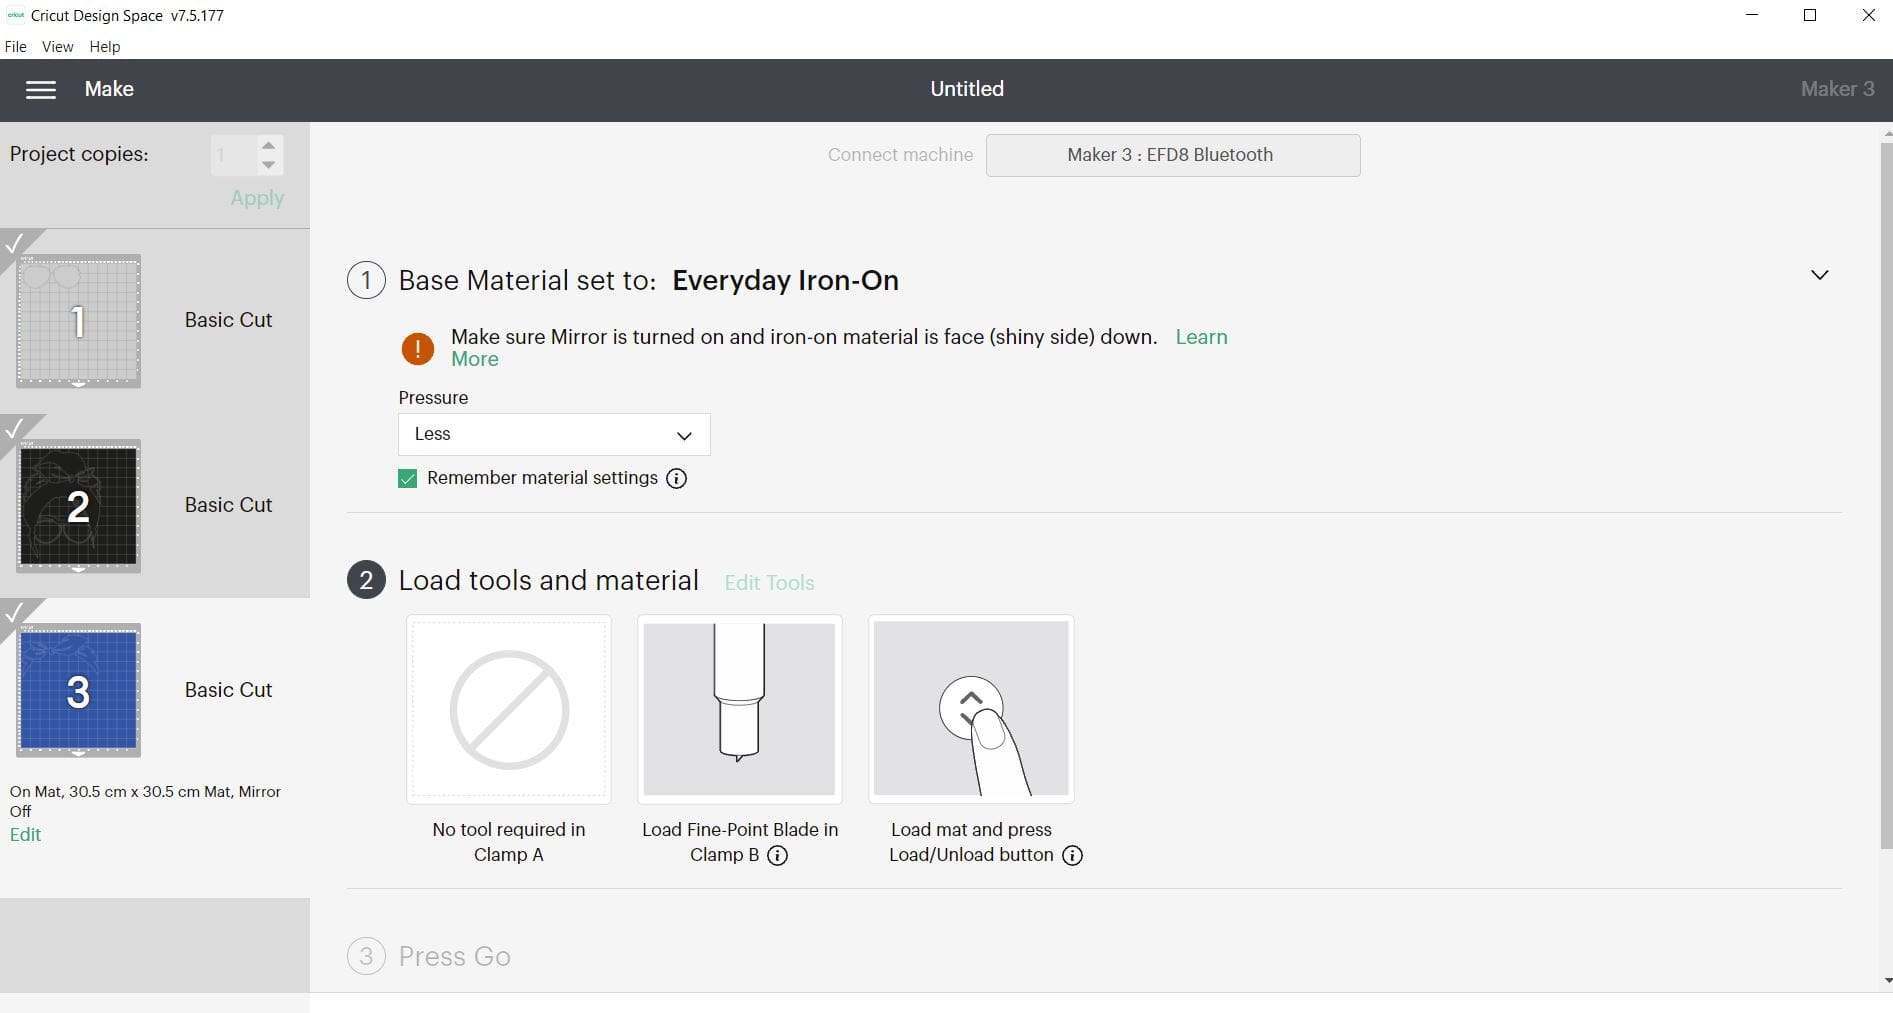
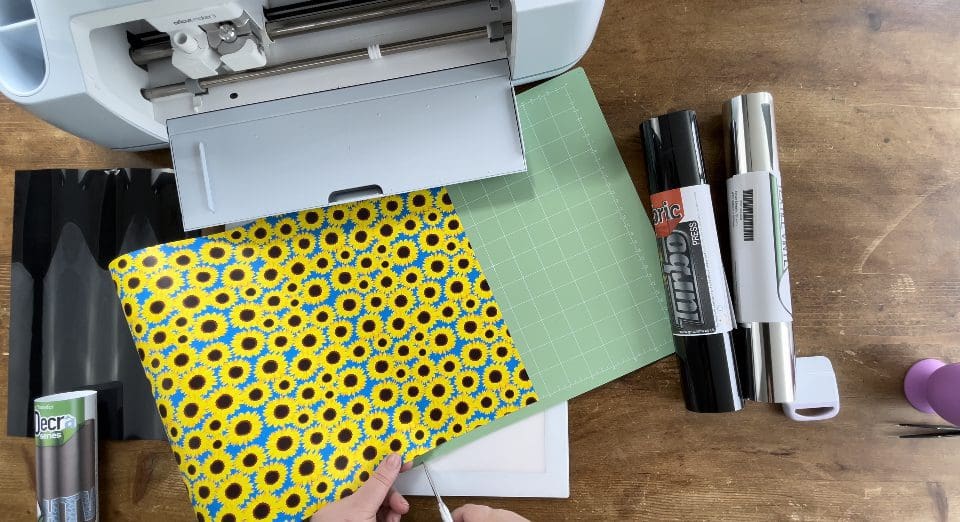
3. When on the next screen above, if using HTV only ensure you MIRROR the design. If using pattern HTV DO NOT mirror- We did not mirror the blue design as this is going to be the pattern HTV. Click continue in the bottom right on the next screen. In the next window make sure your settings are all set to the successful settings from your test cut and ensure your machine is linked before proceeding to cut. Cut settings: (**please test cut) Press the flashing Cricut symbol on your maker to cut, after loading the sheet into the machine. Apply the settings needed for your chosen Vinyl, we made it with our GM Pattern HTV, and Turbo HTV on the maker 3, and used the Every Day Iron on setting on the Cricut maker 3 with LESS pressure. For the Metallic HTV Vinyl we used the Sparkle Holographic on default.
**A reminder that these settings, including the blade setting, are specific to the materials and machine we’re using, adjustments may be necessary if using different materials and machine**
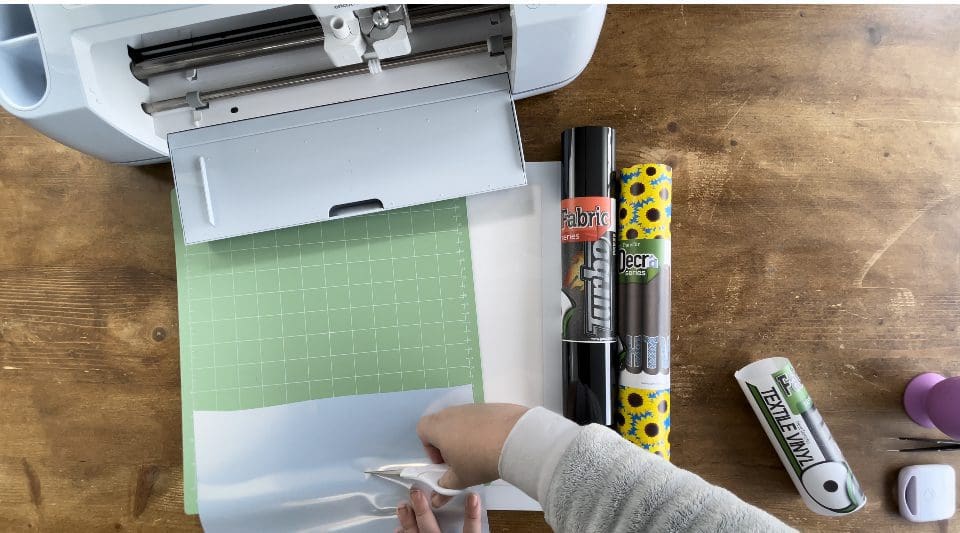
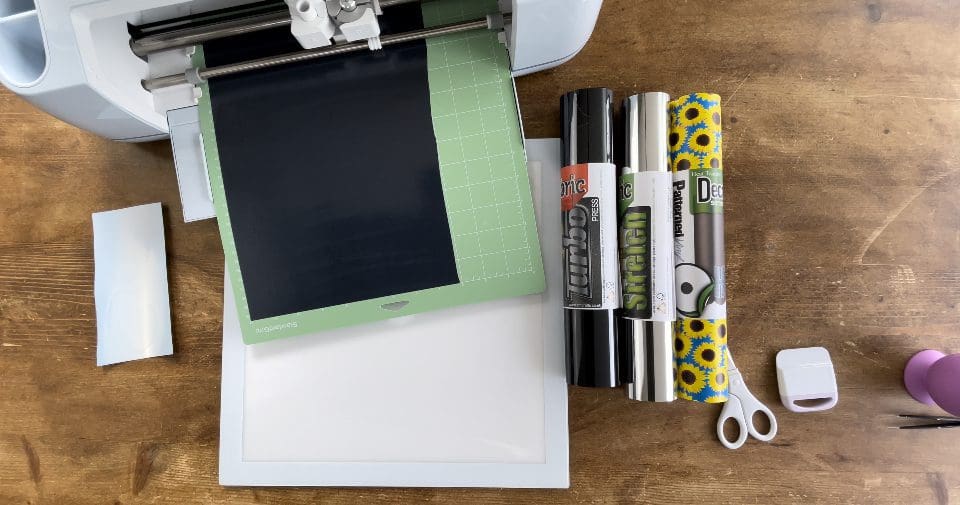
We always recommend before proceeding, you test cut your materials when first using so if you have not recently used this product in your machine. Please test cut for your chosen machine found on our Application guide, and also Blog. Load the Vinyl chosen individually for each layer.
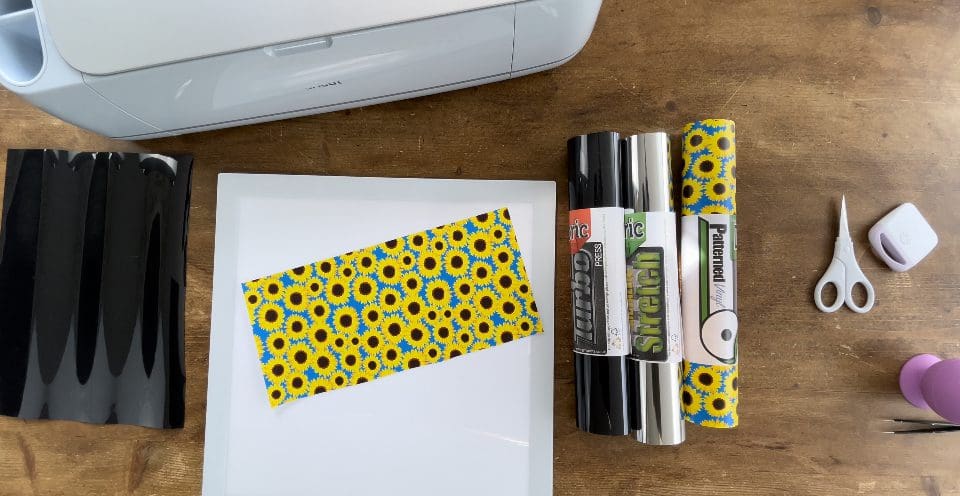
4. Next you need to load your mat with material on. Please remember to test cut if you have not used this vinyl. Again proceed to make it. Remember to do this step for all your colours. Remember to change the setting for the Metallic – AND DO NOT MIRROR PATTERN HTV.


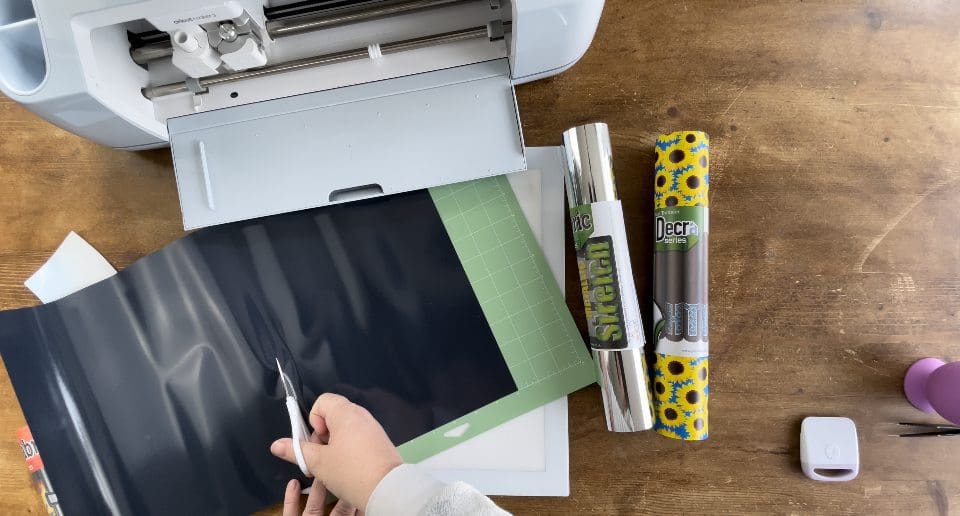
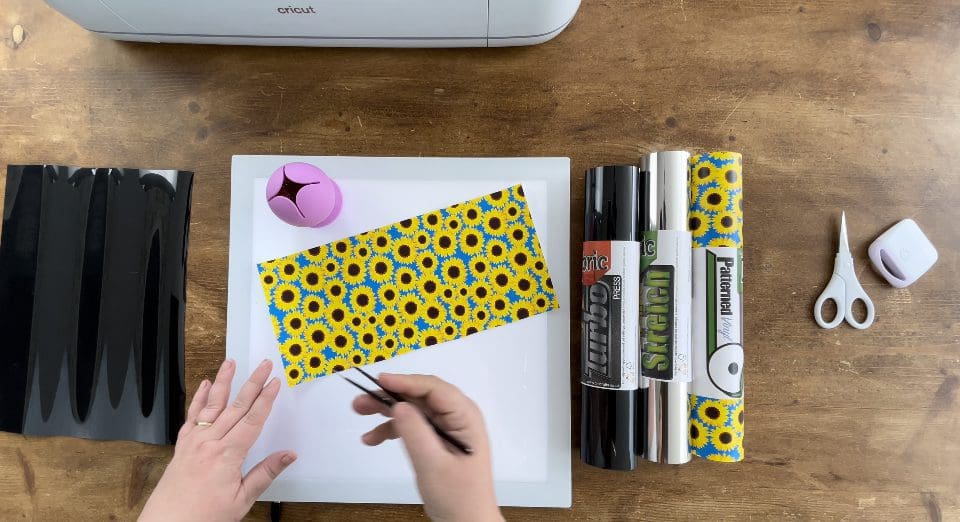
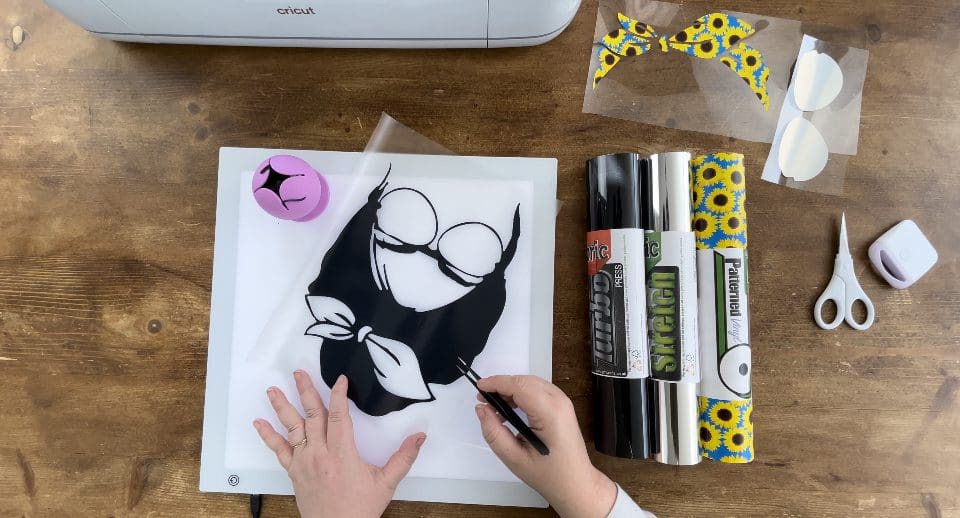
5, Press the down arrow on the machine when it has finished cutting to eject the mat, Flex your mat away from the vinyl when removing to make this easier. Switch on your LED pad, take the tweezers and weed the excess unwanted vinyl away, I use the purple flower weeding waste holder to keep my desk tidy.
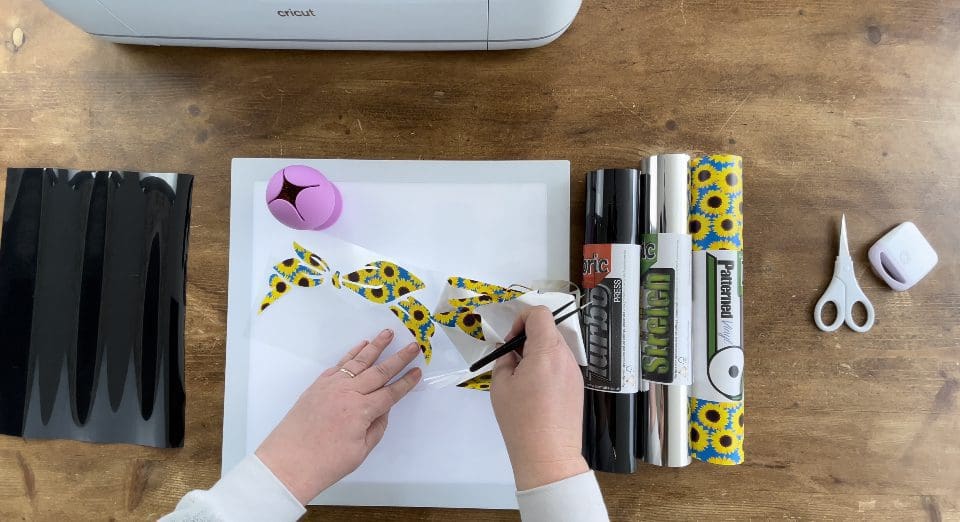
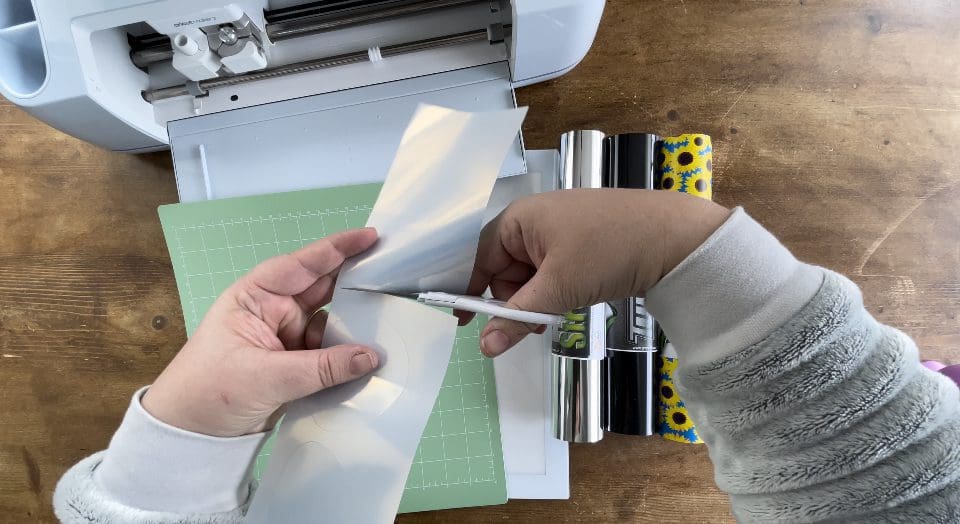
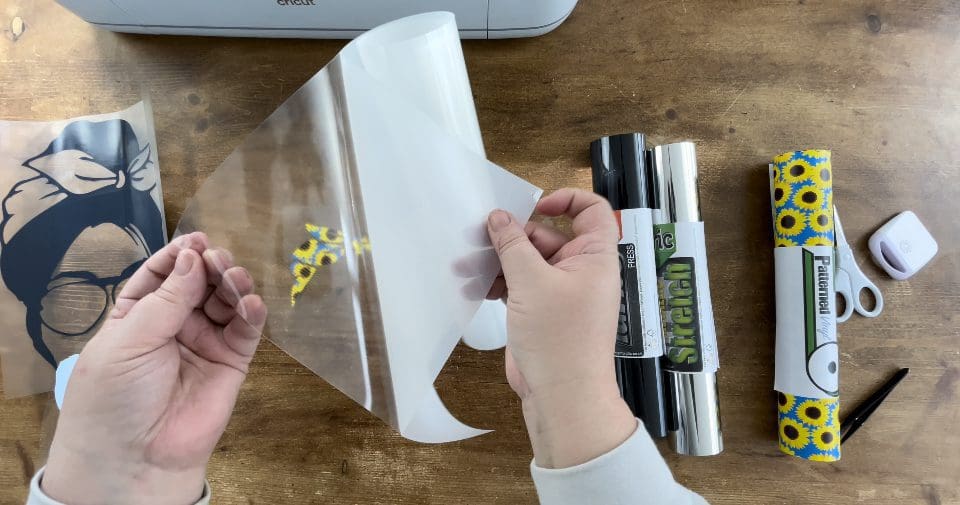
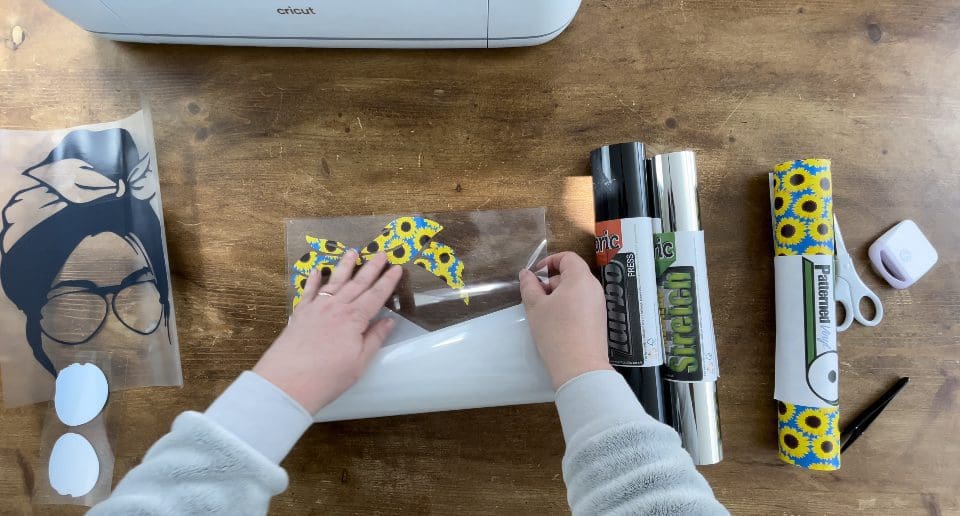
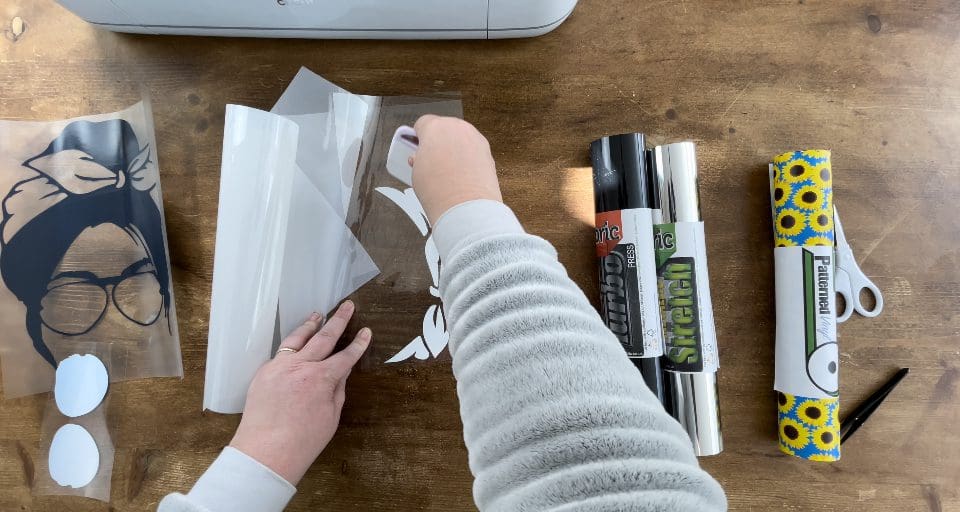
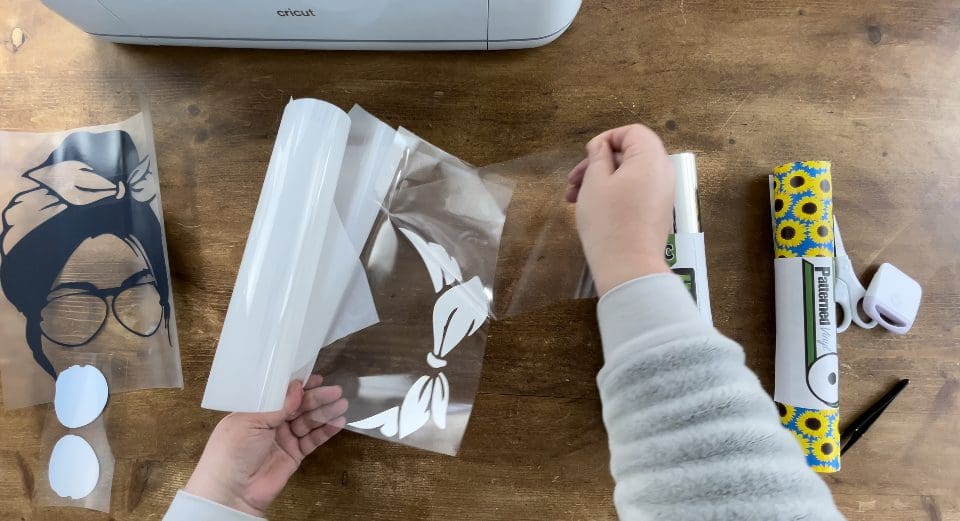
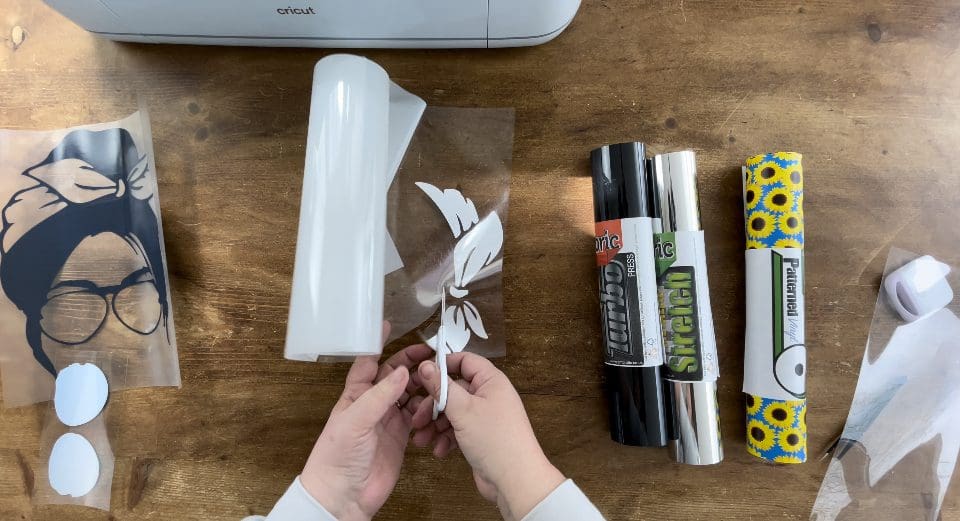
6. Take the milky sheet of transfer paper that came with the pattern vinyl, peel the backing off, apply the transfer application sheet provided to the front of your design, rub with your squeegee from behind when turning over before carefully peeling the backing.

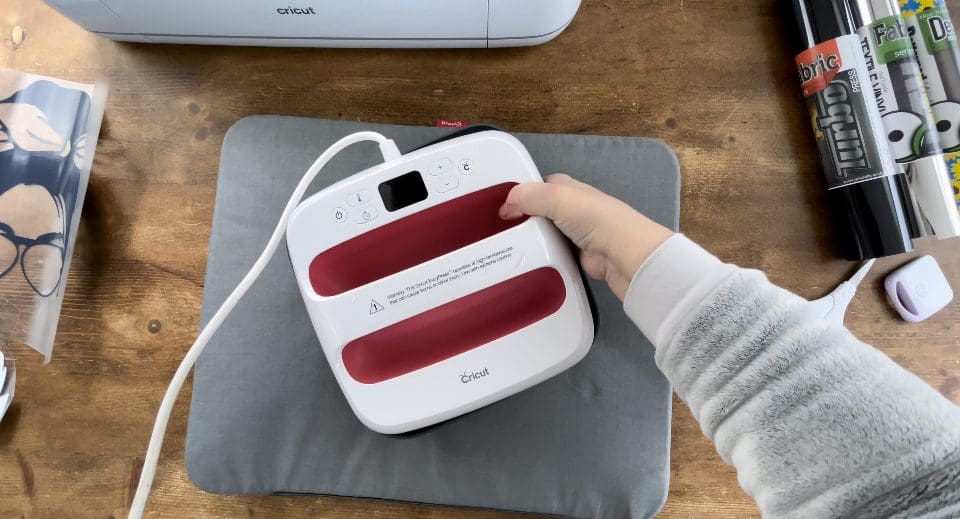
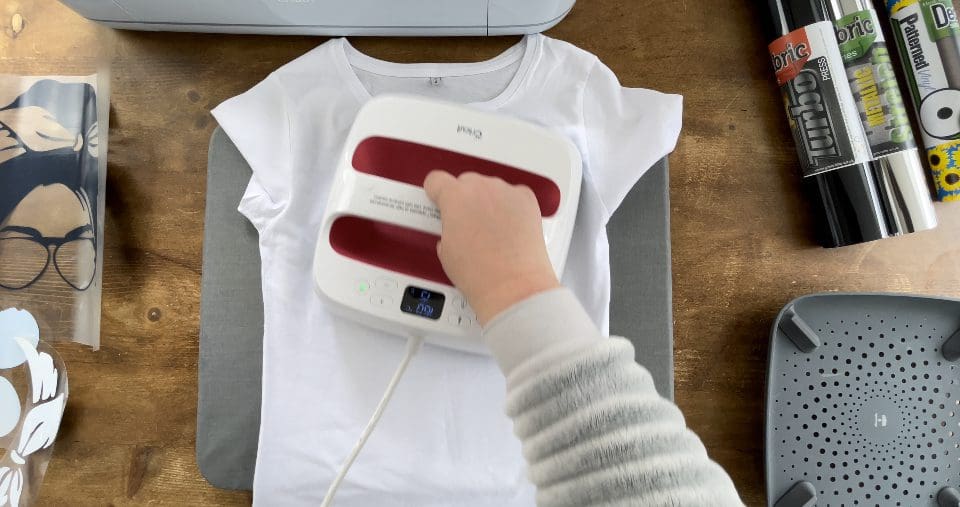
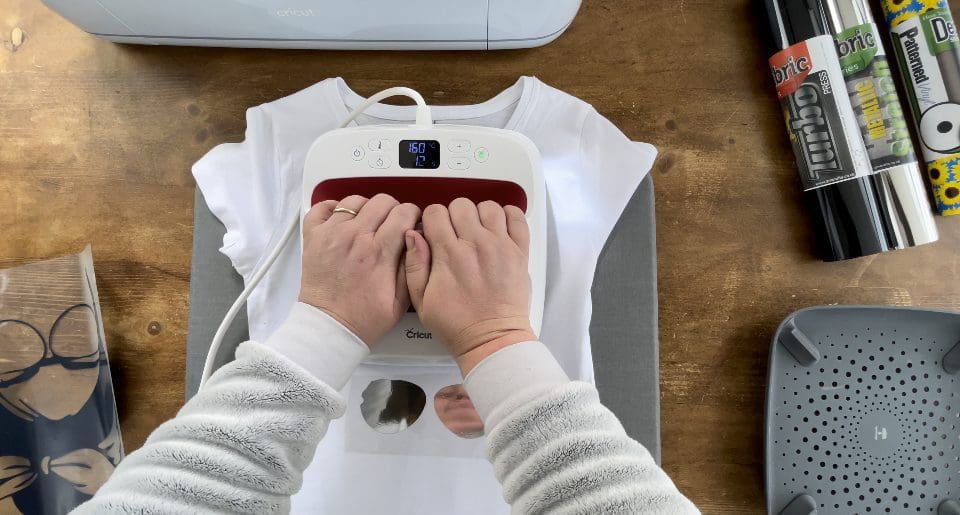
7. Switch your Easy press on, and set the temperature to 160’C and the timer to 15 seconds, please refer to our Application guide, Preheat the Bag, cushion cover, t-shirt or other garment you have chosen, once the press is ready, for 10 seconds to remove any moisture.
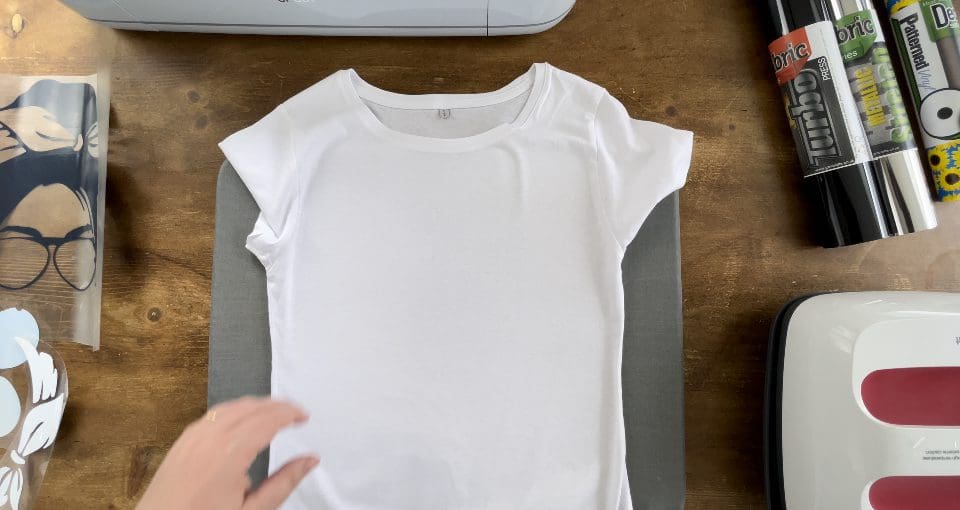
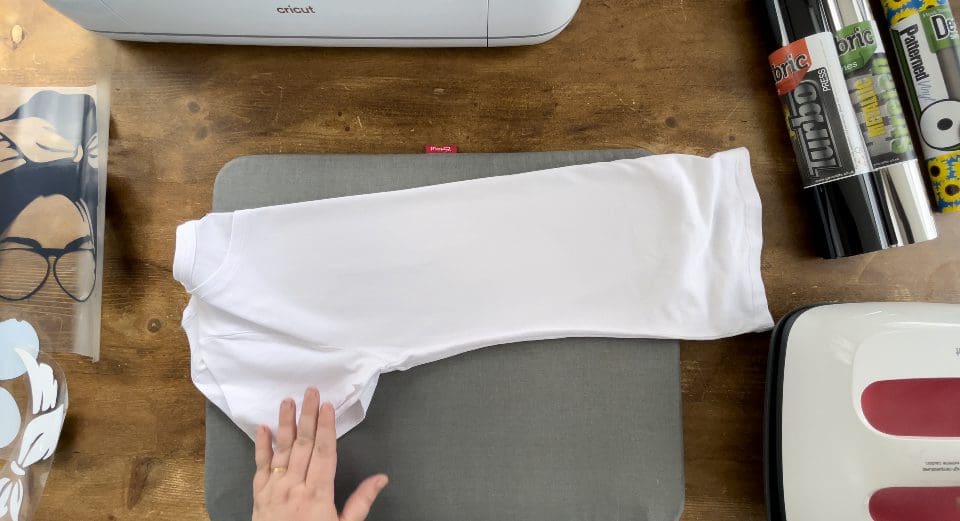
8. TOP TIP – FOLD YOUR ITEM IN HALF AND PRESS A LINE IN IT TO MAKE GETTING YOUR DESIGN STRAIGHT, THEN FOLD THE BLACK MAIN IMAGE IN HALF AND PINCH TO CREATE A MARK TO LINE BOTH UP WITH.
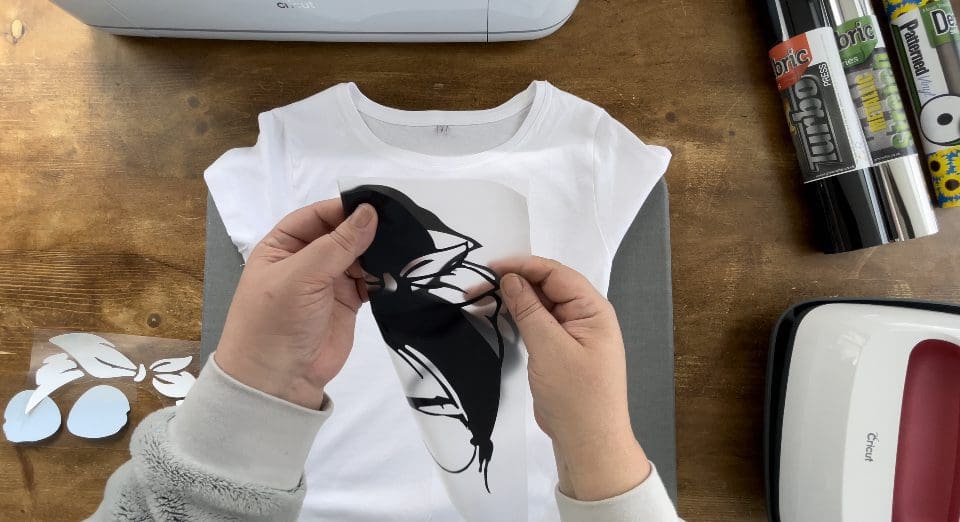
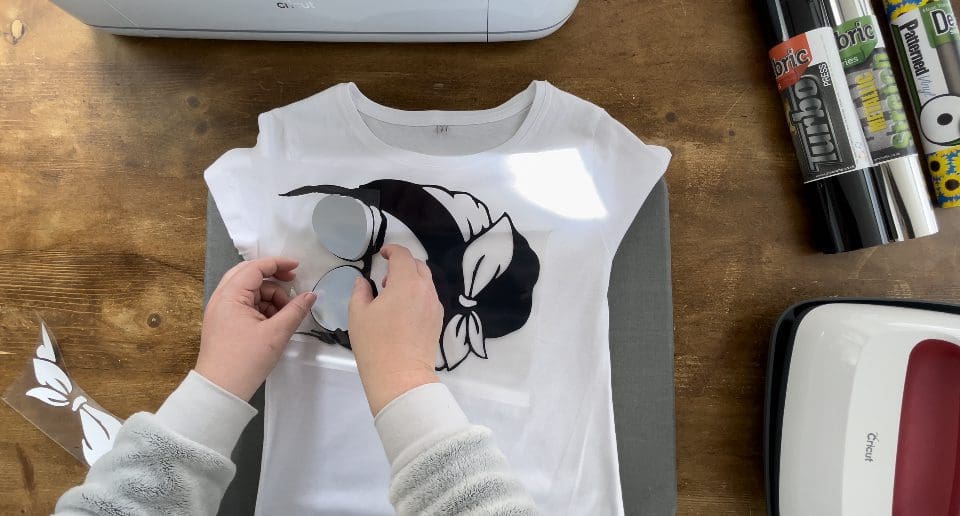
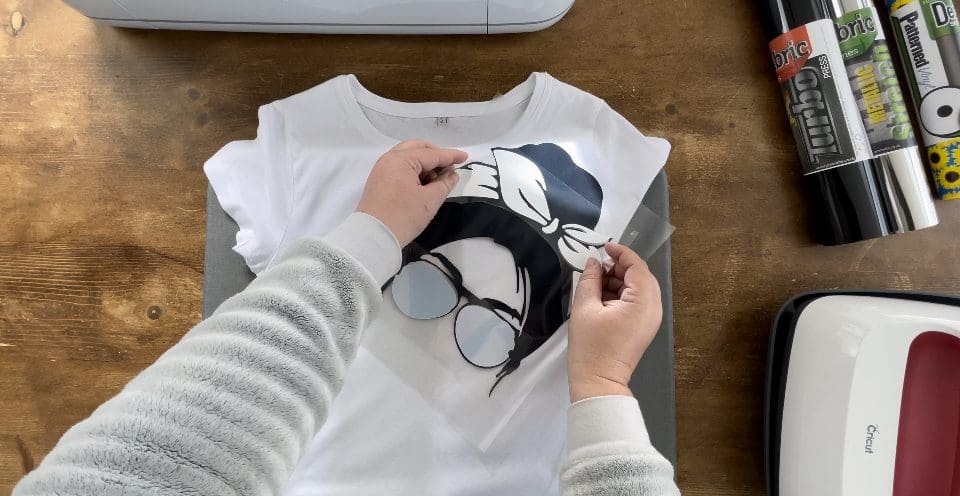
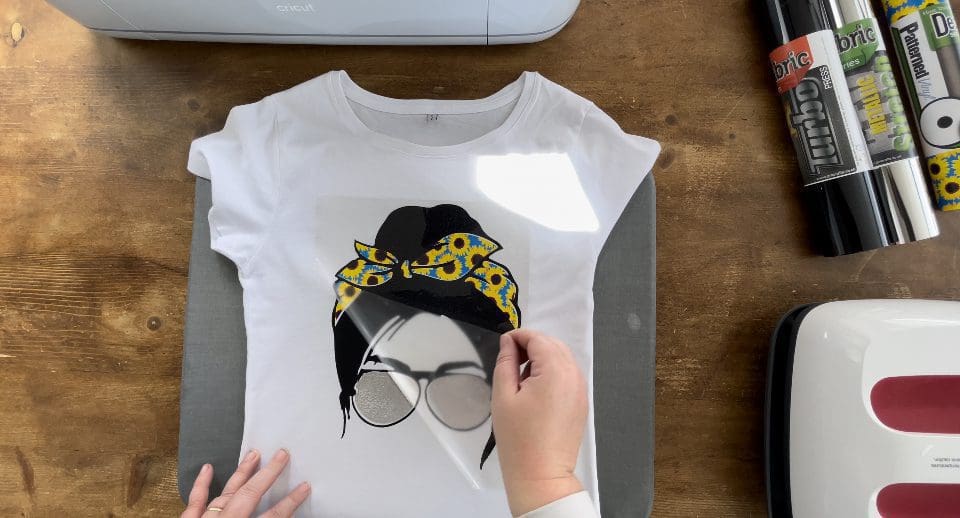
9. place the silver glasses and blue pattern scarf gently with its app tape onto the back of the black (sticky side) then place in position on the garment, before gently rolling the black vinyl with it’s app tape back- leaving the 2 bottom parts in perfect placement on the T-shirt. See below.
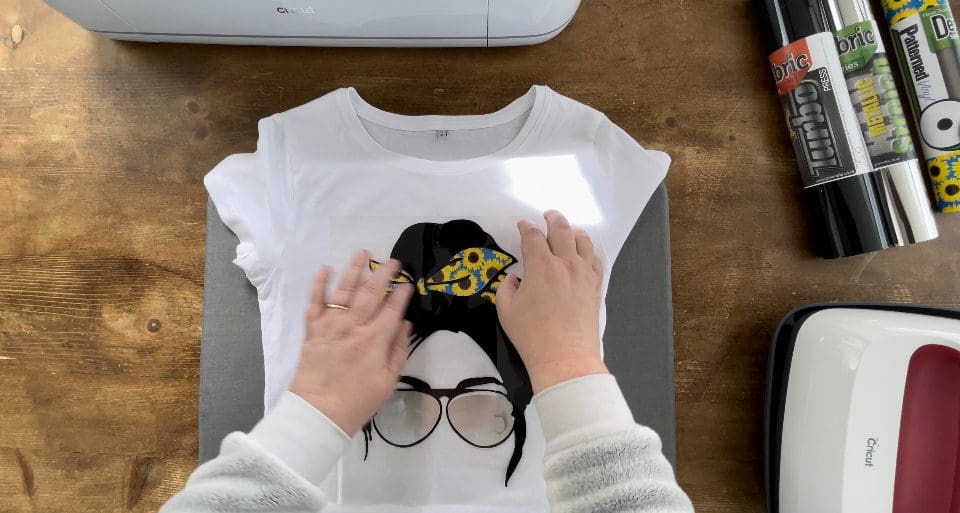

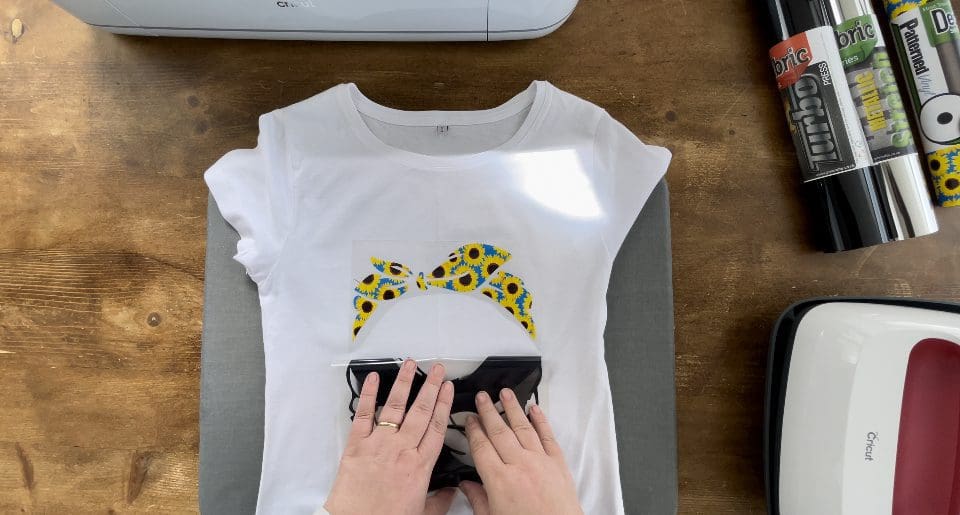
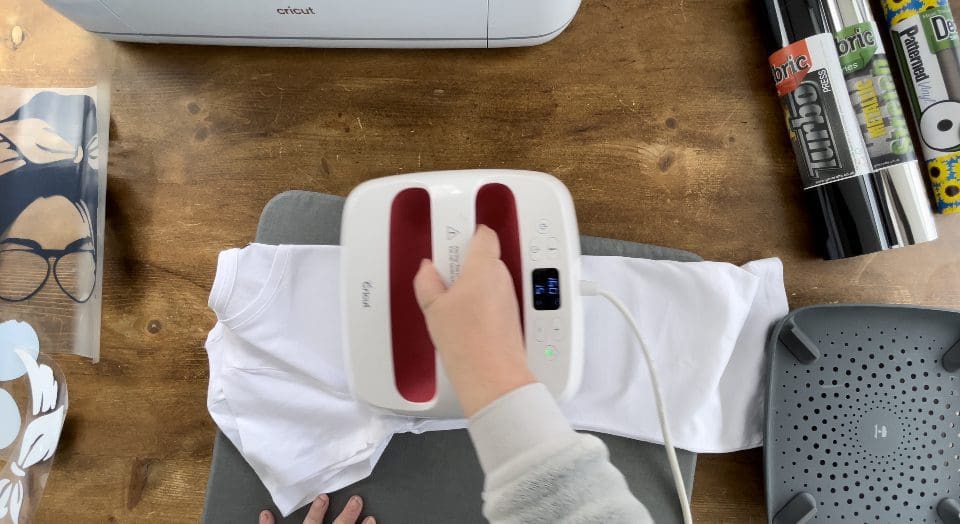
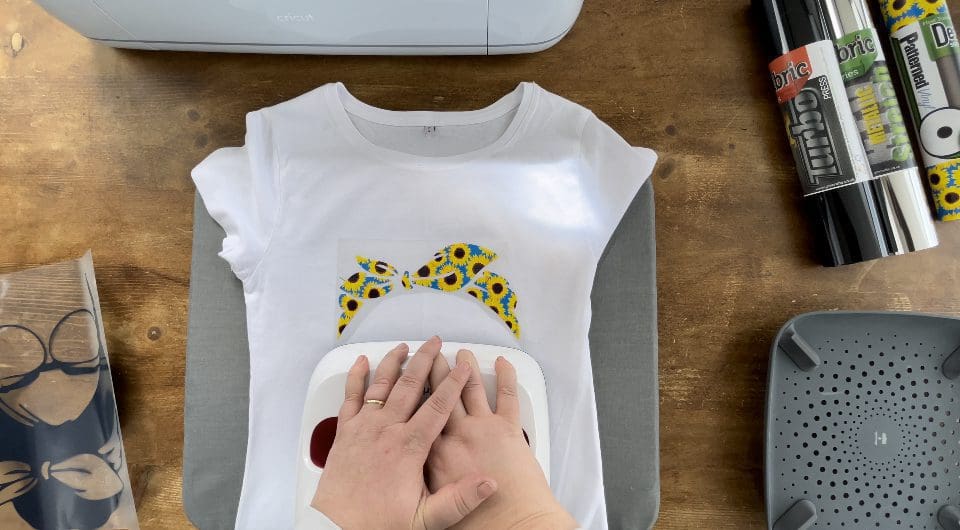
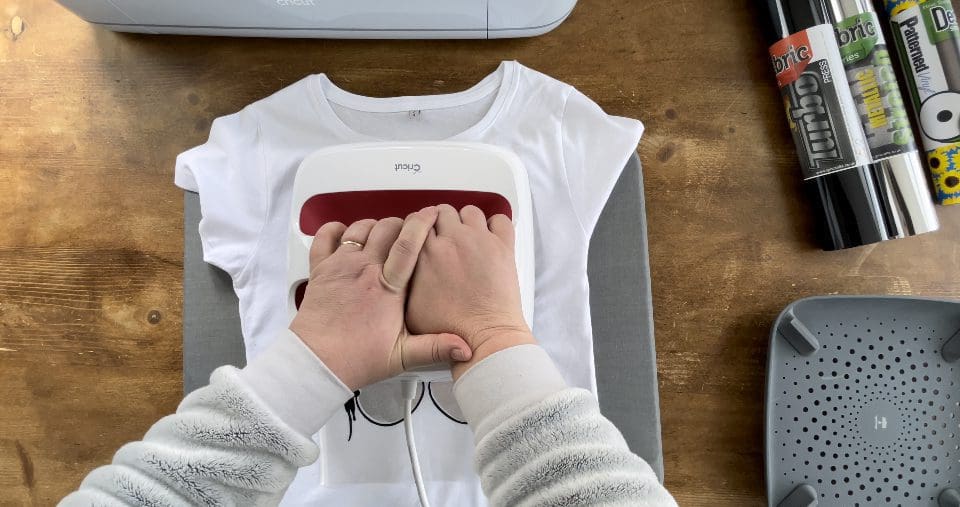
10. With the pattern and metallic layers now in the correct place on your chosen item, facing up, ensure it is on a hard surface, or Cricut Easy press matt and on a hard surface, check our guide here for more information on applying and using HTV successfully. Applying firm pressure so that your arms are locked and pressing hard into the garment, apply the press to the Pattern design for 15 seconds, and metallic 7-10 seconds, covering each area once only to not over heat the vinyl. Leave it to cool a few seconds before removing the carrier sheet.

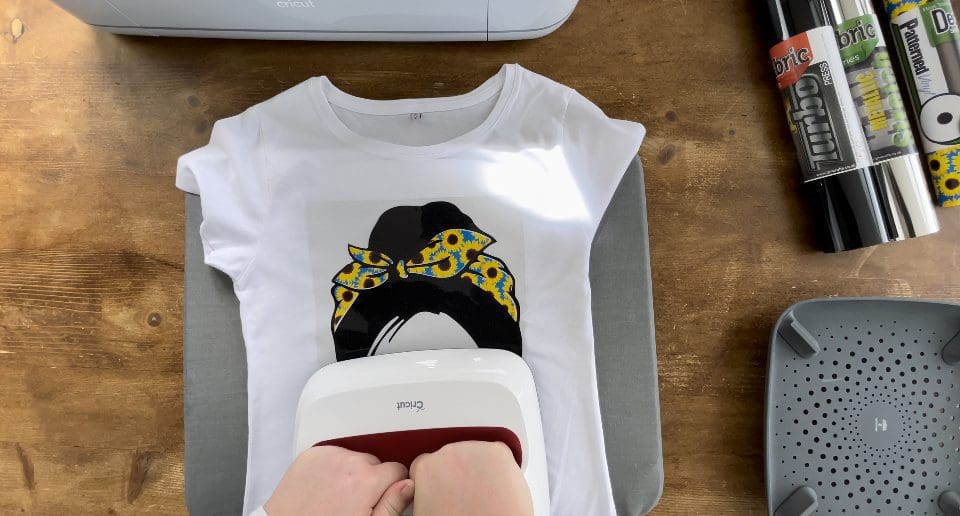
11. Repeat the above step put the black Turbo HTV in the correct place, and this time press firmly for 3 seconds once on each area- allow to cool slightly before removing the application sheet. You do not need to cover the deign anywhere with silicone paper, as the application sheet on the black covers all the first layers.
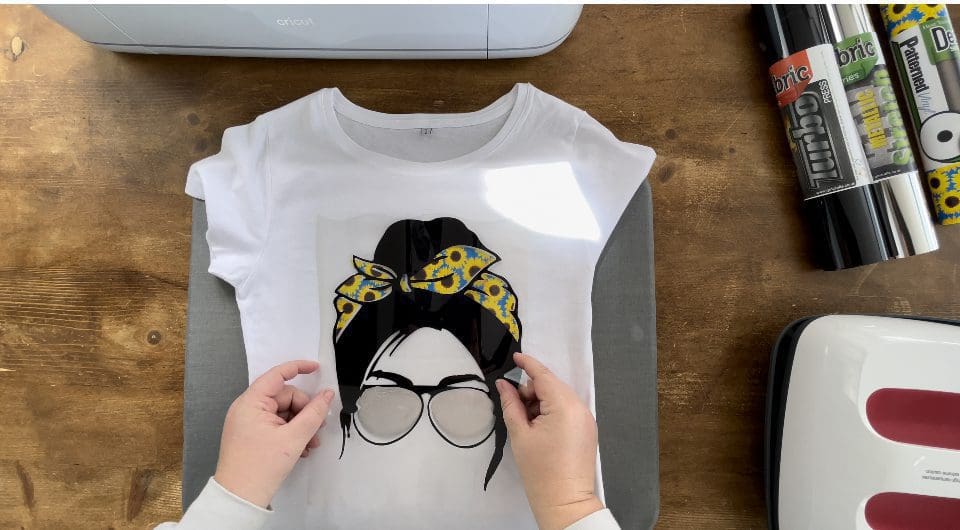
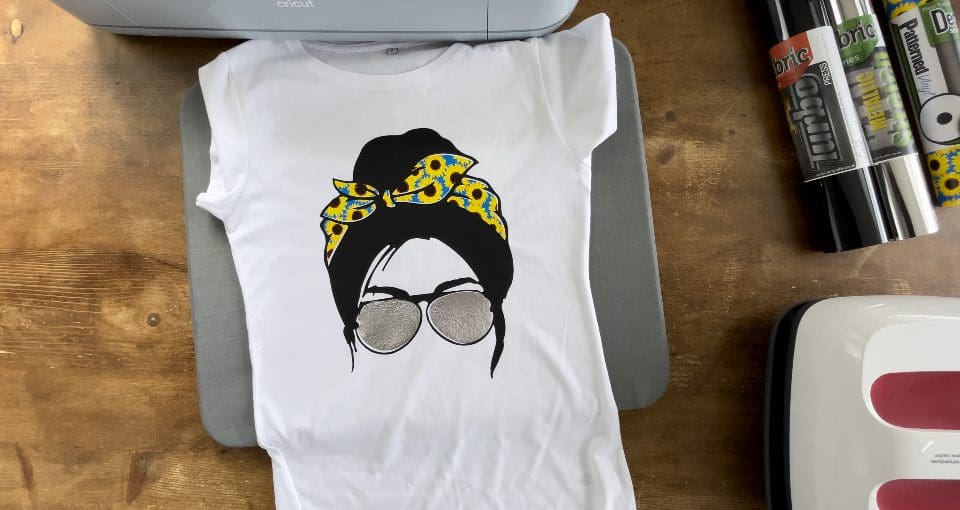
Don’t forget your finished design can be matched by using any material cut using a cutting file, card, self adhesive vinyl or even HTV. We’d love to see your makes on our social media pages! Or email them in!

SILHOUETTE
Instructions:
Before you start, you need to download the cut file, Upload the cut file into Silhouette Studio, click the file and choose release compound path to separate each layer, and resize or regroup as necessary, (when resizing bring all layers into the design software and select all at once to get the correct offset layers and save the adjusted file, so you can cut layers individually at that correct scale you have chosen) Remember to test cut if necessary and cut settings are found here along with test cut guidelines for every machine.
Brother Cut File
To import these files into the Brother Canvas Workspace:
After downloading, please log in as usual to your design space account, open a new project mat, then left click on the SVG icon in the top left bar in canvas, this will then allow you to import your files. Once you left click this icon, a pop up box appears with you to choose where to import file from, choose to import the file from your downloads list or where you have chosen to save when unzipped. ENSURE YOU GROUP FILES BEFORE RESIZING OR MOVING- FOR EXAMPLE THE BUNNY EARS.
Cut settings are found here
Just incase you need the link CanvasWorkspace (brother.com)