Tutorial/Free Cut File
How To Use Our GM Crafts Transfer Doodles Colouring Sheets
Hi!
Welcome to another blog! This time we thought we would show you our Transfer Doodles and answer some of your questions on how to use them, or what pens to use. This design is ideal for so many themes, and occasions. Now is the ideal time to grab these sheets, as they are in our 3 for 2 event!
These are available in a variety of designs, with complex and time consuming designs to colour, as well as ones that are much easier, and child friendly, as well as we do clear sheets for you to create completely unique designs of your own, or even get your cutting machine to use a pen tool and draw a design you choose to colour in your self, or use the clear sheets to entertain the kids, and then this allows you to press them onto something, creating bespoke gifts, and keepsakes that will last forever.
We have another tutorial, click here using the clear sheets with free download to trace too.
We would love to see what you make! Have you found our You Tube channel yet? The video showing this and all of our other tutorials are available on there, as well as exclusive demos, inspiration and more! Join us on Facebook , Instagram or Tiktok or send us an email to sales@gmcrafts.co.uk we would love to hear from you!
***Click here to watch in full screen on YouTube***
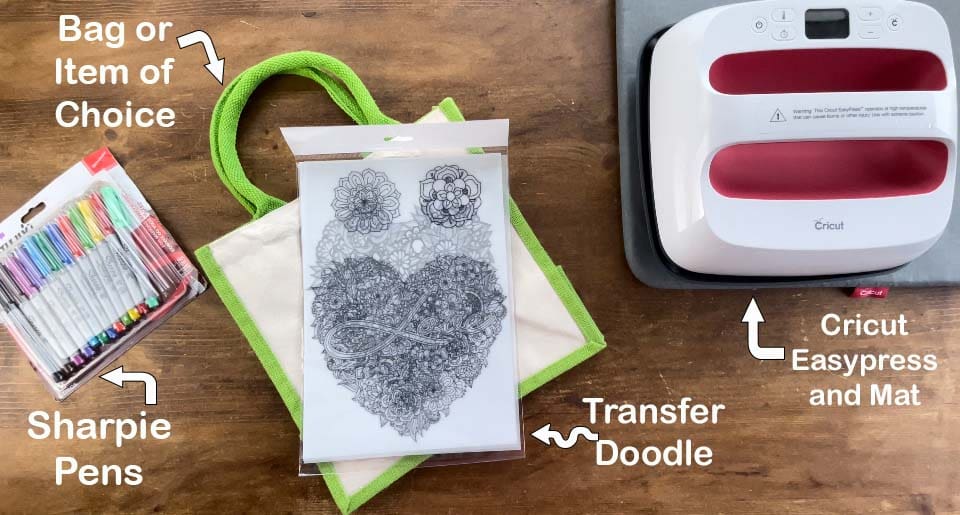
What you’ll need:
- Transfer Doodles Available Here
- Cricut Easypress and Easypress Mat Here or a domestic iron if needed
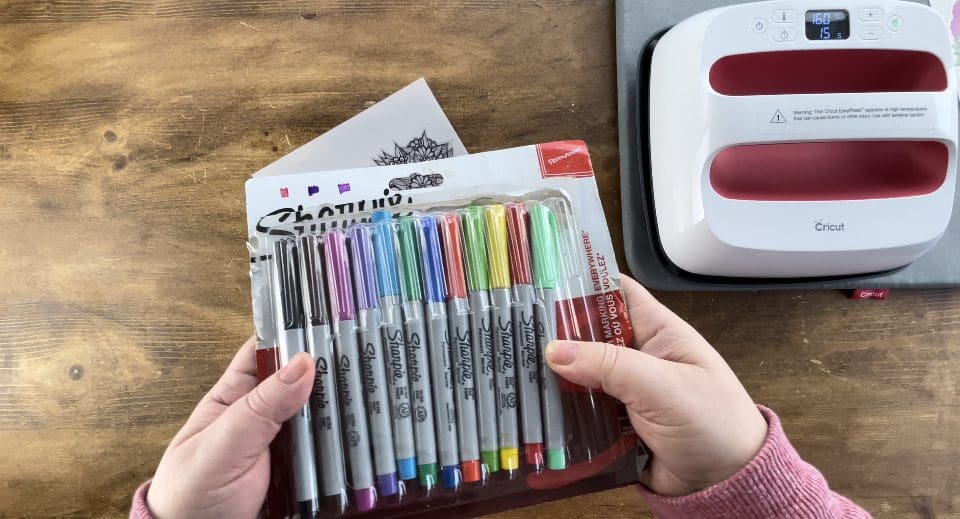
- Sharpie or permanent marker pens from your own stash
- Bag, cushion cover, tea towel, T-shirt or maybe a blanket of your choice to apply your design to.
- Silicone Paper, this is like the baking paper you can buy in the supermarket on a roll for the kitchen- DO NOT USE TEFLON
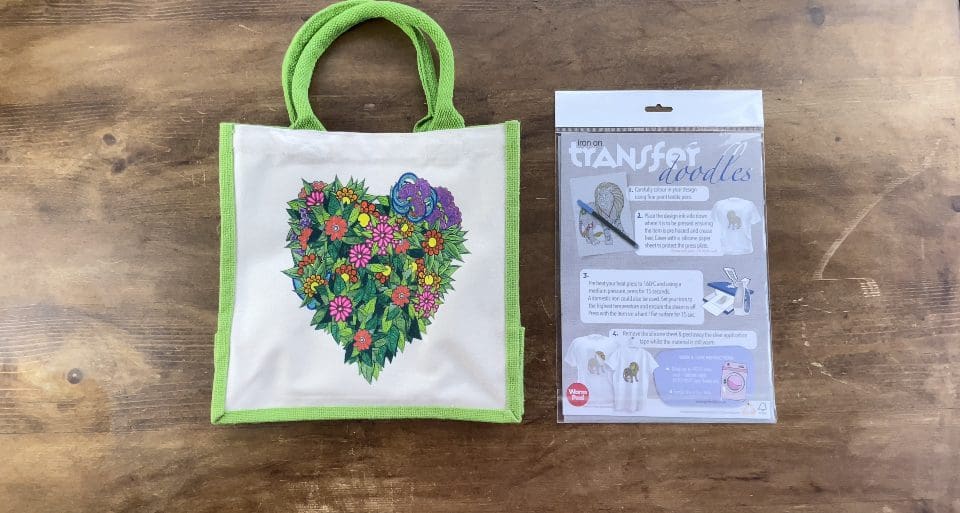
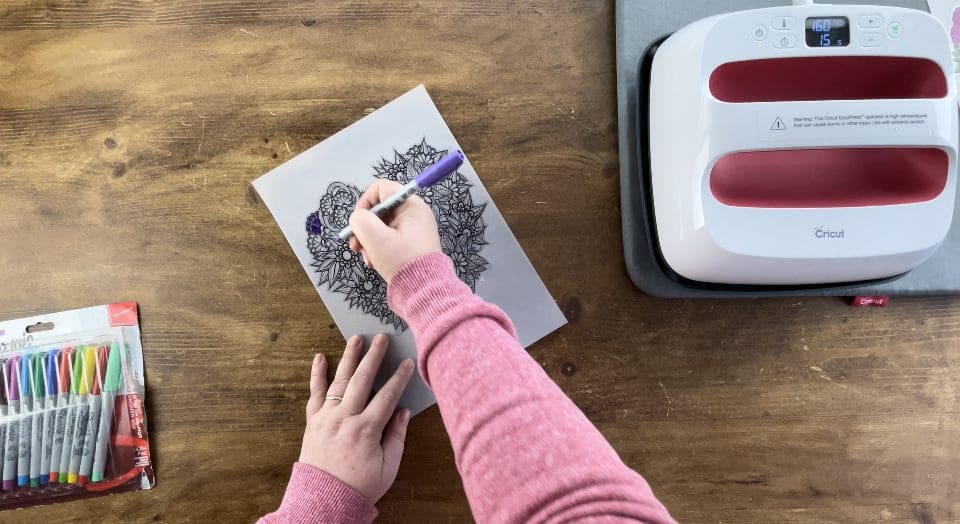
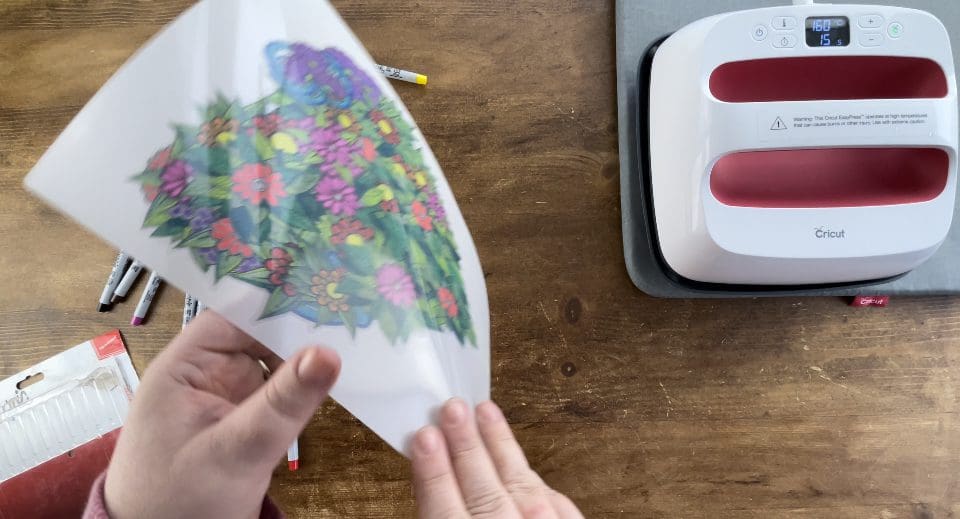
1. Open your Transfer Doodle pack and you will find inside, 2 sheets with designs on, and 1 instruction card.
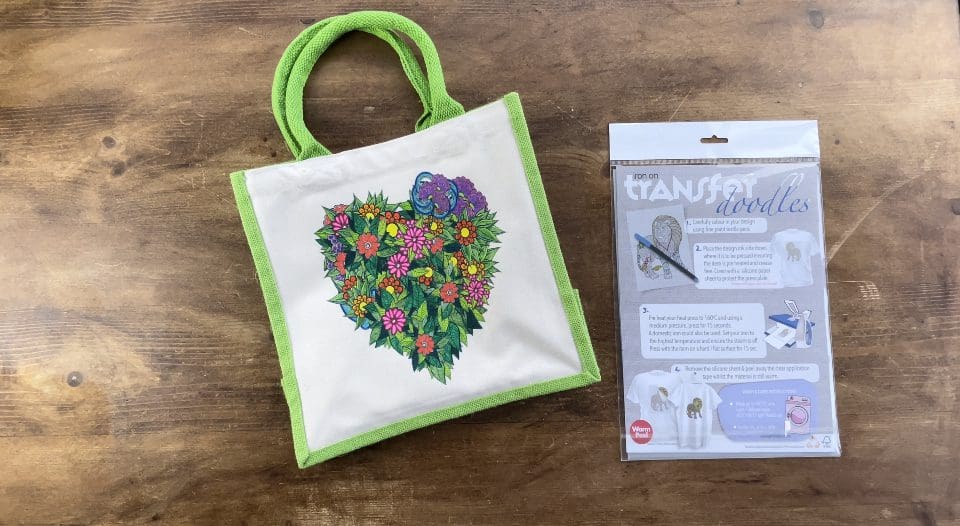
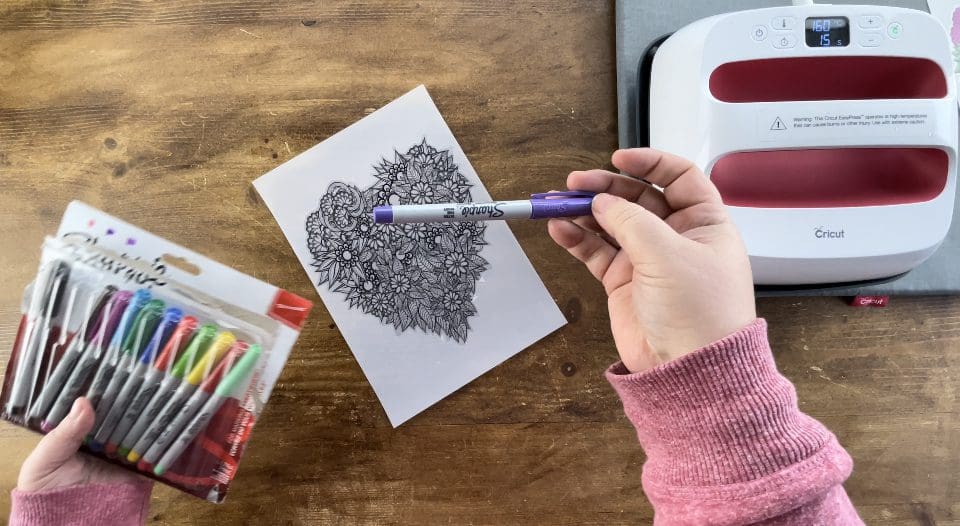
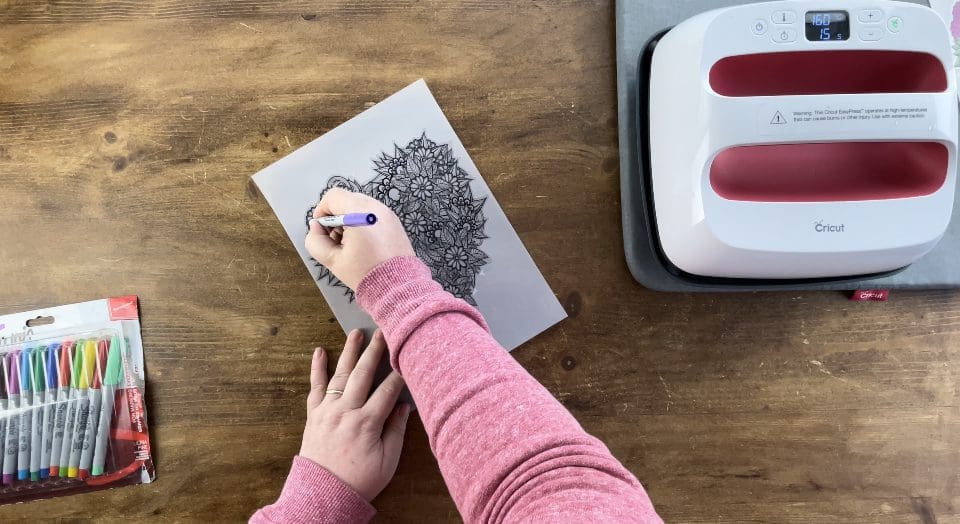
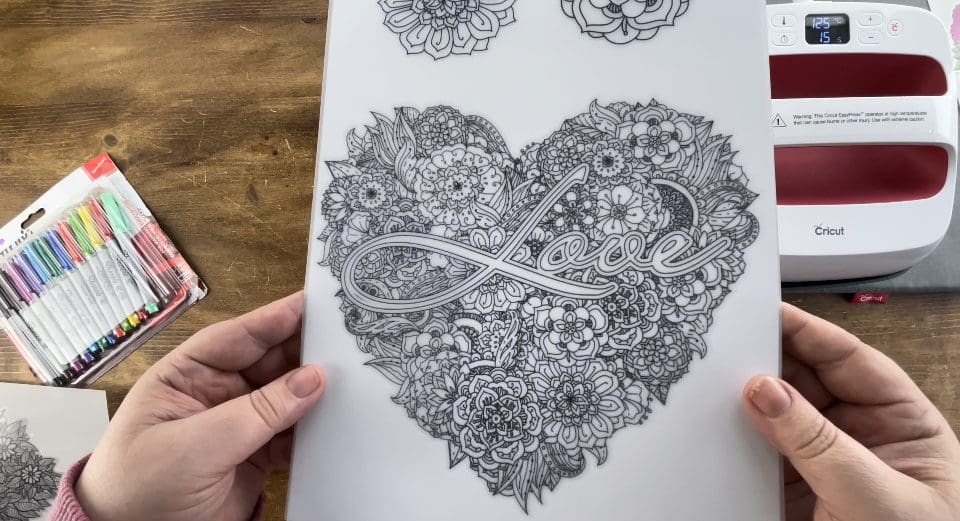 2. Take your pens that you have chosen, and proceed to colour your design in, be aware there is a right and wrong side to colour- to check, you can either rub your finger around the edge of the design, and one side will be completely smooth (the wrong side) and one side will have a noticeable edge when you rub it (the right side to colour) or as you will see in the pictures below (coloured) there is a very noticeable difference as you can see the vinyl on one side when catching it in the light, you need to colour the vinyl side, not the smooth side.
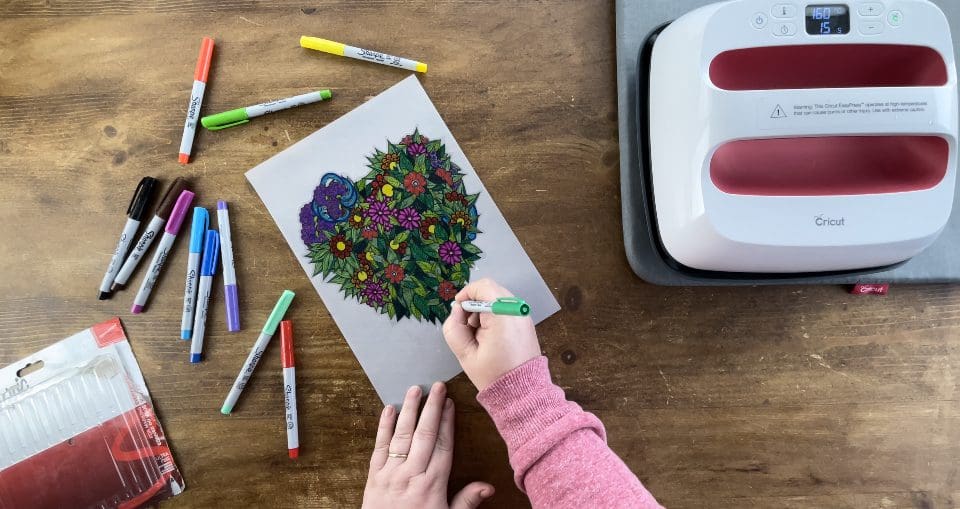
What pens can you use? We have tested a number of different pens, and some work better than others- especially once applied. For a bright and vibrant true to how it looks when coloured in finish, we found sharpies are the best option- although there are other equivalent non branded versions available. We have also used Kids crayola type washable pens- they leave a softer finish, but do not wash off after applying as whichever pen you choose, it gets sealed in after applying and washes well, when applied correctly.
We have also used Cricut, Silhouette and Brother sketch pens, Sakura Jelly roll pens, metallic permanent markers, and even chalk pens- be aware the lighter colours of these do not show up so well due to them getting trapped in the adhesive. And of course, the pen nib size makes a big difference too, we prefer fine points to create a finish on these, but thick nibs are great when using the clear sheets for your own designs, there really is endless choices. Feel free to experiment.
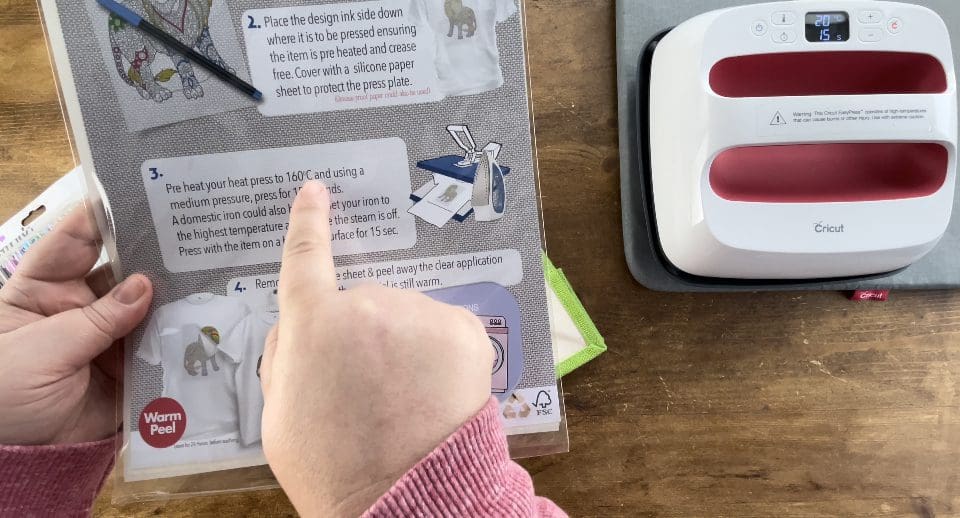
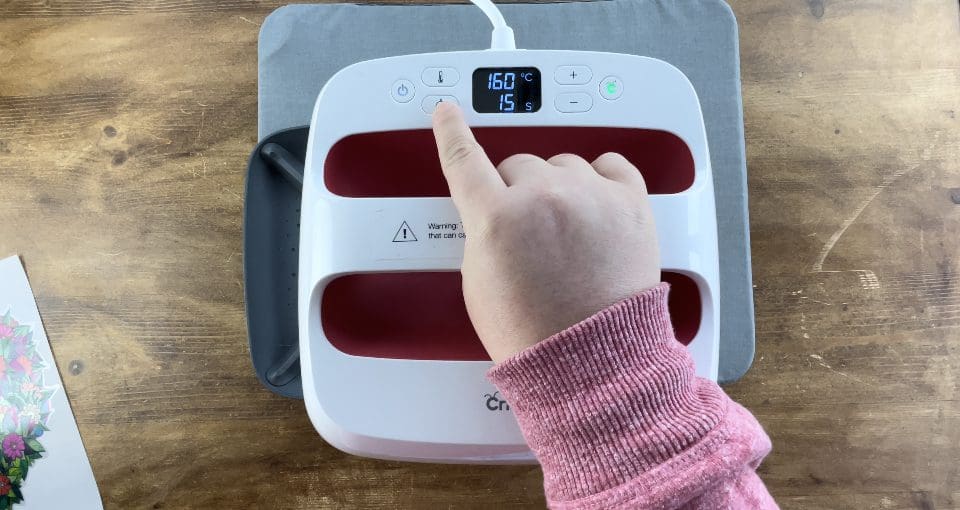
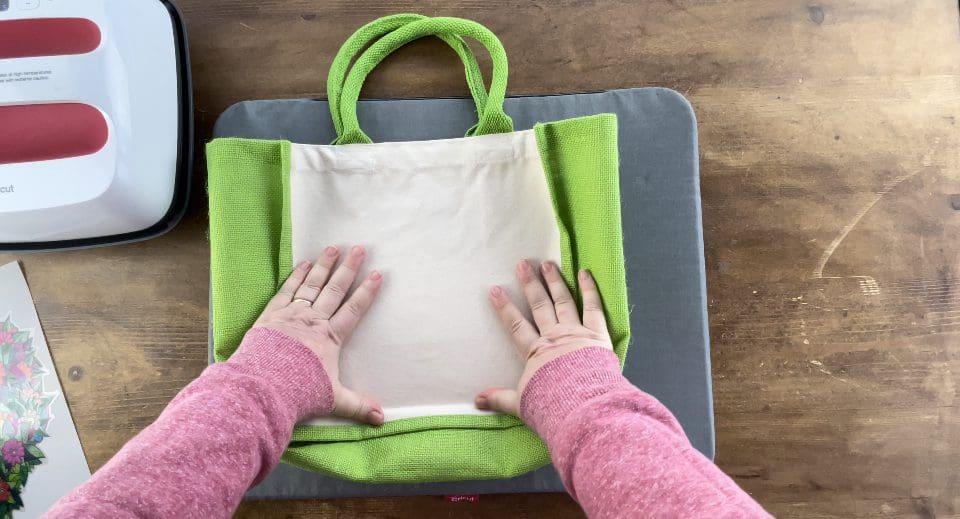
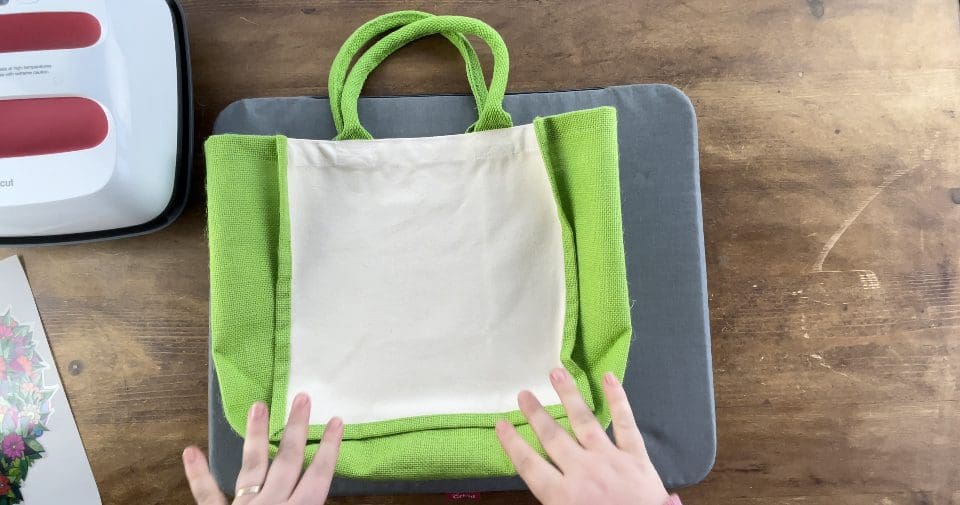
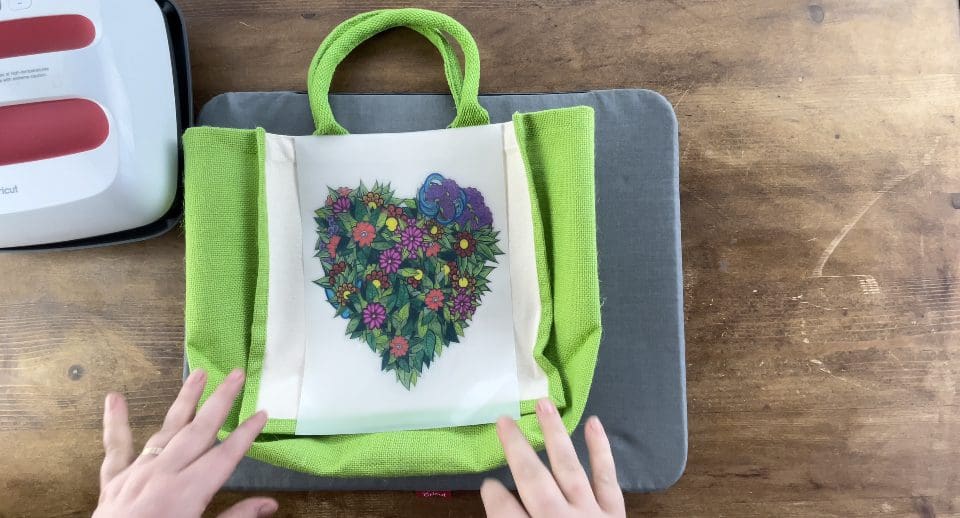
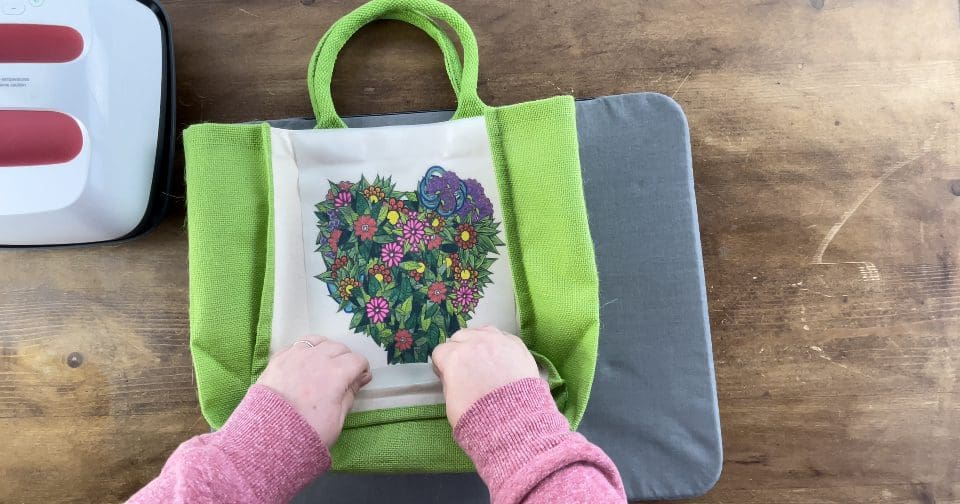
3. Switch your Easy press on, and set the temperature to 160’c and the timer to 15 seconds, please refer to our Application guide, Ensure you open the bag or garment out, and place on your pressing mat in a way that reduces the effect of any folds or creases, which prevents application, Preheat the bag, cushion cover, t-shirt or other garment you have chosen, once the press is ready for 10 seconds to remove any moisture.
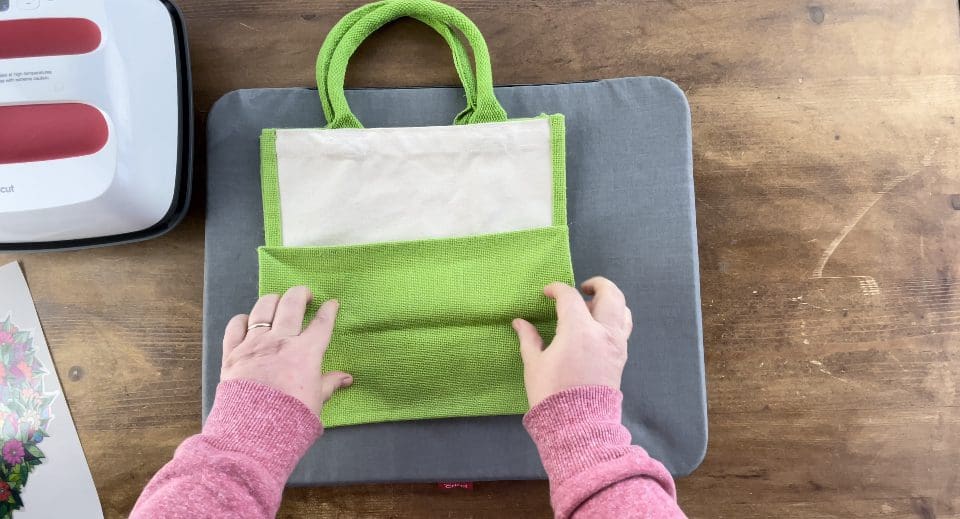
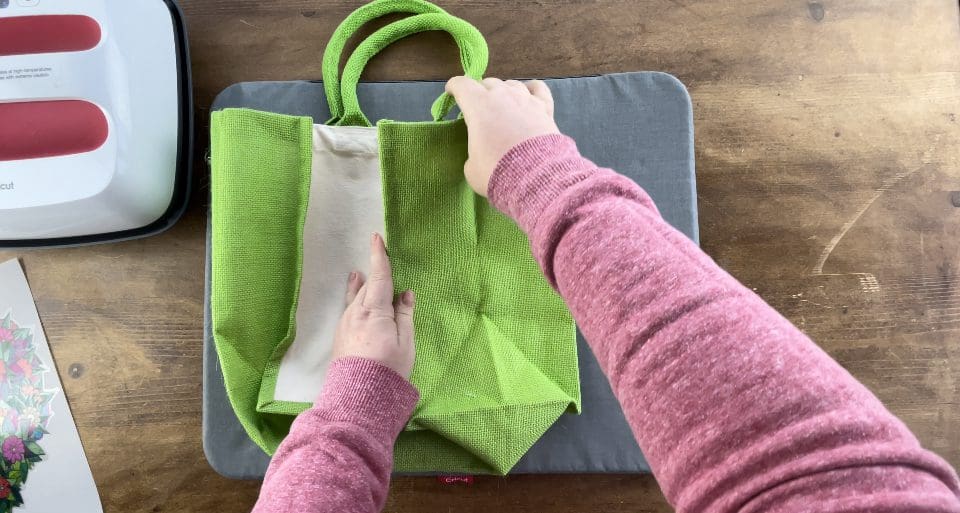
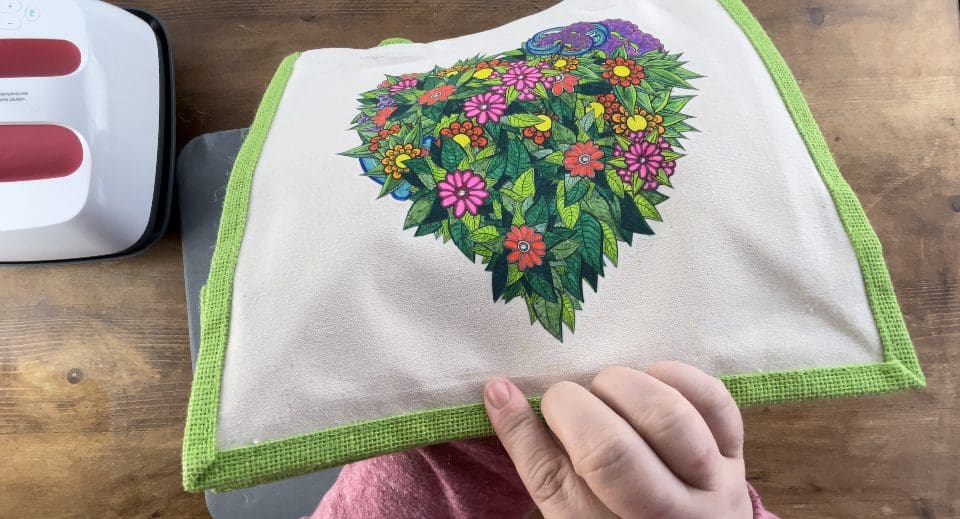
#DUE TO THIS BEING A CANVAS AND HESSIAN BAG AFTER PRESSING WE USED A LINT ROLLER TO REMOVE ANY BITS OF HESSIAN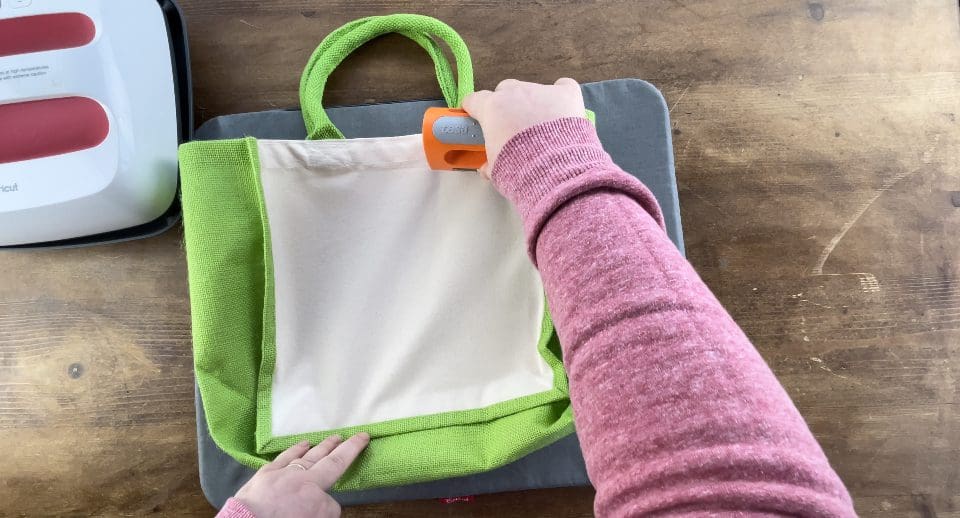
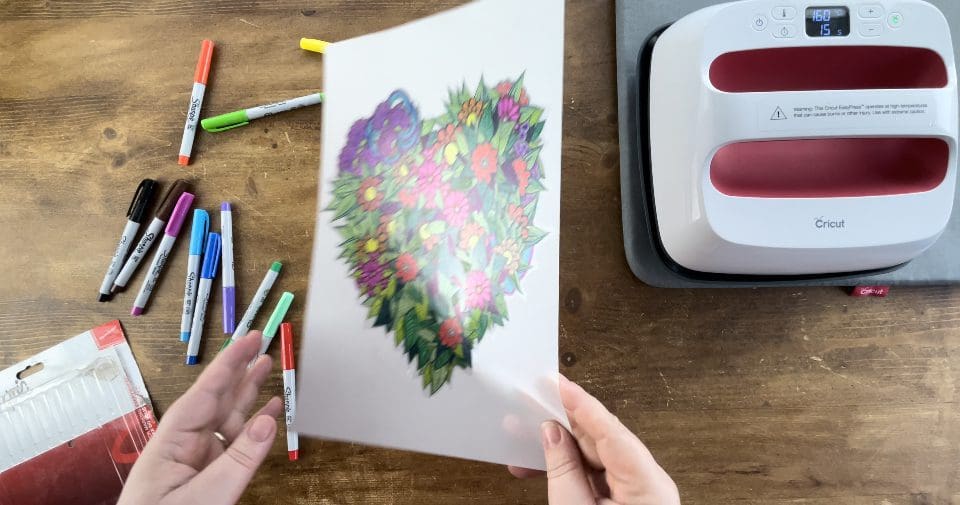
4. Take your transfer doodle, ensure you place it with the coloured side down (dull side up) and all creases, seams etc are out of the way of the pressing area. Ensure it is on a hard surface, or Cricut Easy press matt and on a hard surface, check our guide here for more information on applying and using HTV successfully.
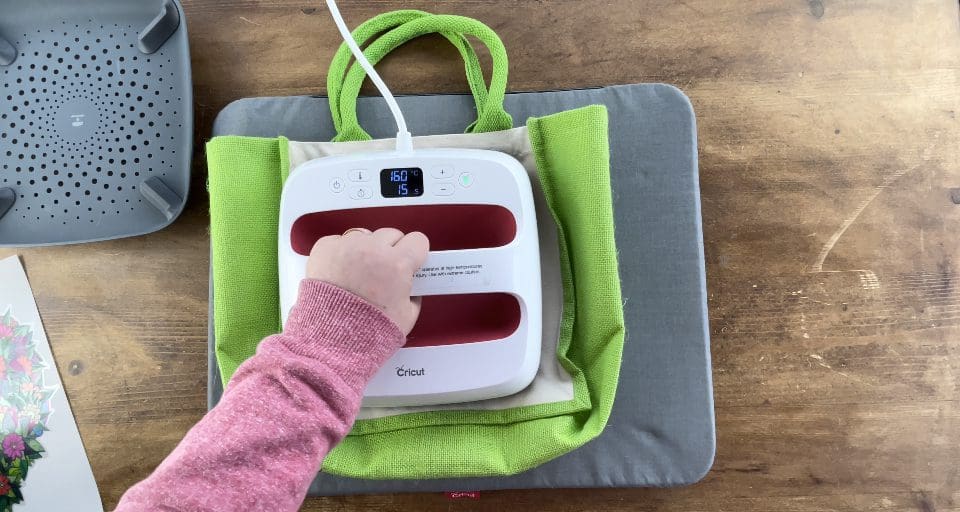
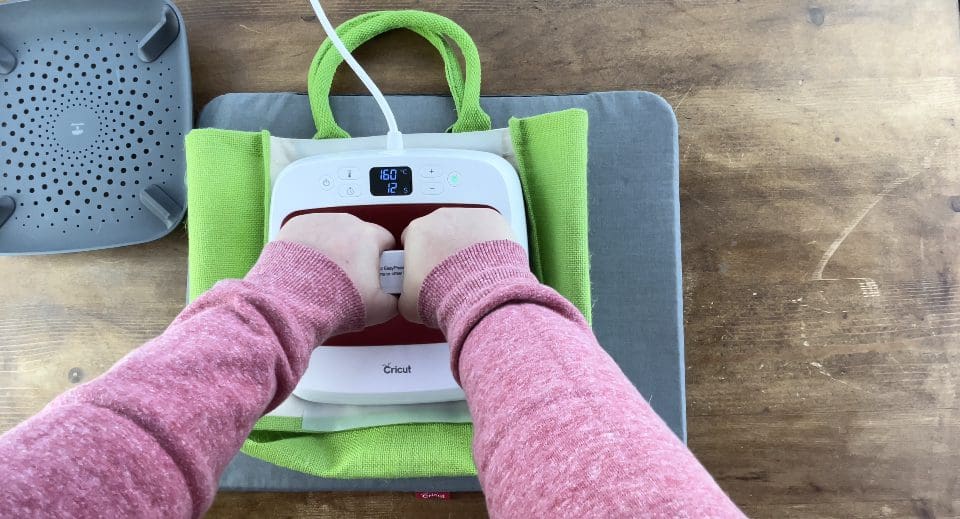
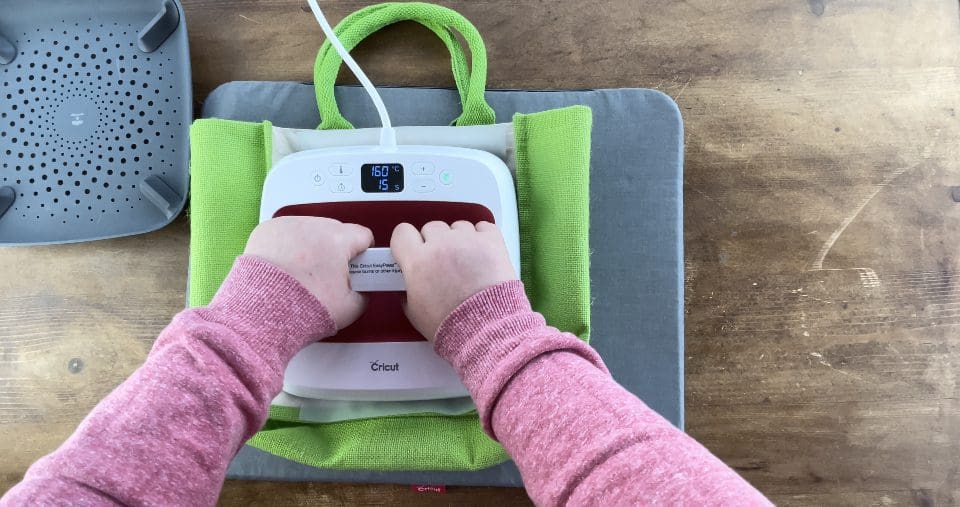
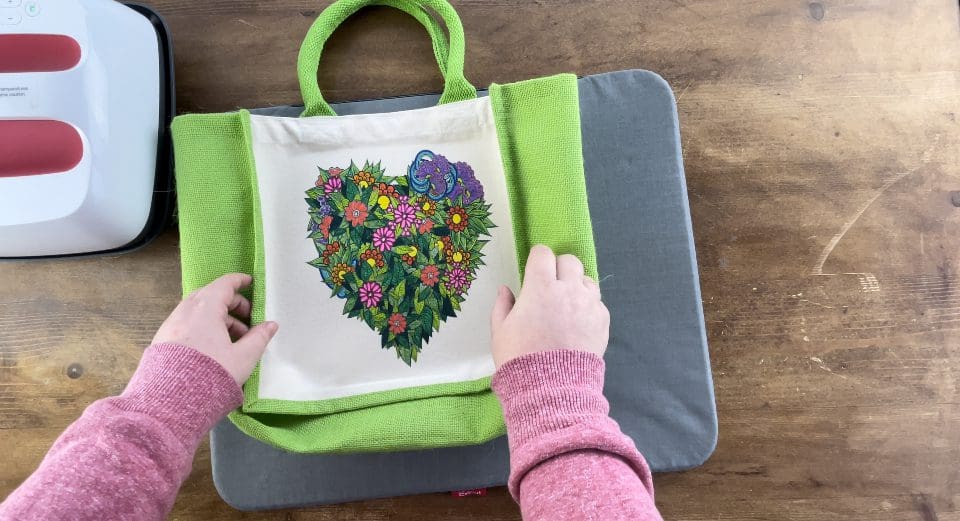
5. Applying firm pressure so that your arms are locked and pressing hard into the garment, apply the press to the design for 15 seconds covering each area once only to not over heat the vinyl. Because we are using a heavy canvas tote bag, we had to repress for a further 6 seconds, canvas is notorious for taking longer to apply.
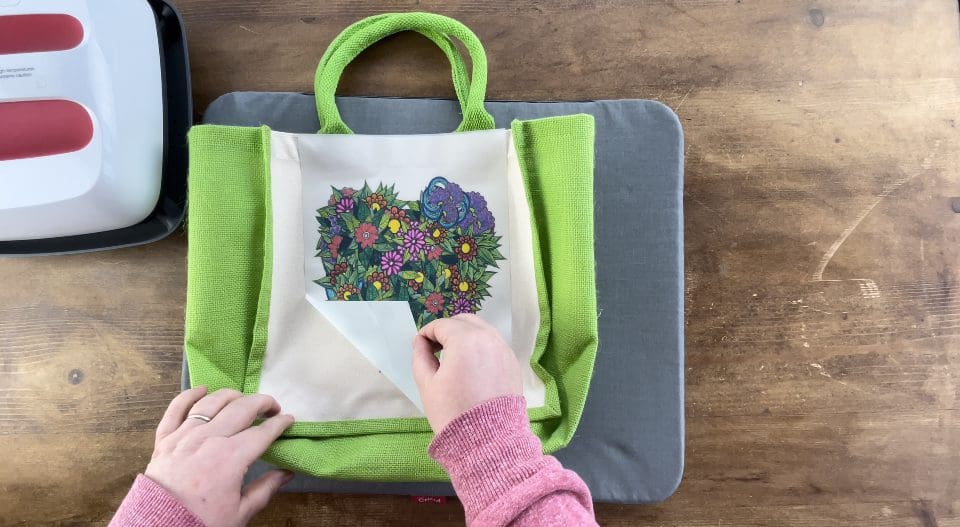
6. Once all areas have been pressed once firmly, wait a few seconds to peel the carrier sheet away from the garment, if any areas have not stuck quickly repress firmly for 2-3 seconds on that area only, remove the carrier sheet.
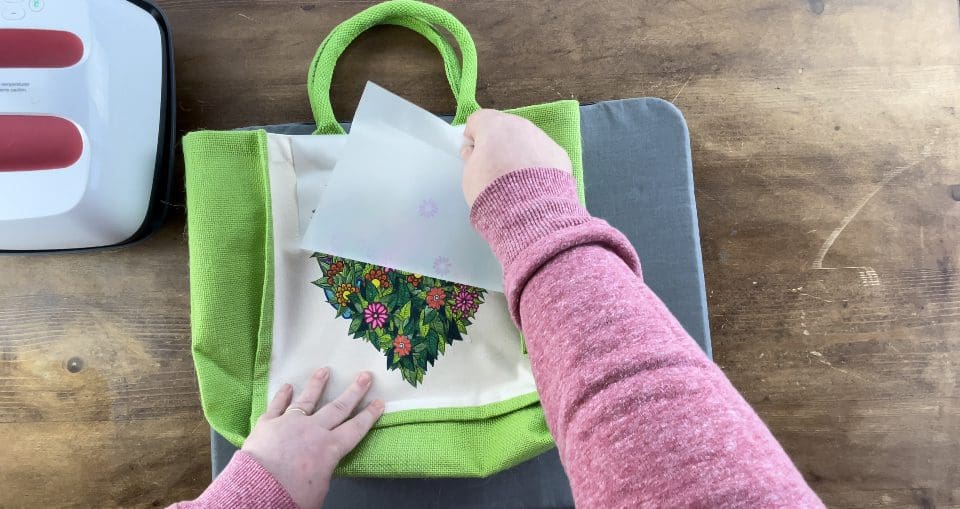
If after removing the sheet the garment or design is looking a bit untidy then recover with a sheet of baking parchment and quickly repress smoothing over it like an iron would but quickly so not to over heat.
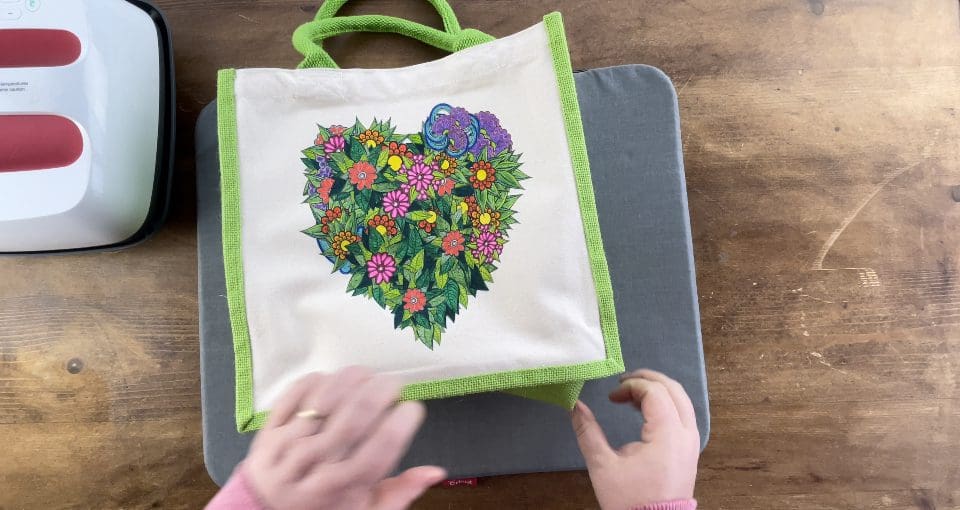
Don’t forget your finished design can be matched by using any material cut using a cutting file, card, self adhesive vinyl or even HTV. We’d love to see your makes on our social media pages! Or email them in!