Tutorial/Free Cut File
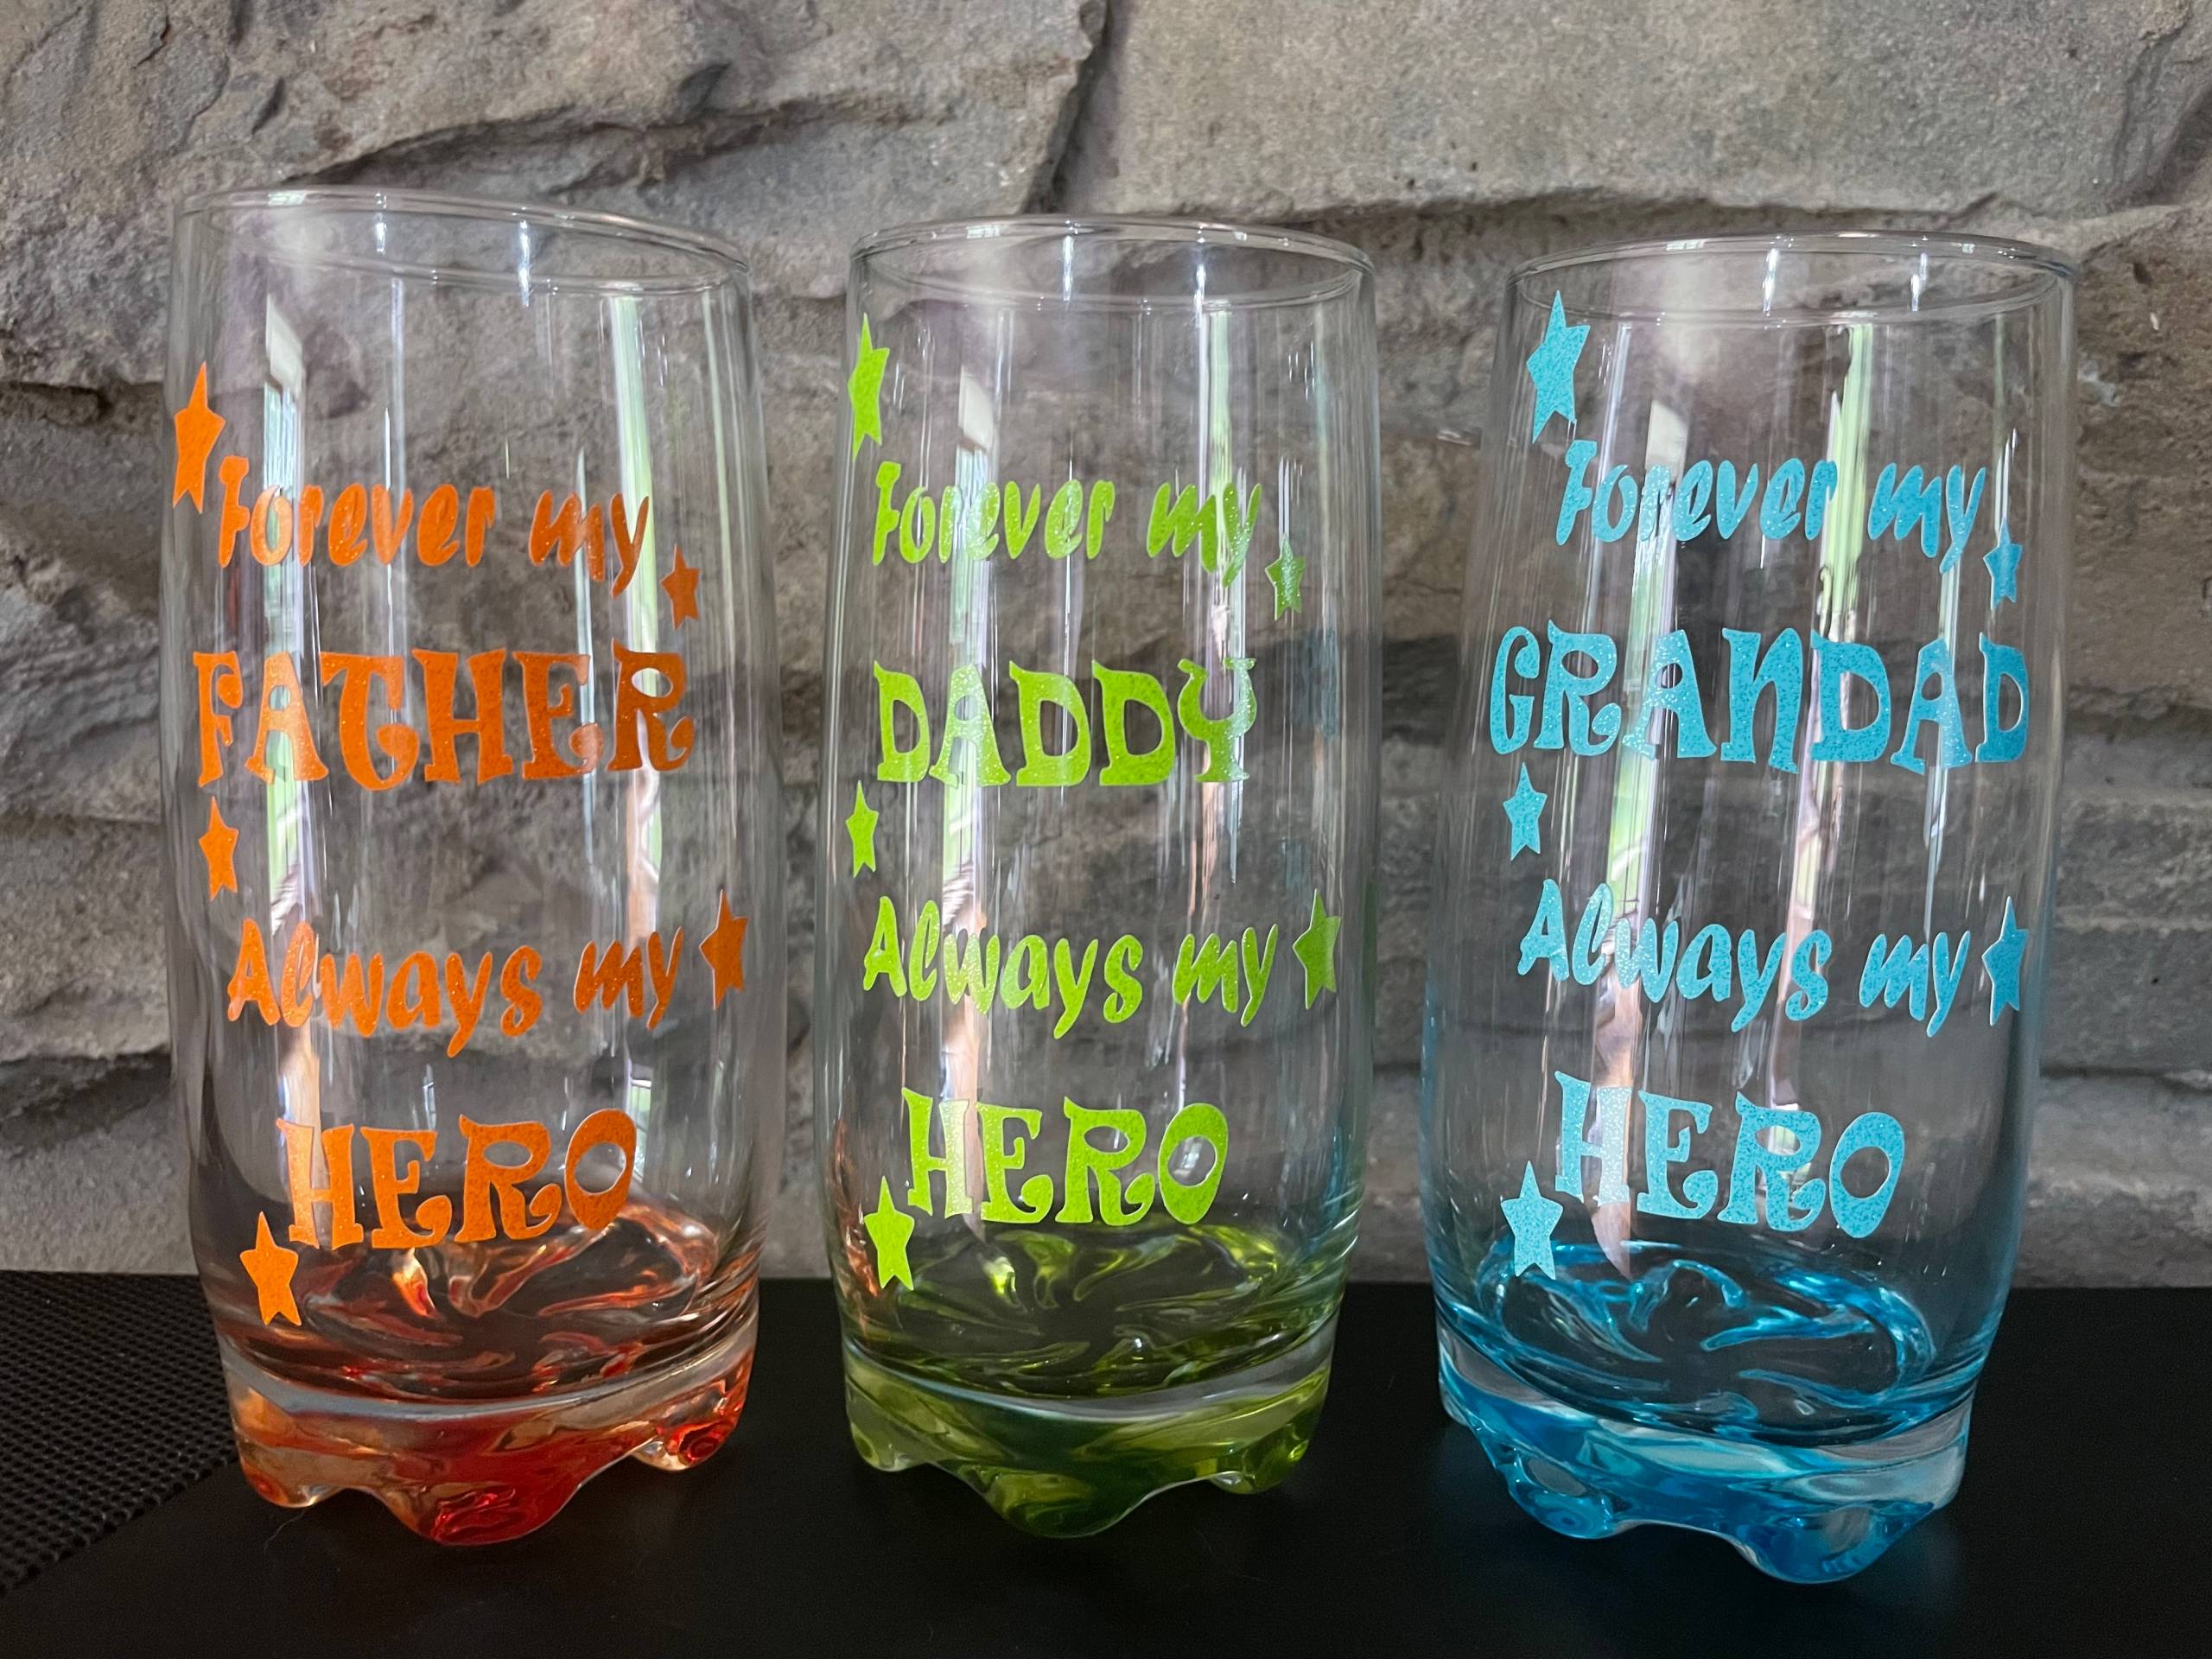
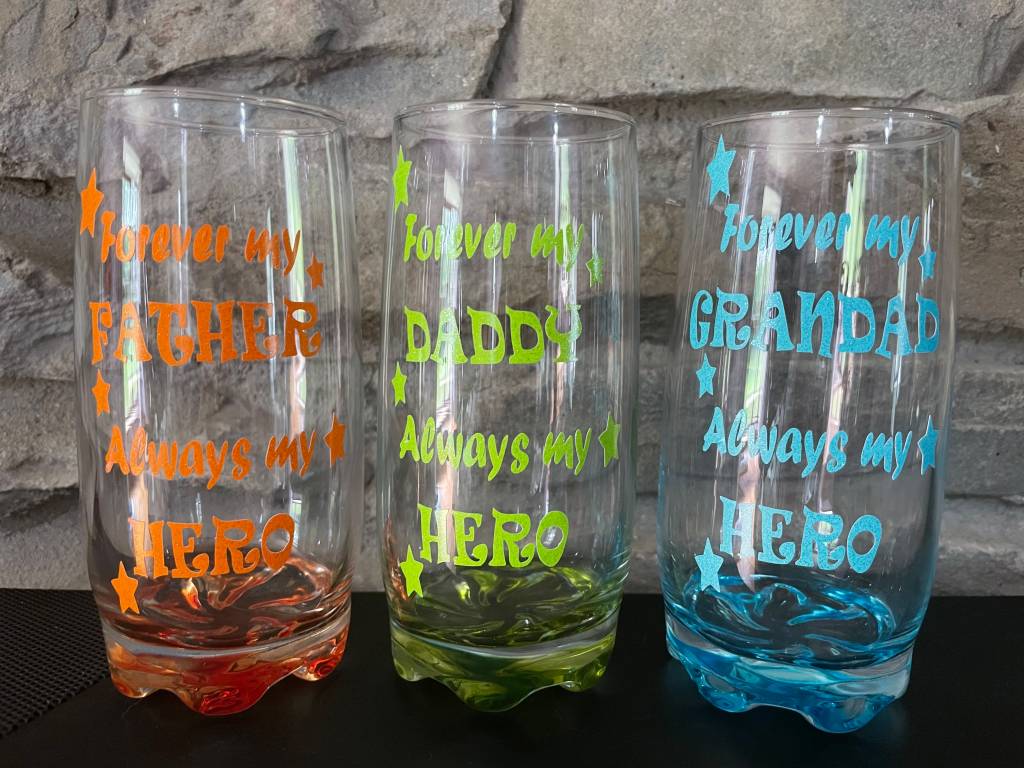
GM Crafts Premium Plus self adhesive vinyl Father’s Day glasses on Cricut Maker
Hi!
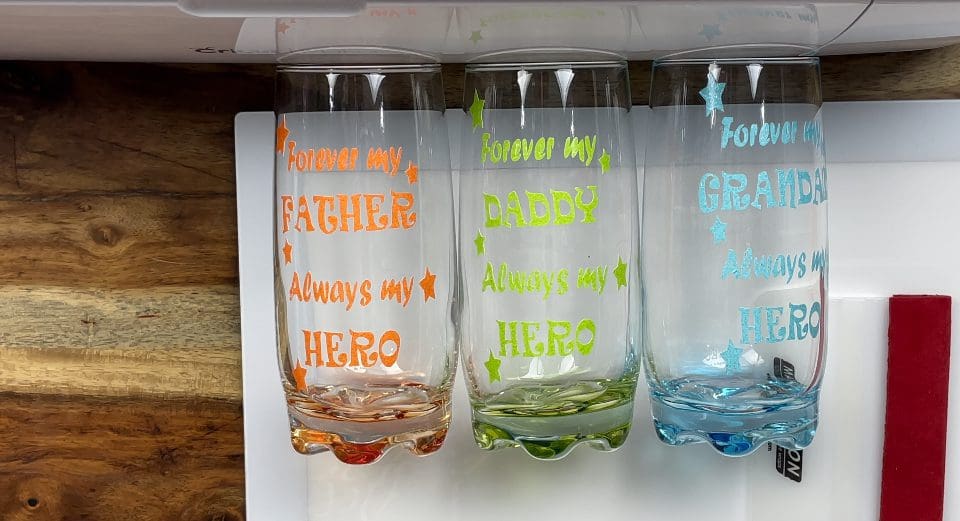
Welcome to another tutorial blog! We hope this file sparks some great creative ideas for you! These fathers day designs can be used in a variety of way, cut them out of Self adhesive Premium Glitter vinyl as the below tutorial shows, add them to jars, lanterns, cups, flasks and even lunch boxes!
Why not use HTV and create a T-shirt or Face mask instead? Add them to cards with HTV or self adhesive.
We would love to see what you make! Have you found our You Tube channel yet? The video showing this and all of our other tutorials are available on there, as well as exclusive demos, inspiration and more! Join us on Facebook , Instagram or Tiktok or send us an email to sales@gmcrafts.co.uk we would love to hear from you!
***Click here to watch the video***

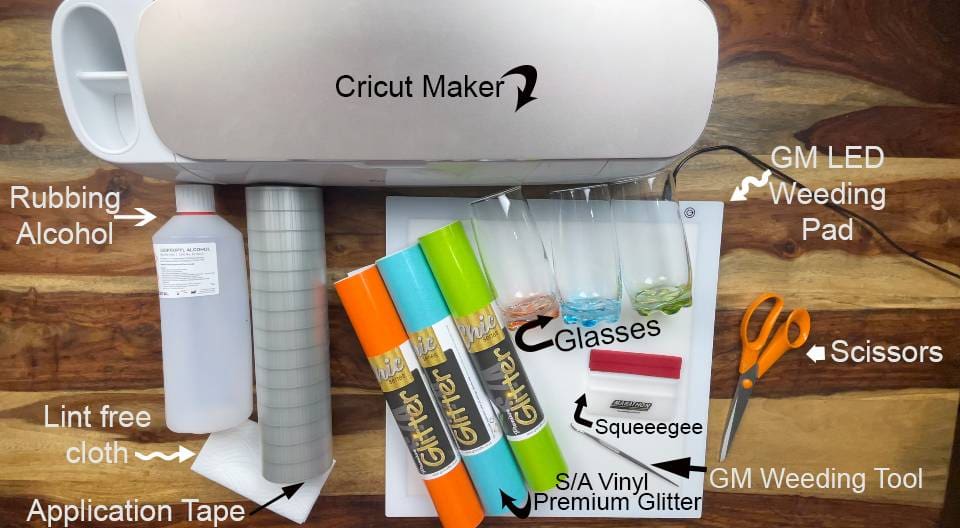
What you’ll need:
- Cricut maker . Available here
- Premium Glitter Self adhesive Vinyl Available here
- Transfer tape. Available here
- LED weeding pad. Available here
- Squeegee. Available here
- Weeding tweezers . Or Weeding hook. Available here
- Scissors.
- Glasses Available here
- Rubbing alcohol and lint free cloth here
- Cut files, links to create with your own image, are free below! Including Silhouette. Cricut and Brother instructions to follow at the end.
Design Files Download Here
Instructions:
- Before you start, you need to download the cut files for your machine above.
- Upload each PNG into the design space. Click “Upload Image” on the left-hand Design Panel, and navigate to the files you want to open. Select ‘Insert image’ and select image type ‘simple’ when prompted. Next you’ll be asked to delete any space that does not get cut, you can skip this part by pressing ‘continue’. When asked if they’re print-then-cut images or just cut images, select cut images. Click save and do this for all cut files. When all have been uploaded, Insert all the images onto the canvas and resize to suit your project. When re-sizing for this I bring the design together as it will be on the project so I can then get the entire size in one box so I get the over all design size correct with no hassle.

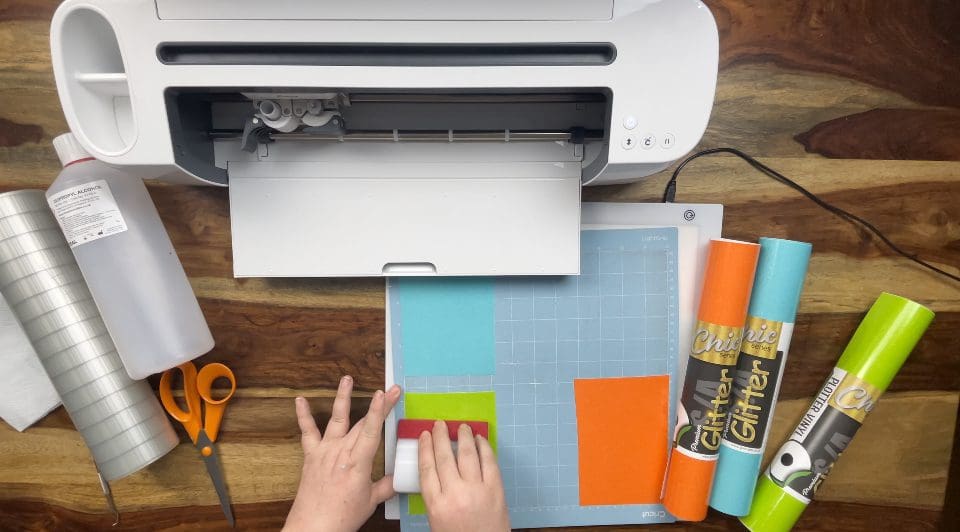
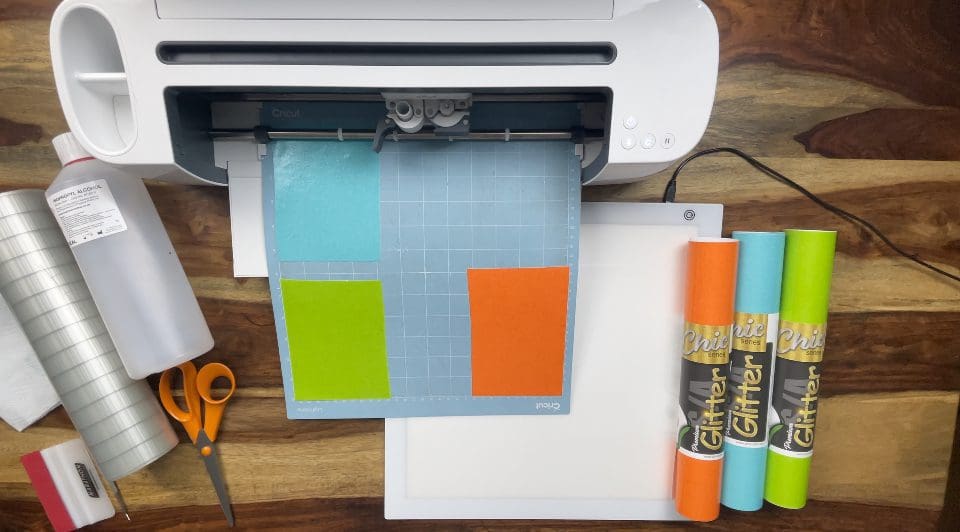
- Choose 3 different colours from the Premium Glitter Self Adhesive vinyl, proceed to make it, and either cut each layer separately (so choose all the top layers and hide the bottom layers) or choose as below, bring them in as below to save you going back and forth and cut each layer 3 times, using the coloured sheets for the bottom (black layers on the screen) See below. Click Make it.
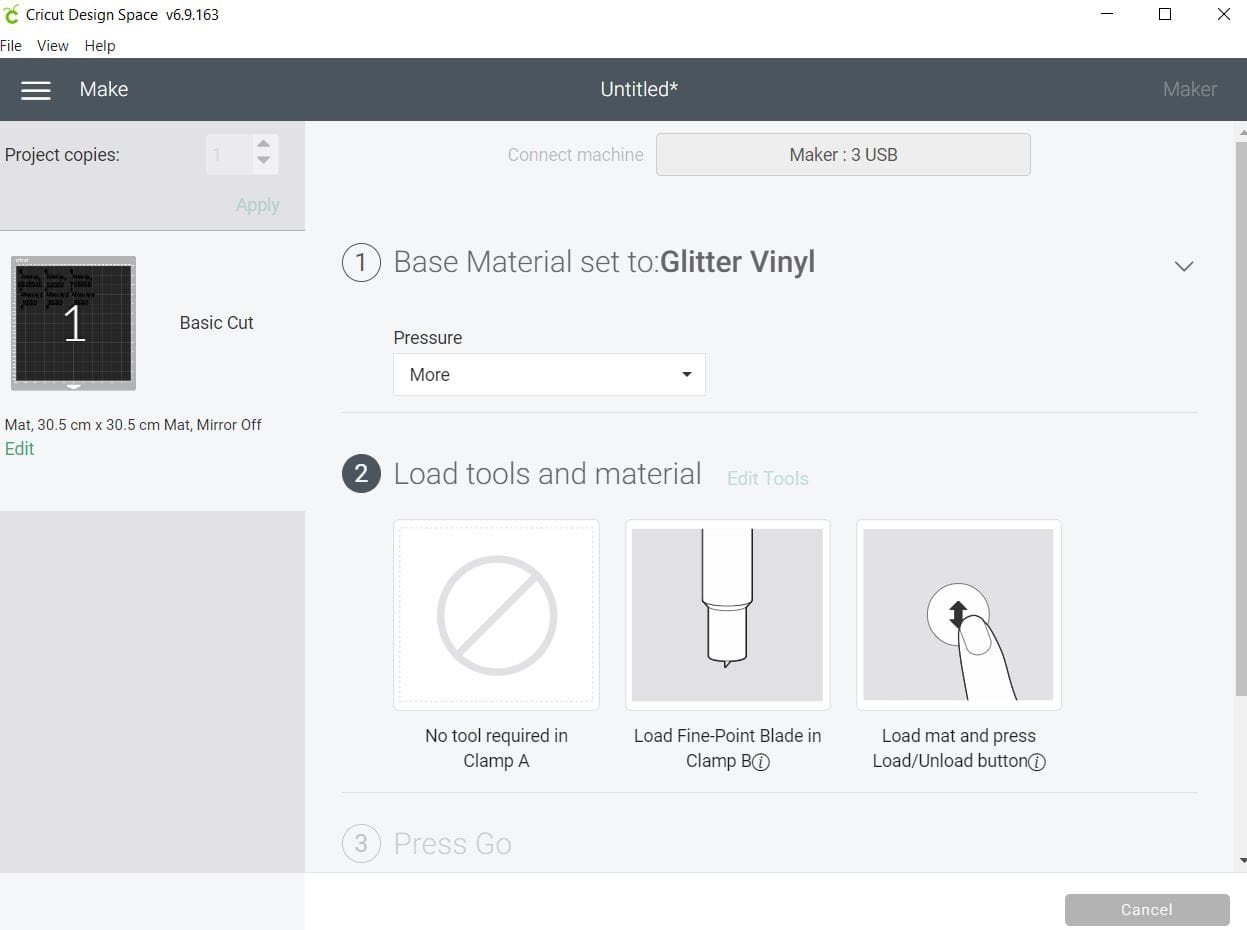
- Next you need to load your mat with material on. I used the Cut setting – Glitter Vinyl—- Cut setting –Glitter Vinyl , Pressure setting-Default. Please remember to test cut if you have not used this vinyl. Again proceed to make it. Remember to place your vinyl on the mat as shown to line up with each design, before you press the Cricut button on the machine load the mat before pressing the flashing logo on the machine to cut.
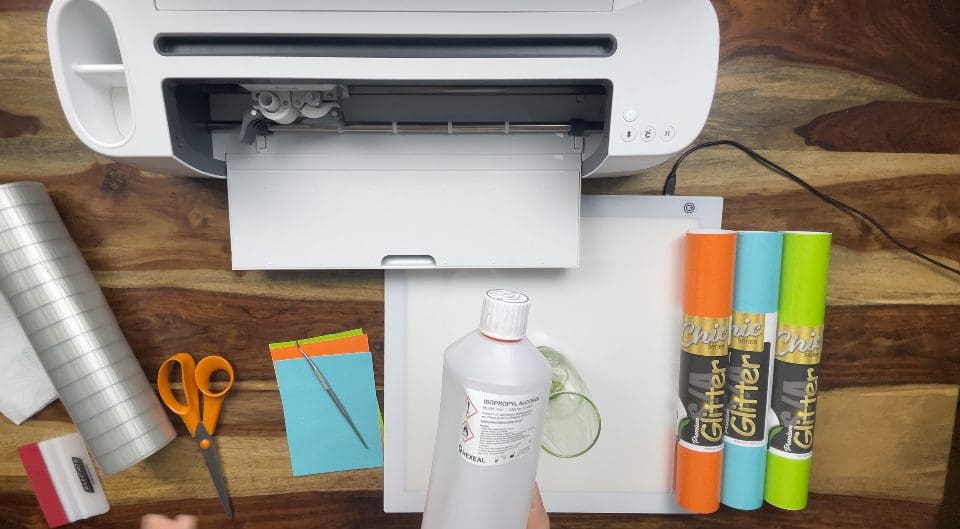
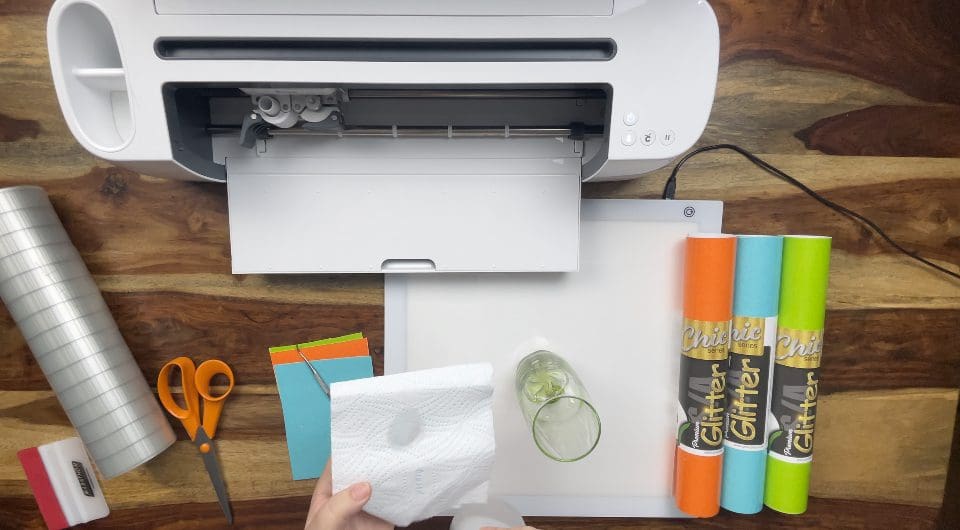
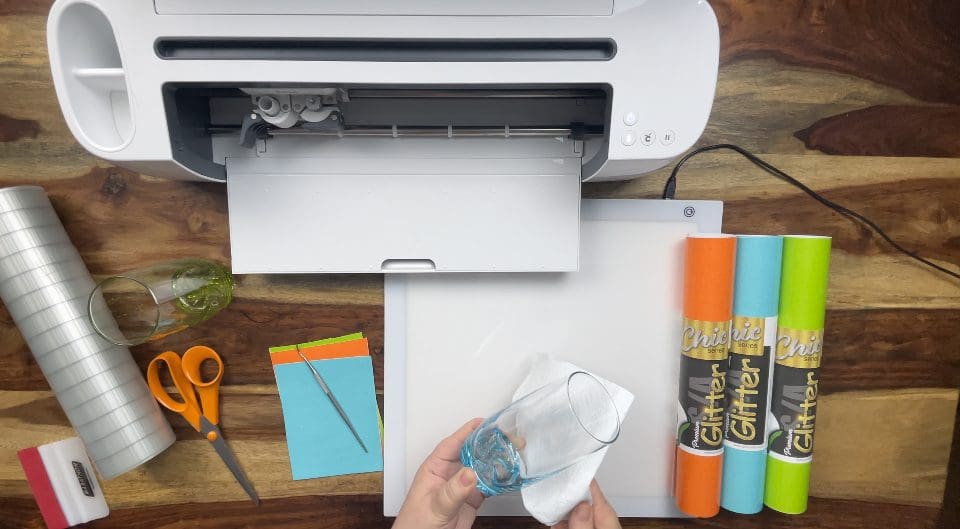
5.Next get the lint free cloth, put on some of the alcohol and rub over the surface of each glass to ensure you have removed the surface contaminants, be sure to let it dry completely before proceeding.
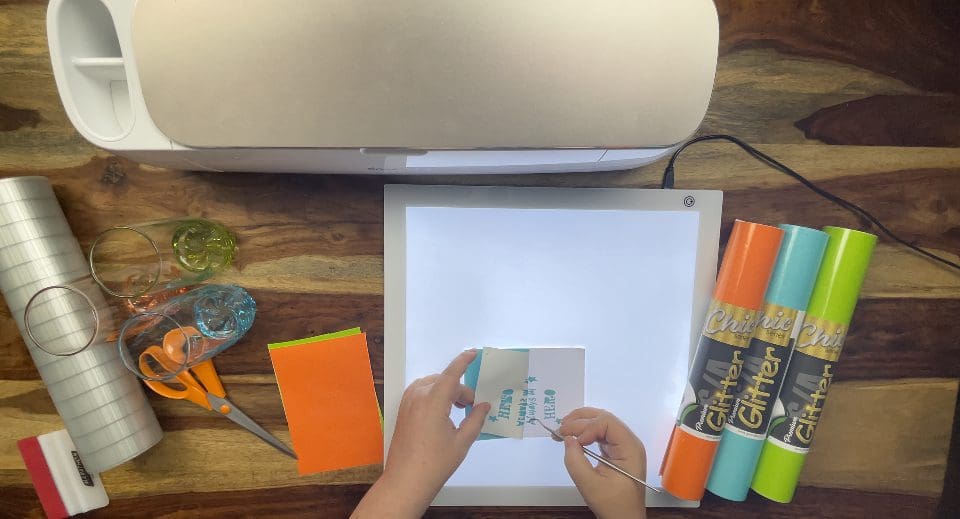
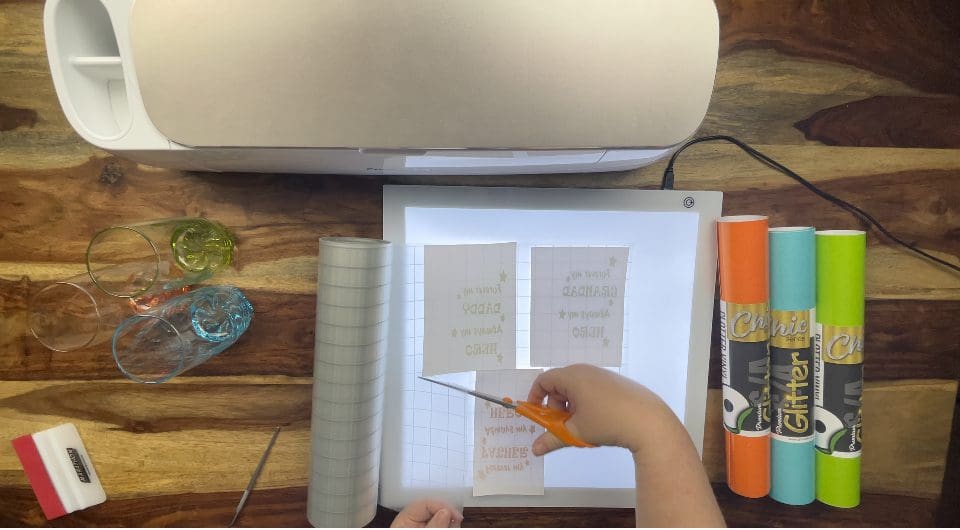
- Whilst the glasses dry, proceed to trim the excess uncut areas away from all 3 colours of Premium Glitter Self Adhesive vinyl, before proceeding to weed all the unwanted vinyl surrounding material
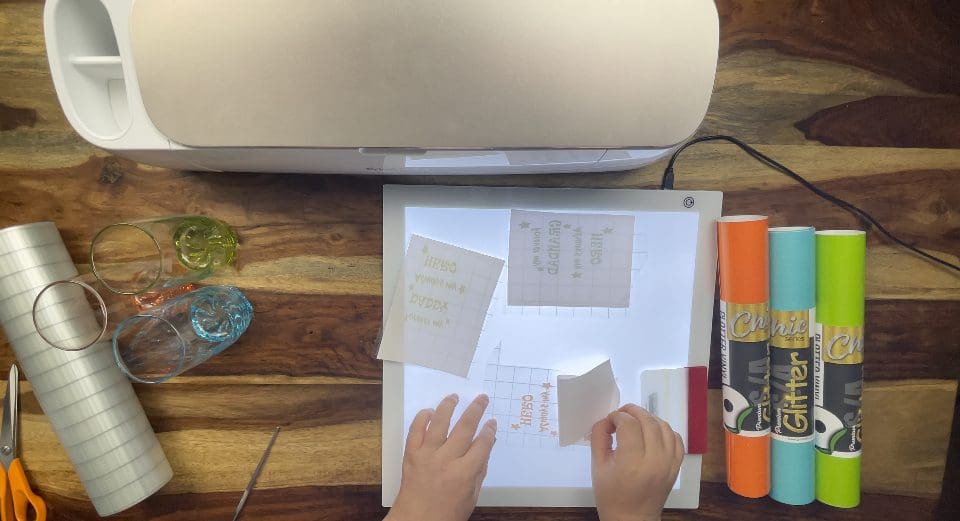
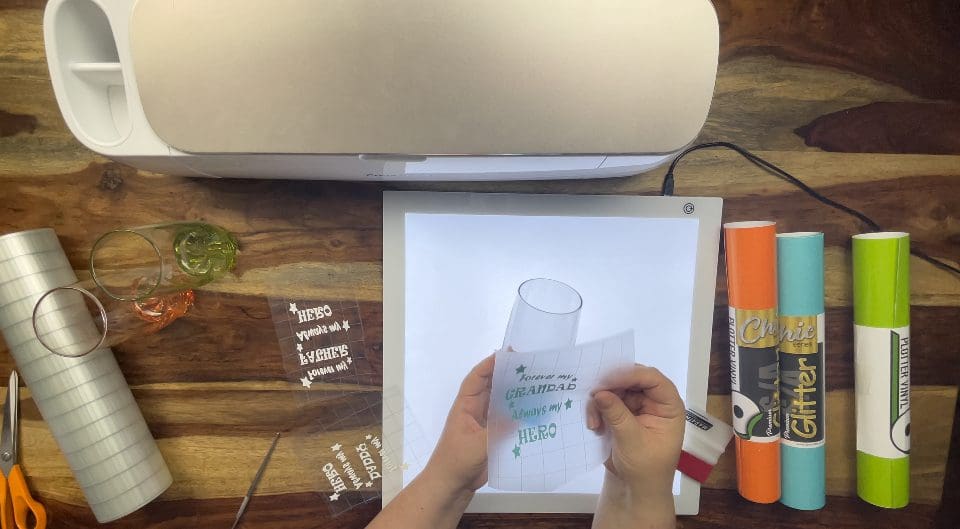
7.Take some of the reusable Application tape, lay it on the table Sticky side face up. Place each sheet with the design onto the sticky side, with the design face down onto the sticky side. Rub the back of the vinyl carrier with your squeegee as shown, then peel this away (After trimming to application tape into the 3 individual designs.)
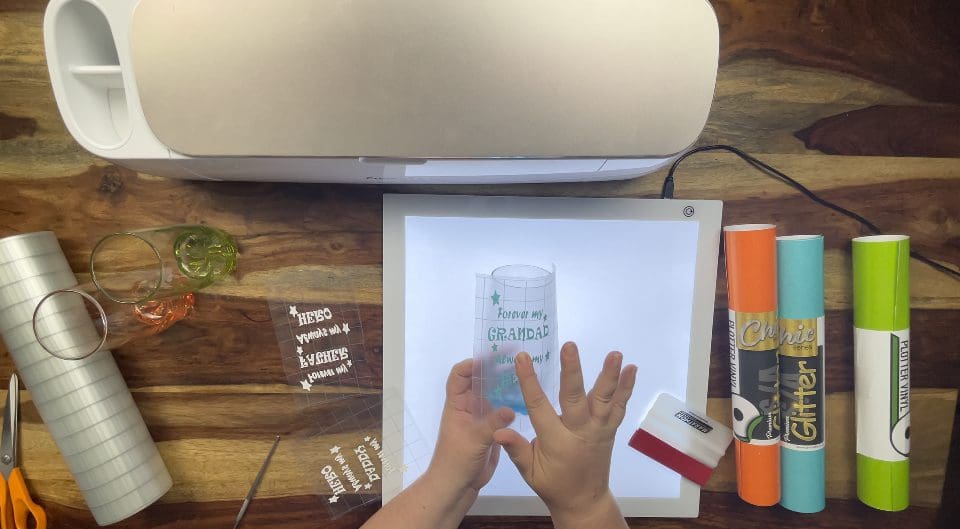
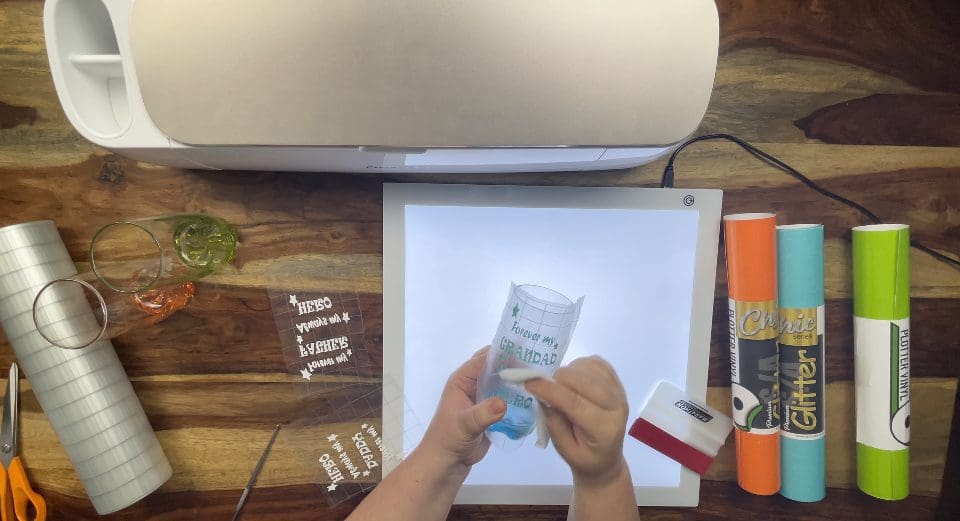
- Apply one at a time, holding in your hand gently place the centre first, before rubbing from the middle out with your fingers to ensure a smooth application, be sure once applied to give it a firm rub with your finger side or squeegee (or lint free cloth) to activate the adhesive. Remember it takes 48 hours to reach optimum adhesion. When removing the application sheet, peel backwards on it’s self.
- Continue as above with the remaining glass designs if cutting more than 1.
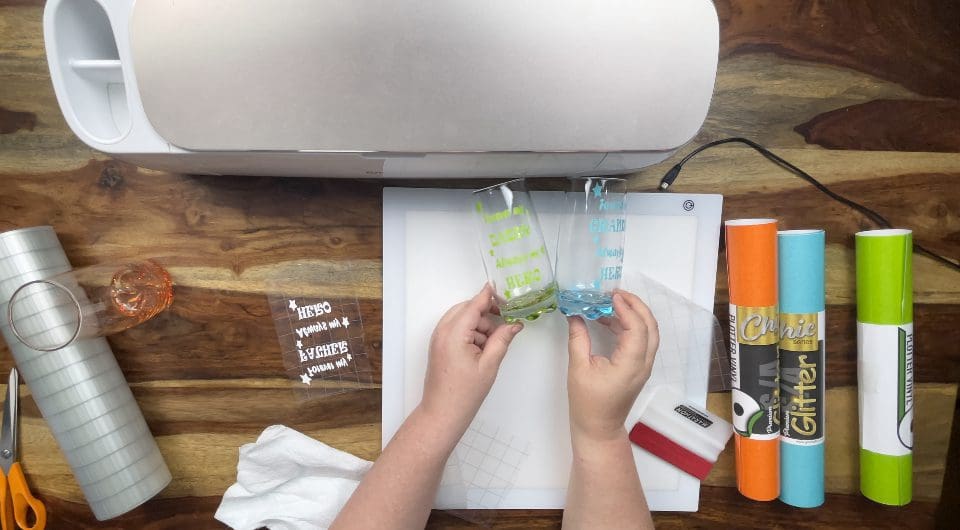
Don’t forget your finished design can be matched by using any material cut using a cutting file, card, self adhesive vinyl or even HTV. We’d love to see your makes on our social media pages! Or email them in!
Silhouette Cut File (download above)
Instructions:
Before you start, you need to download the cut file, Upload the cut file into Silhouette Studio and resize as necessary, (when resizing bring all layers into the design software and select all at once to get the correct offset layers and save the adjusted file, so you can cut layers individually at that correct scale you have chosen) Remember to test cut if necessary and cut settings are found here along with test cut guidelines for every machine.
Brother Cut File
To import these files into the Brother Canvas Workspace:
After downloading, please log in as usual to your design space account, open a new project mat, then left click on the SVG icon in the top left bar in canvas, this will then allow you to import your files. Once you left click this icon, a pop up box appears with you to choose where to import file from, choose to import the file from your downloads list or where you have chosen to save when unzipped.
Cut settings are found here
Just incase you need the link CanvasWorkspace