Guides
CRICUT MAKER AND MAKER 3 CUT SETTINGS

CRICUT MAKER AND MAKER 3 CUT SETTINGS
Please Test cut as described in the following information when using a new product. We would love to see what you make! Have you found our You Tube channel yet? There is lots of videos showing tutorials available on there, as well as exclusive demos, inspiration and more! Join us for more inspiration on Facebook , Instagram or Tiktok or send us an email to sales@gmcrafts.co.uk we would love to hear from you!
The settings below are for the Cricut Maker (When using for the Cricut Maker 3 you may need to reduce pressure settings by 1 option, for example from default to less) . Please ensure you use a test cut on any new vinyl before using it for the first time on your machine, so you may check that the settings below work with your machine.
Please be aware from time to time Cricut will change the pre-set settings or names during their weekly background software updates as these are for their materials only, and if a setting that worked for you before, suddenly doesn’t, please check your blade and if need be proceed to custom settings at the bottom of this page.
The software allows you to choose a small triangle, please shrink it down to a about 2.5cm size to perform your test cut. Test the cut. If it cuts too deep please reduce the pressure. If it doesn’t cut enough please increase the pressure and cut again, repeating the process if needed by adjusting in custom settings: instructions at the bottom of this page.. It is okay to change the pressure a few times, as all machines vary slightly due to many variables affecting calibration.
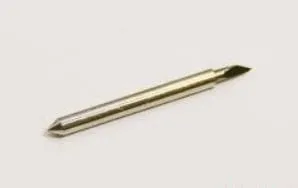
When using these cut settings it is worth bearing in mind the type of vinyl you are using, as some is more suited to fine, intricate detail; please see product descriptions for each vinyl’s capability, also the *** next to a particular Vinyl below, which indicates it can not be used to cut very fine details with this machine. If the test cut works well and the design you are using struggles it may be worth adding an offset line to widen it. All settings below use Cricut’s Fine point blade included with machine and may vary if the blade is well used, chipped or if a new or different blade is used so please always test cut if in doubt, or if a previous setting that had worked doesn’t please restart the test cut process before wasting any product. If you have issues, Please Photograph your blade like this and zoom in to the tip to check for damage.
Whilst pressure can be altered , we have the settings recommended below to extend your blade’s lifespan and excessive pressure can dull or chip your blade.
We always suggest peeling the corner of the sheet of vinyl to check which side has the clear carrier (or paper sheet if self adhesive) and which corner side has the vinyl. The clear side always goes to the mat and the vinyl side always faces up.
SELF ADHESIVE VINYL
Click on the green Product name to be taken to it’s page.
Pattern Vinyl—- Cut setting – Matt Vinyl , Pressure setting- Less
Pattern Glitter Vinyl—- Cut setting – Glitter Vinyl, Pressure setting- Default
Metallic Vinyl–— Cut setting – Holographic Sparkle Vinyl , Pressure setting- More
Holographic Vinyl—- Cut setting – Metallic Vinyl , Pressure setting- Default
Prime Vinyl—- Cut setting – Premium Vinyl , Pressure setting- Default
Gloss Vinyl—- Cut setting – Premium Vinyl , Pressure setting- less
Matt Vinyl—- Cut setting – Premium Vinyl , Pressure setting- Less
GM Premium Glitter Vinyl—- Cut setting – Premium Vinyl Frosted Glitter , Pressure setting- Default
Gemstone Glitter Vinyl—- Cut setting – Premium Vinyl Frosted Glitter , Pressure setting- Default
Stained Glass Vinyl—- Cut setting – Premium Vinyl , Pressure setting-Less
Glass Etch Vinyl—- Cut setting –Premium Vinyl , Pressure setting-Less
Fluorescent Vinyl—- Cut setting –Premium Vinyl , Pressure setting-Default
Blackboard Vinyl—- Cut setting – Glitter Vinyl , Pressure setting-Default
Paint mask Vinyl—- Cut setting – Premium Vinyl , Pressure setting- Less
Rose Gold Vinyl—- Cut setting –Metallic Vinyl , Pressure setting- Default
Pastel Vinyl–— Cut setting – Matte Vinyl , Pressure setting-Less
Oracal 651—- Cut setting –Premium Vinyl , Pressure setting- Default
Sand blasting—- Cut setting –Medium cardstock , Pressure setting- Default
Ri-defend Vinyl—- Cut setting – Matte Vinyl , Pressure setting-Less
Oracal 638—- Cut setting –Premium Vinyl , Pressure setting- More
Glow in the dark—- Cut setting –Glitter Vinyl , Pressure setting- Default
GM Chameleon vinyl—- Cut setting –Metallic Vinyl , Pressure setting- Default
GM Fantasy Vinyl–—- Cut setting – Holographic Sparkle Vinyl , Pressure setting– More
GM Crafty Vinyl (WITHOUT THE MAT) —- Cut setting -Smart Vinyl Shimmer , Pressure setting- More
(If using your mat with our Crafty Vinyl please test cut using the Cut setting – Holographic Sparkle Vinyl , Pressure setting- default and adjust using custom settings at the bottom of this page)
CARDSTOCK
Click on the green Product name to be taken to it’s page.
Glitter A4 card, Solid core, Linen, Pastel, Mirror, Speciality, Gloss and Satin Gm Crafts A4 cardstock – Cut setting – Heavy Card stock, Pressure setting- More
GMS A4 Craft card —- Cut setting –Heavy Card Stock , Pressure setting-Default
Transfer Adhesive Roll or A4 Sheets Cut setting – Washi , Pressure setting-Less
Mylar 250 Micron 12″ x 12″ (6pk)
(USING DEEP CUT BLADE) Cut setting – Mylar , Pressure setting- More (Double Cut)
A4 INKJET / LASER PRINTABLE SELF ADHESIVE
ALL SHEETS SELF ADHESIVE INKJET/LASER ARE THE SAME SETTING —-
Kraft Paper Cut setting – Washi , Pressure setting- Less
All printable paper and Filmic sheets Cut setting – Washi , Pressure setting- Default
Magnetic Sheets
Cut setting – Printable magnetic sheets , Pressure setting- Default
HEAT TRANSFER VINYL
Click on the green Product name to be taken to it’s page.
GM Premium Plus—- Cut setting – Everyday Iron on , Pressure setting- Default
GM Pattern Pearl Sparkle-— Cut setting – Everyday Iron on , Pressure setting- Default
GM Pearl Sparkle—- Cut setting – Everyday Iron on , Pressure setting- Default
*** Pattern Vinyl—- Cut setting – Everyday Iron on , Pressure setting- Less***
*** Pattern glitter Vinyl—- Cut setting –Glitter Iron on , Pressure setting- More***
Eco press Vinyl—- Cut setting – Everyday Iron on , Pressure setting- Less
Eco press Vented—- Cut setting – Everyday Iron on , Pressure setting- Less
GM Bubble up Vinyl—- Cut setting – Everyday Iron on , Pressure setting- More
GM Chameleon Vinyl —- Cut setting – Everyday Iron on , Pressure setting- Less
GM Glitter Vinyl—- Cut setting – Premium Vinyl Frosted Glitter, Pressure setting- More
GM Glitter Vented—- Cut setting – Premium Vinyl Frosted Glitter , Pressure setting- More
GM Chrome Vinyl—- Cut setting – Everyday Iron on , Pressure setting- Less
GM Light Active—- Cut setting – Everyday Iron on , Pressure setting- Default
GM Reflective—- Cut setting – Everyday Iron on , Pressure setting- Default
GM Glow in the dark—- Cut setting – Everyday Iron on , Pressure setting- More
GM Heat Active Vinyl—- Cut setting – Everyday Iron on , Pressure setting- Default
GM Brushed Vinyl—- Cut setting – Glitter Iron on , Pressure setting- Default
*** Pastel matt Vinyl—- Cut setting – Everyday Iron on , Pressure setting- Less***
*** Pastel glitter Vinyl—- Cut setting –Premium Vinyl Frosted Glitter, Pressure setting- More***
GM Turbo Vinyl—- Cut setting – Everyday Iron on , Pressure setting- Less
GM Stretch Vinyl—- Cut setting – Everyday Iron on , Pressure setting- Less
Premium-— Cut setting – Everyday Iron on , Pressure setting- Default
Holographic Vinyl—- Cut setting – Holographic Heat Transfer, Pressure setting- Default
Flock Vinyl—- Cut setting – Flock Iron on , Pressure setting- More
Metallic Stretch Vinyl—- Cut setting – Everyday Iron on , Pressure setting- Less
GM Holoshine Vinyl-— Cut setting – Holographic Sparkle Heat Transfer, Pressure setting- less
GM Pearlshine Vinyl—- Cut setting – Everyday Iron on , Pressure setting- More
GM High Gloss Vinyl-— Cut setting – Everyday Iron on , Pressure setting- Less
GM Brick Vinyl—– Cut setting –Heavy card stock , Pressure setting- Less
*** (not advisable for very thin fonts or fine lines or details you need to keep in place as pastel, printed or pastel glitter may lift off due to being produced and cut by you on a static backing sheet as needs to be transferred to application tape after cutting.)
***DARK—- Cut setting – Washi Pressure setting- Less ***
***LIGHT—- Cut setting – Washi , Pressure setting- Less ***
***(BUT THIS IS NOT ADVISABLE FOR INTRICATE CUTS DUE THE INABILITY TO ALTER FORCE BELOW 70 and may cut through the whole sheet)
Using a Custom material setting
1. Sign in to Design Space and create/open a project. Ensure that your Cricut Maker machine is powered on and connected to your computer. Proceed to the Project Make screen.
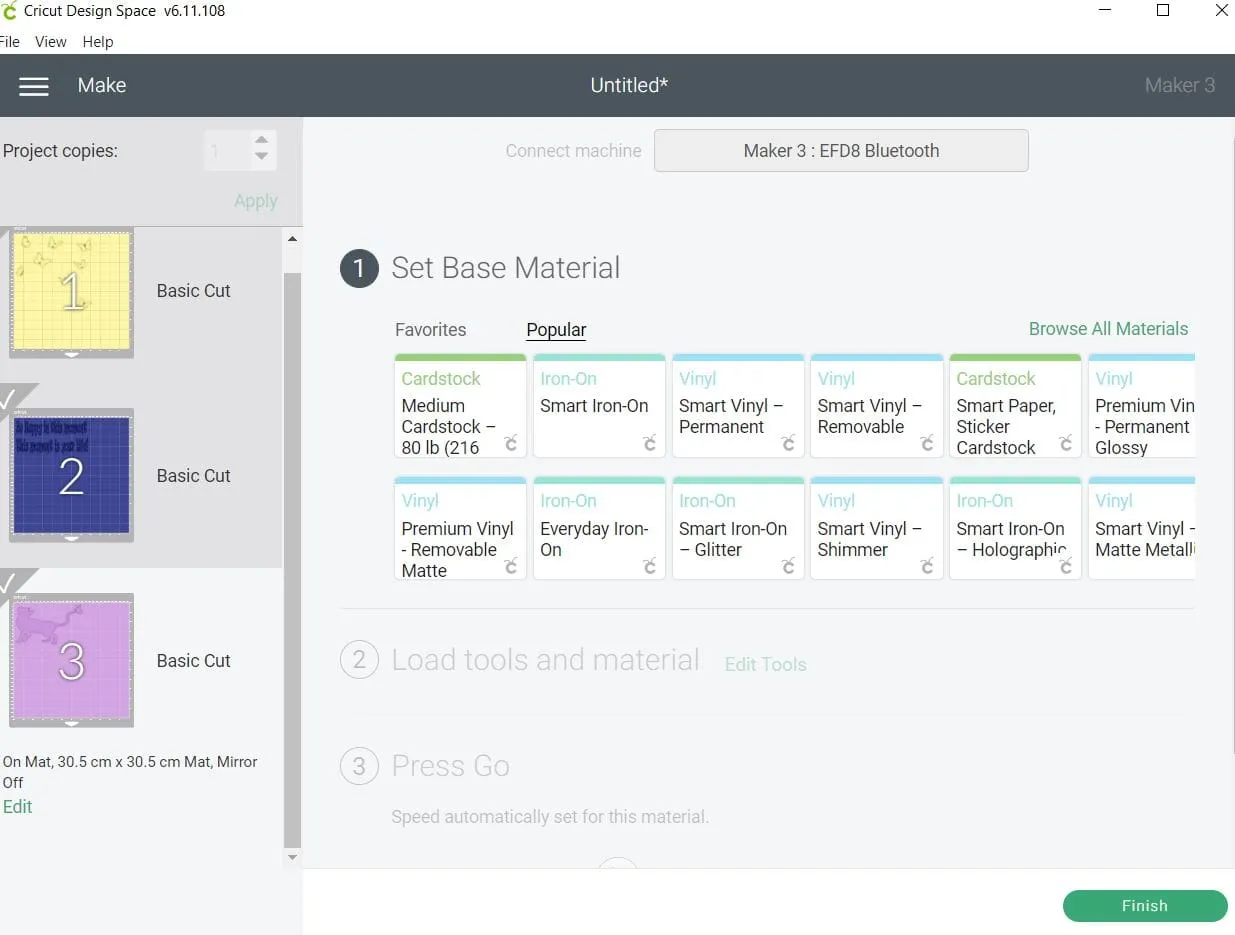
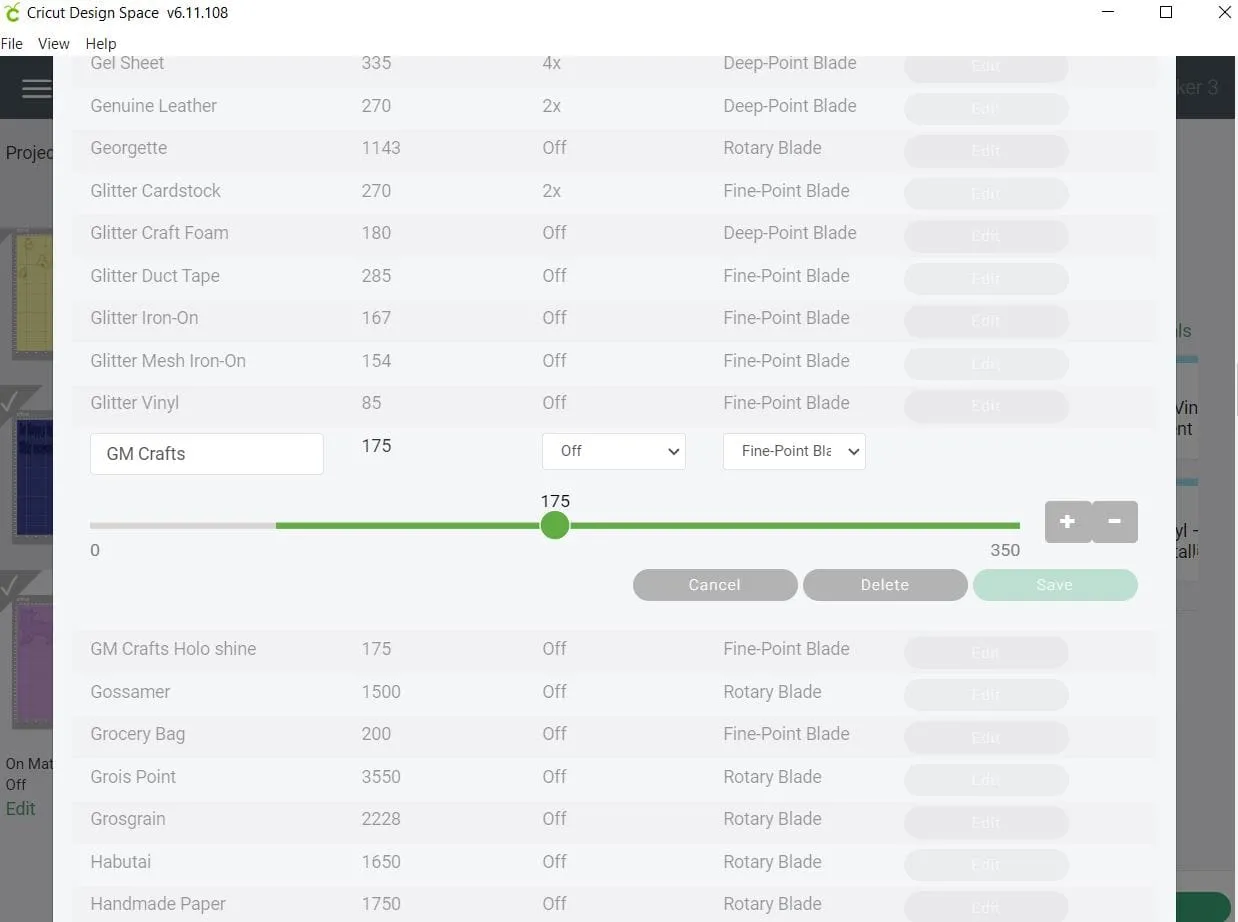
2. Select Browse All Materials in the top right of section 1. Then choose Material settings at the bottom left. This brings up your Custom material settings menu. See below.
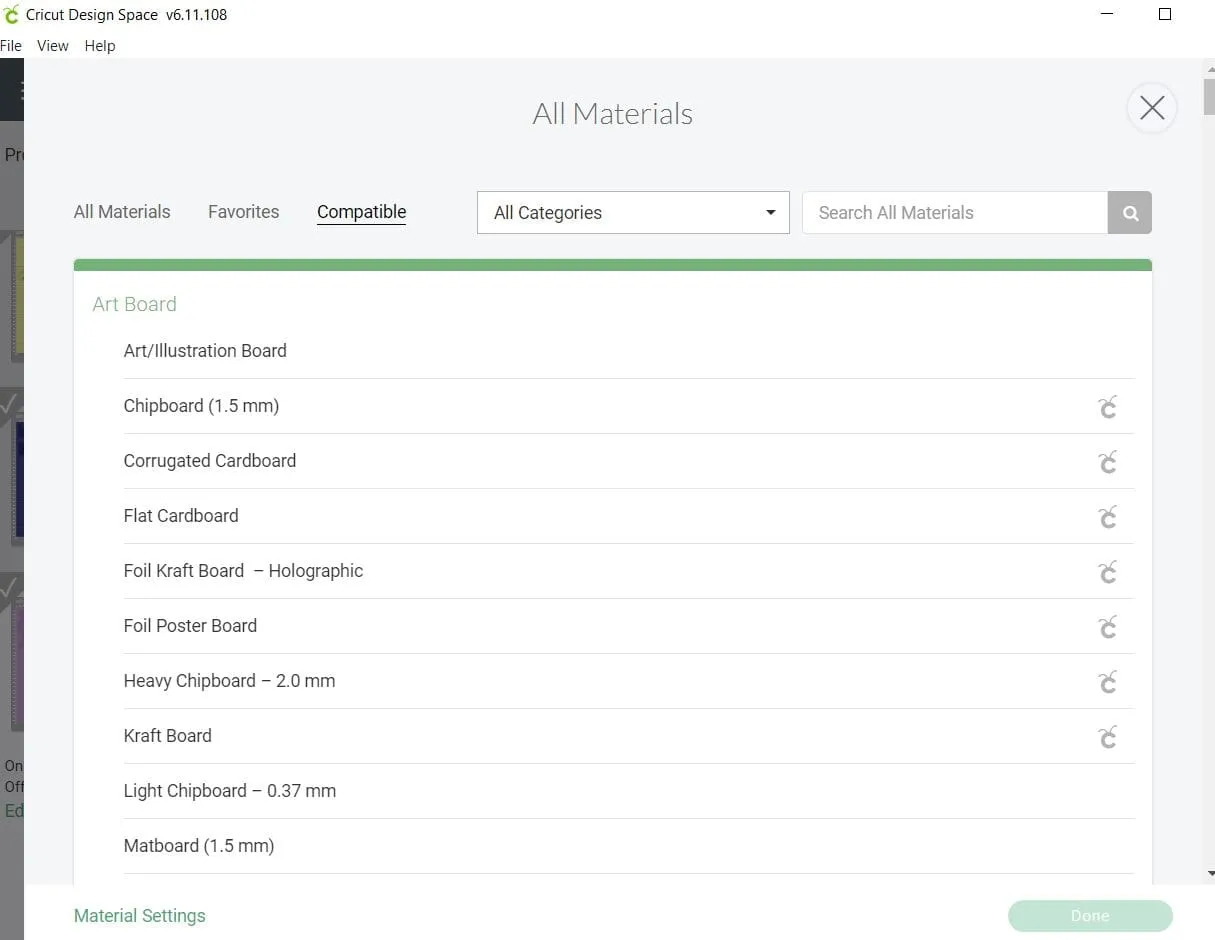
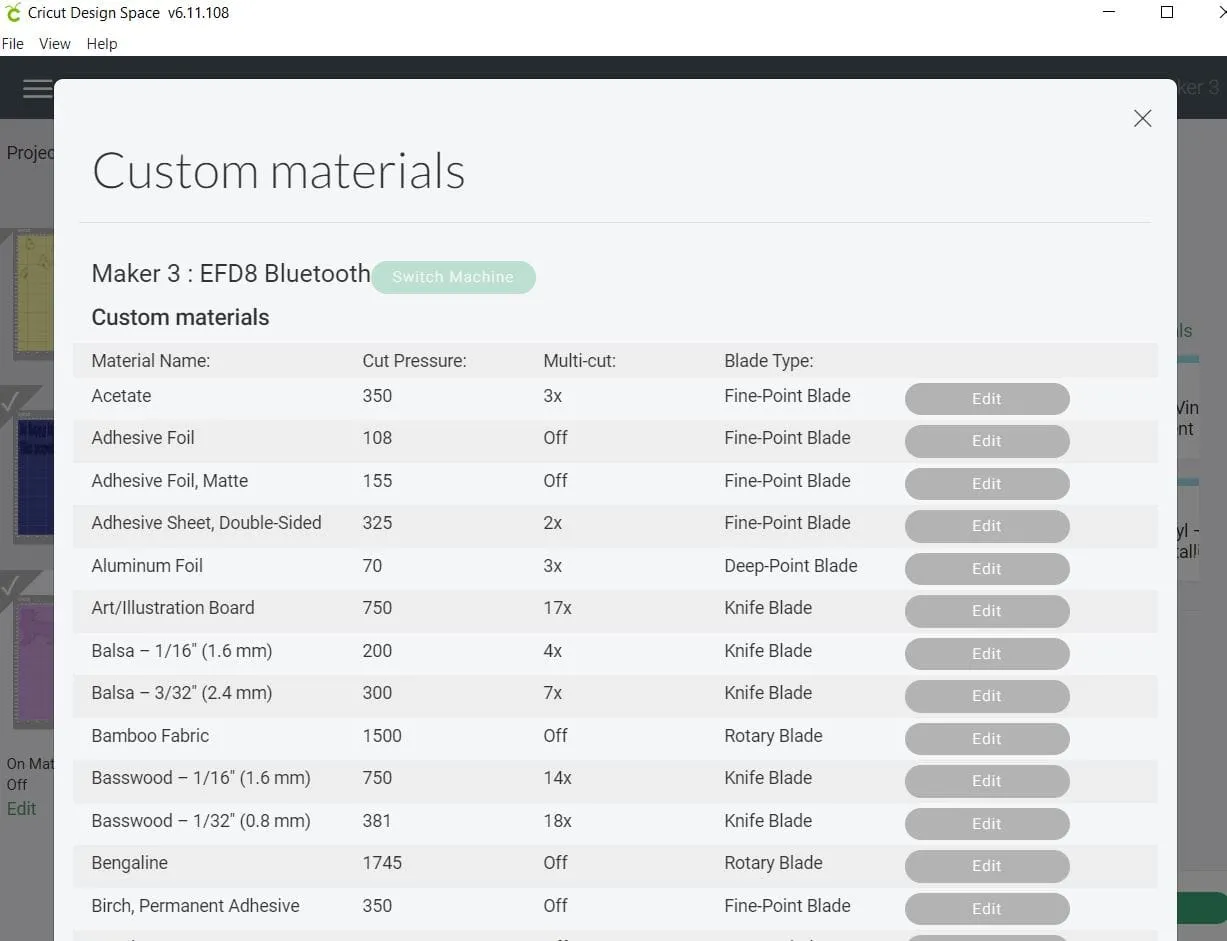
3. Scroll to browse the list, click Edit to edit the one you want to edit, or create a new custom setting as below.
Creating a new custom material
4. You cannot add new Custom materials on the Cricut Design Space app for Android at this time. However, any new materials added from the Windows/Mac computer will be accessible on the Android app on your account. To create a custom setting follow above steps 1 and 2, instead choosing the custom setting from scrolling down in the above screen.
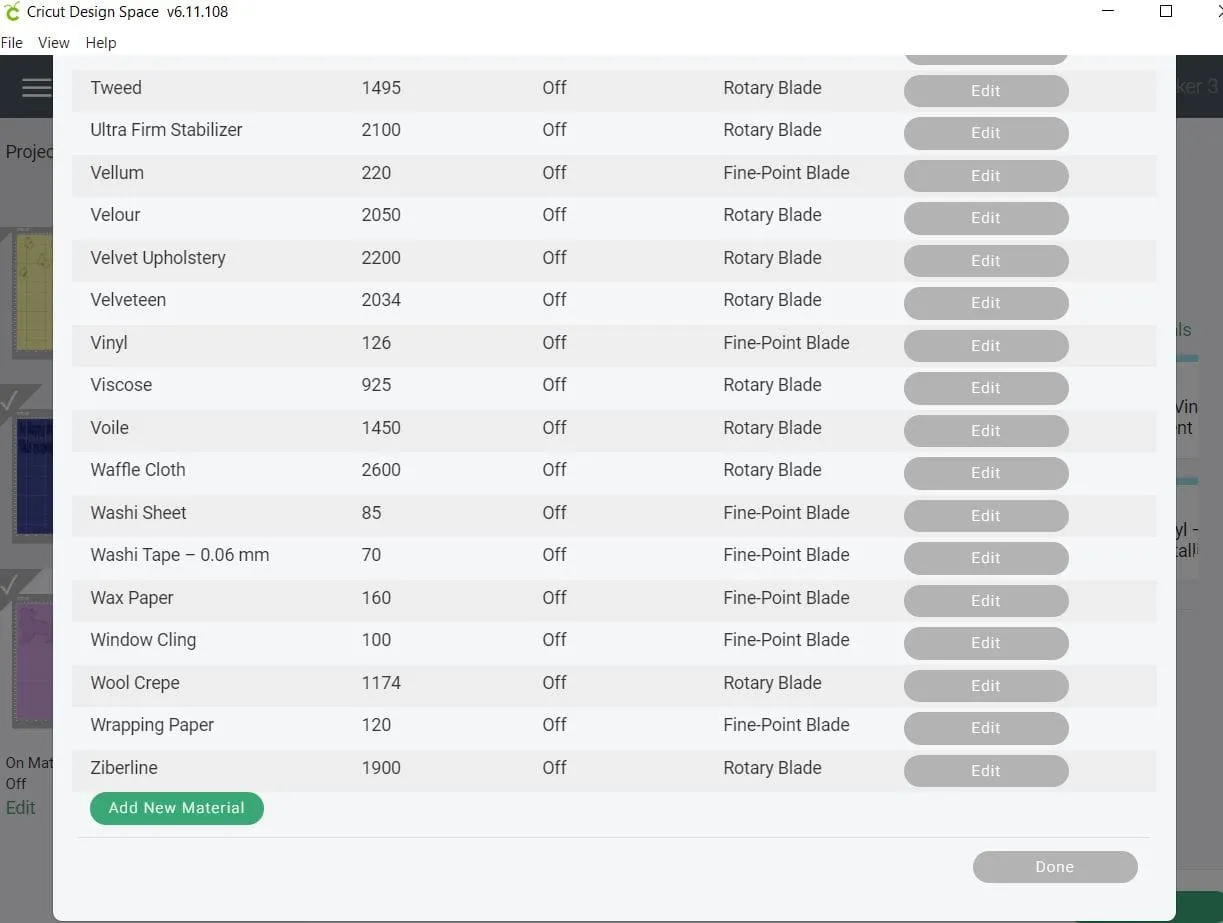
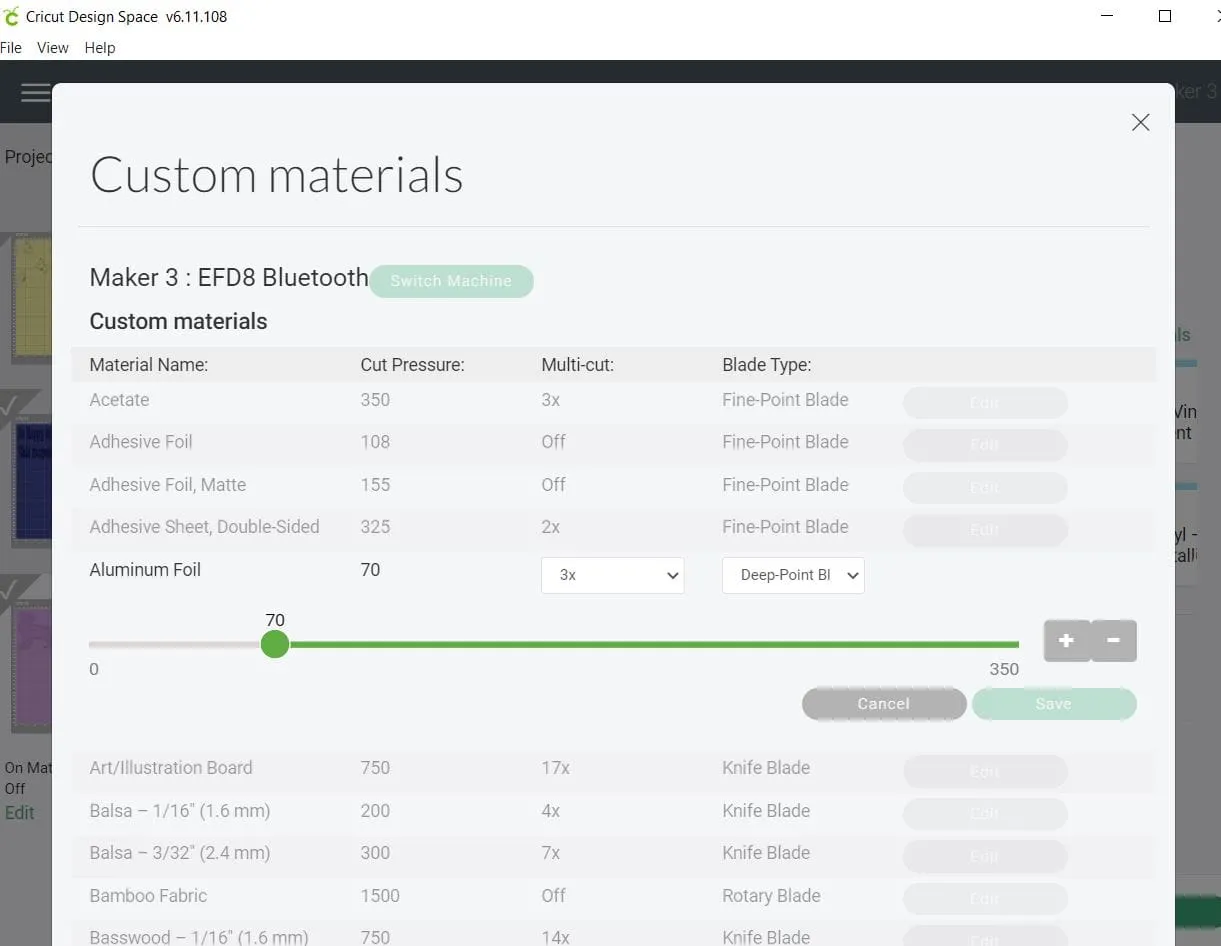
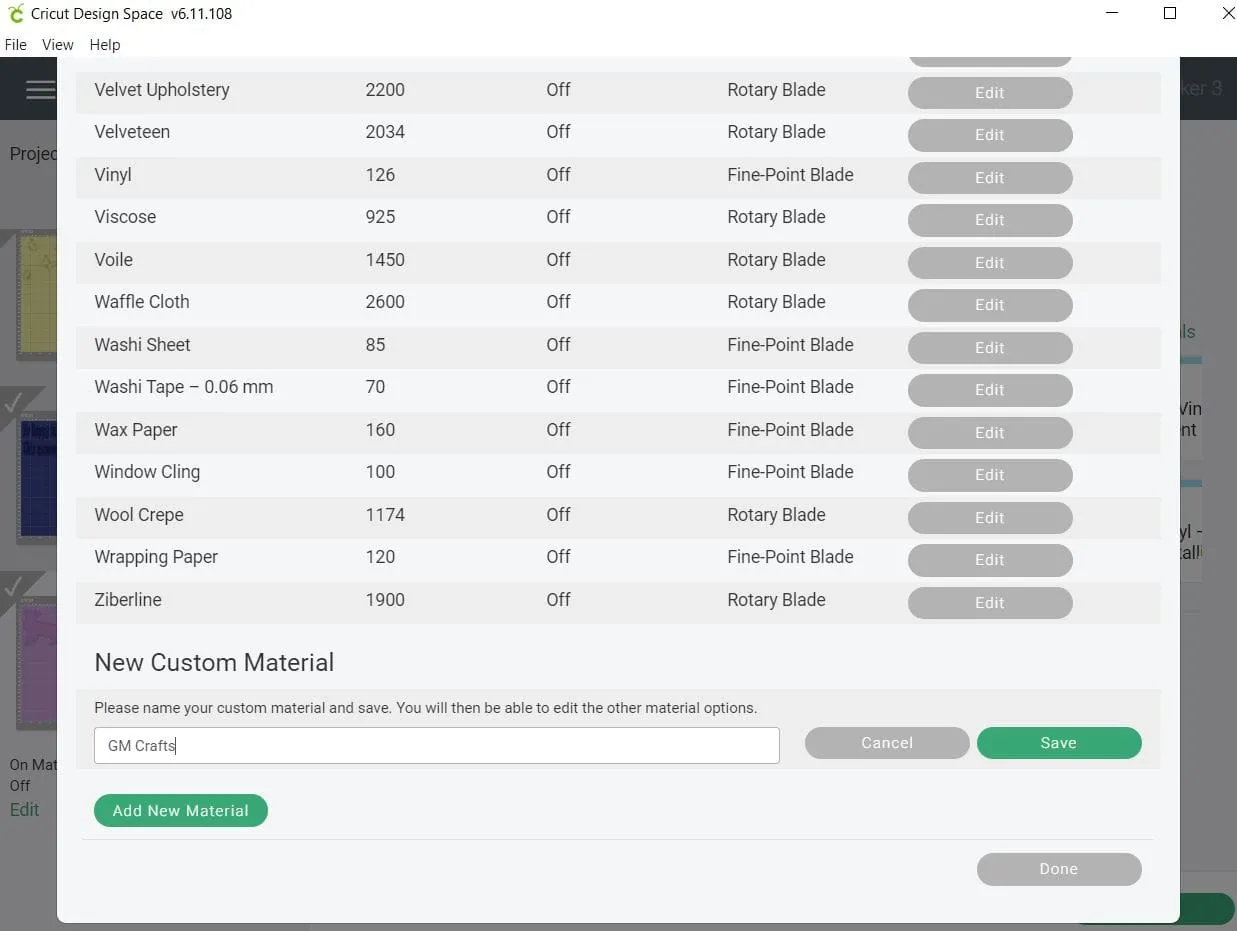
5. Click Add new material and give it a name, click save.
6. Adjust the setting slide, click save. Once the material is saved, you can adjust:
-
- Cut Pressure (adjust the slider or use the +/- buttons)
- Multi-cut (this directs the machine to cut multiple times over the same image and is recommended for thicker materials)
- Blade Type (select from Premium Fine-Point Blade or Deep-Point Blade so that Design Space can prompt you accordingly)
and this will now appear in your menu of materials. Once configured, select Save to save your new custom material. Select the X in the top-right to close the materials screen. Your new material is now available in the list of materials and can be found using Search.
Tip: You can also select the star to add the material to your favorites.
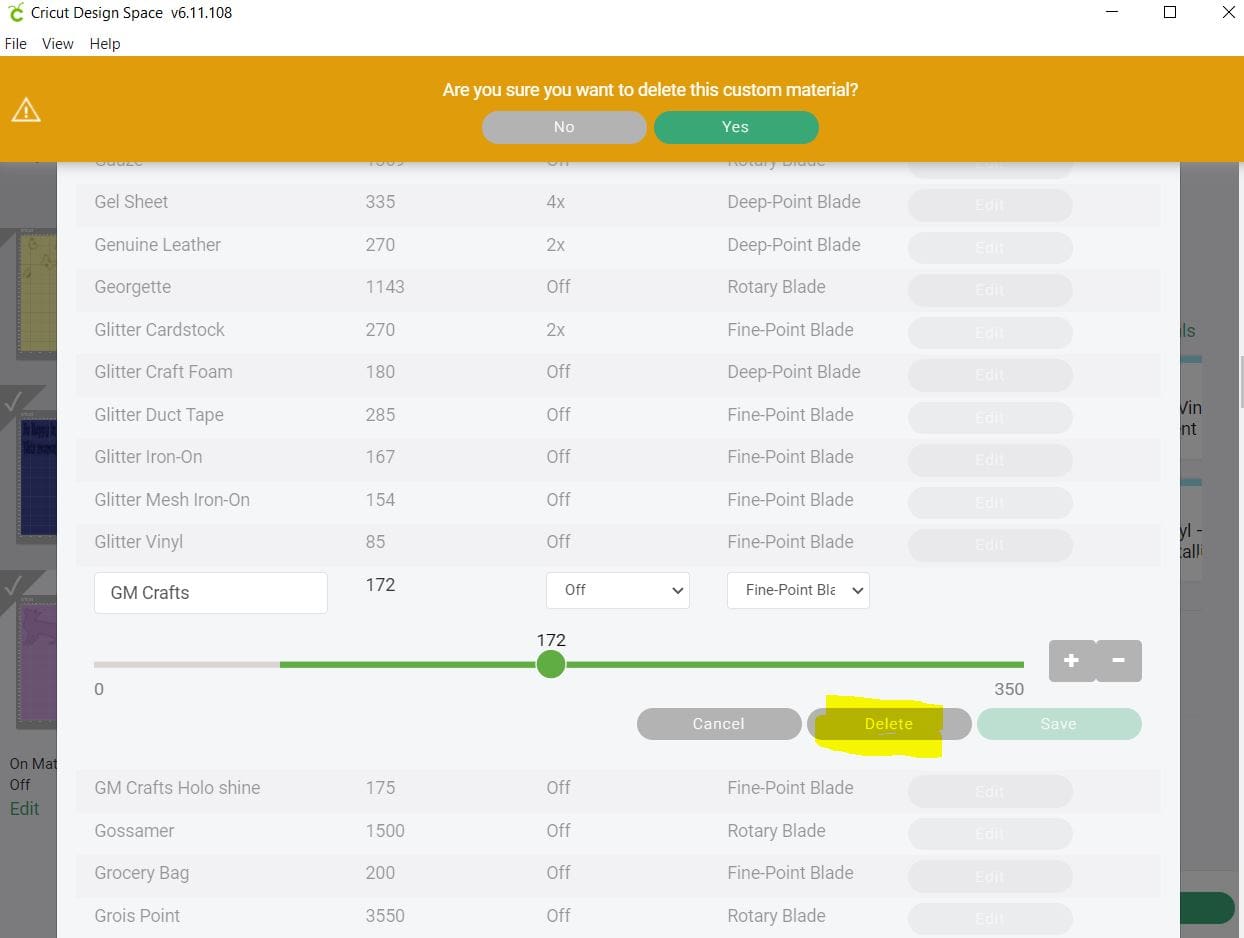
Editing or Deleting Custom Materials
7. To edit or delete a custom material, open the Menu as above in step 1 and 2.
Tips for creating custom settings
- When creating a new custom material setting, refer to the settings for the material which most closely matches yours to get an idea of the pressure and possible multi-cut setting needed for a successful experience
- Thicker or denser materials may not always require more pressure, but may require a multi-cut in order to cut through completely
- You may have to perform several tests and adjust pressure or multi-cut settings to achieve the desired result
- The maximum thickness of your custom material should be less than 2.0 mm for Cricut Explore, and less than 2.4 mm for Cricut Maker
- Non-rigid materials may be thicker (such as craft foam and leathers) but will be compacted when fed under the roller bars, and will be imprinted by the rubber rings on the roller bars that help to feed the mat through the machine.
Important: While Cricut Maker and Cricut Explore machines can cut a wide variety of materials, Cricut does not guarantee that they will be able to cut all materials.