
Tutorial/Free Cut File
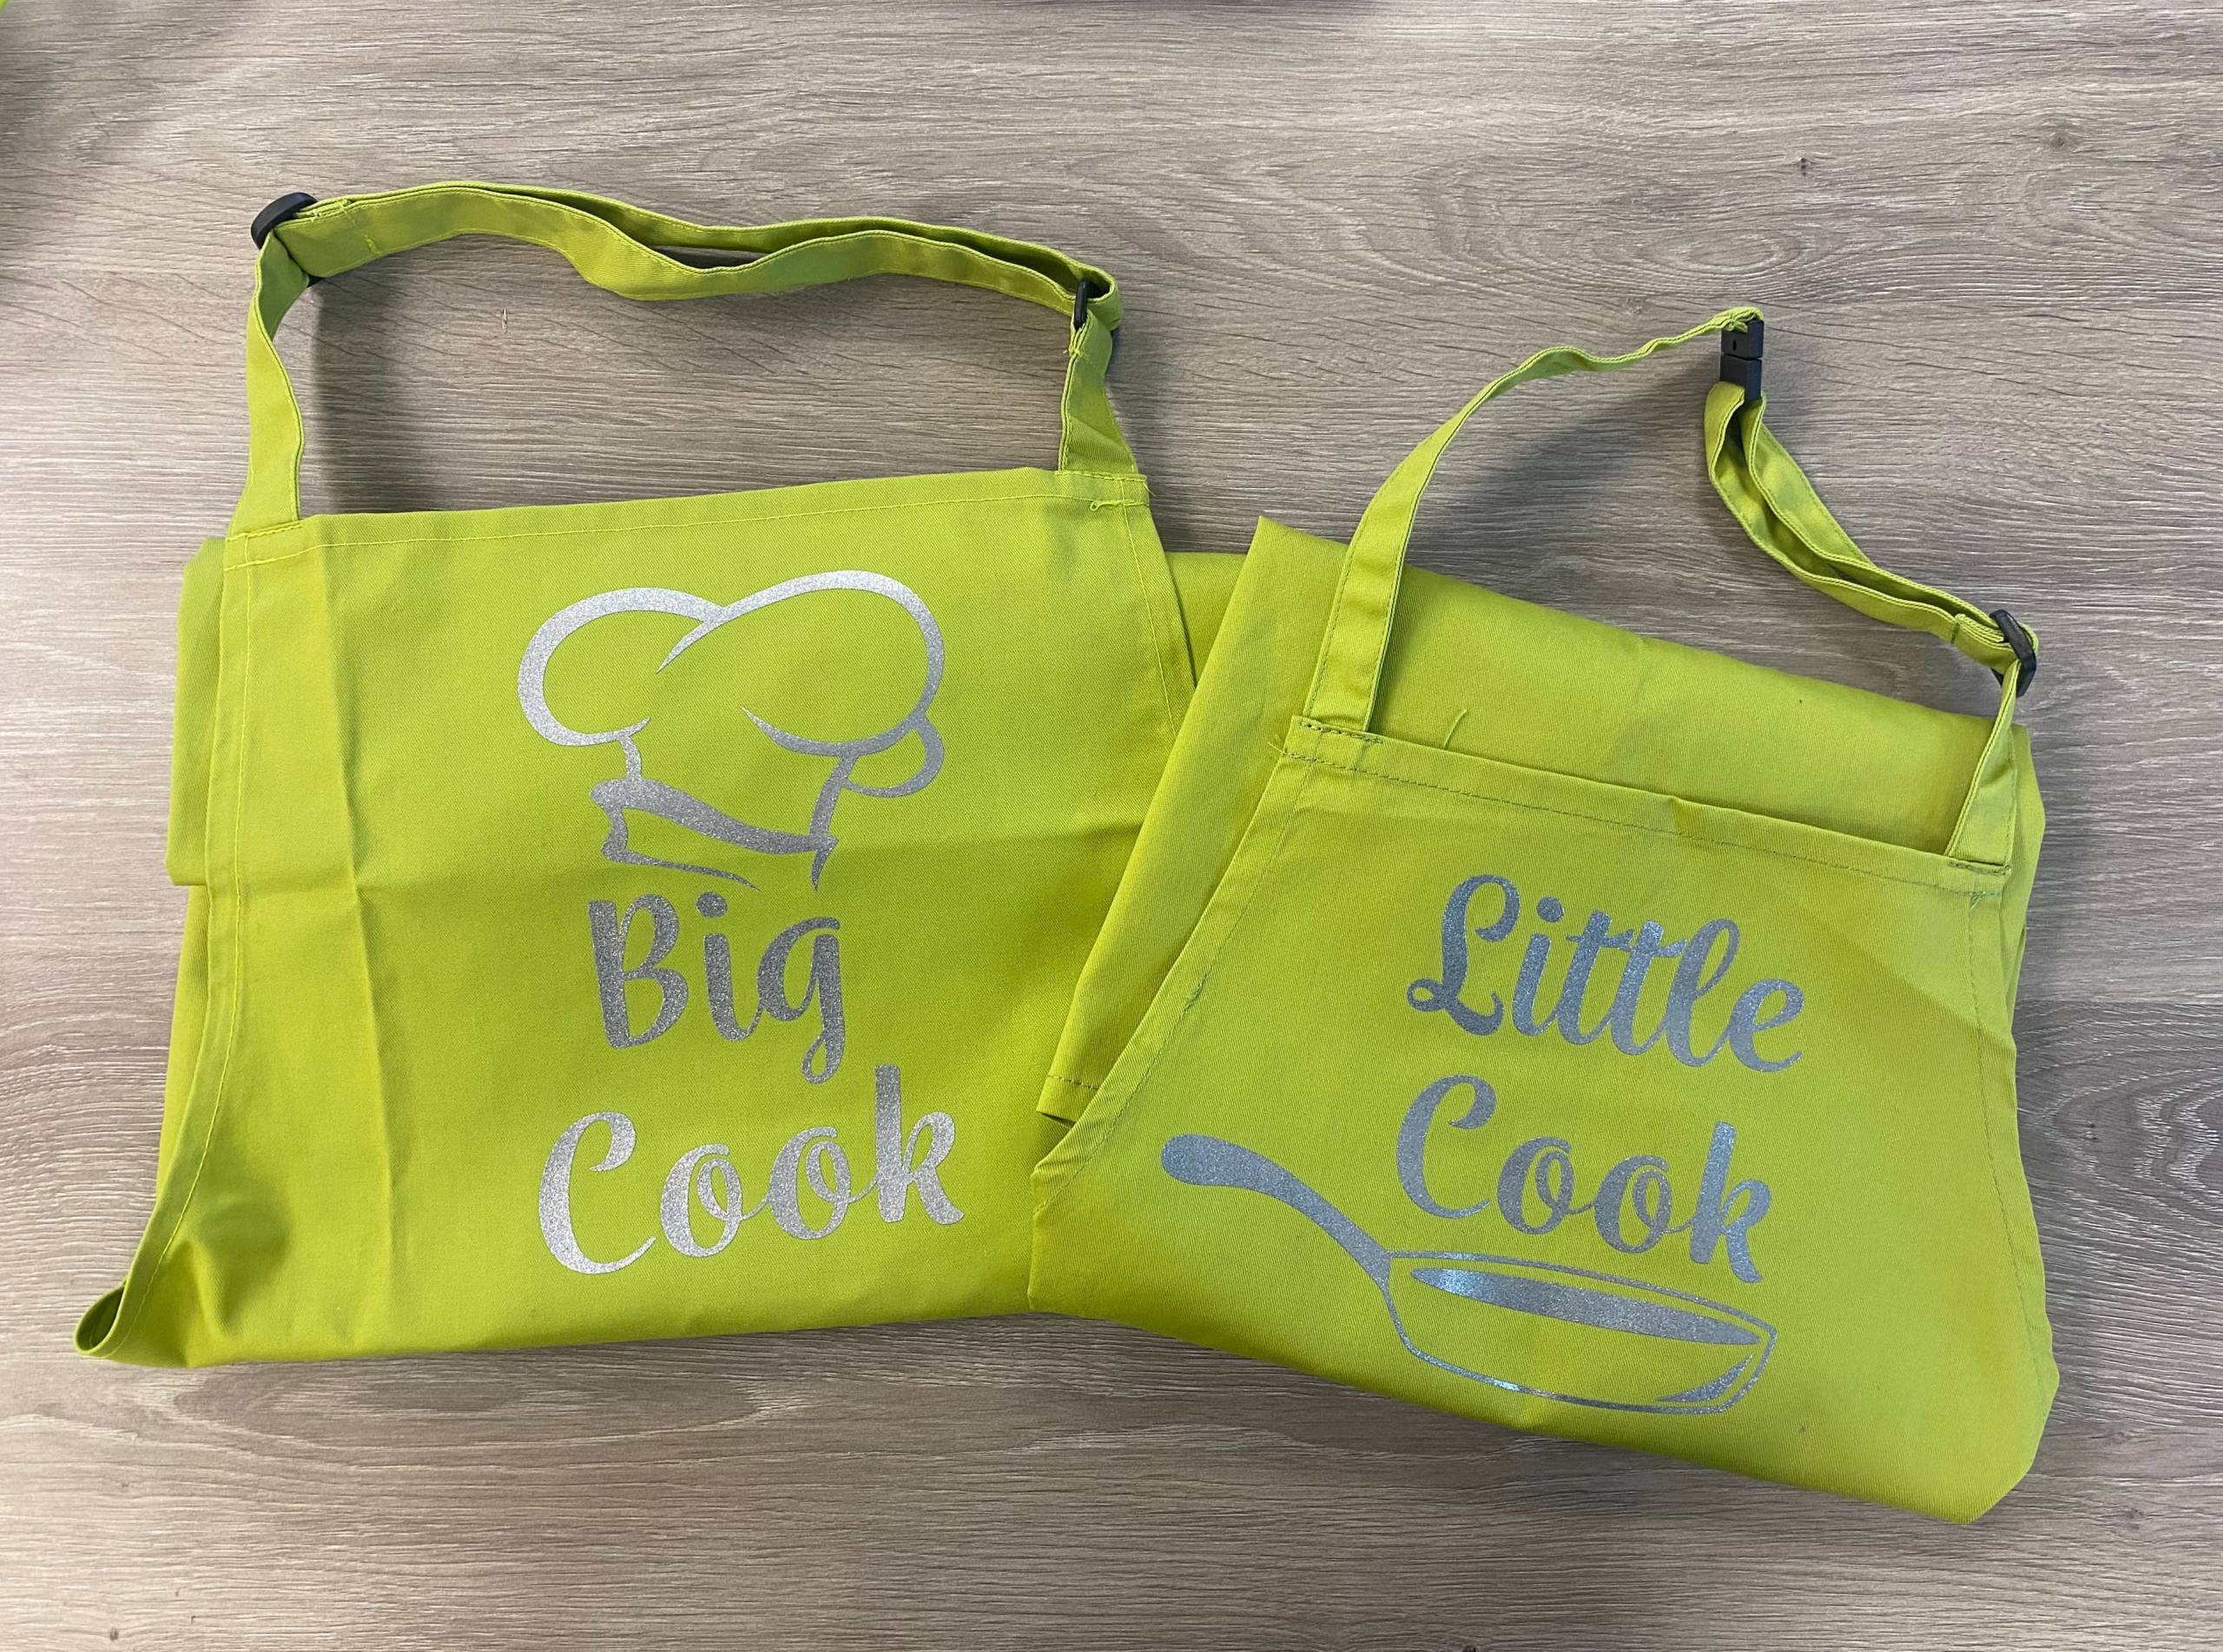
Big Cook, Little Cook Aprons tutorial and free cut files – Cricut Maker

Hi all,
It’s Monday which means free cut files! The majority of us have been forced to spend a lot more time inside, and those of you with kids have been forced to find and try activities to keep them busy and you sane! These matching Big Cook, Little Cook aprons are perfect for those of you who have been cooking or baking with little ones lately. They’re a great way to get everyone excited to cook, plus, making them is another activity you can do together. We used our new Pearlshine HTV range for our aprons, specifically Pearlshine Flex Silver, and our lime green aprons will be available to buy on site soon. In the meantime, any cotton/poly cotton apron will work. As usual, we’re offering detailed instructions for use on a Cricut Maker, but we also supplying the cut files for Silhouette and Brother machines too!
We would love to see what you make! Have you found our You Tube channel yet? The video showing this and all of our other tutorials are available on there, as well as exclusive demos, inspiration and more! Join us on Facebook , Instagram or Tiktok or send us an email to sales@gmcrafts.co.uk we would love to hear from you!
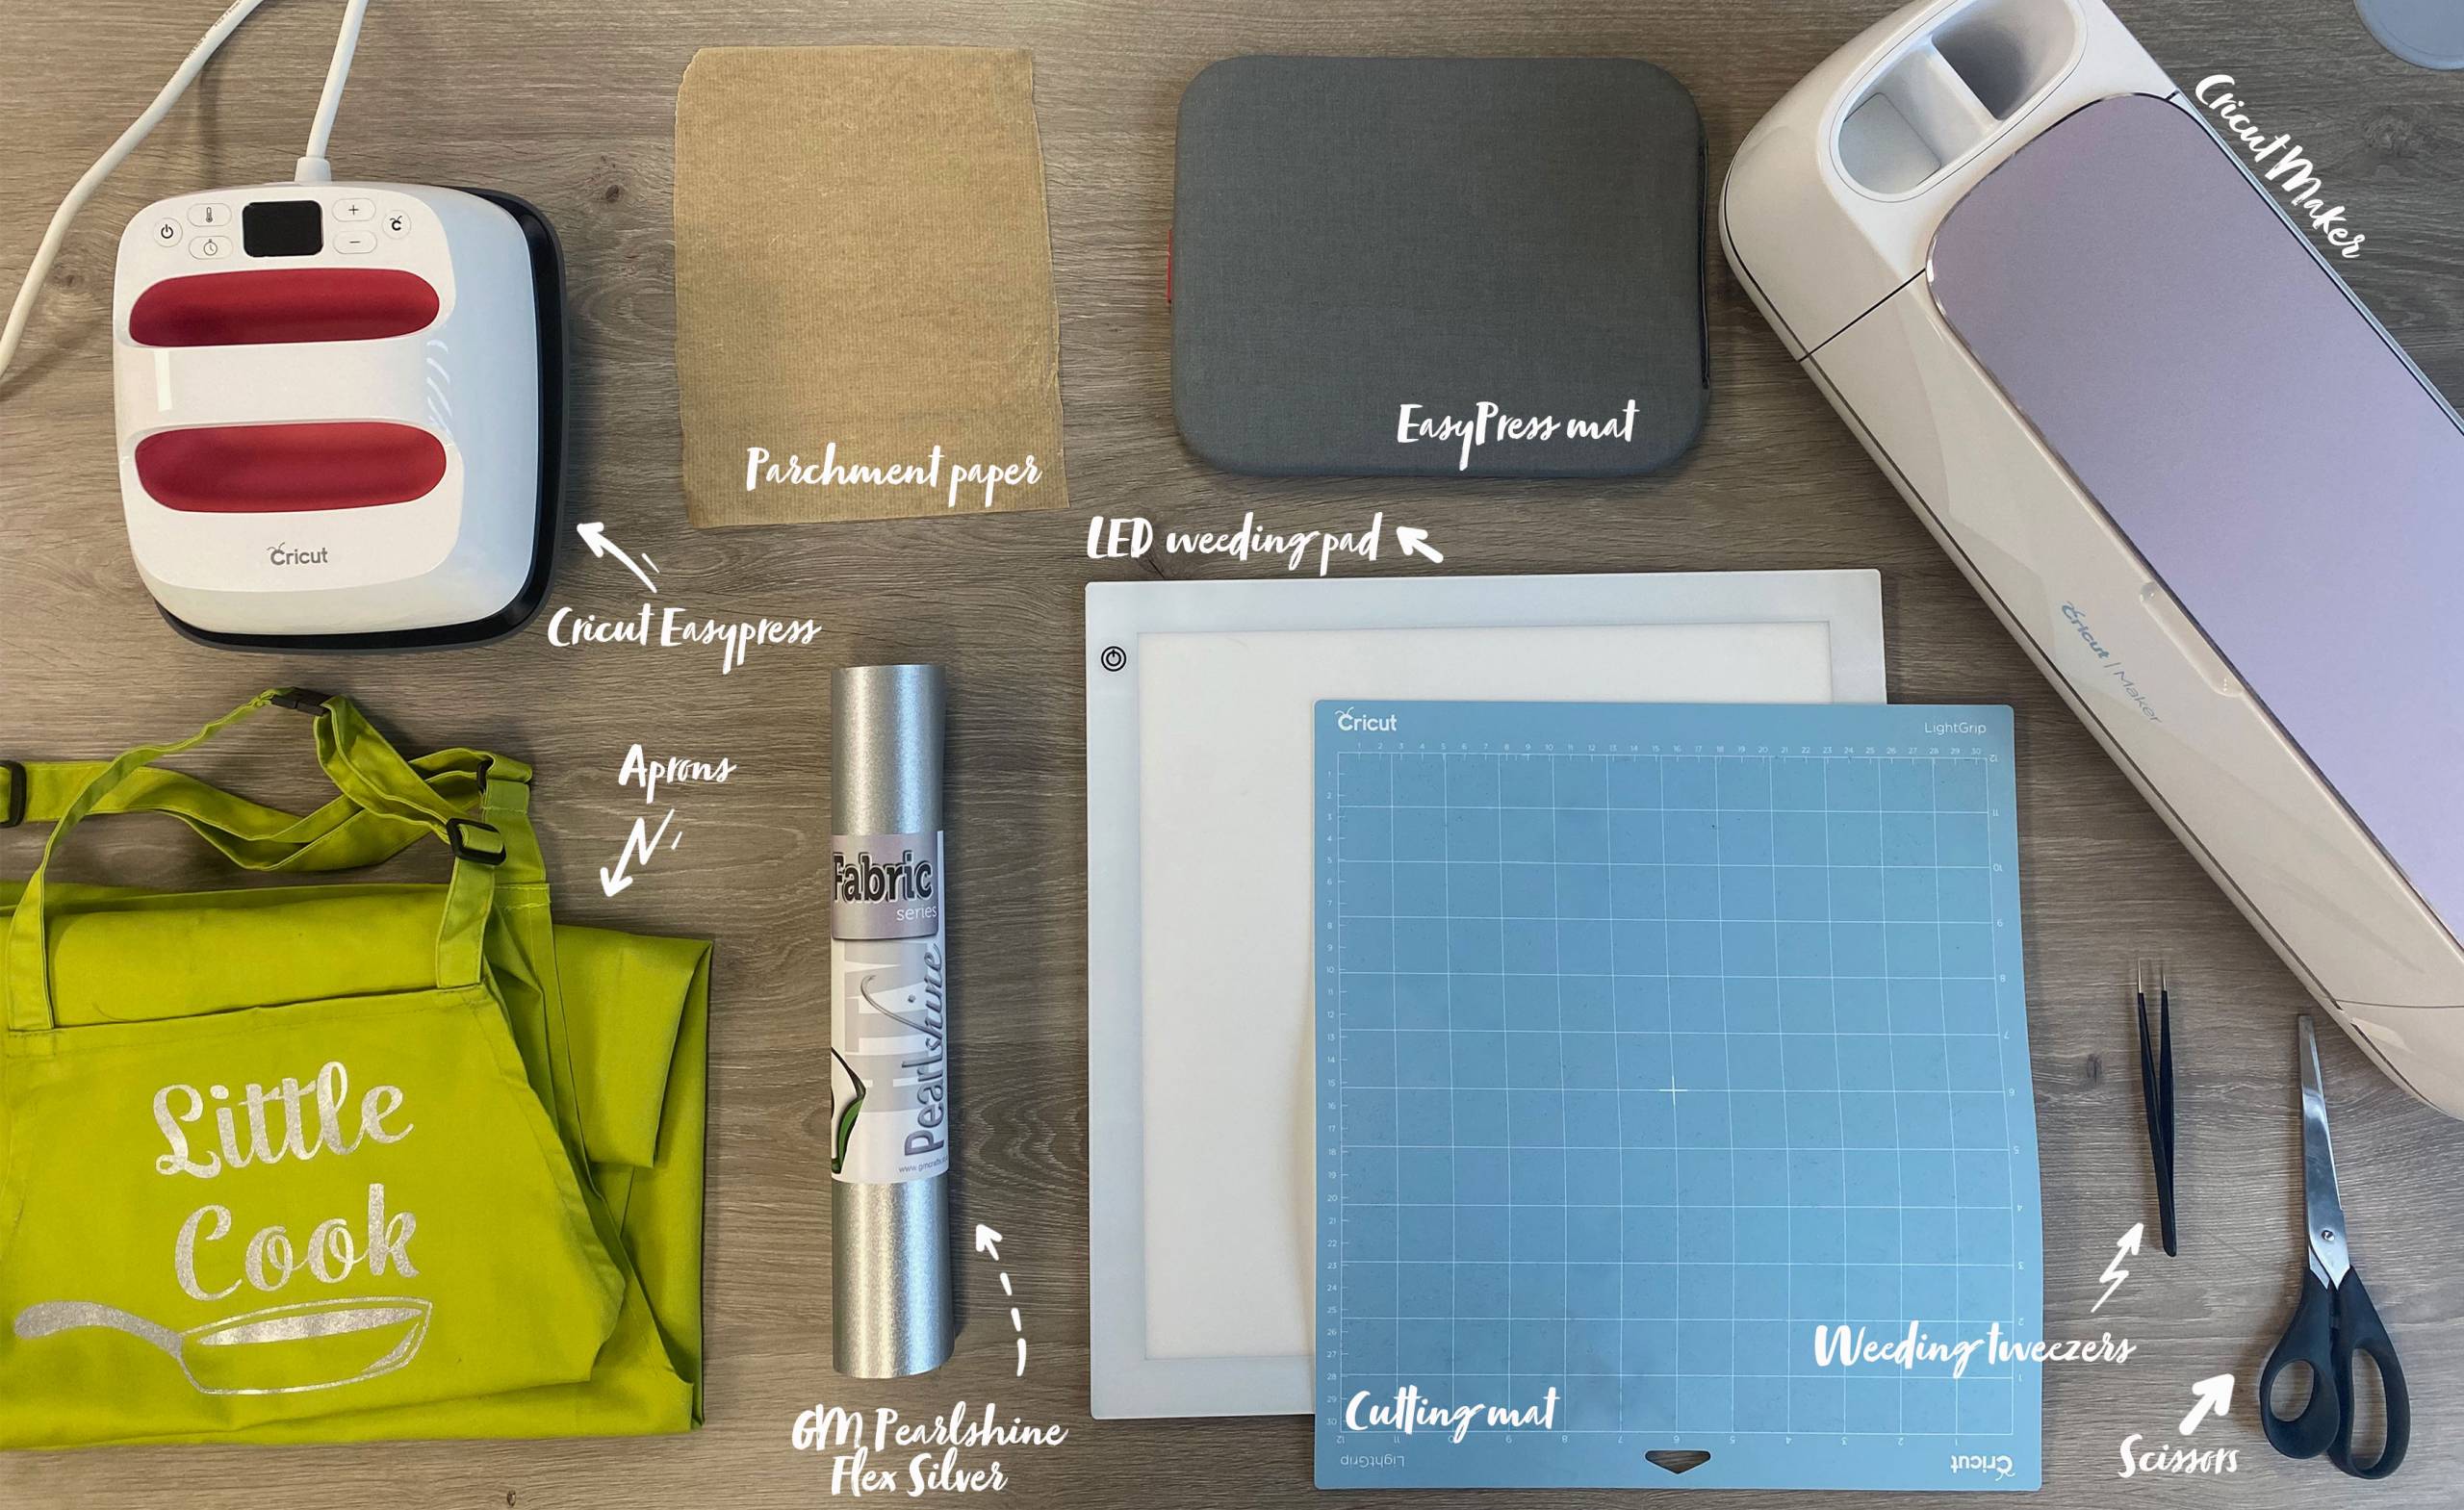
Firstly, what you’ll need:
- Cricut Maker. Available here
- Cricut cutting mat. Available here
- LED Weeding Pad. Available here (This is optional, but it does help for a quicker and easier weed)
- Cricut EasyPress. Available here
- Cricut EasyPress heat mat. Available here
- Weeding Tweezers. Available here
- GM Pearlshine HTV. (We used Pearlshine Flex Silver) Available here
- Parchment paper. (Optional with our vinyl, but some people may prefer to use it for an extra layer of protection).
- Scissors
- Pair of aprons, one adult and one kids size. Cotton or polycotton blend
Instructions:
1. Download your cut files. Cricut cut files: DOWNLOAD CRICUT CUT FILES
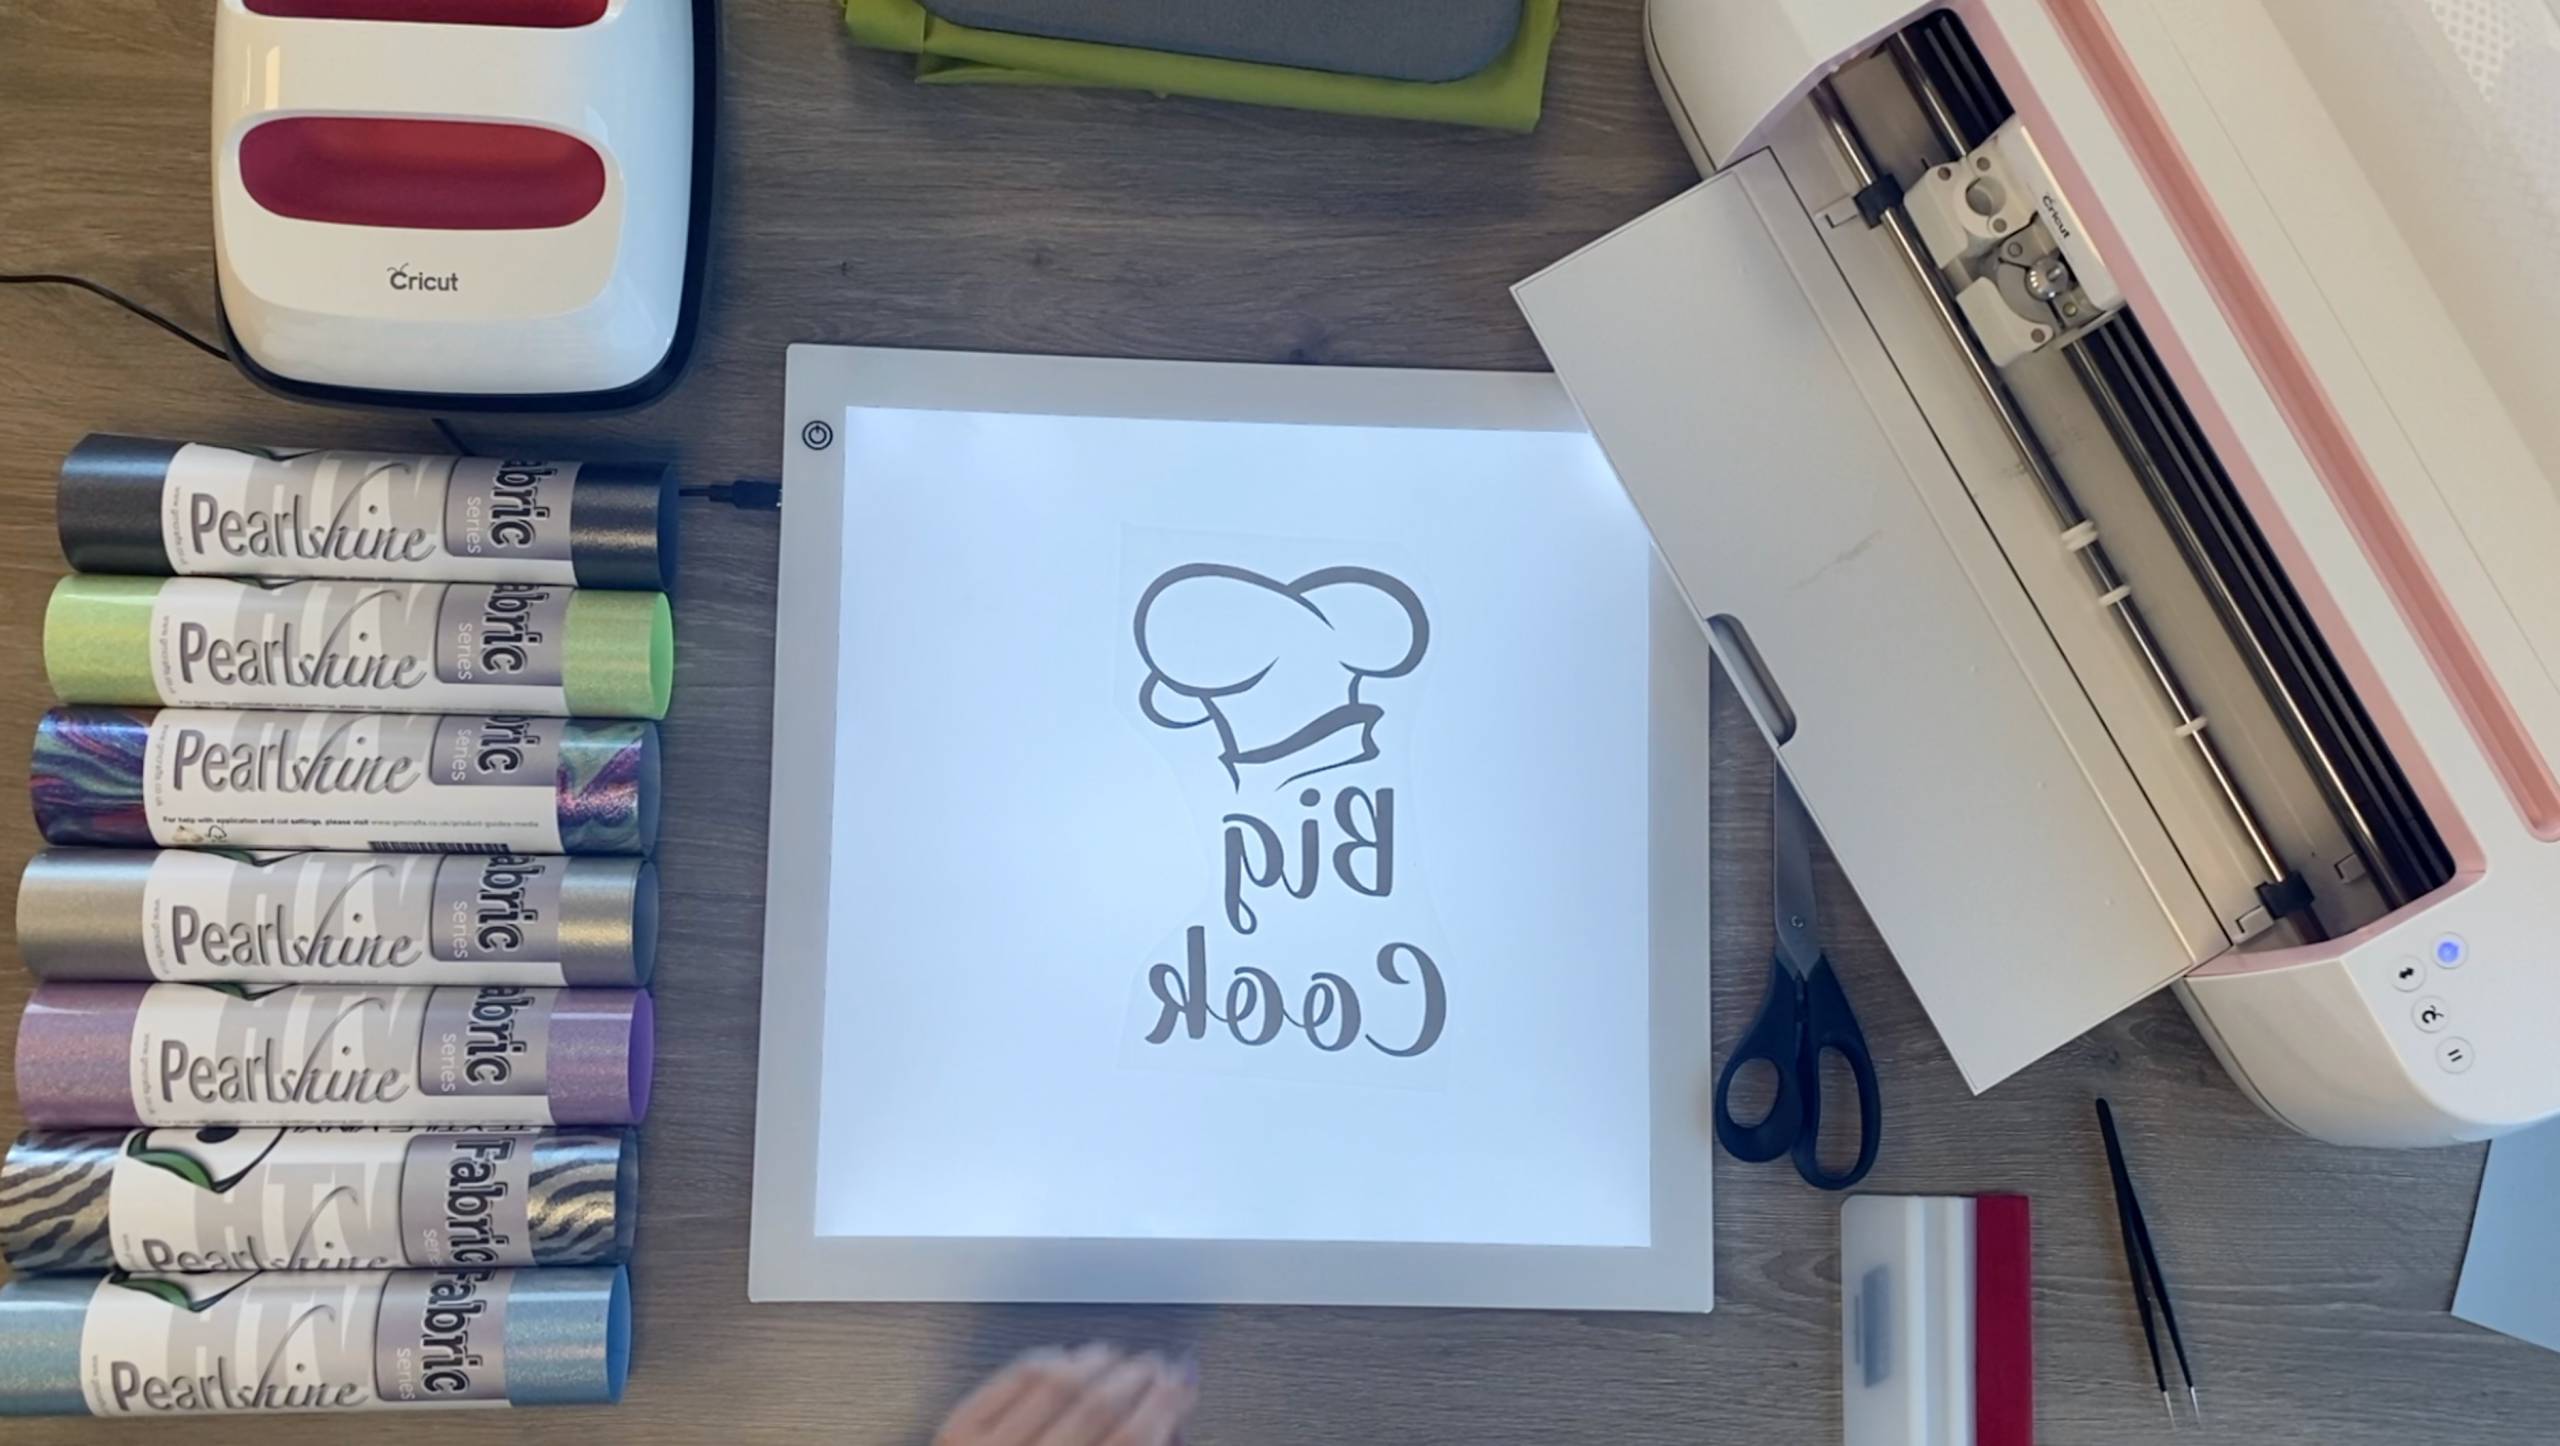
2. Upload ‘Big Cook’ cut file onto Cricut Design Space and resize as necessary. As the kids apron is smaller we resized the ‘Little Cook’ cut file to be smaller than the ‘Big Cook’ cut file.
3. When happy with the size of the design, select ‘Make it’ in the top right corner of your screen. In the next ‘prepare’ window make sure ‘mirror’ is selected. Pearlshine HTV is always cut in reverse.
4. Select ‘continue’ in the bottom right of the screen and make sure your machine is connected. Select ‘Holographic Heat Transfer’ as your material and the pressure to ‘More’. We used a Fine-Point blade.
5. Position the GM Pearlshine HTV on the cutting mat and apply pressure to it to make sure it is secure. The vinyl should be face up with the clear carrier sheet face down on the mat, you are only cutting the vinyl, not the clear carrier sheet. You can peel a corner of the Pearlshine HTV to know which side is the clear carrier sheet.
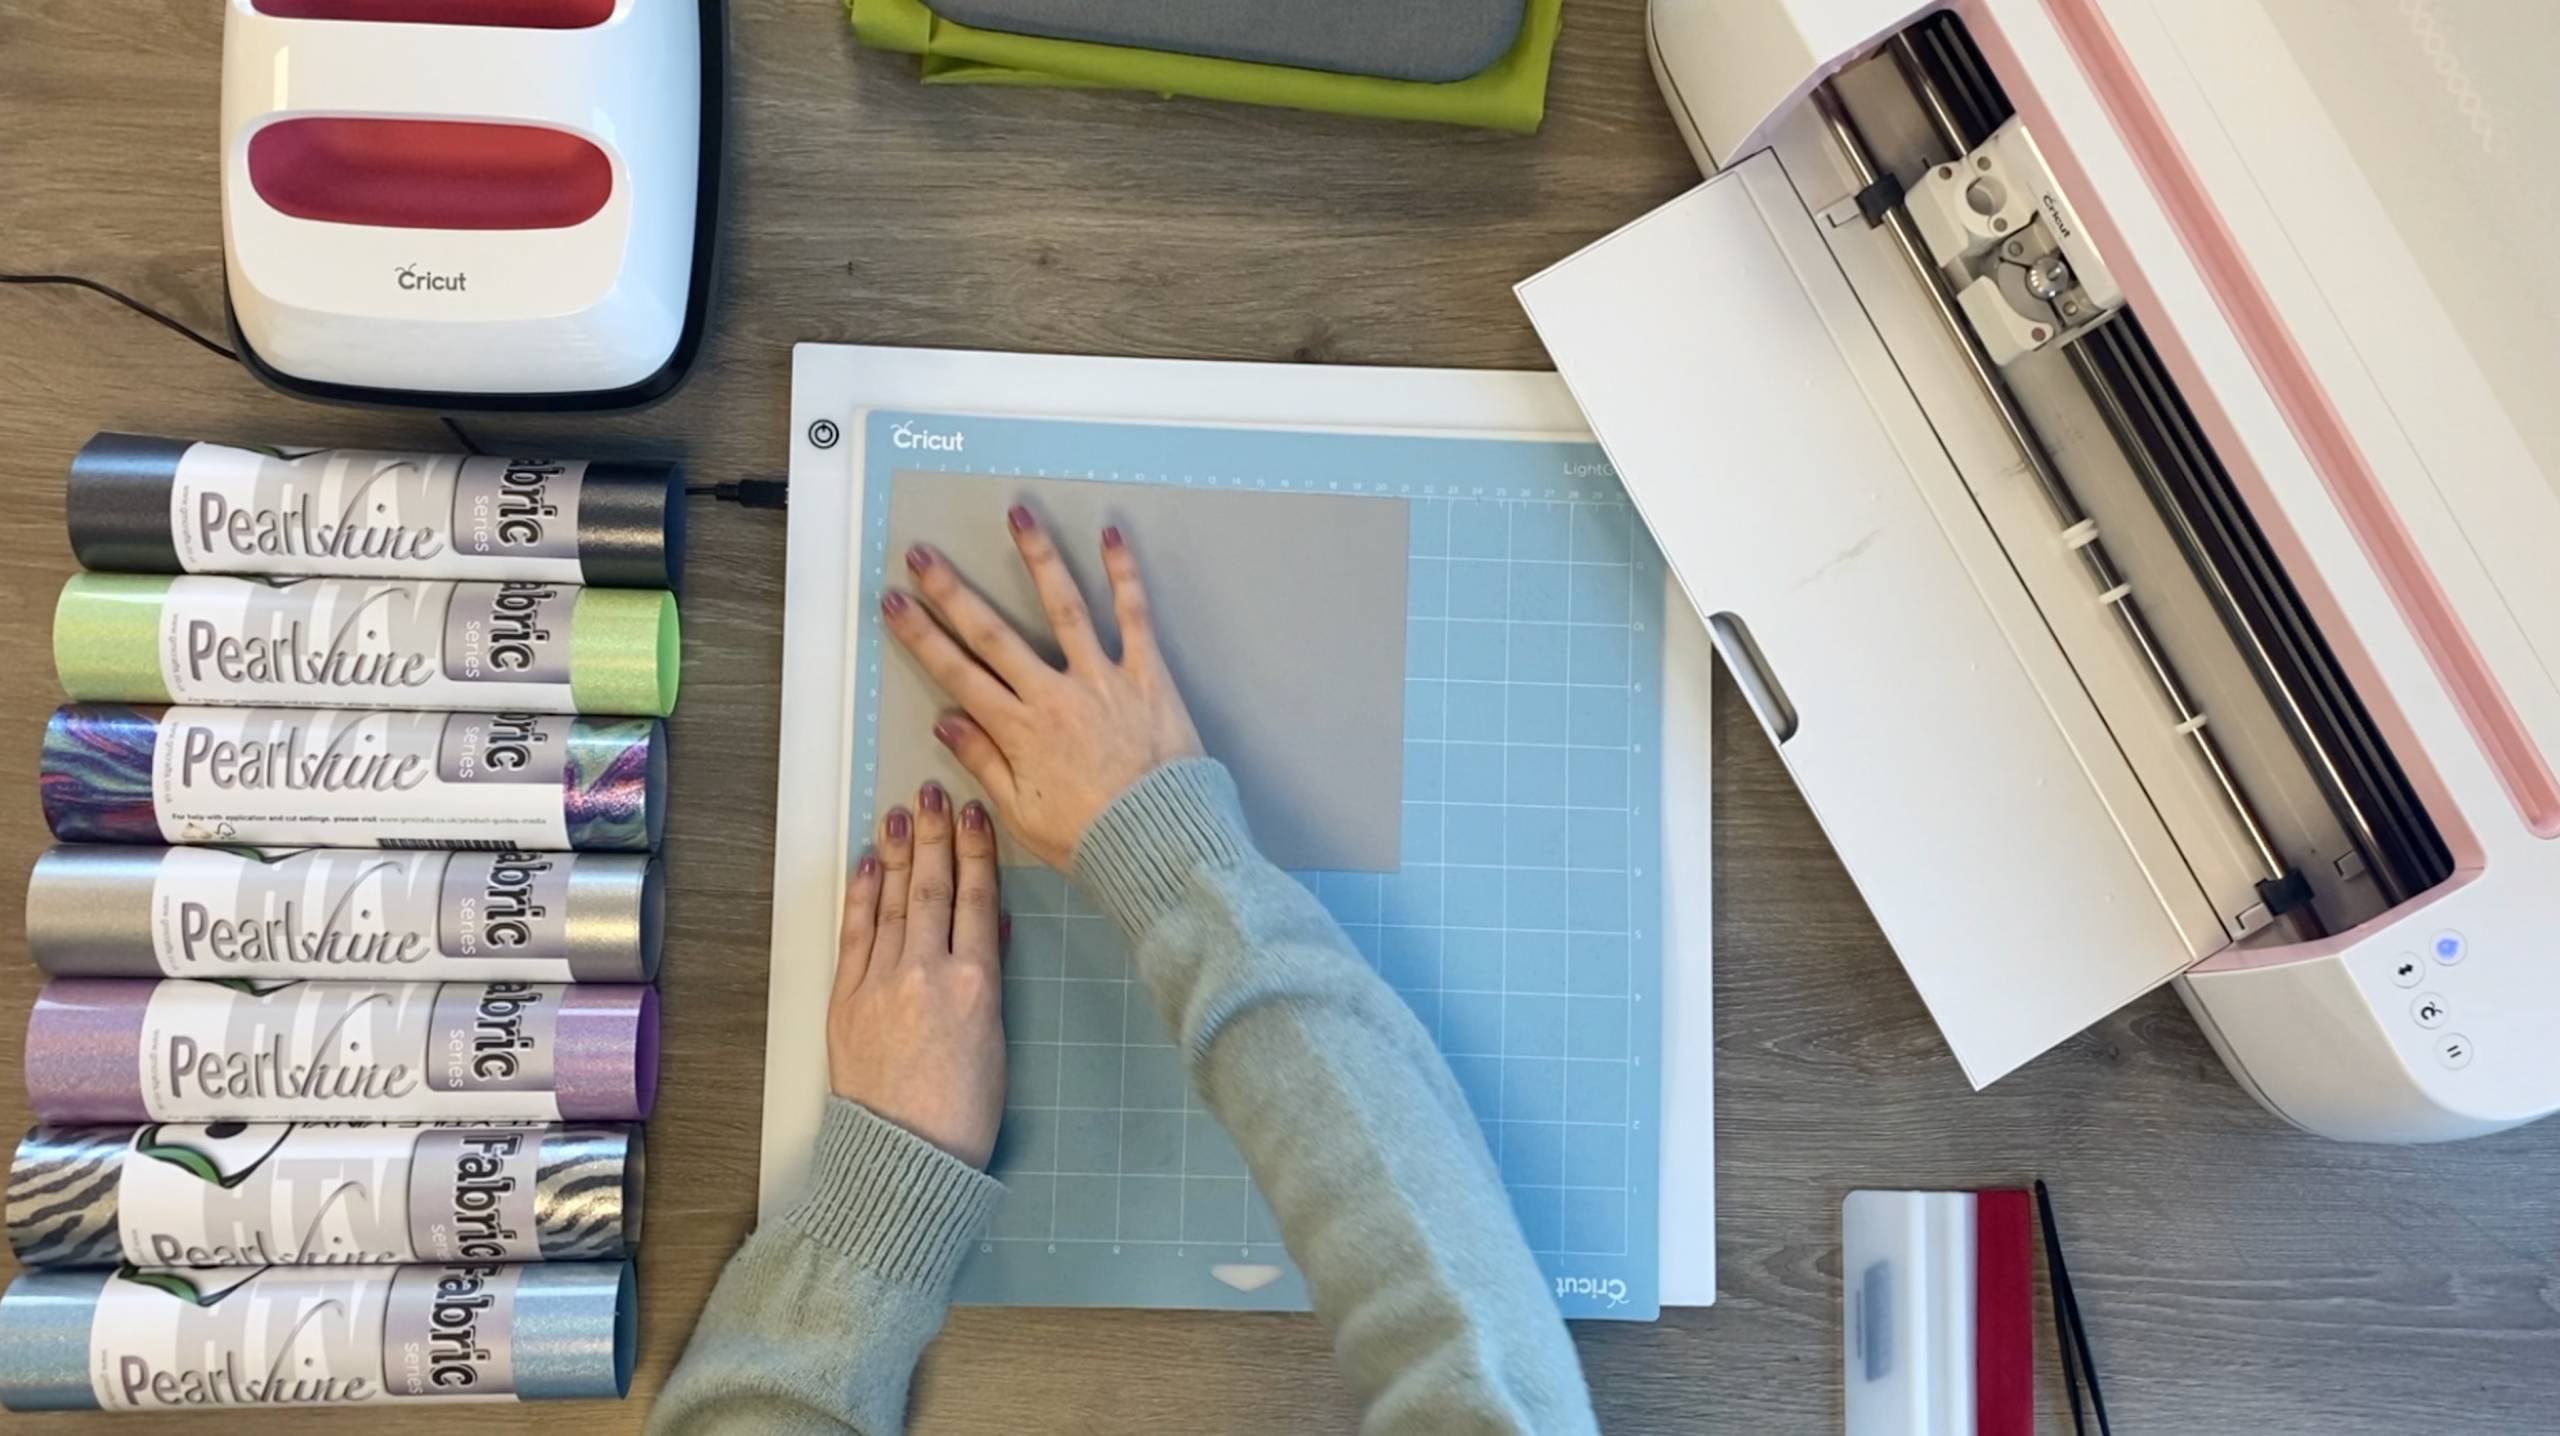
6. Load the mat onto the cutting machine and press the Cricut symbol when ready to cut.
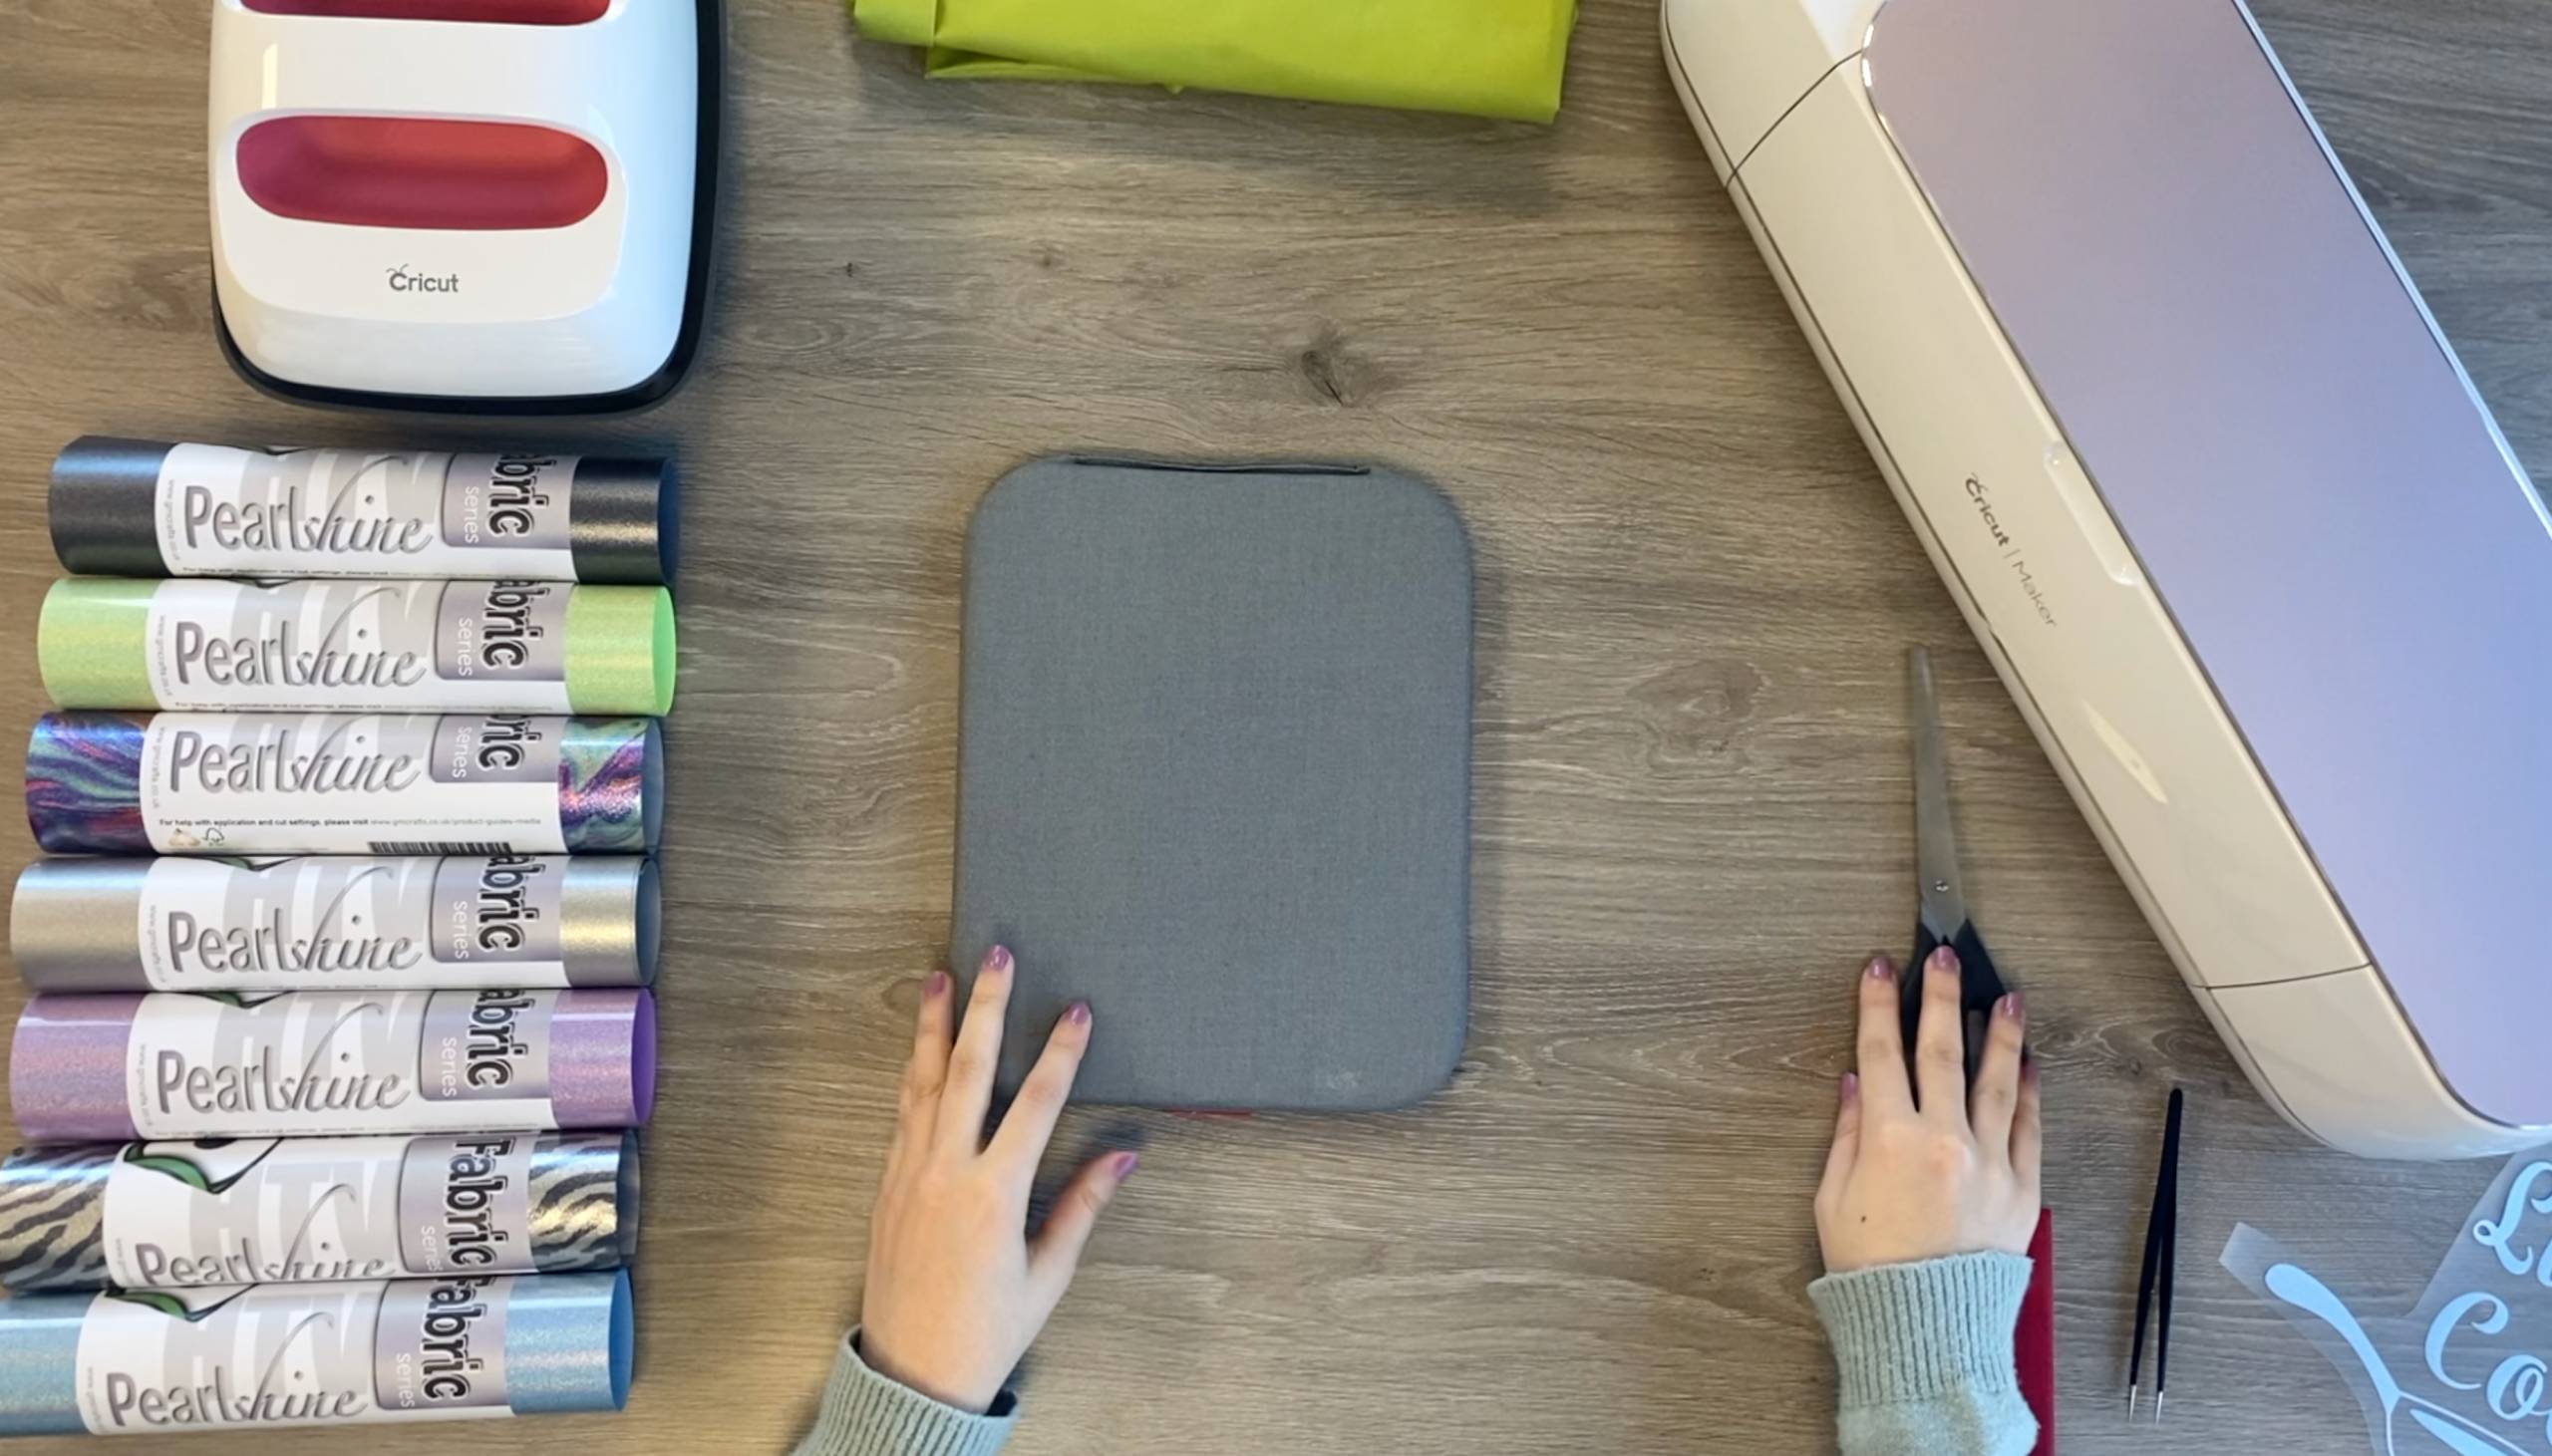
7. When cut, peel the vinyl off the mat and cut to size. Then, weed any excess material so that just the design is left on the clear carrier sheet.
8. Make sure you use a Cricut EasyPress Mat, or a fluffy folded bath towel, under your garment. Preheat the area of application on your large apron for 5 seconds at 160°c, using medium pressure. This is to get rid of any creases and/or moisture.
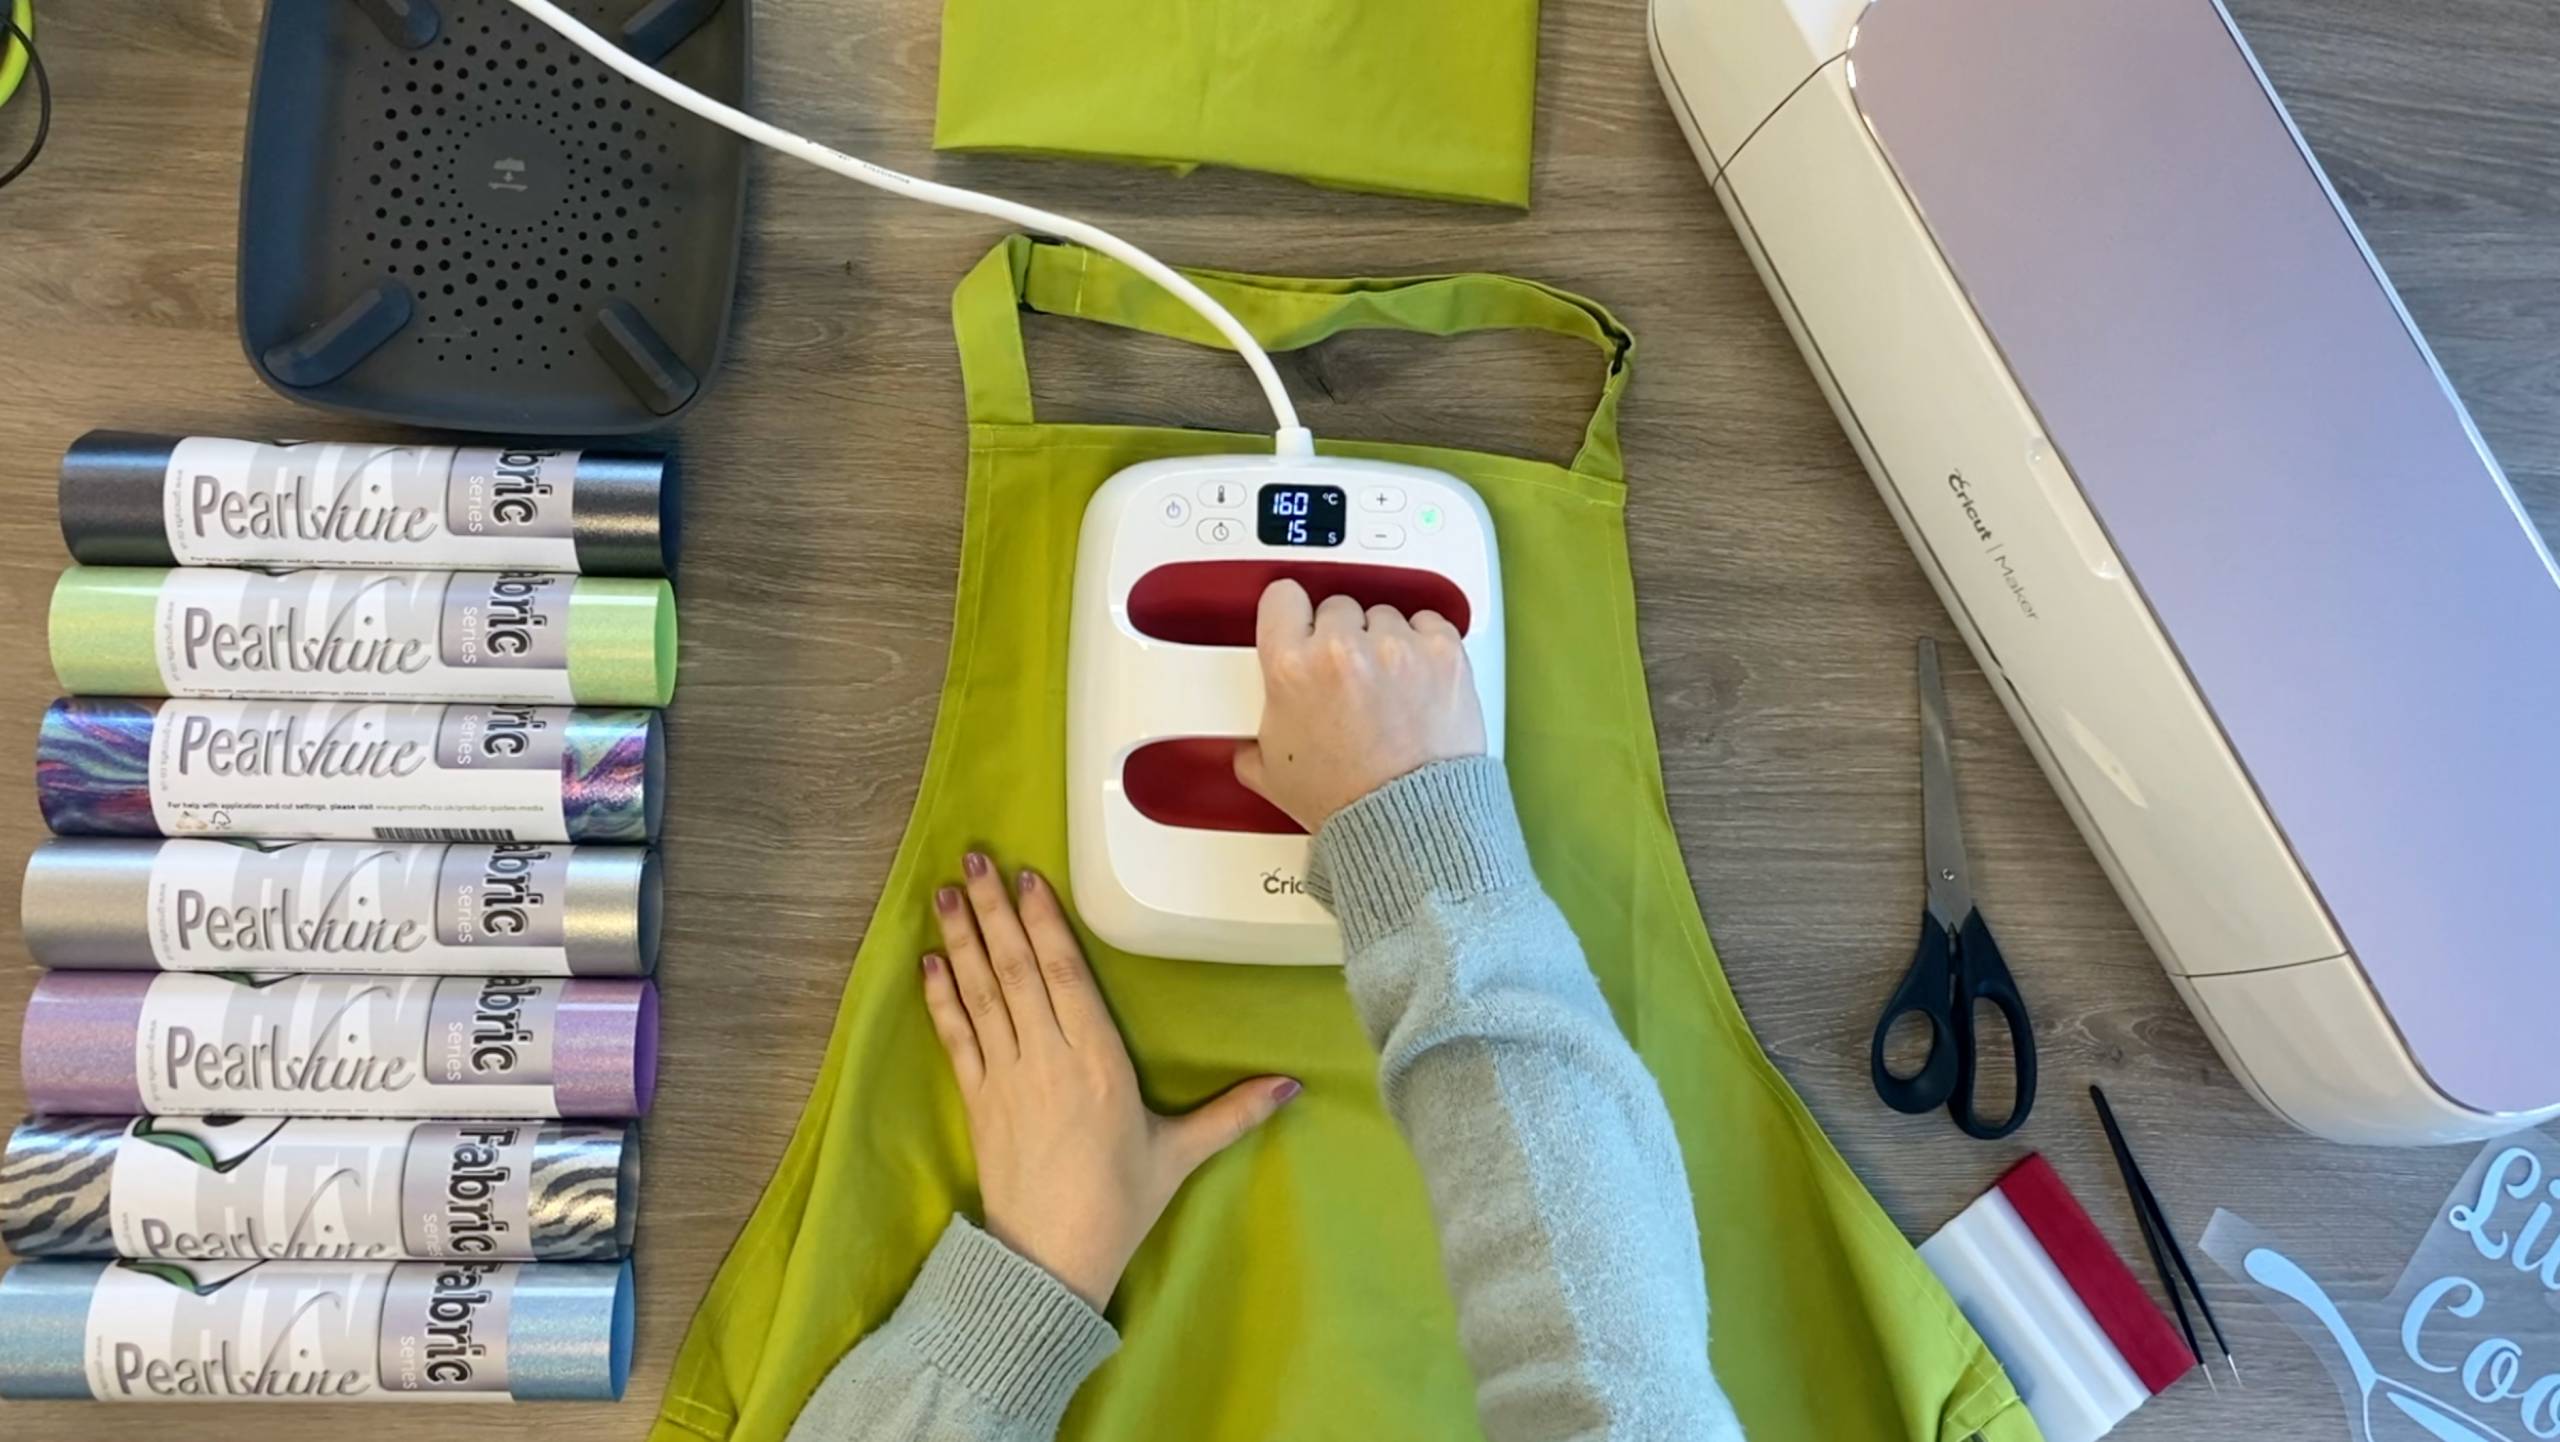
9. Position the vinyl design clear carrier sheet face up so the design is as you’d expect to look at it.
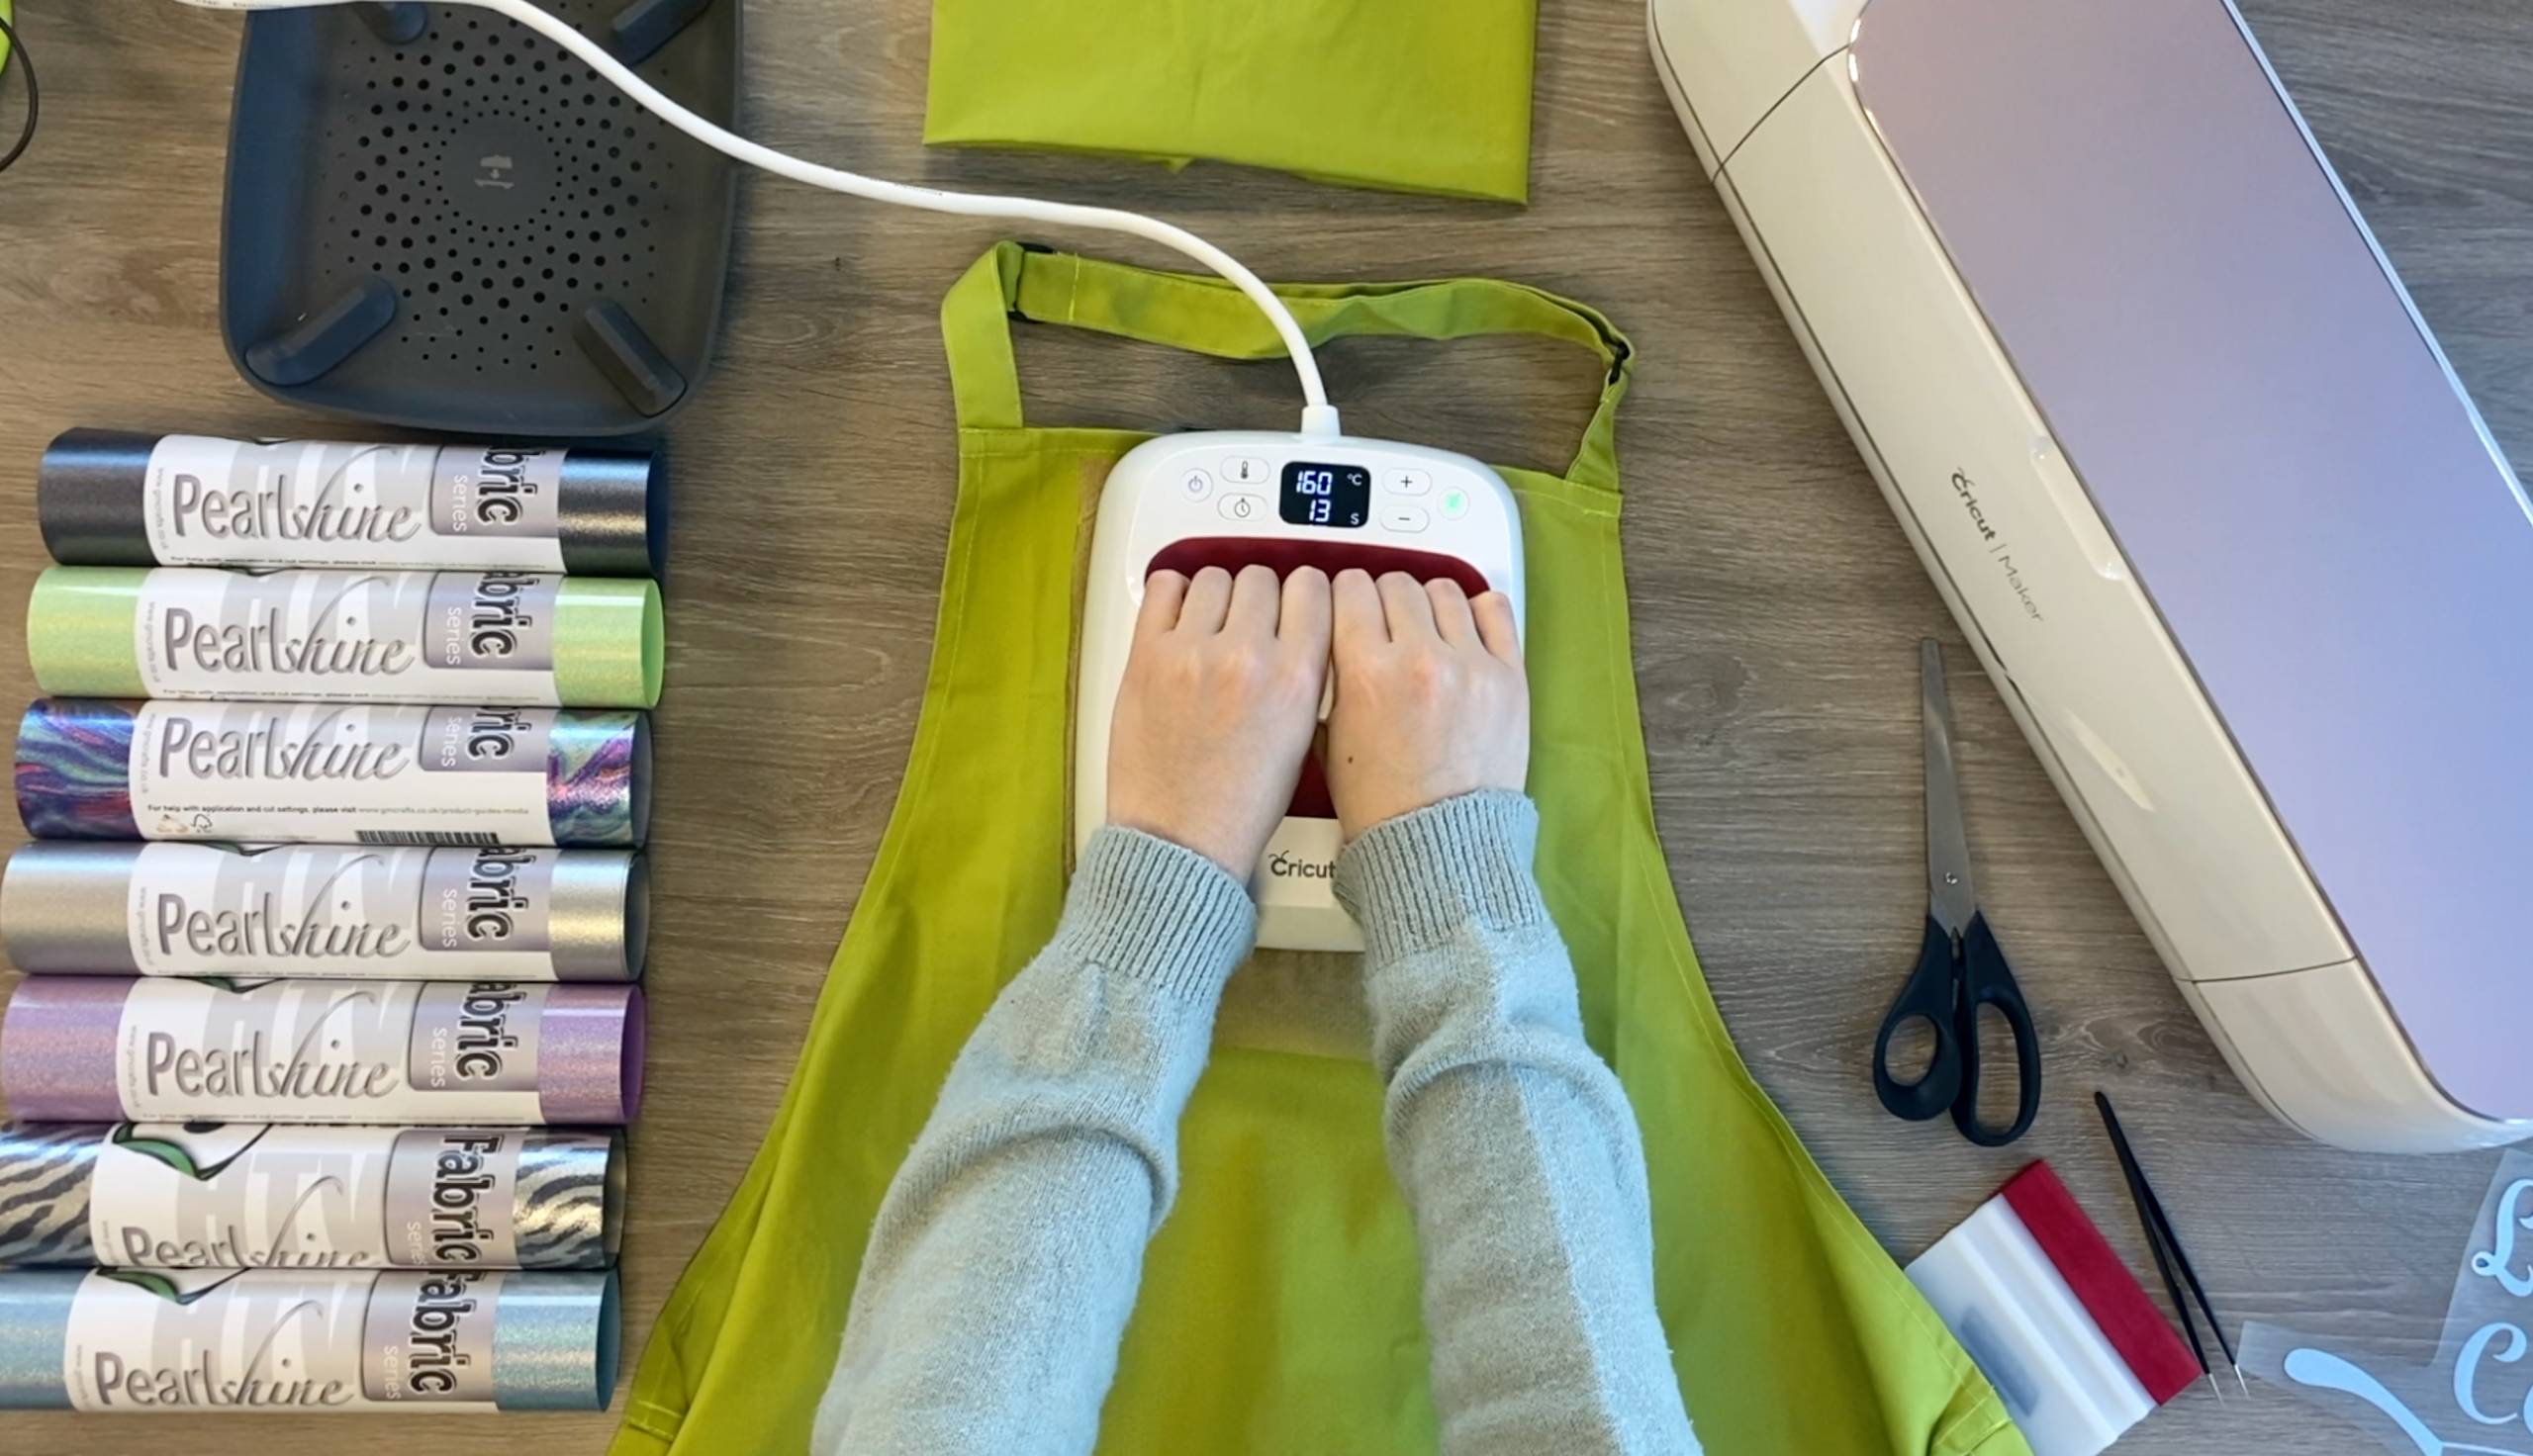
10. Set the EasyPress temperature to 160°c and the timer to 15 seconds. When the Cricut symbol becomes green, the machine is ready to use. If you wish you can use parchment paper as a cover sheet for extra protection, but this is optional with GM Pearlshine HTV.
11. Position the EasyPress on the area of application and press the Cricut symbol to start the timer. Apply strong pressure, your knuckles should be white and shaking a little! We resized our cut files to be slightly larger than our 6″ x 7″, if yours is bigger than your press too, just press each part of the design for 15 seconds until you’ve pressed the whole design.
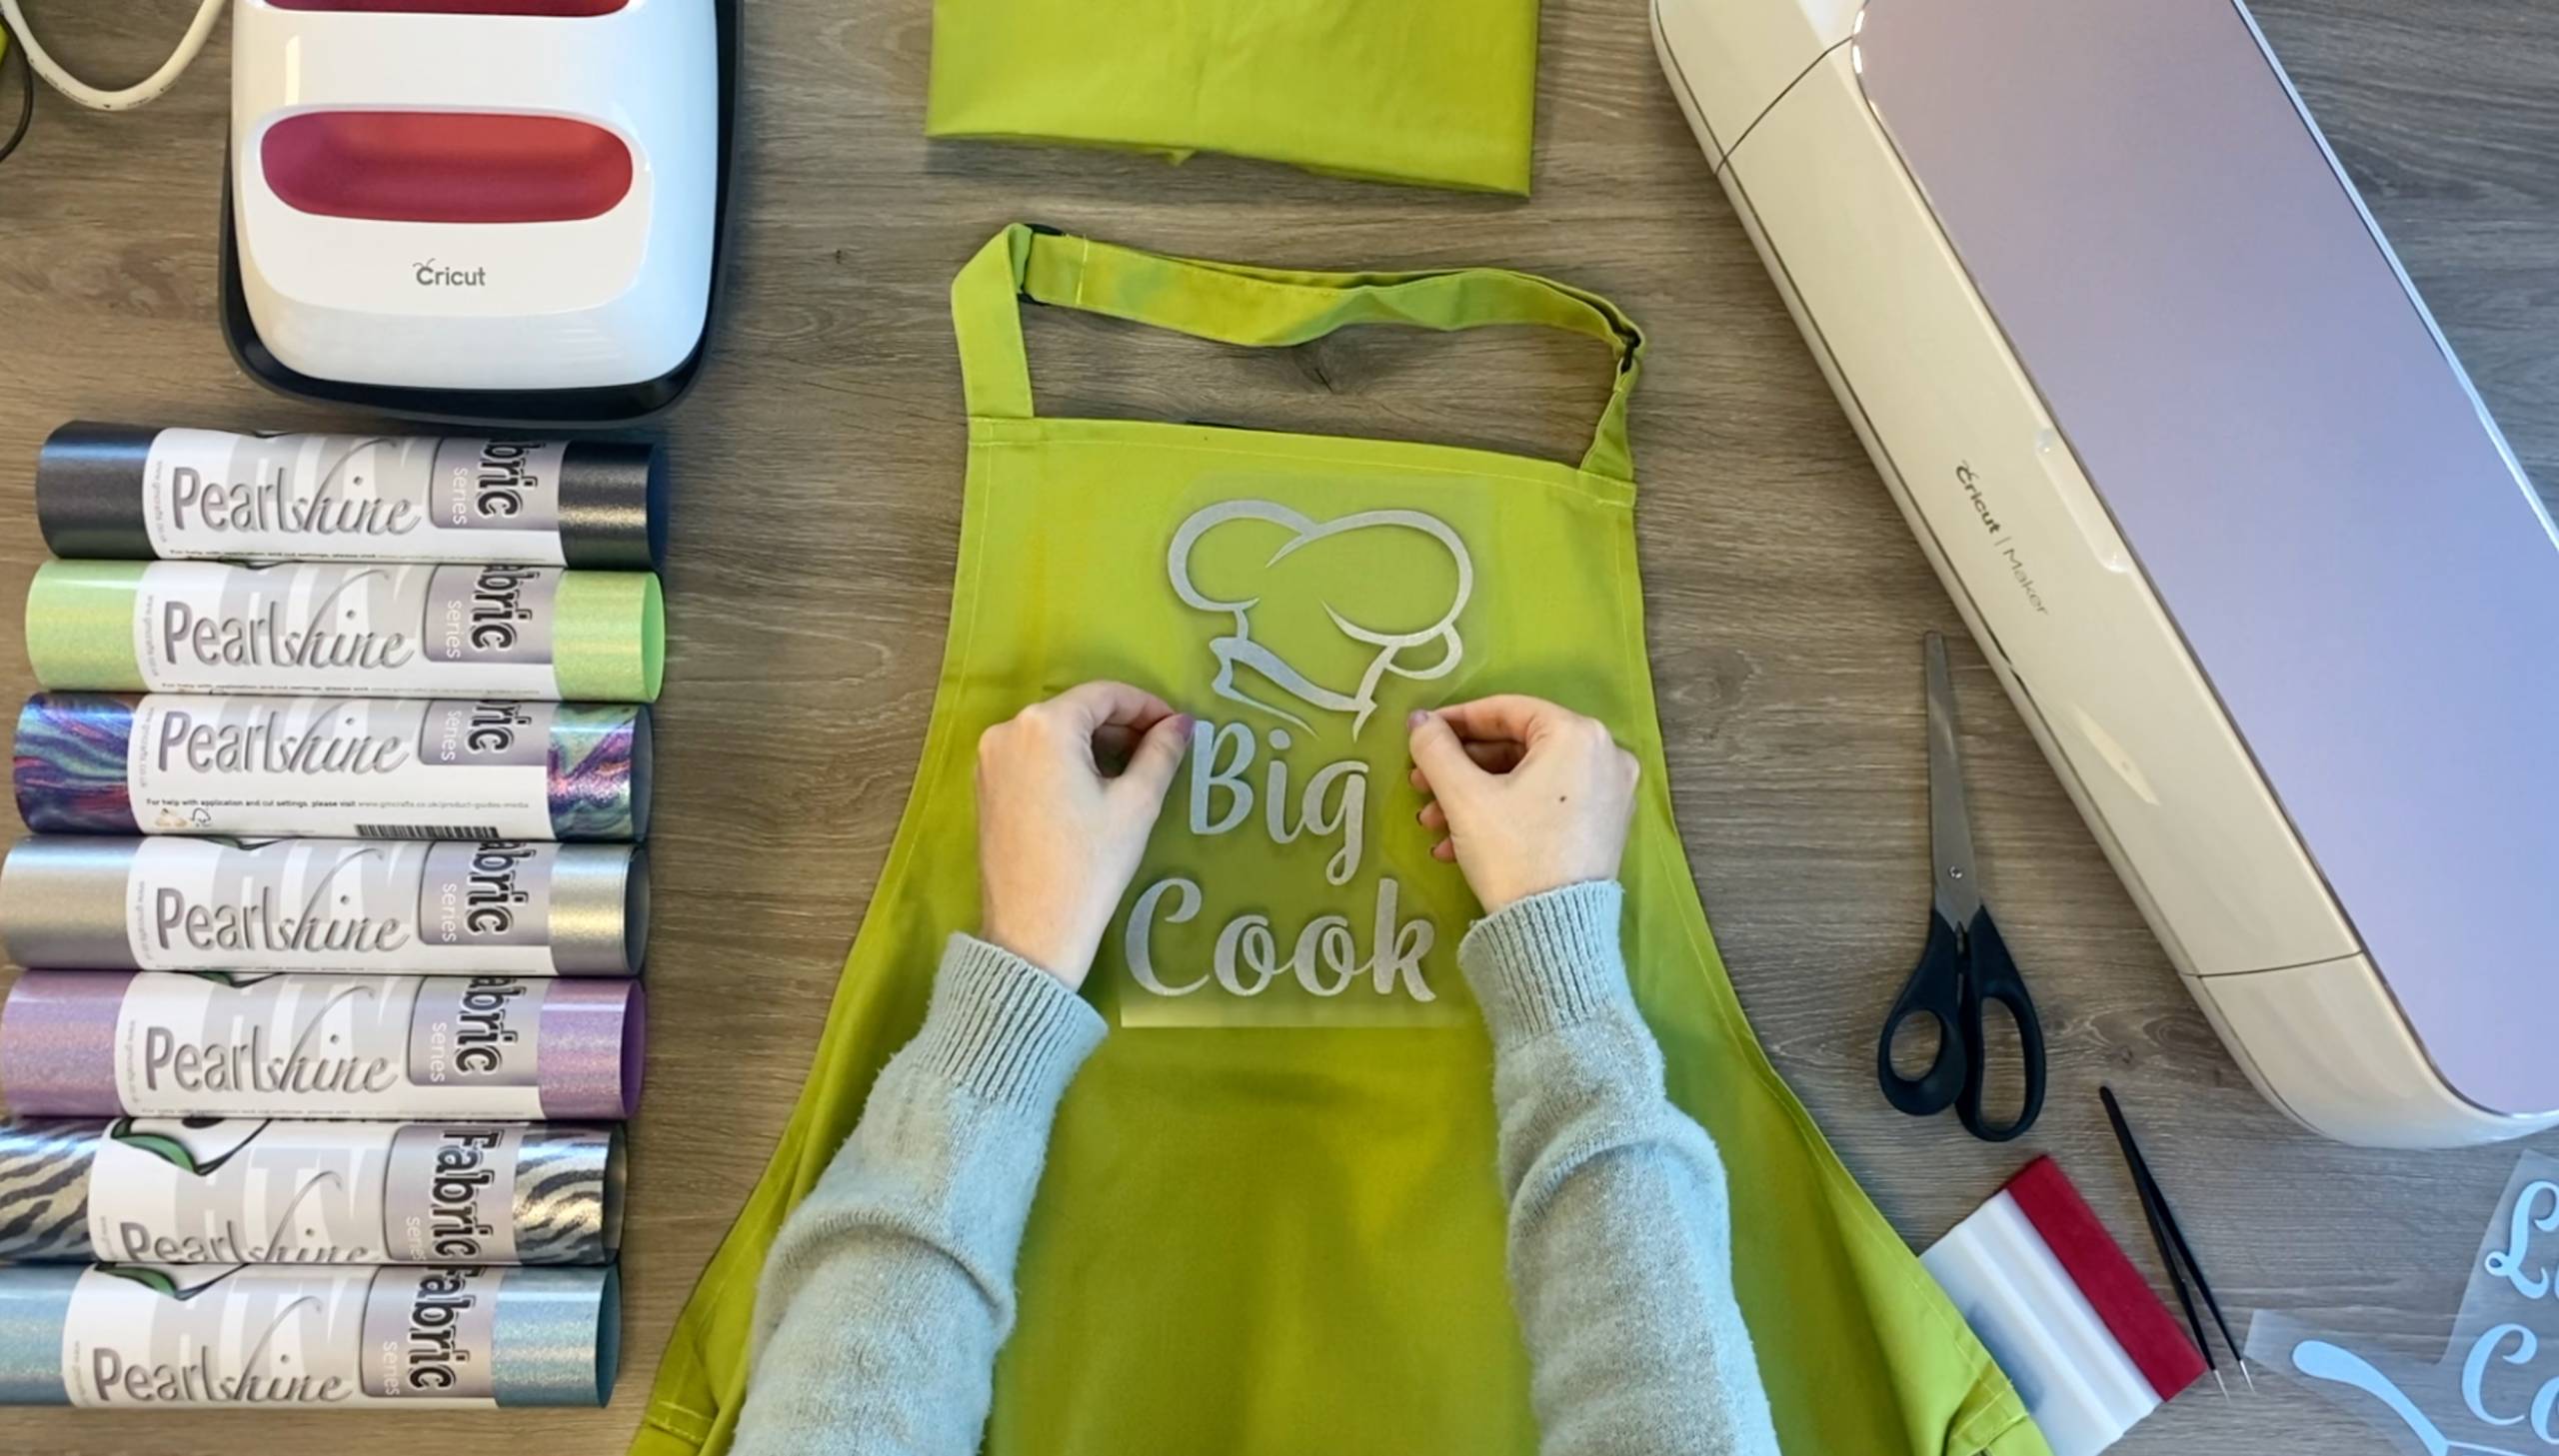
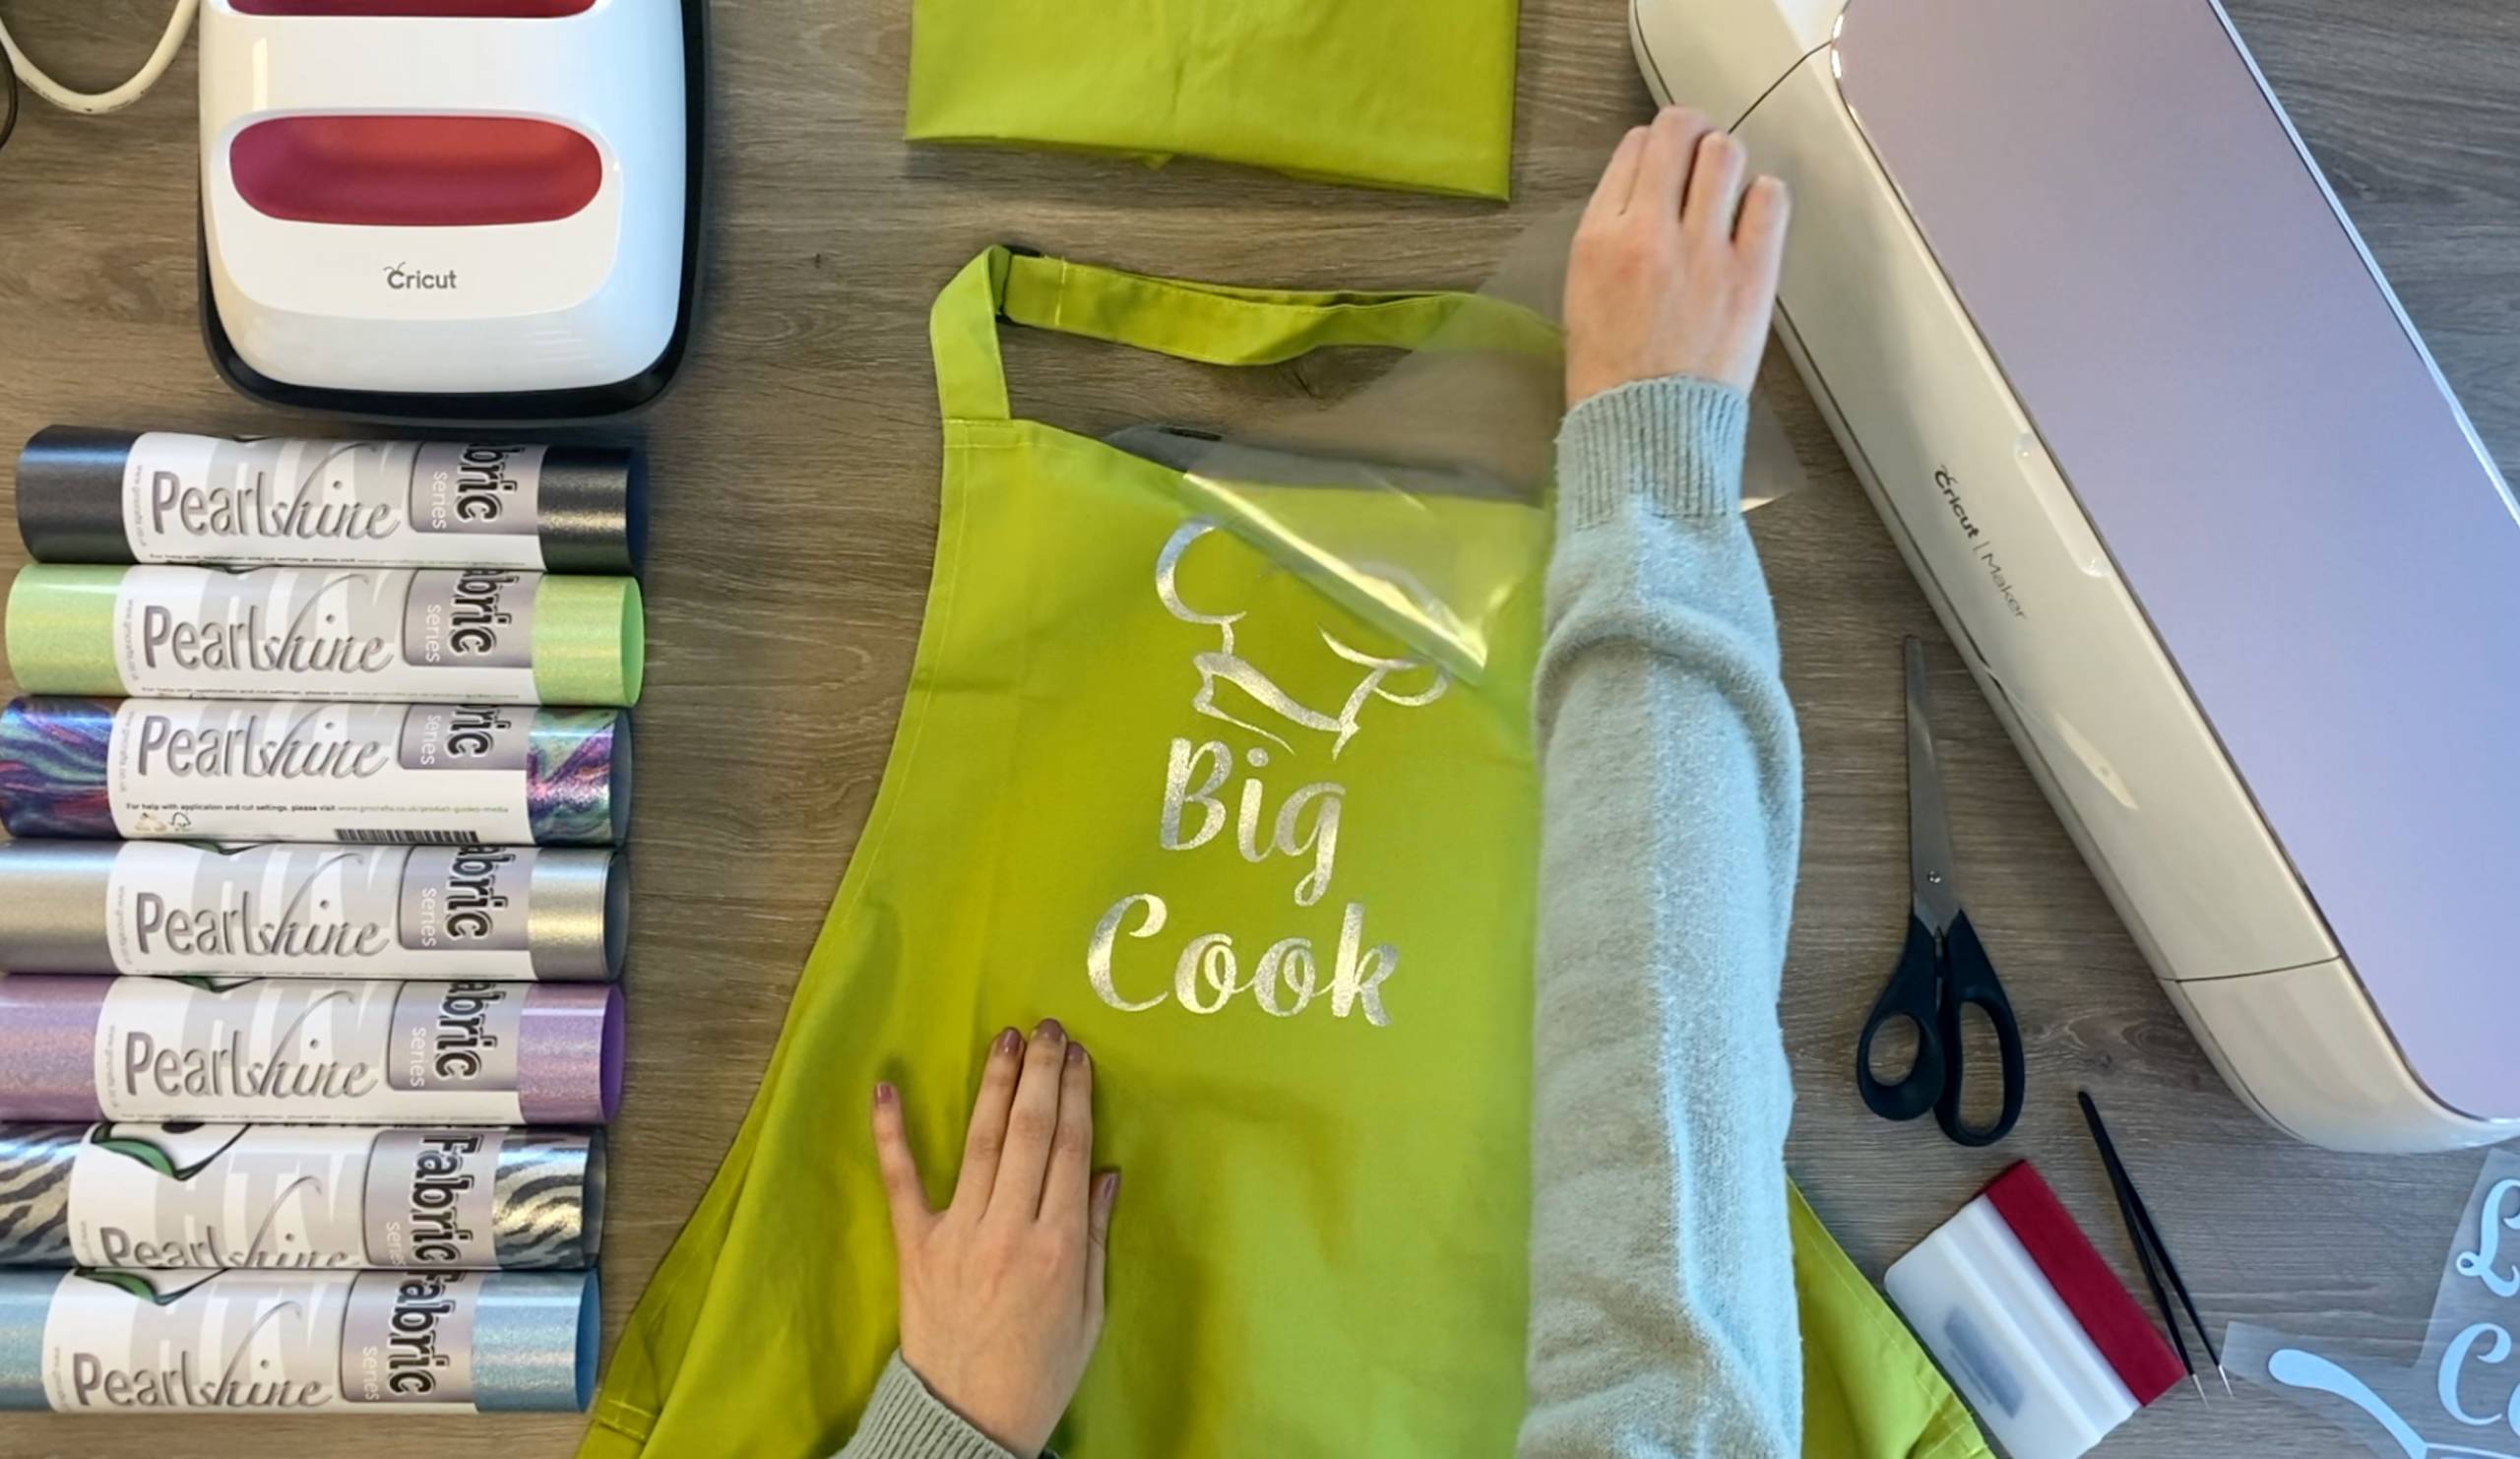
12. When finished remove the EasyPress from the garment. Wait until the carrier sheet is warm before gently peeling it back. If you find parts of the vinyl have not stuck repress for 2 seconds at a time until it sticks.
13. Repeat steps 1-12 with the small apron and ‘Little Cook’ cut file.

Silhouette Cut files
Open your studio 3 cut file and resize in Silhouette Studio. Make sure your design is mirrored by selecting Object>Mirror>Flip horizontally.
Cut settings:
Material: Heat Transfer Glow in the Dark
Ratchet blade: 2
Speed: 6
Force: 6
Passes: 1
Brother Cut Files
To import these files into the Brother Canvas Workspace:
After downloading, please log in as usual to your design space account, open a new project mat, then left click on the SVG icon in the top left bar in canvas, this will then allow you to import your files. Once you left click this icon, a pop up box appears with you to choose where to import file from, choose to import the file from your downloads list or where you have chosen to save when unzipped.
Just incase you need the link CanvasWorkspace (brother.com)
**Our ‘Big Cook’ and ‘Little Cook’ aprons are in no way affiliated with the television show Big Cook Little Cook**
Hope you enjoyed this weeks free cut files and tutorial. Please remember to tag us is and creations you make on Facebook and Instagram, we really would love to see them!
See you next week 🙂